How to Draw a Snowman: Easy 10-Step Guide for Kids
Bring the magic of winter indoors with this simple snowman drawing tutorial, perfect for artists ages 5 and up. You only need a pencil, an eraser, and your favorite markers or crayons to get started. Follow these steps to build your own snowy friend while practicing basic shapes and line control.
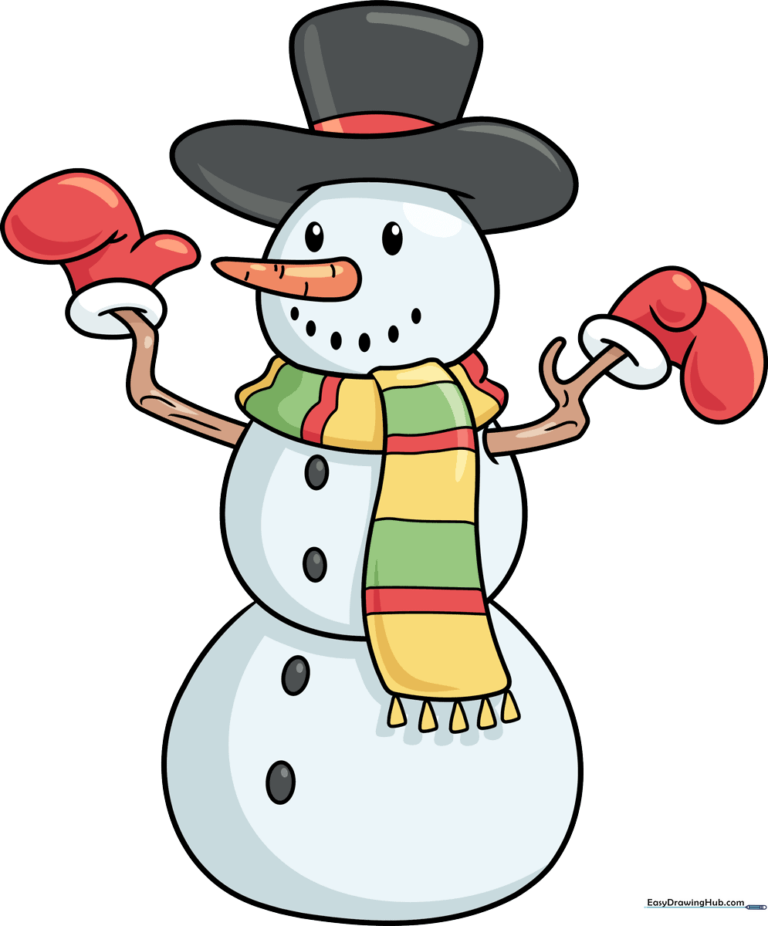
🎯 Final Result
Step-by-Step Instructions
Step 1: Sketching the Head and Nose

Draw a light circle for the head and a small triangle for the carrot nose. Tip: Keep the nose slightly off-center to give your snowman personality, and add two small coal-like ovals for the eyes.
Step 2: Adding the Top Hat
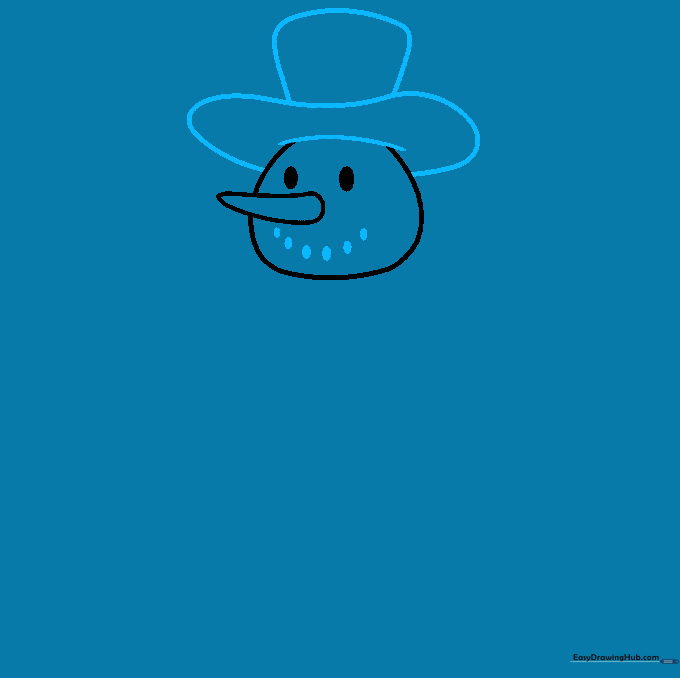
Draw a curved line over the head to form the brim of the hat, then add the crown on top. Add a series of small dots for the mouth. Tip: Make the mouth curve slightly upward to give your snowman a happy smile!
Step 3: Defining the Scarf and Body
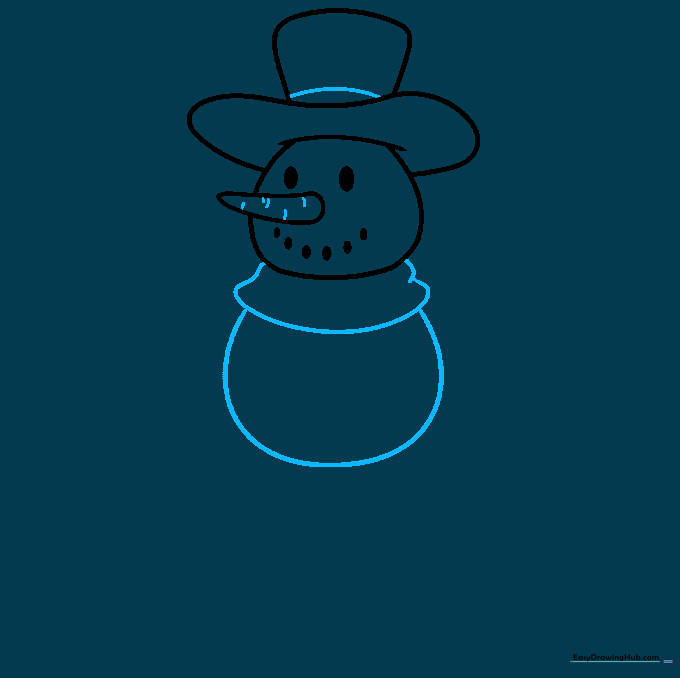
Add a band to the hat and texture the carrot nose with tiny lines. Draw a curved line for the scarf and the first large circle for the middle body section. Tip: Use long, fluid strokes for the body to keep it looking round and soft.
Step 4: Sketching the Base and Arm
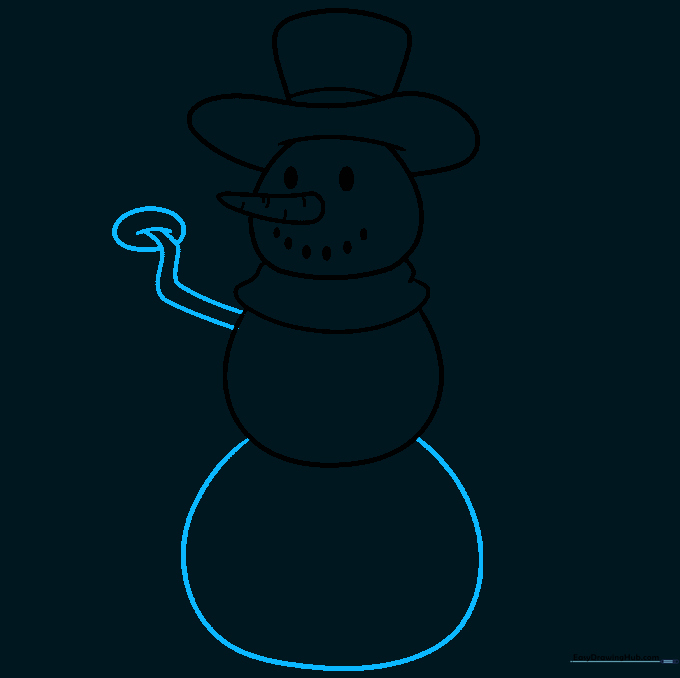
Draw the bottom, largest circle for the base. For the arm, use two parallel lines to create a stick shape, then add an oval at the end for the mitten. Tip: Keep the arm lines slightly jagged to look like real wood.
Step 5: Detailing the Mitten
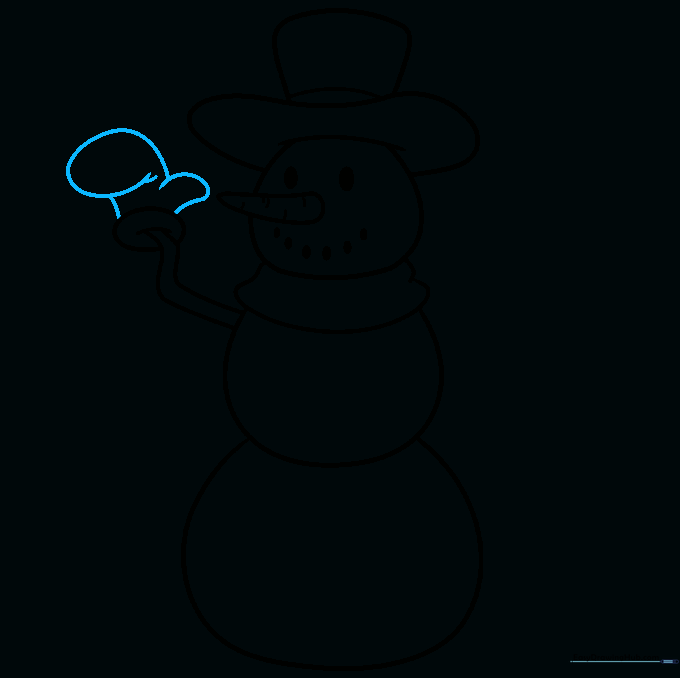
Refine the mitten by adding a thumb and fingers using small, overlapping curved lines. Tip: Think of the mitten as a rounded 'U' shape to make it easier to draw.
Step 6: Drawing the Second Arm
Draw the second arm on the other side. Use a branching line to make it look like a real twig. Tip: Erase any lines where the arm overlaps the body so it looks like it's coming out from behind.
Step 7: Finishing the Second Mitten
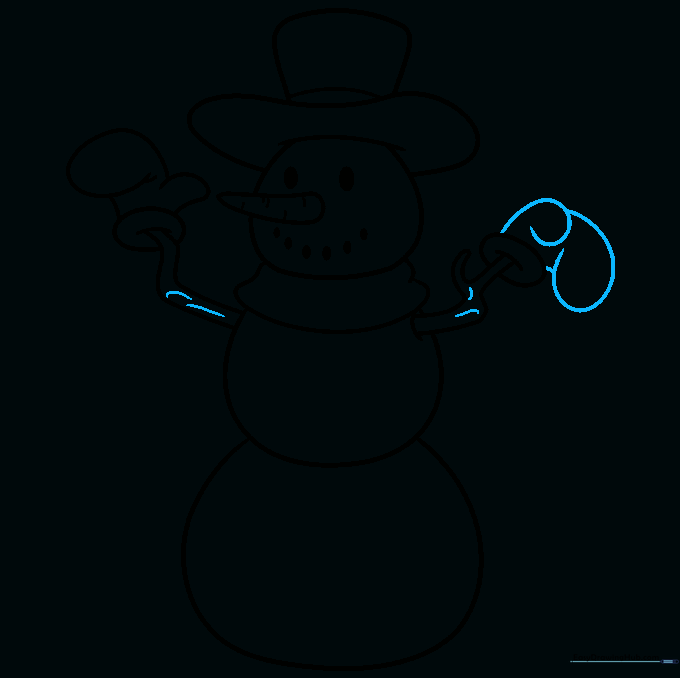
Complete the second mitten just like the first. Add small, quick lines to the branches to give them a textured, woody appearance. Tip: Don't worry about making the branches perfect; nature is rarely perfectly straight!
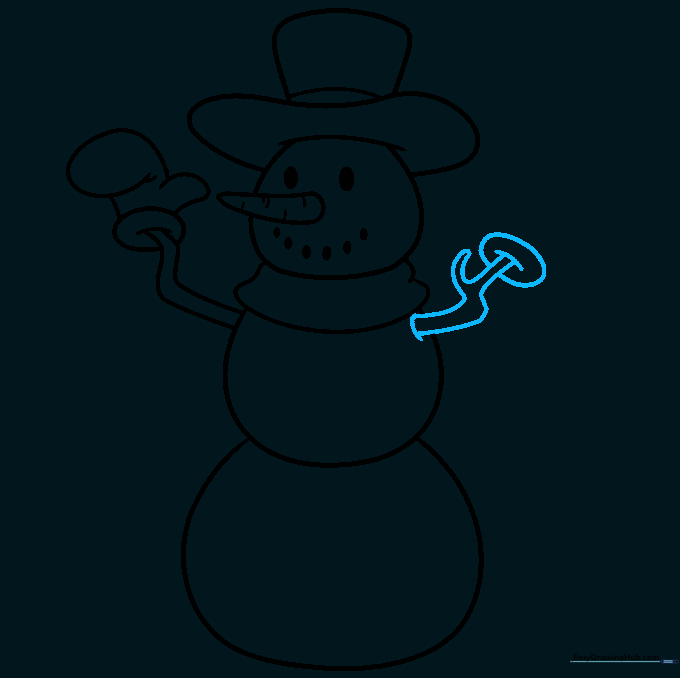
Step 8: Designing the Scarf
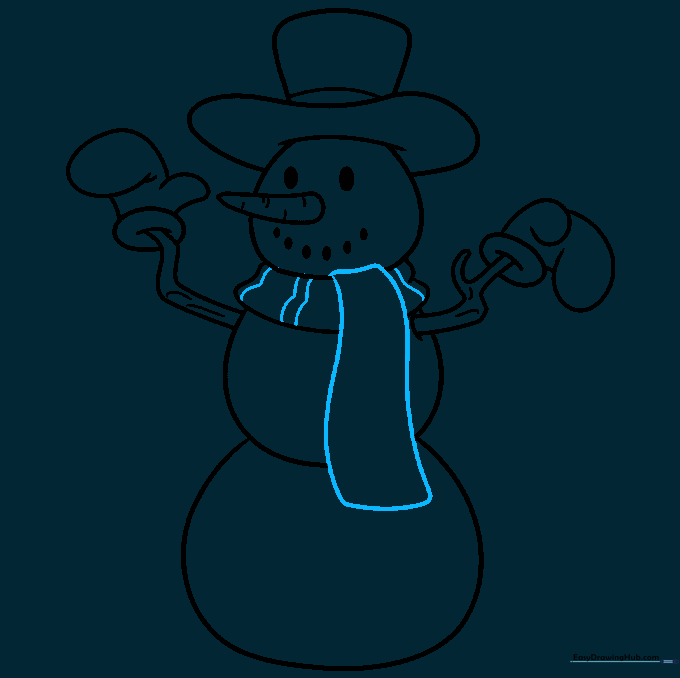
Extend the scarf with a curved rectangle to show it hanging down. Add stripes across the scarf for a cozy look. Tip: Use a ruler if you want your stripes to be perfectly straight, or freehand them for a softer look.
Step 9: Adding Final Details
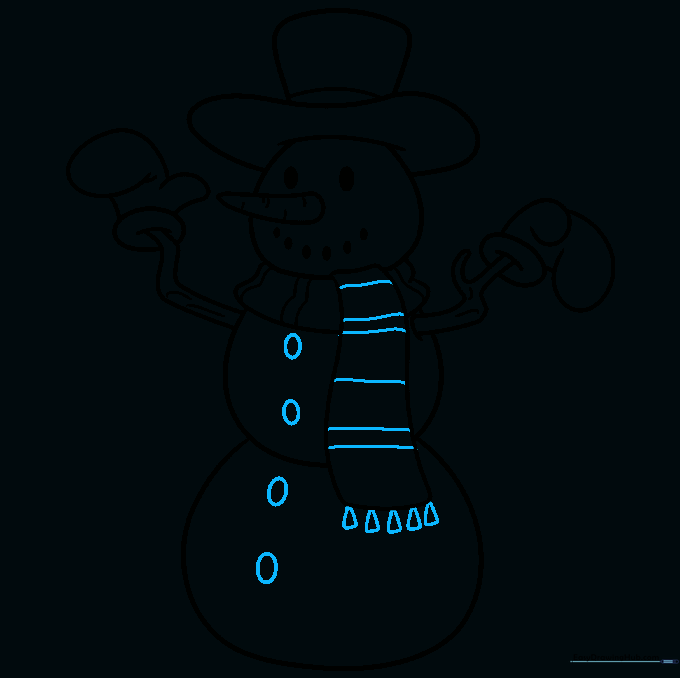
Draw small tassels at the end of the scarf using little triangles. Add three small buttons down the center of the body. Tip: Vary the size of the buttons slightly to make them look like real pieces of coal.
Step 10: Bringing Your Snowman to Life with Color
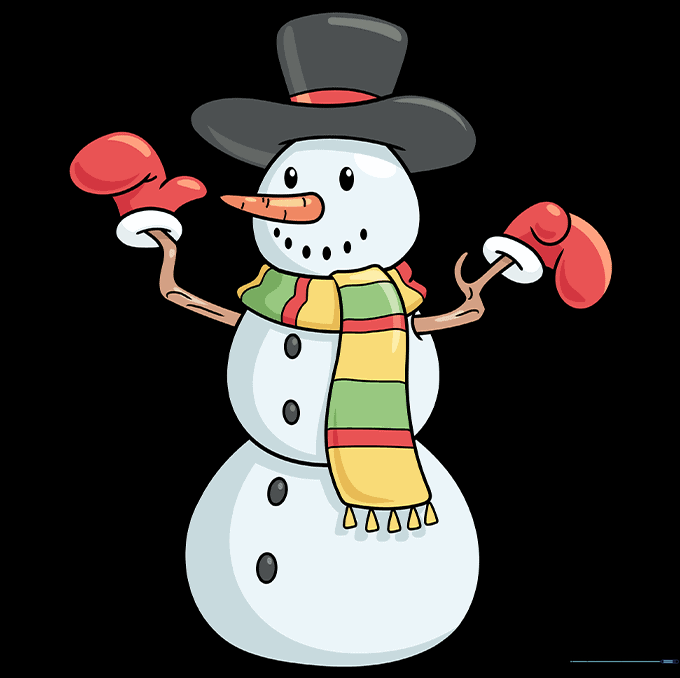
Now for the fun part! Use bright oranges for the nose, festive colors for the scarf, and black for the hat and buttons. Tip: Use light blue shading around the edges of the snowman to give it a 3D, icy look.
More Tutorials


