How to Draw a Snowboarder: Easy 10-Step Guide for Kids
Ready to hit the slopes? This tutorial is perfect for young artists ages 6+ who want to draw an action-packed snowboarder. You'll only need a pencil, an eraser, and some paper to bring this winter athlete to life. Follow along to master character proportions and movement in just ten simple steps.
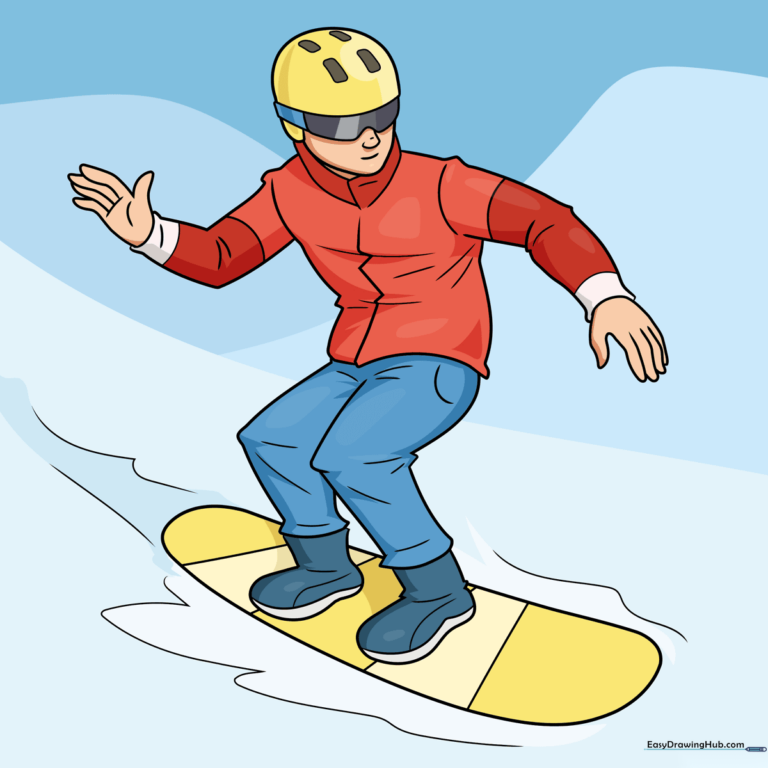
🎯 Final Result
Step-by-Step Instructions
Step 1: Sketching the Helmet and Face
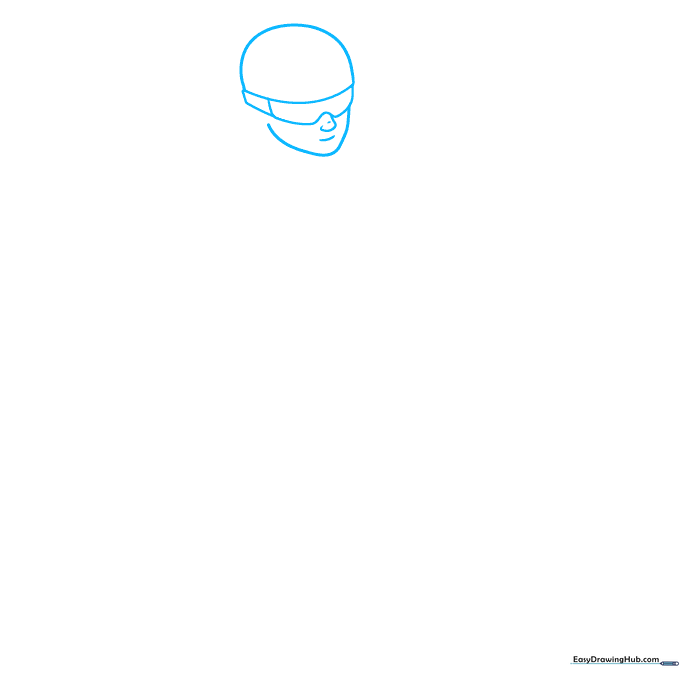
Draw a rounded dome near the top of your page for the helmet, then add a wide 'W' shape underneath to form the collar. Connect them with straight lines. Teacher's Tip: Keep your pencil lines very light so you can easily erase the guidelines later!
Step 2: Defining the Upper Body
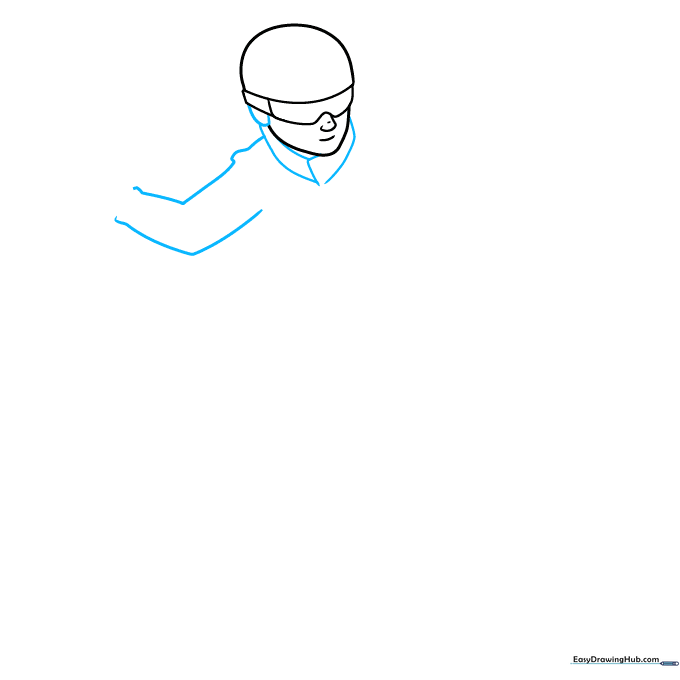
Add a semi-oval on the left side of the head for the goggles. Below the collar, sketch two uneven rectangles for the torso, and outline the left arm using two crooked 'V' shapes. Tip: Think of the arm as a bent pipe to get that natural, athletic angle.
Step 3: Drawing the Reaching Arm
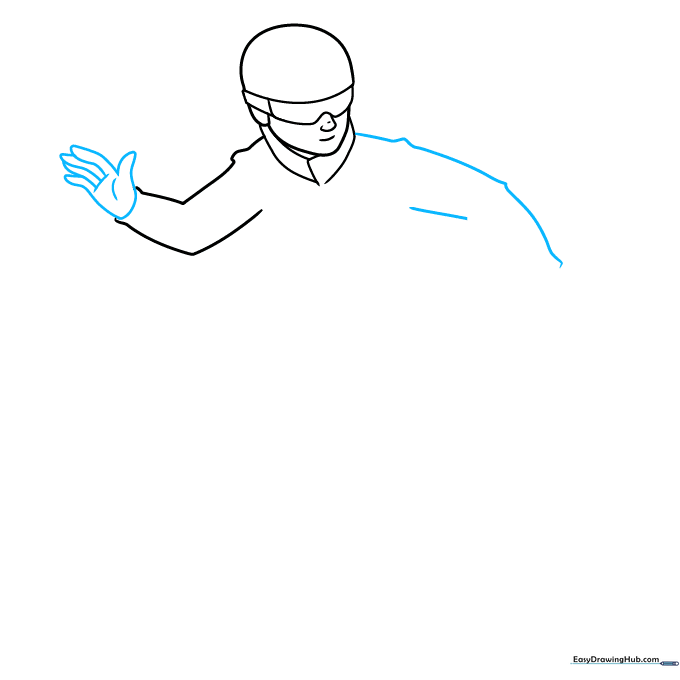
Sketch a long, curved line on the right side for the extended arm. Add a straight line beneath it, then draw small 'hot dog' shapes for the fingers. Tip: Adding two small lines inside the palm helps create the look of a glove's grip.
Step 4: Completing the Torso
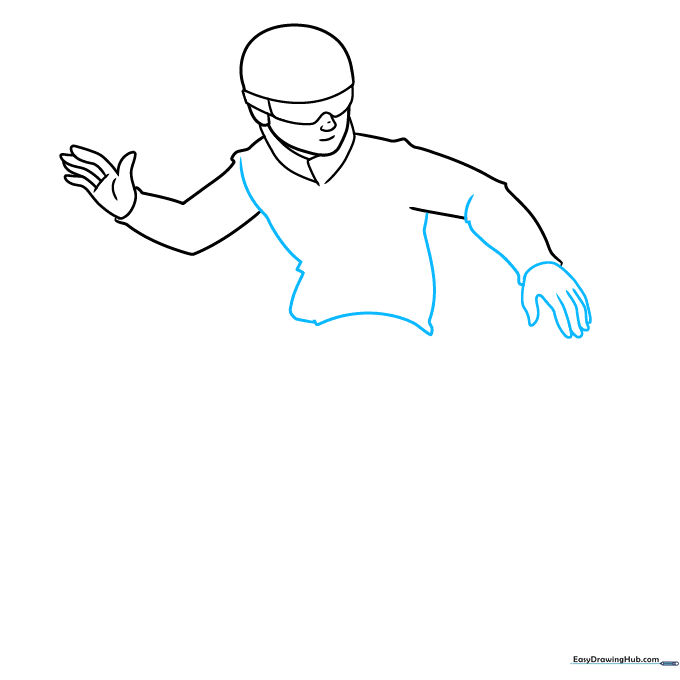
Finish the right arm with two curved lines, and draw the fingers using overlapping noodle shapes. Outline the main body with two crooked lines, then add a curve between them to show the jacket's shape. Tip: Overlapping lines create depth, making your character look 3D!
Step 5: Adding Jacket and Leg Details
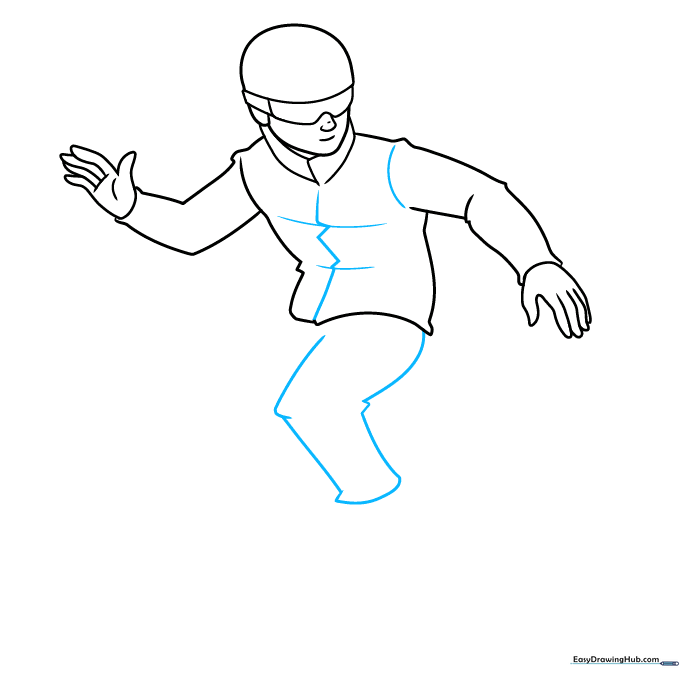
Draw a zig-zag line down the center of the coat for the zipper. Add two small dashes for pockets, and a curve on the shoulder. For the right leg, sketch two sideways 'V' shapes connected by a curve, and add small triangles at the knee. Tip: The triangles act as 'joints' to show where the leg bends.
Step 6: Drawing the Legs and Boots
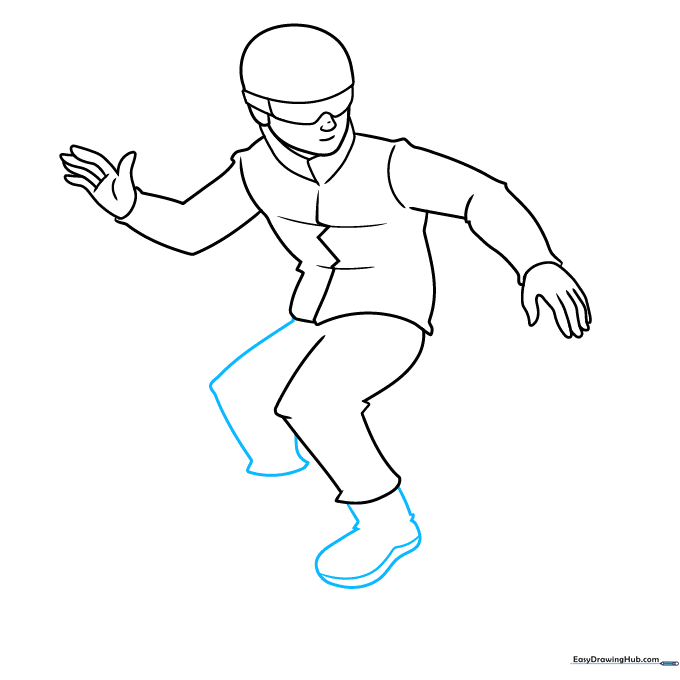
Draw the left leg with a sideways 'V' shape and two curves. Outline the right boot with a loose oval, connecting it to the pants with straight lines. Add small triangles at the ankle. Tip: Keep the boot shape slightly bulky to look like real, insulated snow boots.
Step 7: The Snowboard
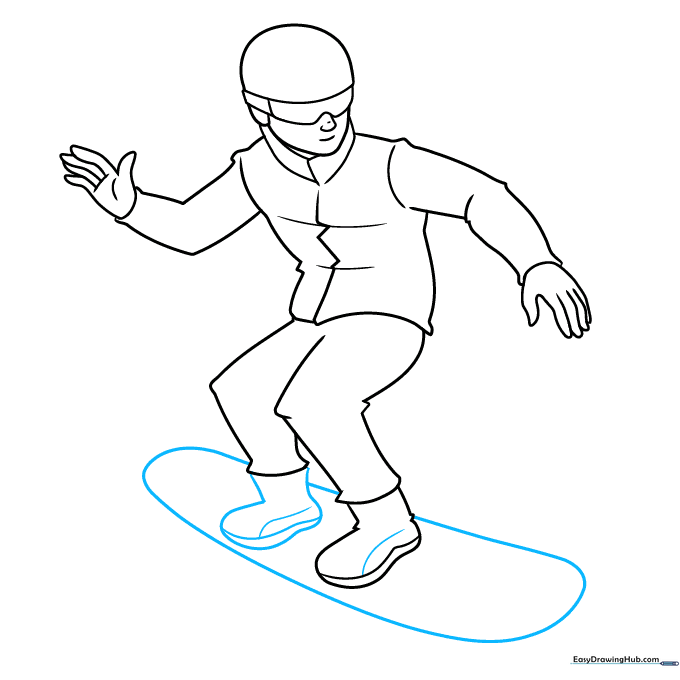
Add the left boot using another loose oval and rectangle. Sketch a large, long 'bandage' shape beneath the feet to form the snowboard. Tip: Ensure the board is wide enough to support the character's stance.
Step 8: Adding Gear Details
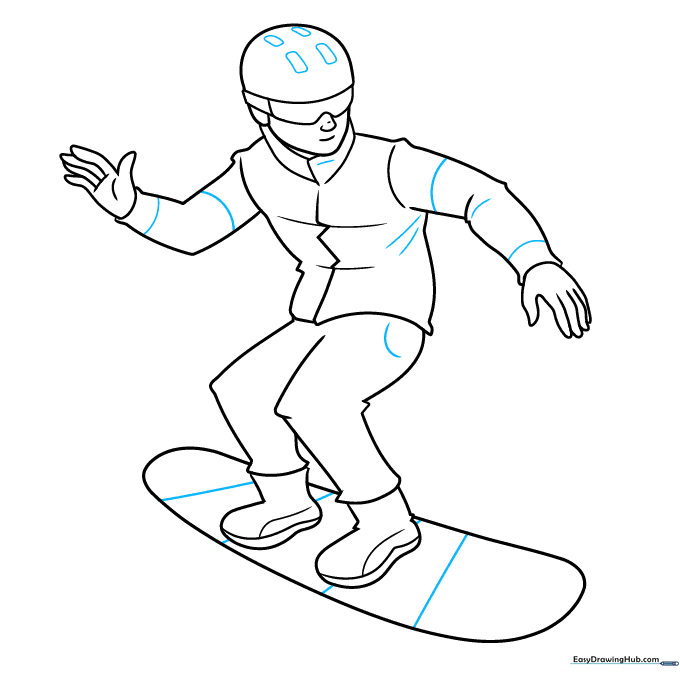
Draw four small rectangles on the helmet for goggles or design. Add straight lines inside the board for texture, and curves on the pants and coat to show fabric folds. Tip: Folds in the clothing make your drawing look much more realistic!
Step 9: Final Touches and Outlining
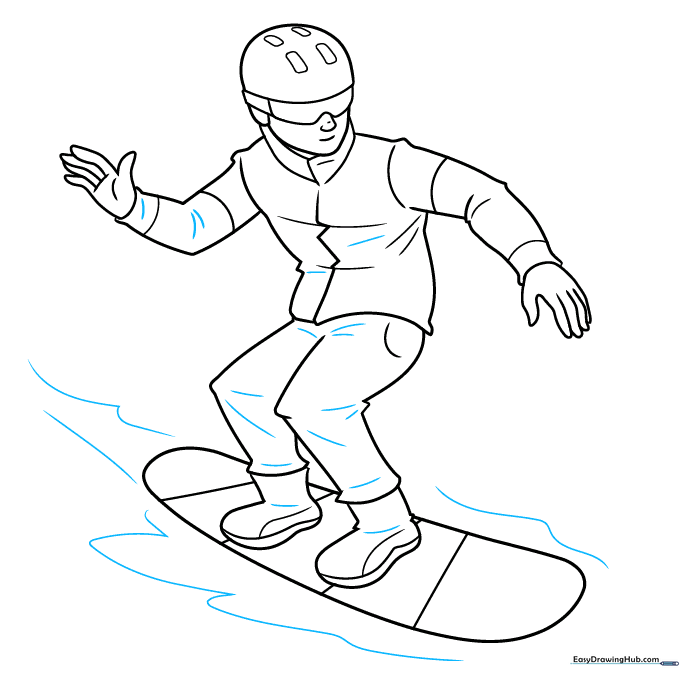
Sketch more dashes inside the coat and boots for detail. Draw wavy lines around the board to represent snow being kicked up. Finally, trace over your pencil lines with a black pen or marker. Tip: Use a steady hand for the outline to make your character pop off the page.
Step 10: Bring Your Snowboarder to Life with Color

Time to color! Use bright yellows, blues, and dark greys for the helmet and gear. Use different shades of red and blue for the clothes to create contrast. Add light blue shading in the background to suggest a snowy mountain. Tip: Use colored pencils to layer colors for a professional look.
More Tutorials


