How to Draw a Snarling Wolf: Easy 10-Step Guide
Ready to add some intensity to your sketchbook? This tutorial is perfect for artists ages 8+ looking to practice expressive character design. You will need a pencil, an eraser, and a piece of paper to bring this fierce wolf to life while learning how to balance facial proportions and jagged fur textures.
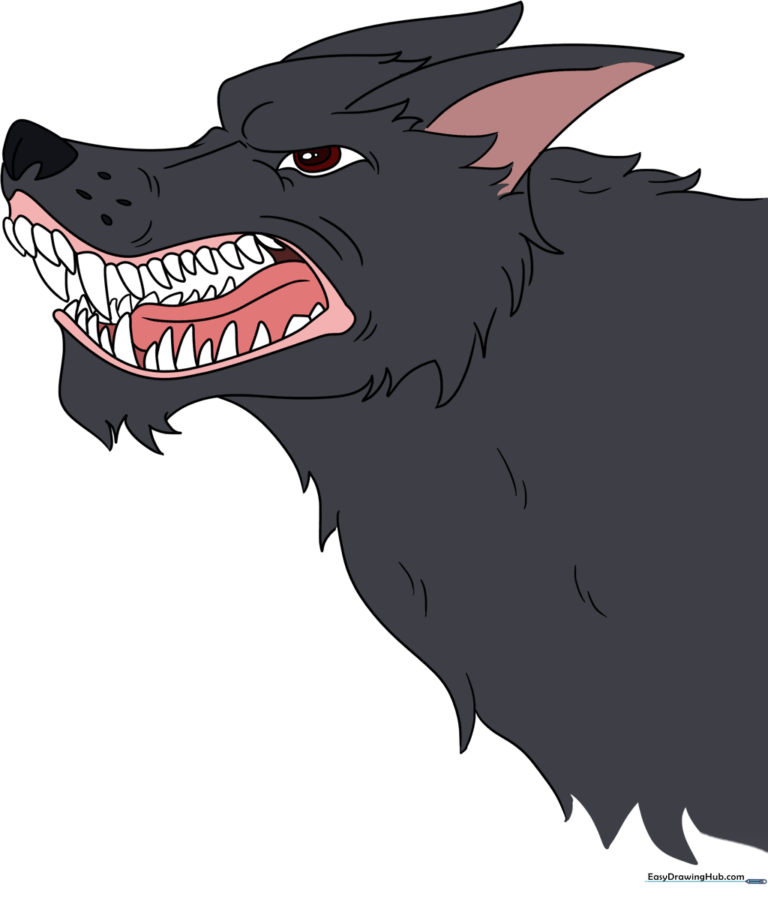
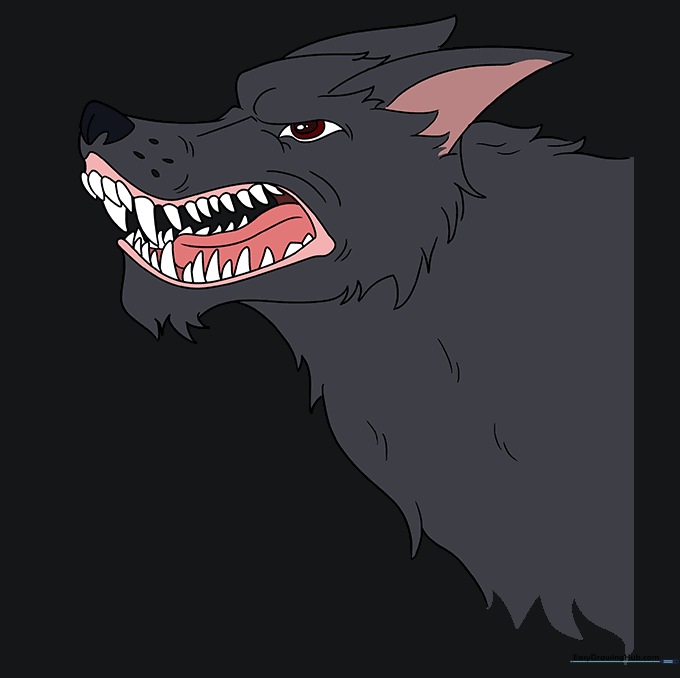
🎯 Final Result
Step-by-Step Instructions
Step 1: Sketching the Base Circles

Draw two circles side by side, one slightly smaller than the other. Teacher's Tip: Keep your pencil pressure light here; these are just structural guides for the head and jaw that we will erase later.
Step 2: Defining the Brow and Ear

Connect the tops of your circles with a curved line, then extend it into a jagged path to create the brow and fur tufts. Add a curved triangle for the ear. Tip: Use quick, flicking motions with your pencil to make the fur look natural and wild.
Step 3: Shaping the Snout and Mouth
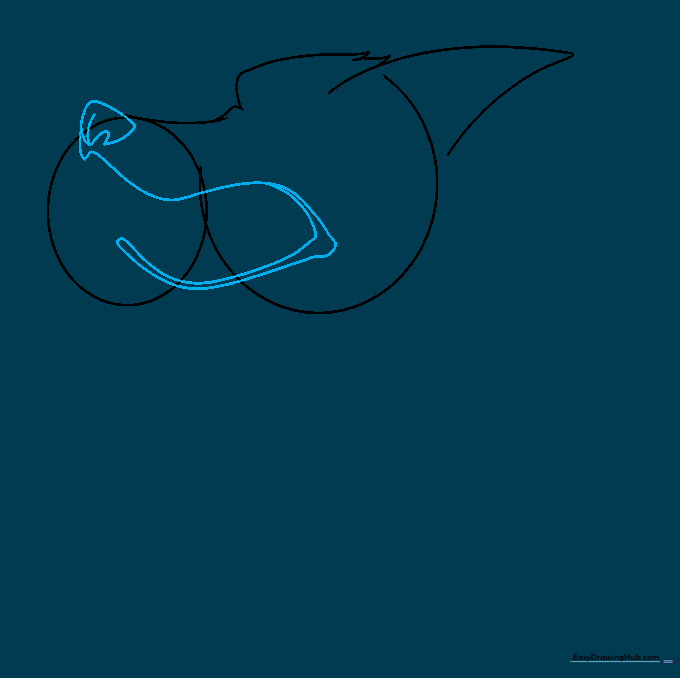
Draw the nose where the brow line meets the small circle. Extend a curved line downward and double it back to form the open, snarling mouth. Tip: Think of the mouth shape like a wishbone to get that aggressive, open-jaw look.
Step 4: Adding Fur and Second Ear
Add the second ear and use short, varied lines to create jagged fur tufts along the jaw and neck. Tip: Vary the length of your fur lines to avoid a 'perfect' look; real fur is messy and uneven!
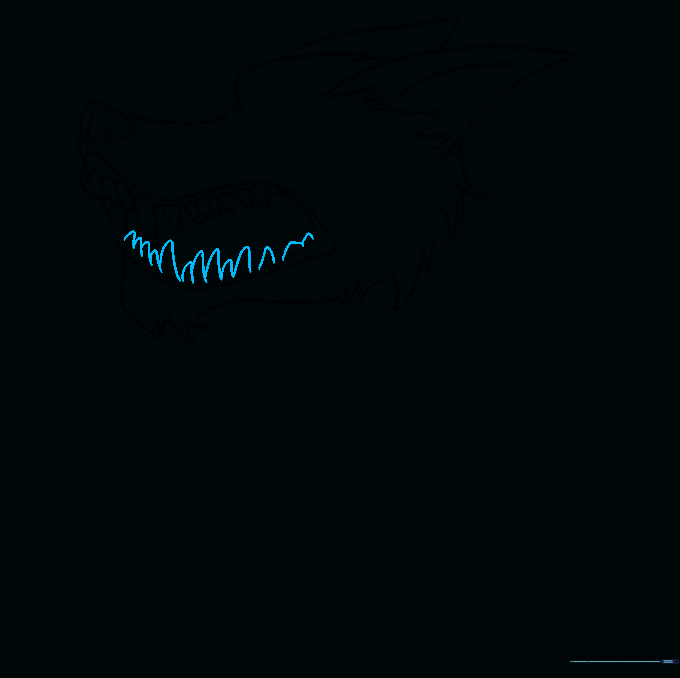
Step 5: Drawing the Upper Teeth
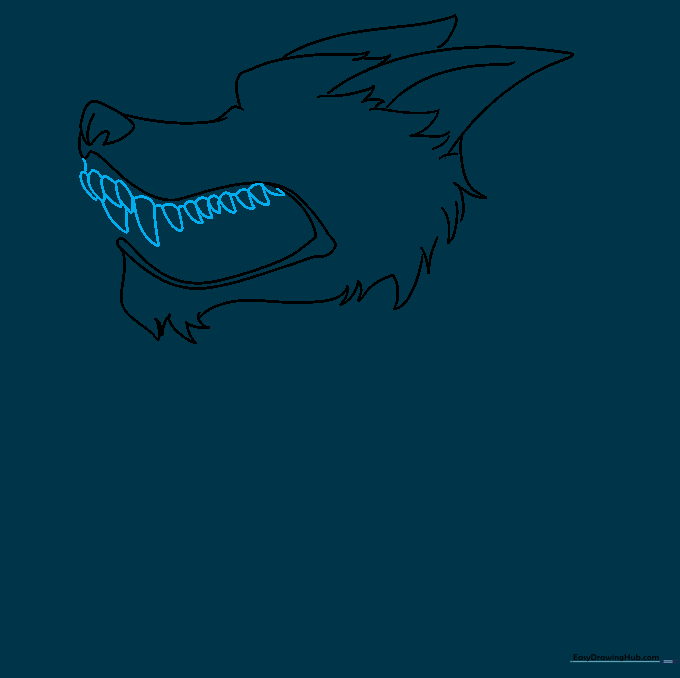
Erase your original guide circles. Now, draw the bared teeth as rounded triangles. Make the canine teeth significantly larger than the others to emphasize the snarl. Tip: Leave a small gap for the gums to make the expression look more realistic.
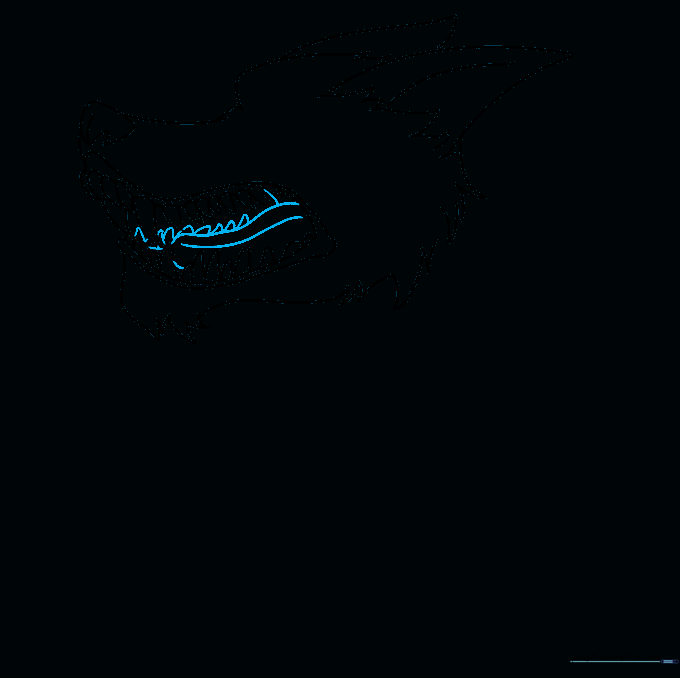
Step 6: Drawing the Lower Teeth
Outline the lower jaw teeth. These should be smaller, curved triangles. Tip: Ensure the points of the teeth are rounded so they don't look like sharp needles, keeping the cartoon style consistent.
Step 7: Adding the Tongue
Draw the tongue inside the mouth using soft, curved lines. Add a few more teeth on the opposite side to complete the set. Tip: A slightly curved tongue adds depth to the inside of the mouth.
Step 8: Detailing the Eye and Muzzle
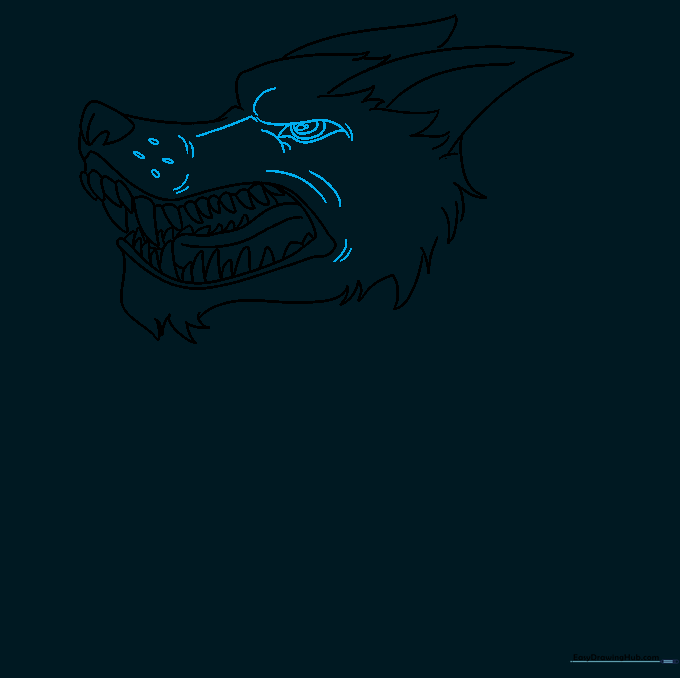
Draw an angry, narrowed eye. Add small ovals on the muzzle for whisker spots. Tip: The angle of the eyebrow is what makes the wolf look 'angry'—keep it slanted downward toward the nose.
Step 9: Final Fur Texture
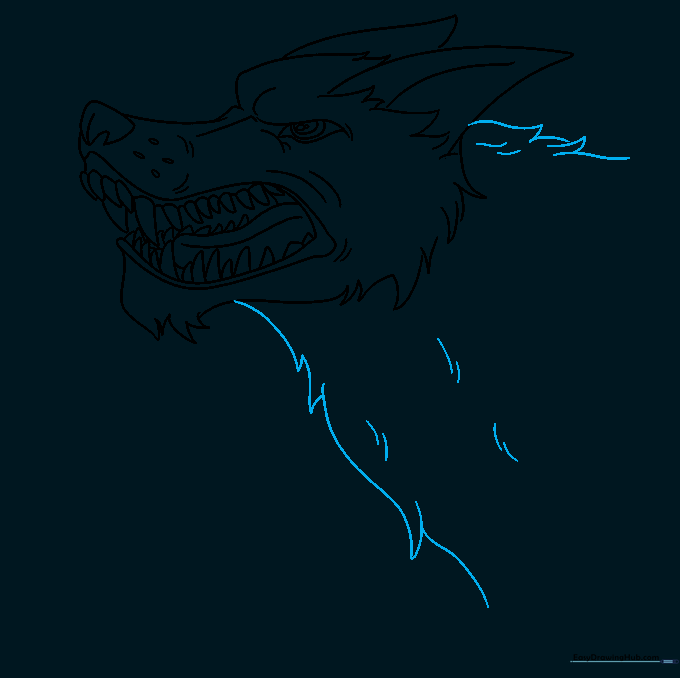
Use long and short strokes to add jagged fur tufts along the back and neck. Tip: This is where you can really make the wolf look 'scruffy'—don't be afraid to overlap your lines.
Step 10: Coloring Your Wolf
Bring your wolf to life with color! Use greys, browns, or even blacks. Tip: Use a darker shade for the inside of the mouth to make the white teeth pop.
More Tutorials


