How to Draw a Skull and Crossbones: Easy 20-Step Guide
Ready to draw a spooky skull and crossbones? This tutorial is perfect for artists ages 6 and up, requiring only a pencil, eraser, and paper. Follow these simple steps to master basic shapes and symmetry while creating a fun, classic design.
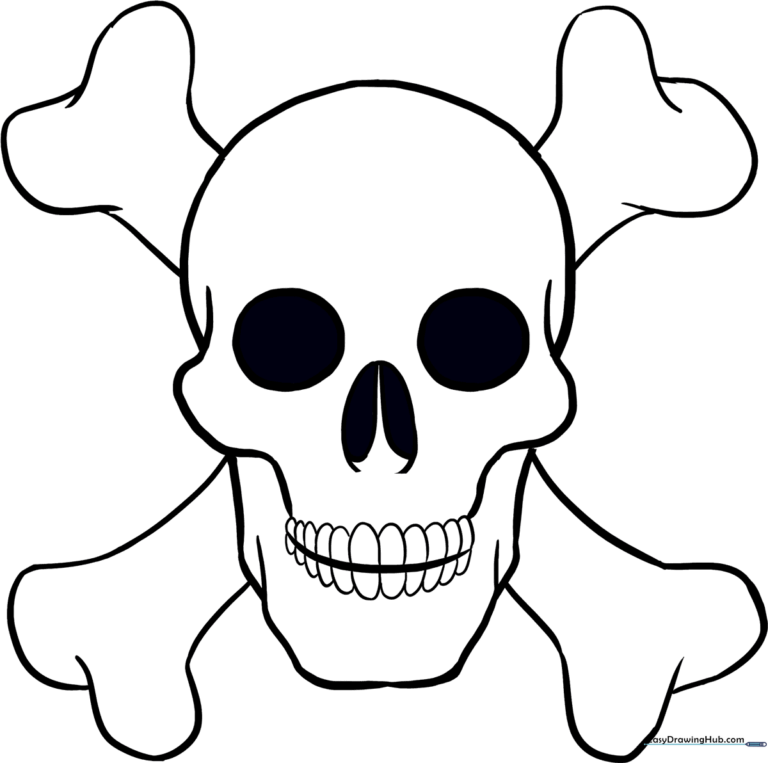
🎯 Final Result
Step-by-Step Instructions
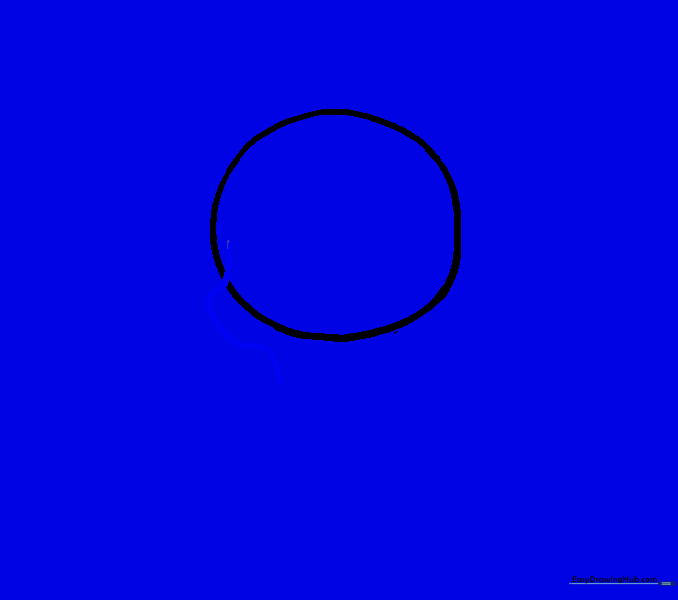
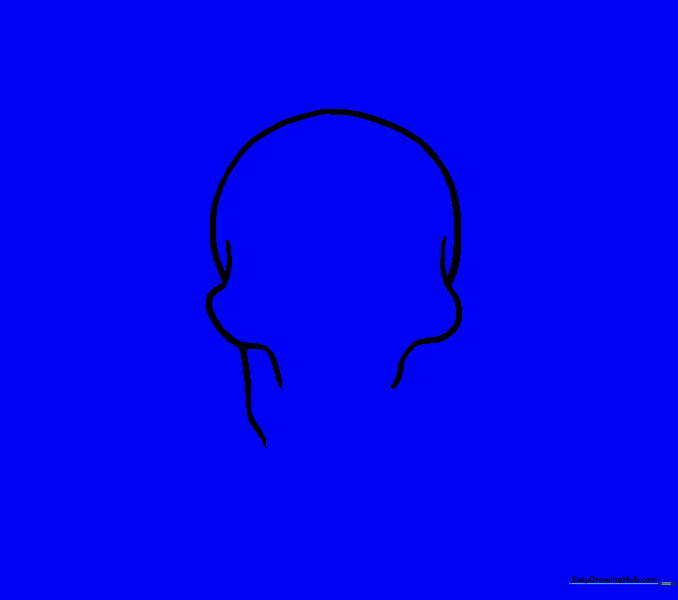
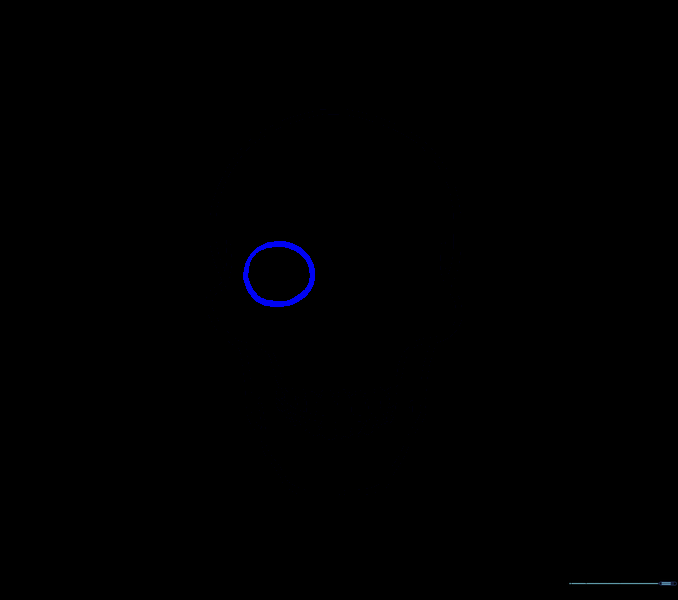
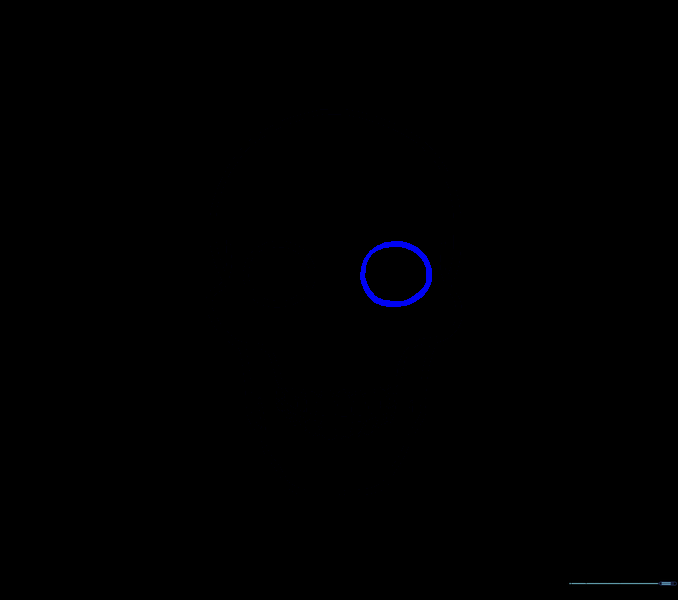
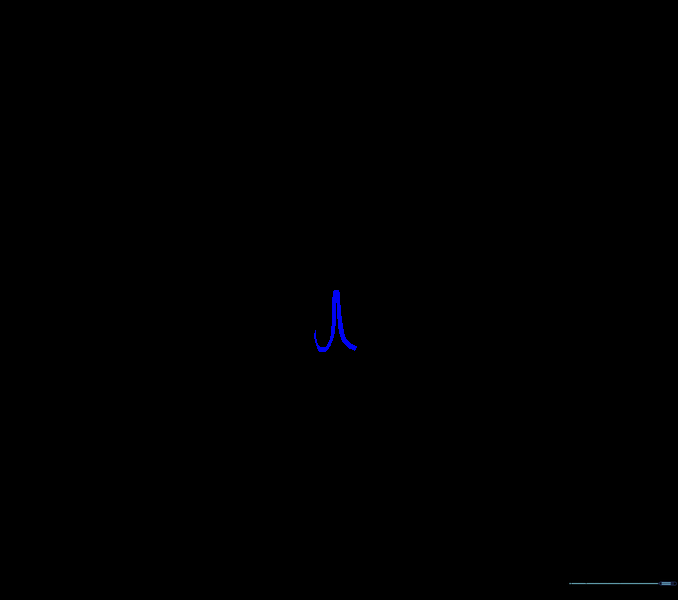
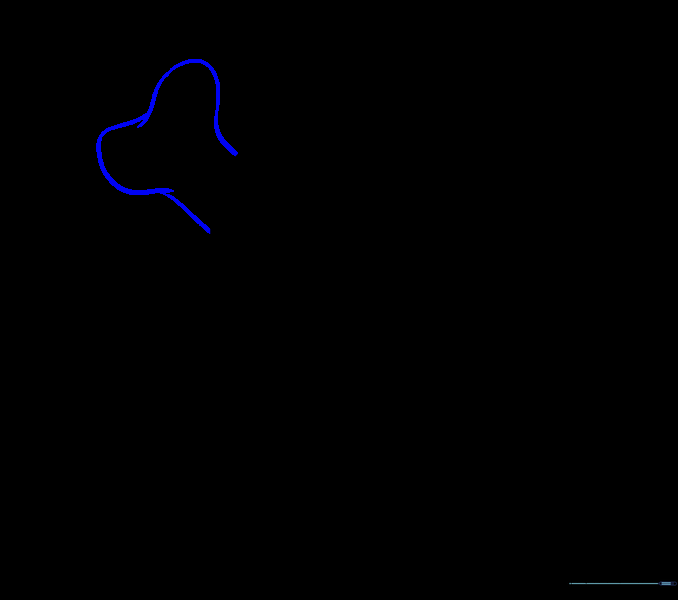
Step 1: The Foundation Circle
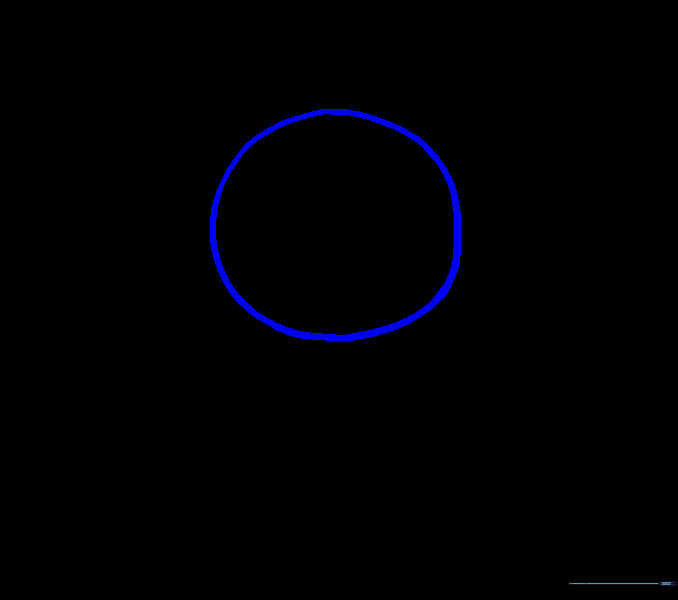
Begin by drawing a light circle for the cranium. Tip: Keep it centered on your page so you have plenty of room for the crossbones later.
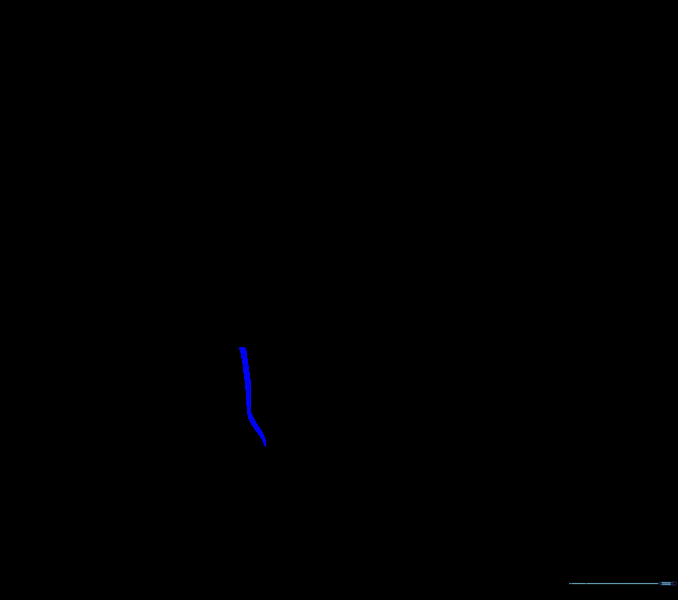
Step 2: Defining the Jawline
Draw a curved line starting inside the circle and extending downward. Tip: Imagine you are drawing the side of a rounded square.
Step 3: Balancing the Jaw

Draw a matching curved line on the opposite side. Tip: Check your spacing to ensure both sides look symmetrical.
Step 4: Cleaning the Shape

Erase the portion of the circle that sits between the two jaw lines. Tip: Use a clean eraser to keep your paper smudge-free.
Step 5: Extending the Chin
Draw a curved line extending downward from the middle of the first jaw line. Tip: This creates the chin area.
Step 6: Completing the Chin
Mirror the previous line on the opposite side. Tip: Keep these lines smooth and fluid.
Step 7: Connecting the Jaw
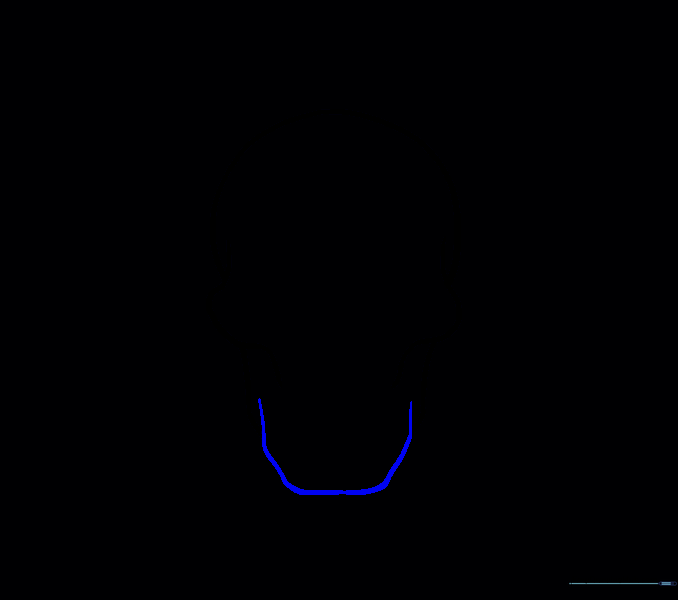
Draw a curved line connecting the two chin lines. Tip: This creates the bottom edge of the jaw.
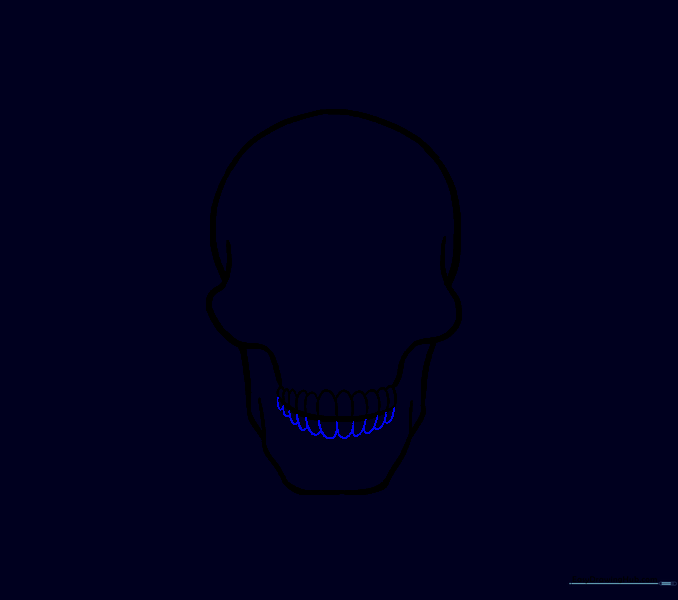
Step 8: The Mouth Line
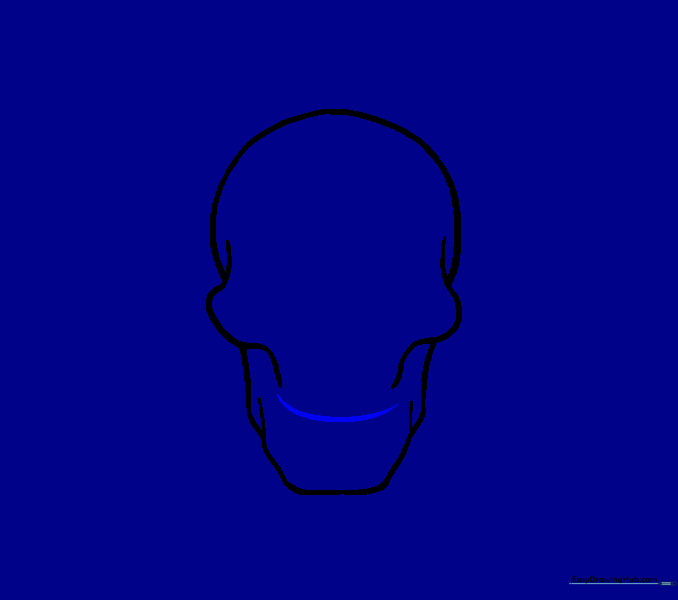
Draw a horizontal curve in the middle of the jaw. Tip: Make it look like a gentle smile.
Step 9: Upper Teeth
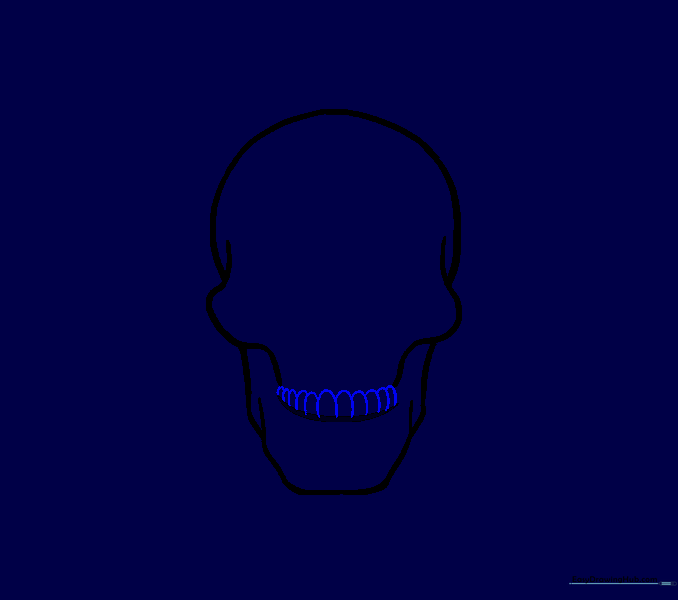
Draw eleven small, upside-down 'U' shapes above the mouth line. Tip: Make the front teeth largest and shrink them as you move outward.
Step 10: Lower Teeth
Draw eleven 'U' shapes below the mouth line to match the upper teeth. Tip: Align them with the gaps in the top row for a realistic look.
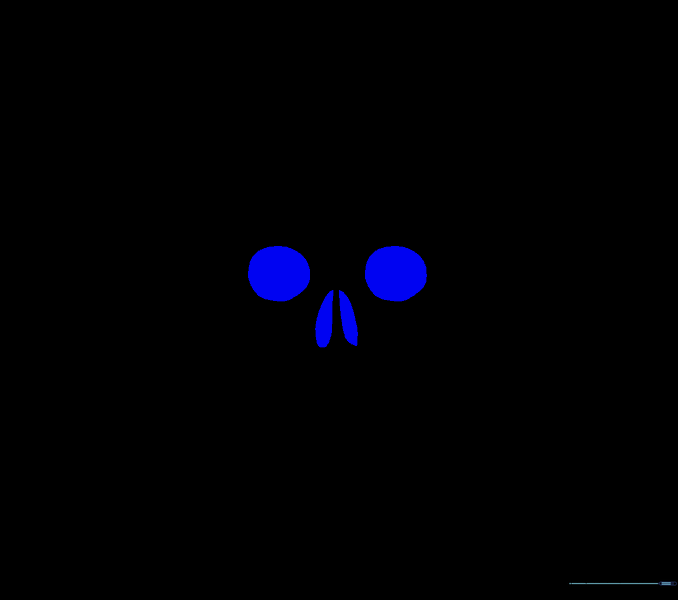
Step 11: Left Eye Socket
Sketch a circle for the left eye. Tip: Keep it round and centered in the upper half of the skull.
Step 12: Right Eye Socket
Draw a second circle for the right eye. Tip: Try to match the size and height of the first eye.
Step 13: Nasal Cavity
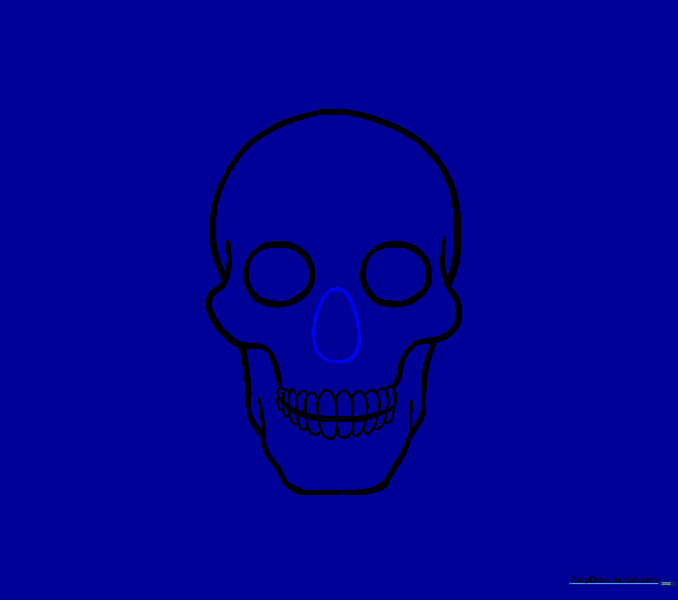
Draw an egg-shaped oval between and slightly below the eyes. Tip: This is the nose hole.
Step 14: Nasal Detail
Draw two curved lines inside the oval, starting from the top. Tip: This adds depth to the nose area.
Step 15: Starting the Crossbones
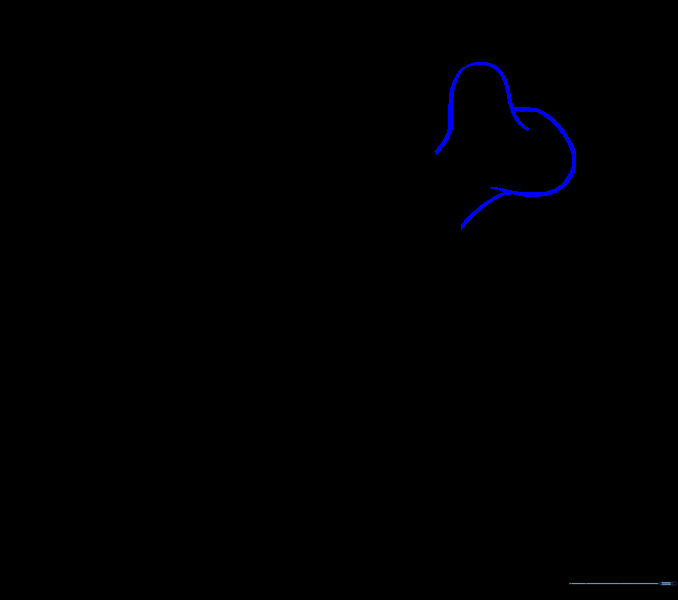
Draw a large, upside-down 'U' shape extending from the upper right. Tip: Connect it back to the skull with a small curve.
Step 16: Bone Structure
Draw the other end of the bone extending from the bottom left. Tip: Use two curved lines that look like a question mark.
Step 17: Second Bone
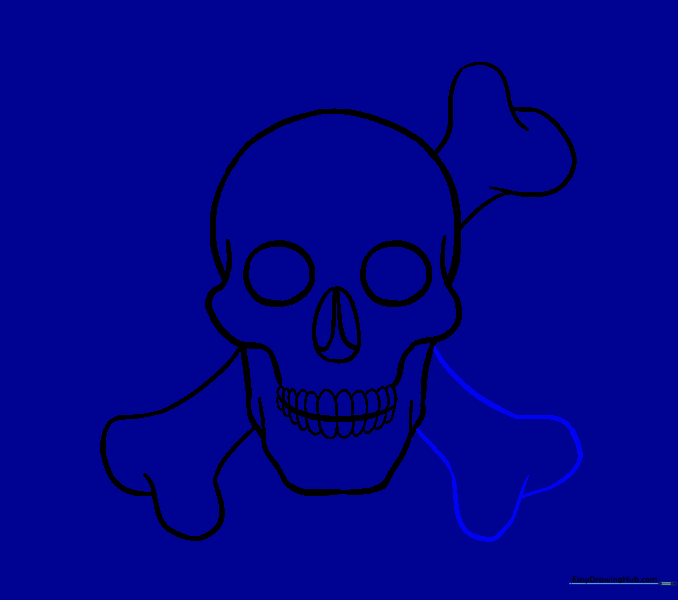
Draw the bone extending from the bottom right using two curved lines. Tip: Keep the curves smooth.
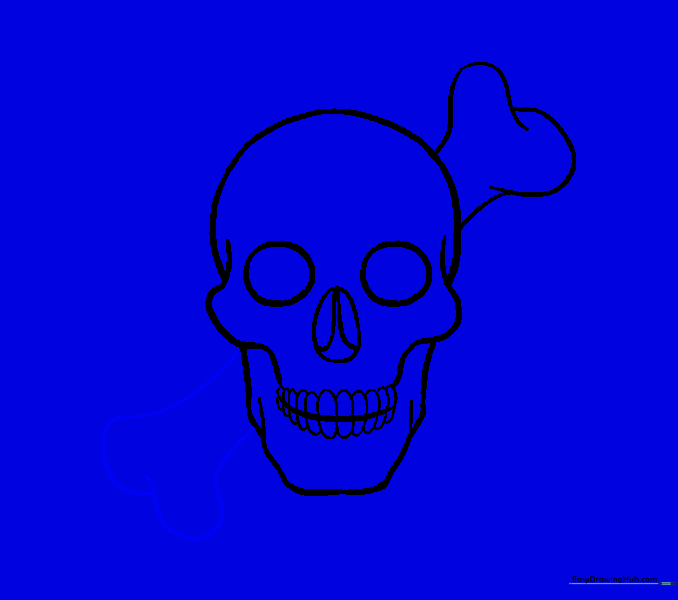
Step 18: Completing the Crossbones
Draw the final bone on the upper left side. Tip: Mirror the shape of the bone on the right side.
Step 19: Shading
Shade the eyes and the nasal cavity. Tip: Use a dark pencil or marker to make these areas stand out.
Step 20: Final Touches

Erase any extra guide lines from the nasal cavity. Tip: Your cartoon skull is now complete and ready for display!
More Tutorials


