How to Draw a Skull and Rose: Easy 10-Step Tutorial
Ready to master a classic artistic motif? This tutorial breaks down the skull and rose into manageable shapes, making it perfect for artists ages 8 and up. You will need a pencil, eraser, and paper to practice these foundational forms. Follow along to build your confidence in drawing organic and structural subjects.
🎯 Final Result

Step-by-Step Instructions
Step 1: Sketching the Cranium

Start by sketching the braincase using a long, smooth curved line. Add a shorter, overlapping line to define the cheekbone area. Teacher's Tip: Keep your wrist loose—don't press too hard, as this is just the foundation for the skull's shape.
Step 2: Defining the Eye Sockets

Draw two irregular, rounded shapes for the eye sockets. Add a small curved line on the left side and an 'eyebrow' arch above each socket. Teacher's Tip: Symmetry is great, but don't worry if they aren't perfect—skulls have natural, organic variations.
Step 3: Adding the Nasal Cavity

Sketch the nose area using two curved lines that meet to form a central bulge. Beneath this, draw two small triangles. Teacher's Tip: Think of these as negative space—you are drawing the empty holes, not the nose itself.
Step 4: Sketching the Upper Jaw
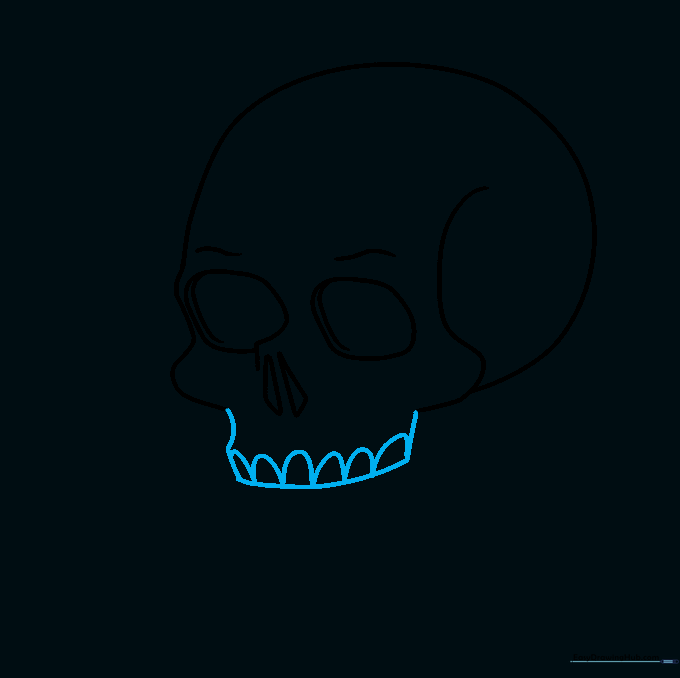
Connect two curved lines beneath the nose to form the upper jaw (maxilla). Add inverted 'U' shapes for the teeth. Teacher's Tip: Keep the teeth shapes consistent in size to make the skull look balanced.
Step 5: Defining the Lower Jaw
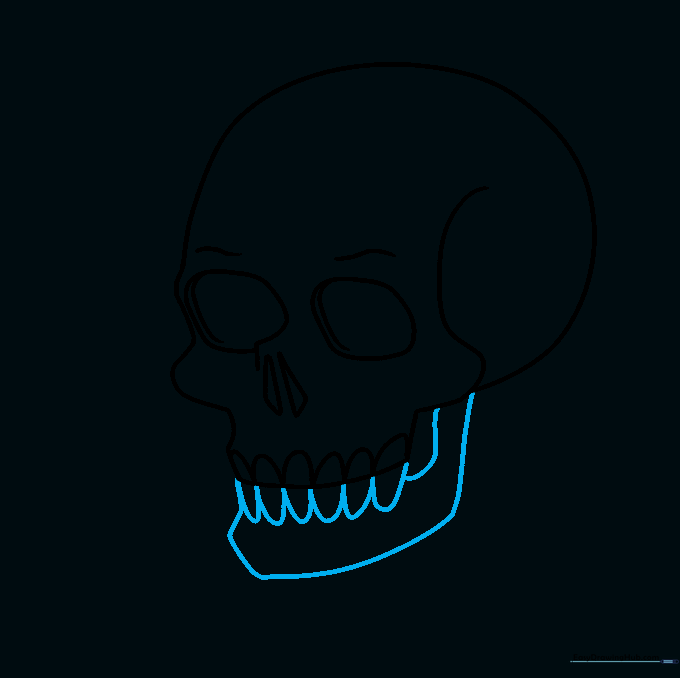
Use curved lines to enclose the lower jaw. Add 'U' shapes for the bottom teeth, ensuring they align with the top set. Teacher's Tip: Leave a small gap between the upper and lower teeth to show the jaw structure.
Step 6: Starting the First Rose
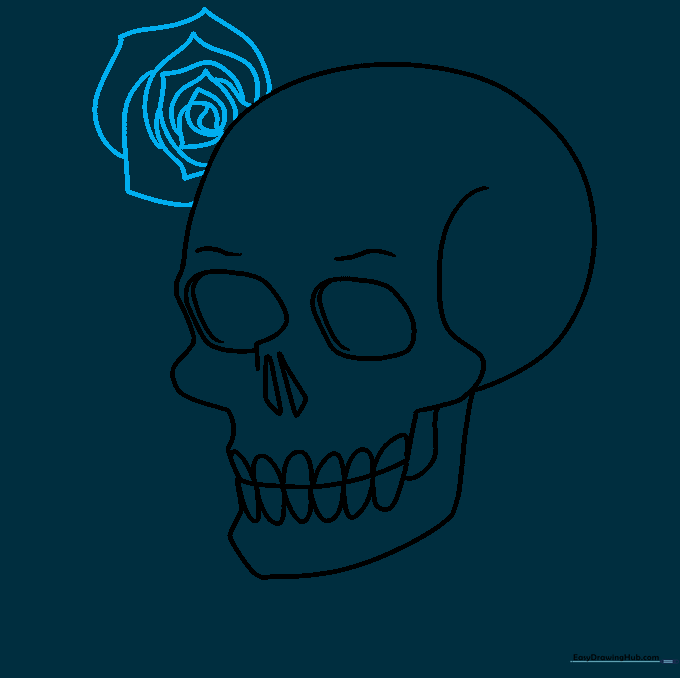
Draw a double teardrop shape for the center, then spiral outward with pairs of curved lines that meet at points. Teacher's Tip: As you move outward, make the petals wider to give the rose a realistic, blooming look.
Step 7: Drawing the Second Rose
Repeat the petal process to create a second rose. Teacher's Tip: Vary the size of the petals slightly to make the flower look more natural and less like a perfect machine-made object.
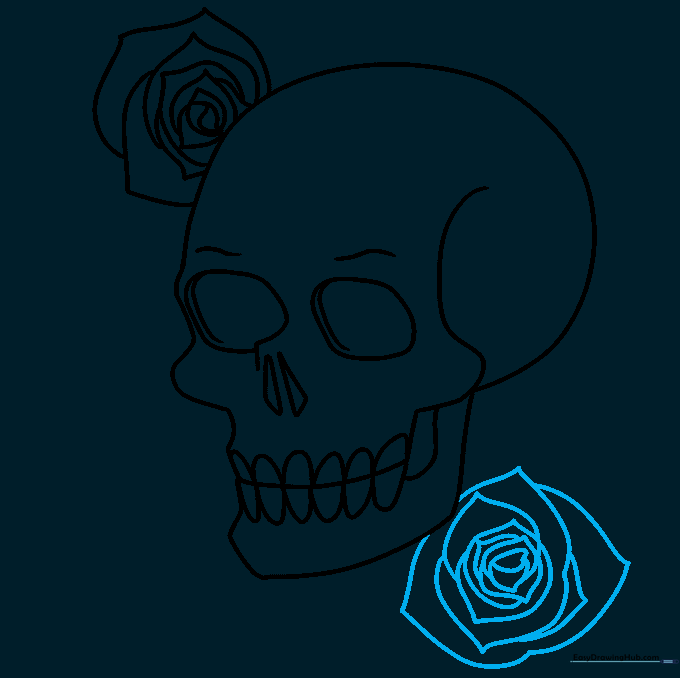
Step 8: Adding a Third Rose
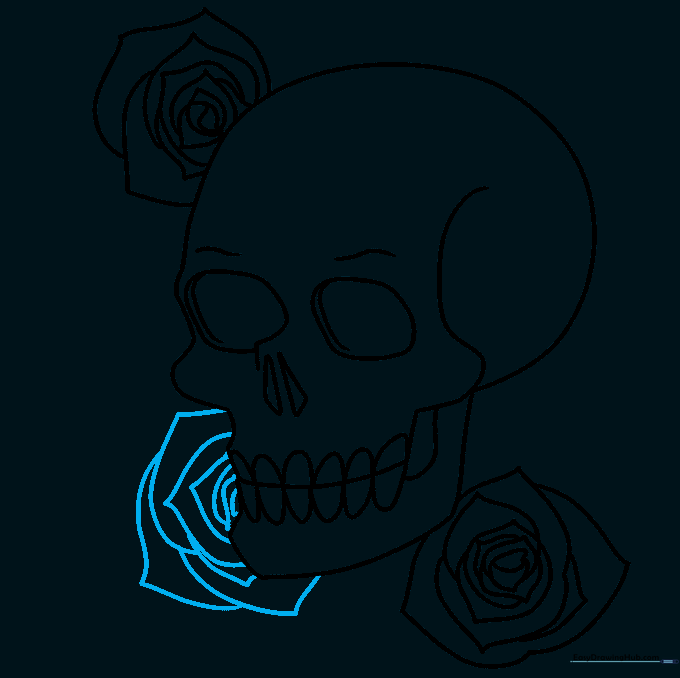
Draw a final rose partially tucked behind the jawbone. Teacher's Tip: Overlapping elements creates depth, making your drawing look more professional and 3D.
Step 9: Stems, Thorns, and Leaves
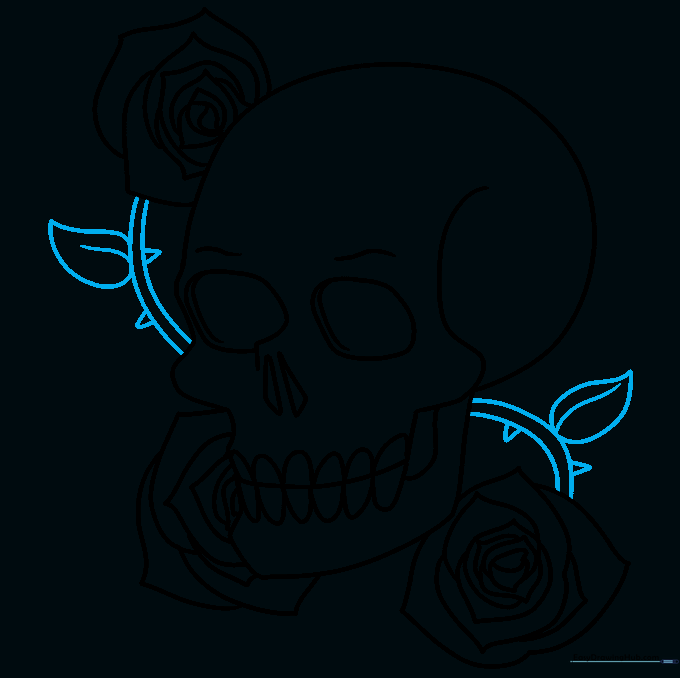
Connect the roses with parallel lines for stems. Add triangular thorns and leaves with a central vein. Teacher's Tip: Use a flicking motion with your pencil to make the thorns look sharp and pointy.
Step 10: Bringing it to Life with Color

Time to color! Use red for love, or choose colors that match your mood. Teacher's Tip: Use a darker shade of your chosen color near the center of the rose to create a beautiful, realistic shadow effect.
More Tutorials


