How to Draw a Skirt: Easy 10-Step Fashion Sketching Guide
Ready to design your own fashion collection? This tutorial is perfect for young artists ages 5 and up to practice drawing fabric movement and folds. All you need is a pencil, an eraser, and your favorite coloring supplies to bring your design to life.
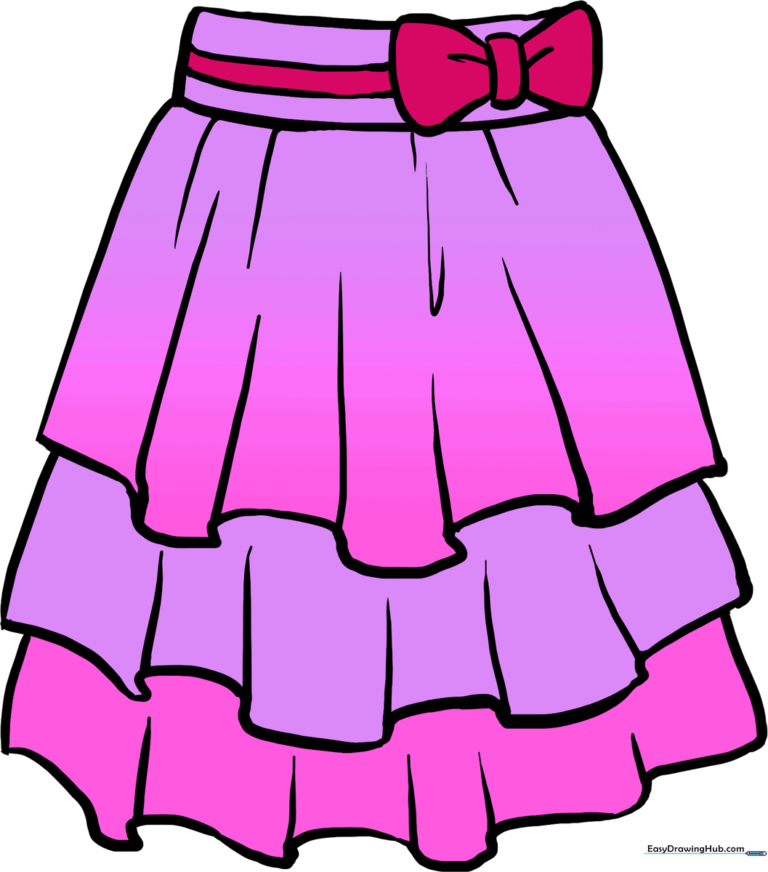
🎯 Final Result
Step-by-Step Instructions
Step 1: Sketching the Waistband

Draw a slightly curved horizontal rectangle to form the waistband. Teacher's Tip: Keep the corners rounded to make the fabric look soft rather than stiff.
Step 2: Outlining the Sides
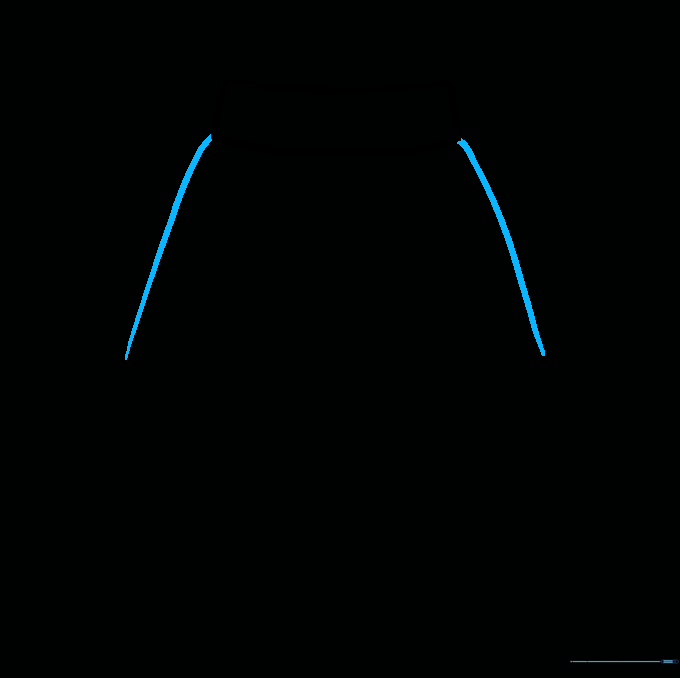
Draw a curved line descending from each bottom corner of the rectangle. These lines define the shape of the skirt's silhouette.
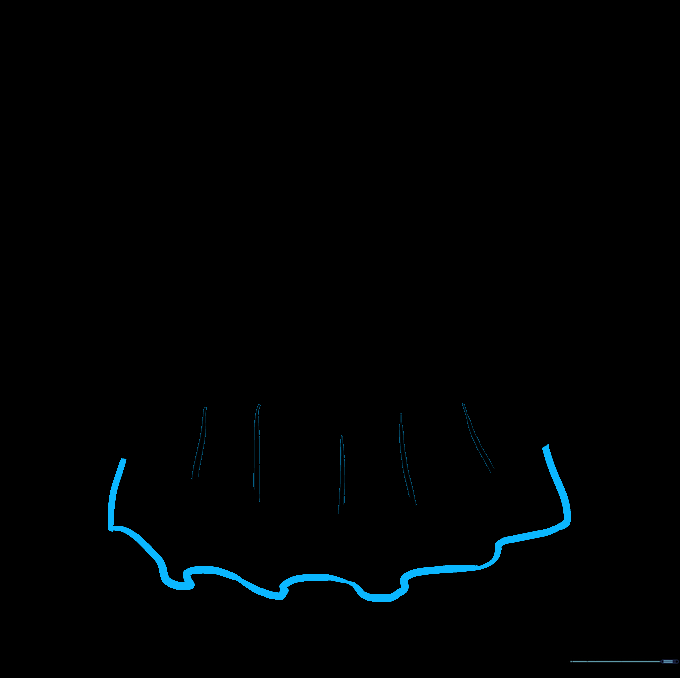
Step 3: Creating the Hemline
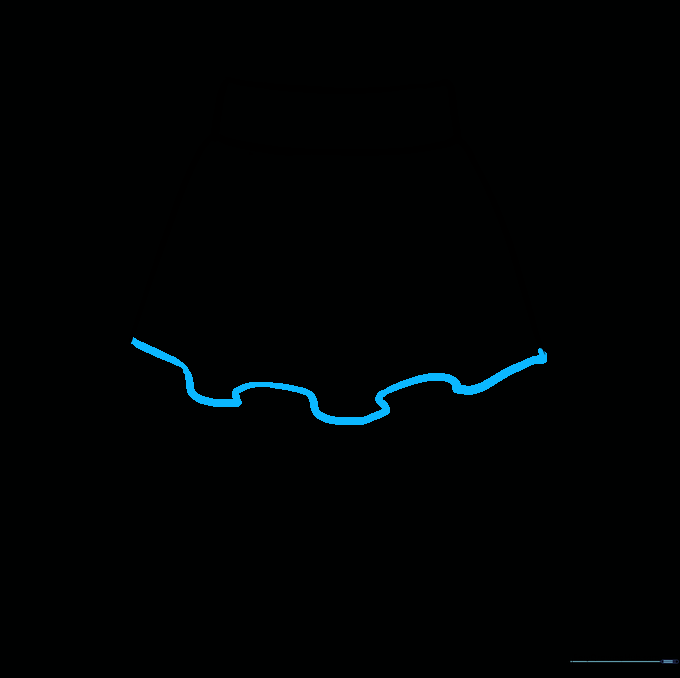
Connect the side lines with a long, wavy curve. Tip: Make the line double back slightly to mimic the natural ruffles of hanging fabric.
Step 4: Adding Fabric Folds
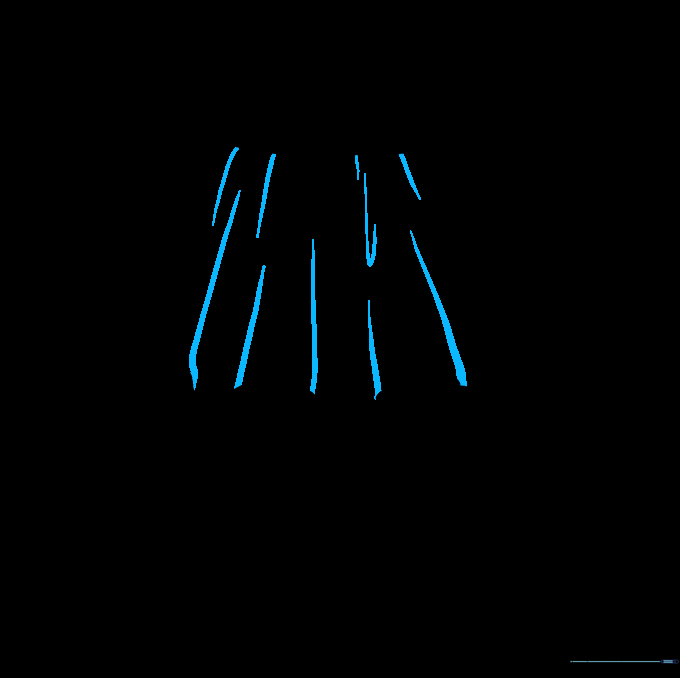
Draw short lines originating from the waistband and the hem. These represent the natural creases in the fabric.
Step 5: Adding a Second Tier
Draw curved lines descending from the sides, then connect them with another wavy line. This adds a layered, tiered look to your skirt.
Step 6: Detailing the Second Tier
Add more upward-curving lines from the bottom waves to show depth and texture in the second layer of fabric.
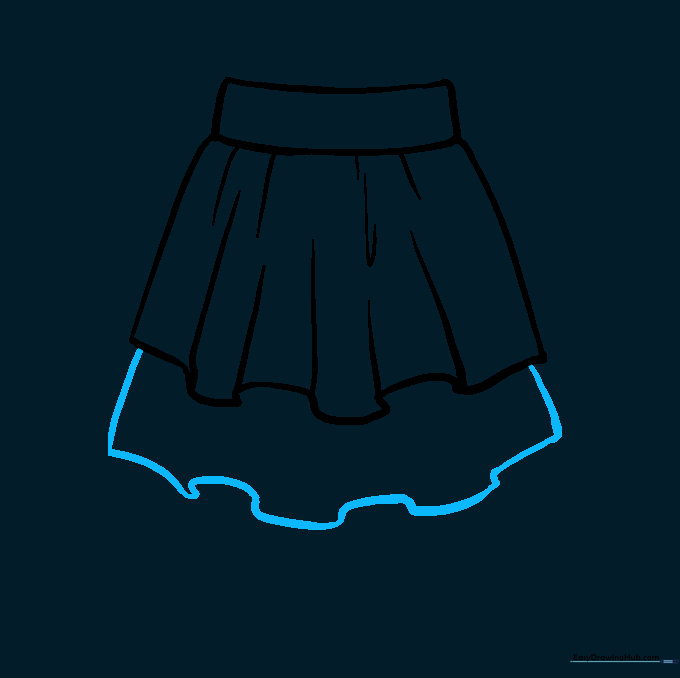
Step 7: Adding the Third Tier
Repeat the process by extending lines downward and connecting them with a wavy line to create the final bottom segment.
Step 8: Finalizing Texture
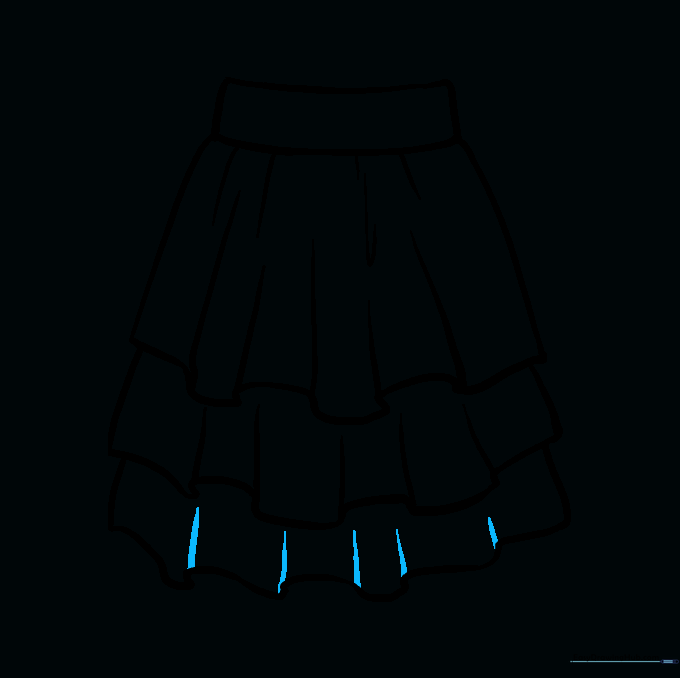
Draw short lines ascending from the bottom waves. This makes the skirt look like it has beautiful, flowing movement.
Step 9: Adding the Bow Detail
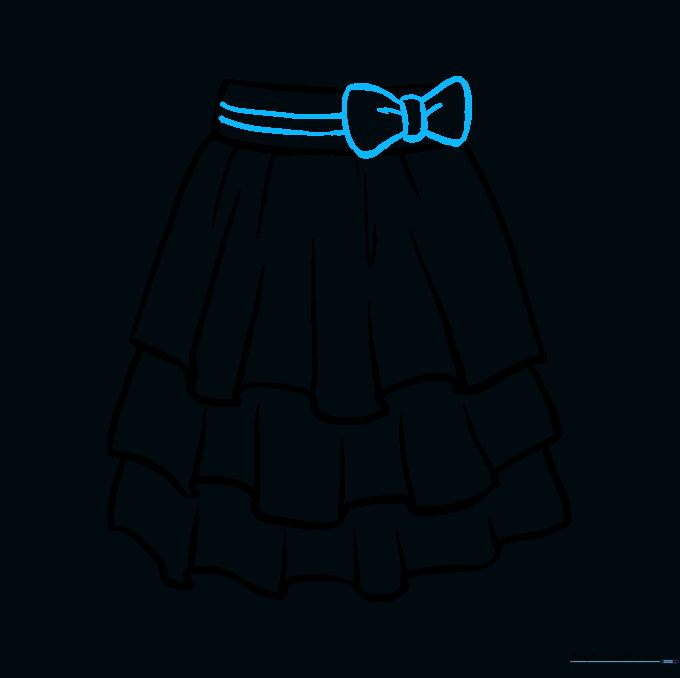
Draw a small rectangle for the bow knot, then add two rounded triangles on either side. Add parallel lines on the waistband to finish the ribbon detail.
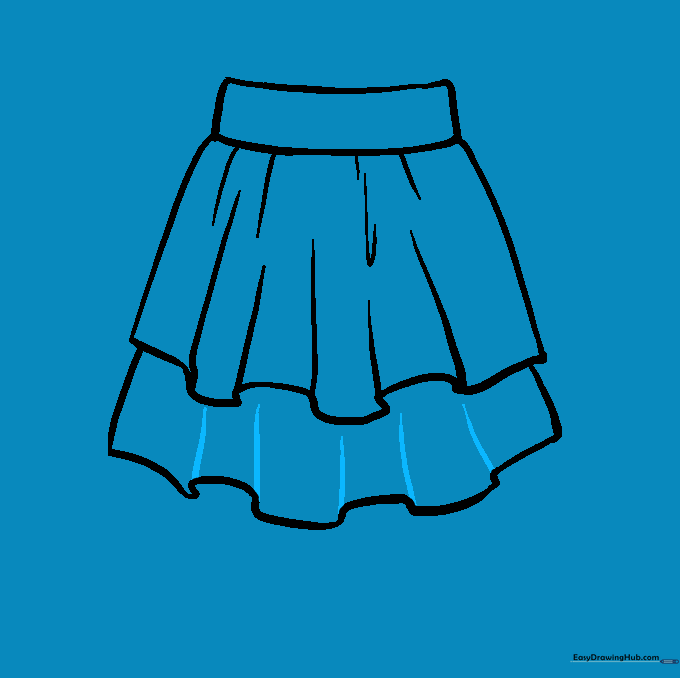
Step 10: Color Your Design

Time to get creative! Use your favorite colors to shade the skirt. Tip: Use darker shades in the folds to create a 3D effect.
More Tutorials


