How to Draw a Skeleton: Easy 9-Step Guide for Kids
Ready to bring a spooky friend to life? This tutorial is perfect for young artists ages 6+ looking to practice their character drawing skills. All you need is a pencil, an eraser, and a piece of paper to get started on this anatomical adventure.
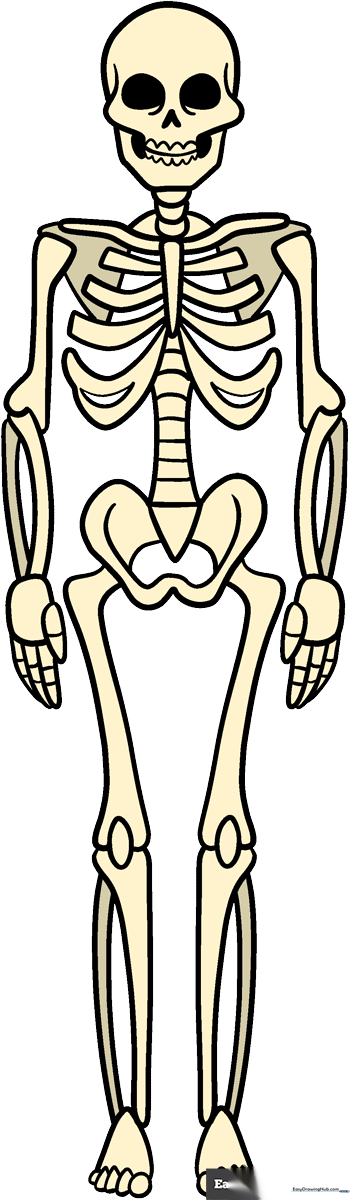
🎯 Final Result
Step-by-Step Instructions
Step 1: Sketching the Skull

Start by drawing a rounded shape for the skull. Add two large ovals for the eyes and a small 'V' for the nose. Teacher's Tip: Keep the jaw line slightly wider than the top of the head to give it that classic cartoon skeleton look.
Step 2: Forming the Neck and Shoulders
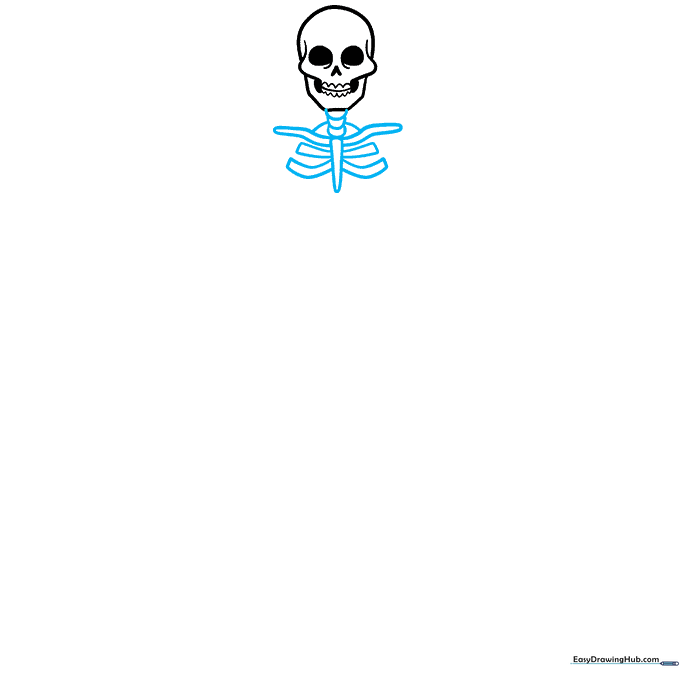
Draw a series of small, overlapping circles for the neck bones. Below these, sketch a narrow triangle to represent the chest cavity. Tip: Don't worry about perfect circles; bones in cartoons are often stylized and slightly wobbly!
Step 3: Building the Rib Cage
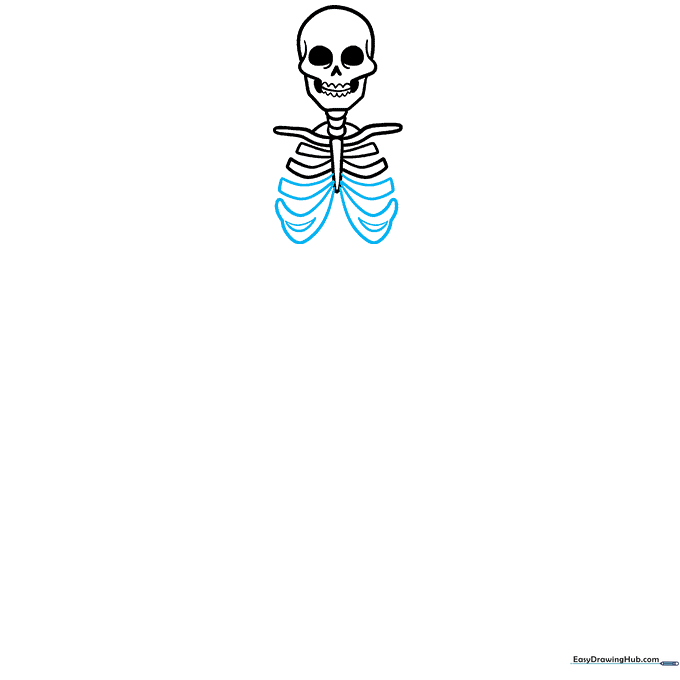
Add the ribs by drawing pairs of curved lines extending from the center, connecting them at the ends. Tip: Think of these like little 'U' shapes stacked on top of each other to create the rib cage structure.
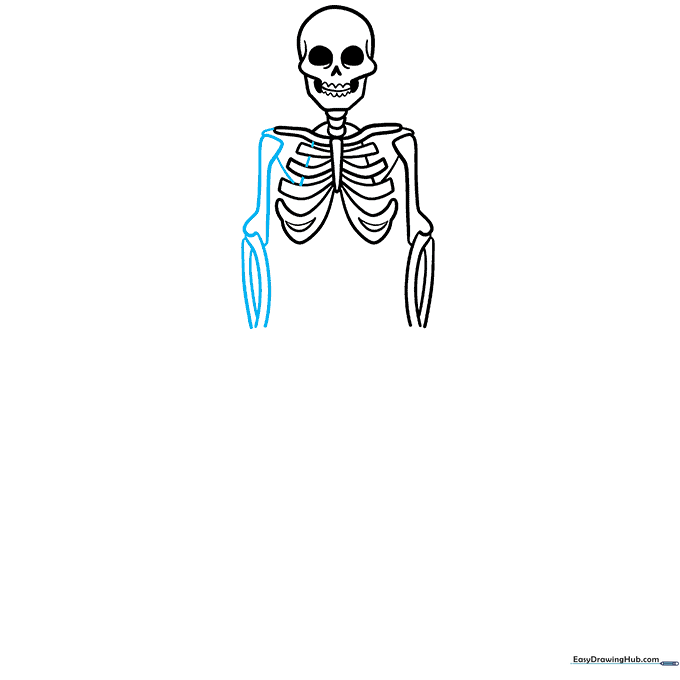
Step 4: Sketching the Arm
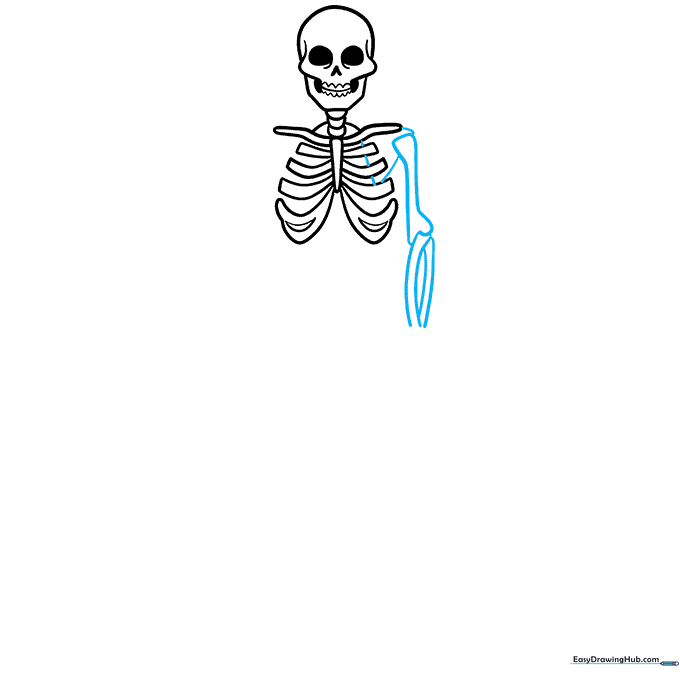
Draw a triangle for the shoulder blade, then add the upper and lower arm bones using simple curved lines. Tip: Keep the joints slightly rounded so the skeleton looks flexible rather than stiff.
Step 5: Balancing the Arms
Repeat the process from Step 4 on the opposite side to create a mirror image. Tip: Use your pencil to lightly measure the length of the first arm to ensure the second one matches in size.
Step 6: Drawing the Hands
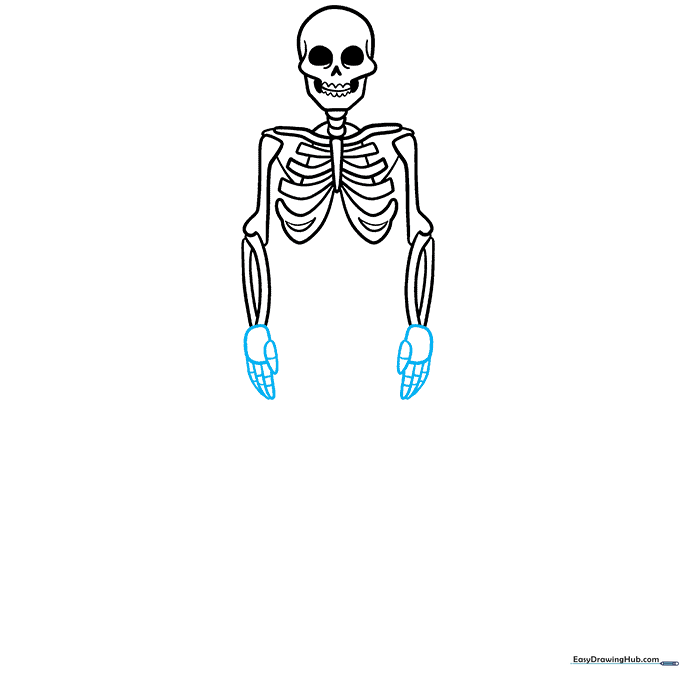
Draw a round shape at the end of each arm for the wrist, then add small, overlapping curved lines for the fingers. Tip: Keep the fingers short and stubby to maintain the cute, cartoon aesthetic.
Step 7: The Spine and Hips
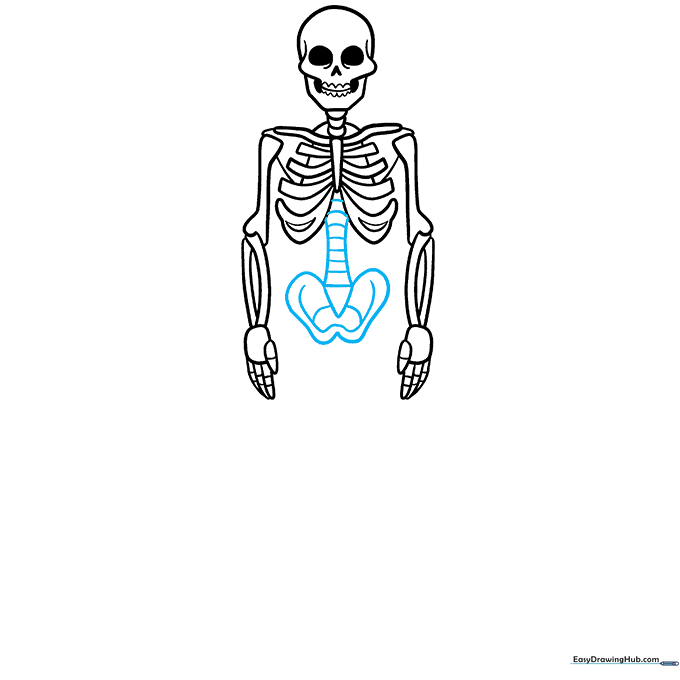
Draw the spine extending down from the ribs, ending in a triangle for the pelvis. Add two irregular shapes on the sides for the hip bones. Tip: Use small horizontal lines across the spine to represent individual vertebrae.
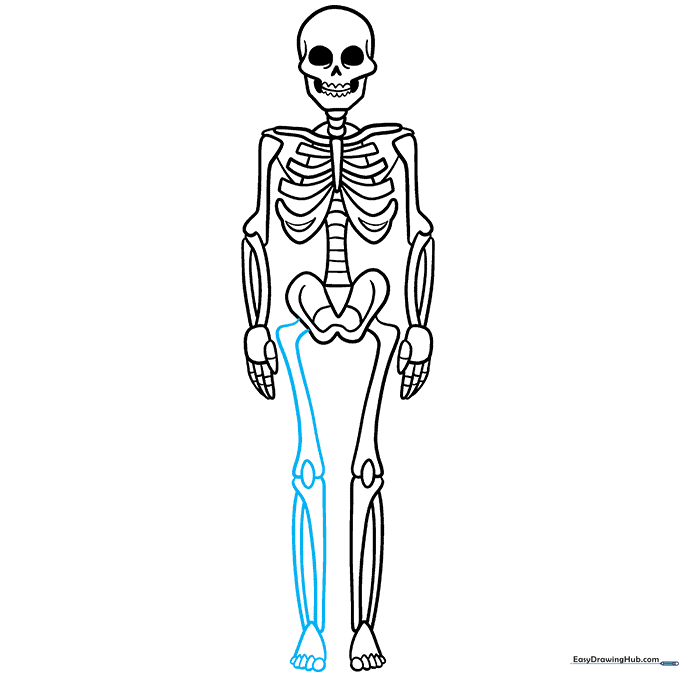
Step 8: Drawing the Legs
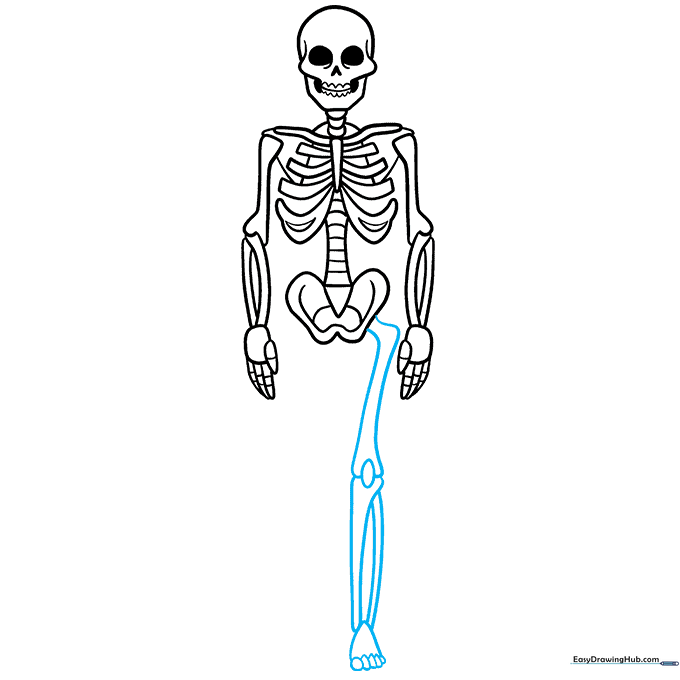
Sketch the long femur (thigh bone), the kneecap, and the lower leg bones. Finish with a rounded triangle for the foot. Tip: The femur should be the longest bone in your drawing—it helps make the skeleton look proportional!
Step 9: Finalizing the Skeleton
Mirror the leg and foot on the other side to complete your skeleton. Tip: Once finished, go over your favorite lines with a darker pencil or pen to make the drawing stand out.
Step 10: Coloring Time
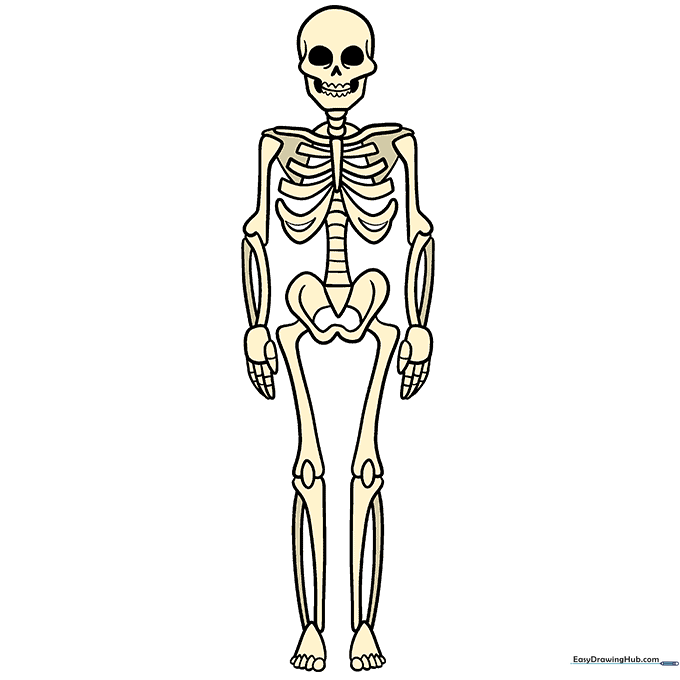
Your skeleton is ready! You can leave the bones white or color them with a light gray or cream to give them an aged look. Tip: Use a dark background color to make the white bones really pop!
More Tutorials


