How to Draw a Sitting Cat: Easy 10-Step Guide for Kids
Ready to bring a furry friend to life? This tutorial is perfect for young artists ages 5 and up. All you need is a pencil, an eraser, and a piece of paper to master this adorable sitting cat in just ten simple steps.
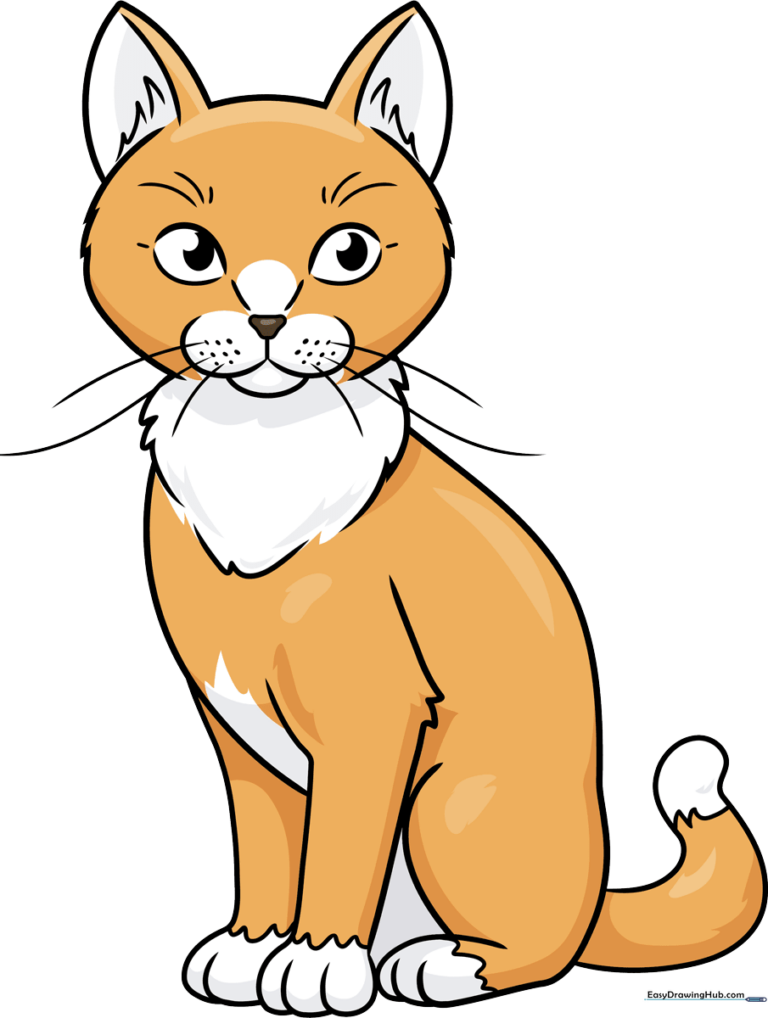
🎯 Final Result
Step-by-Step Instructions
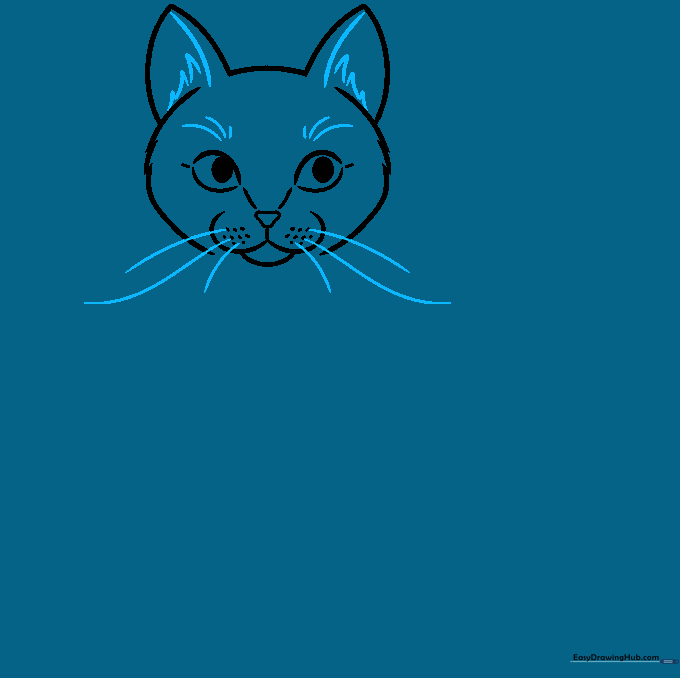
Step 1: Sketching the Eyes and Nose

Start by drawing two almond-shaped eyes using curved lines that don't quite touch at the corners. Add a small, rounded triangle between them for the nose. Teacher's Tip: Keep your pencil lines light so you can easily adjust the spacing if the eyes look a bit too far apart.
Step 2: Defining the Face and Whiskers

Outline the cheeks using short, zig-zagging curved lines to mimic the texture of soft fur. Add the mouth below the nose and dot on some whiskers. Teacher's Tip: Use quick, flicking motions with your pencil to make the fur look fluffy rather than perfectly smooth.
Step 3: Adding Ears and Head Shape

Complete the head outline and add two pointed ears on top. Connect the ears with a soft, curved line across the forehead. Teacher's Tip: Make the ears slightly rounded at the tips to give your cat a friendly, approachable look.
Step 4: Refining Facial Details
Add inner ear details and define the eyebrows with small, arched lines. This gives your cat character! Teacher's Tip: A slight curve in the eyebrows can change the cat's expression from surprised to sleepy—experiment to see what you like best.
Step 5: Sketching the Neck and Chest
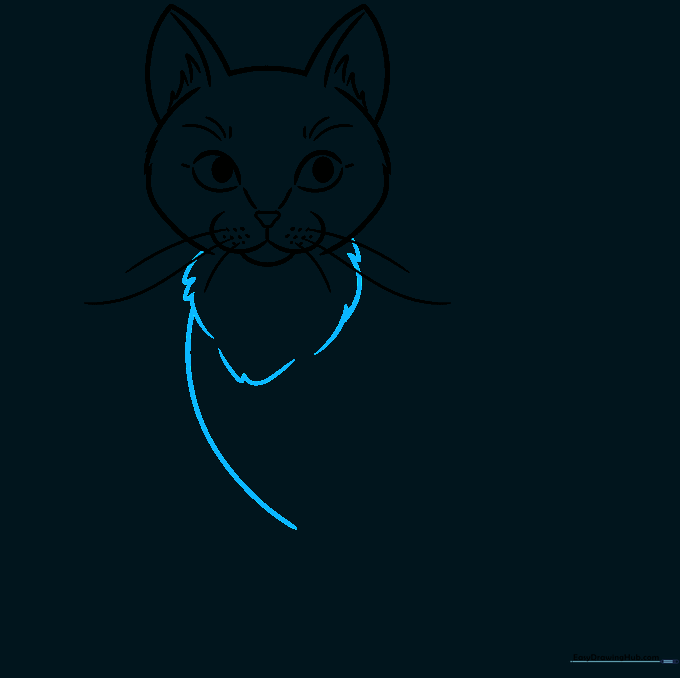
Draw a ruff of fur around the neck using jagged lines, then extend a long, smooth curve down to form the chest and belly. Teacher's Tip: The 'ruff' is a great place to practice varying your line pressure to create a sense of volume.
Step 6: Drawing the First Front Leg
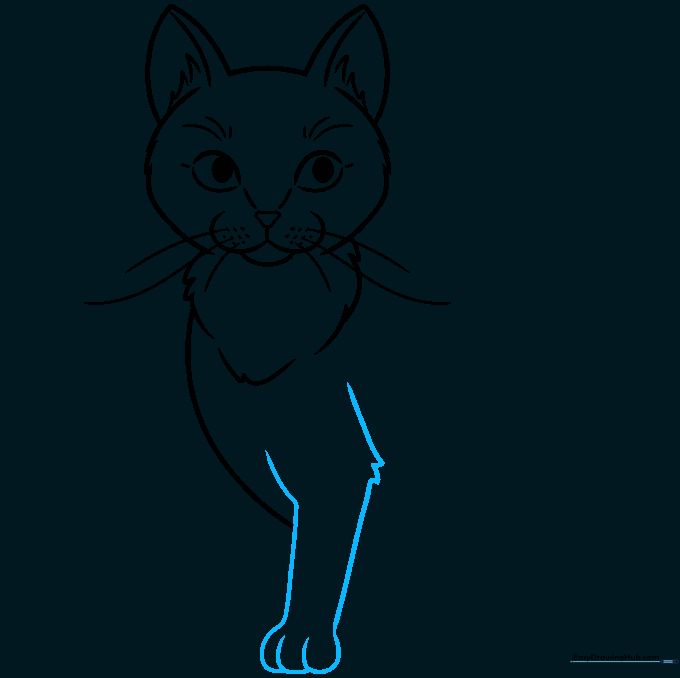
Draw the front leg with a slight bend at the elbow and rounded toes at the bottom. Teacher's Tip: Overlap your lines slightly at the paw to show where the toes meet the ground.
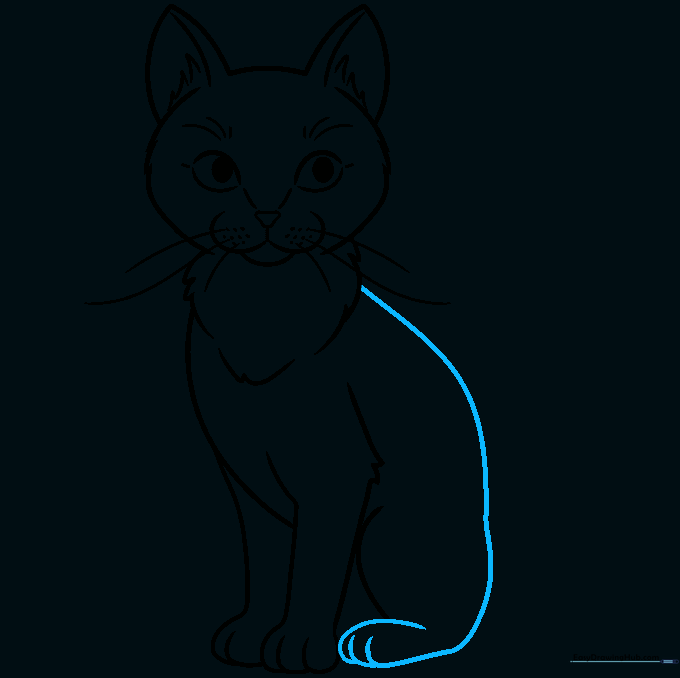
Step 7: Adding the Second Leg and Hip
Draw the second front leg tucked behind the first, and add a curved line for the hip. Teacher's Tip: Drawing the second leg slightly smaller or higher up creates a sense of depth and perspective.
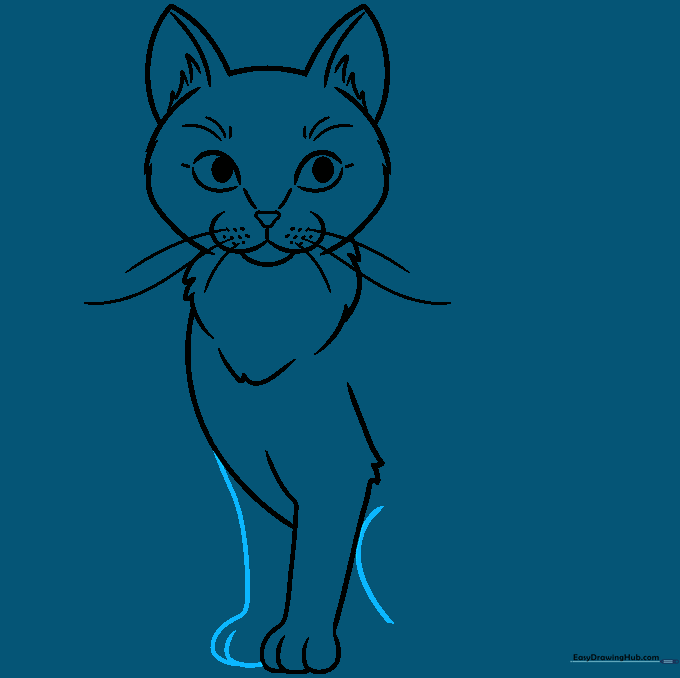
Step 8: Shaping the Back and Foot
Draw a long, sweeping line from the neck to form the back, curving it down to create the back foot. Teacher's Tip: Ensure the back foot looks sturdy by making it slightly wider than the front paws.
Step 9: Adding the Tail
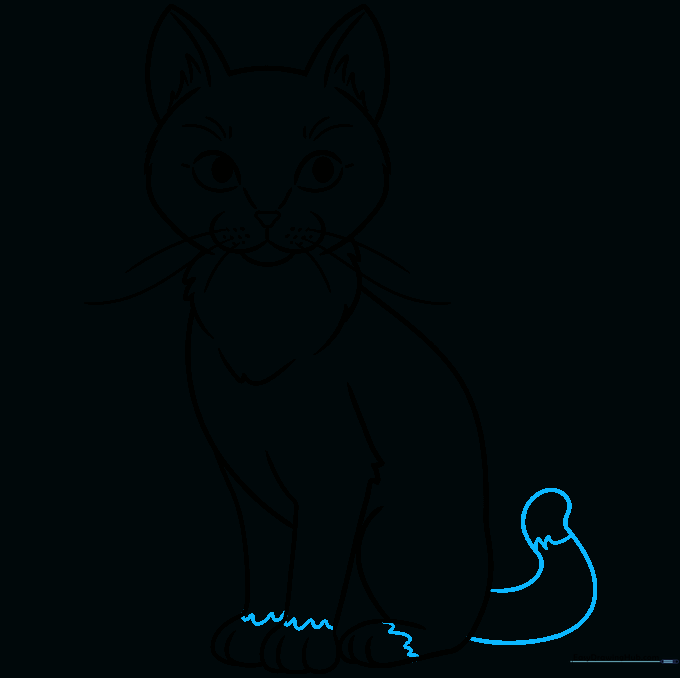
Extend a long, graceful curve from the body to form the tail, doubling it back to give it thickness. Add small wavy lines to the paws and tail tip for texture. Teacher's Tip: A curved tail makes the cat look relaxed and happy!
Step 10: Bringing Your Cat to Life with Color

Now for the fun part! Use your favorite markers or colored pencils to fill in your cat. You can make it a tabby, a solid color, or even add spots. Teacher's Tip: Try using light strokes for the fur and darker colors for the eyes to make them pop.
More Tutorials


