How to Draw a Sitting Cartoon Dog: Easy 10-Step Guide
Looking for a fun, screen-free activity? This step-by-step guide is perfect for children ages 5+ and beginners wanting to master cartoon anatomy. All you need is a pencil, an eraser, and a piece of paper to bring this friendly pup to life.
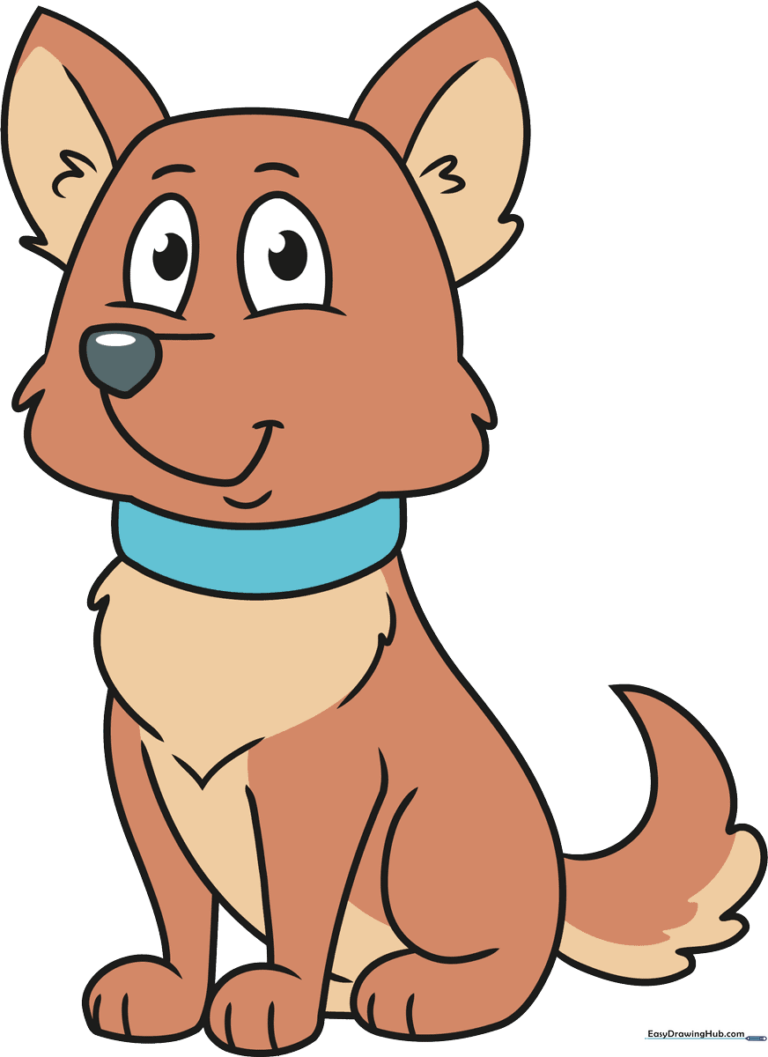
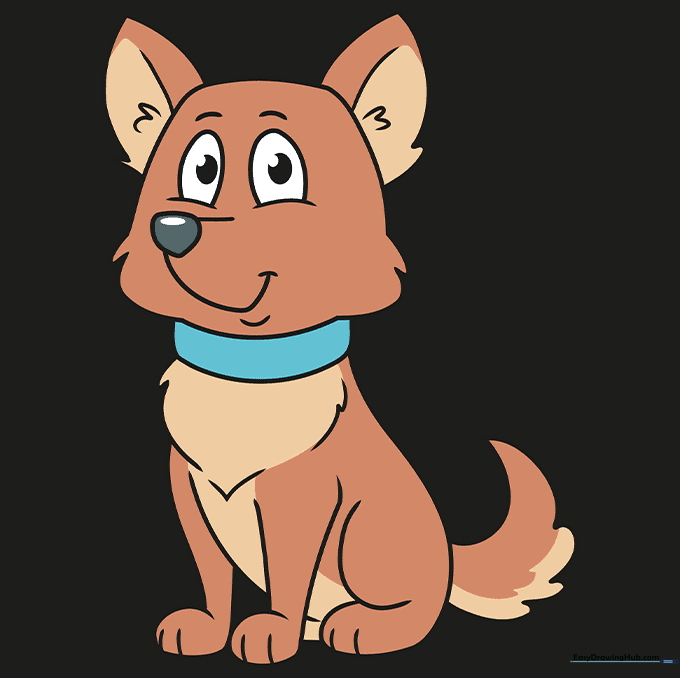
🎯 Final Result
Step-by-Step Instructions
Step 1: Sketching the Head
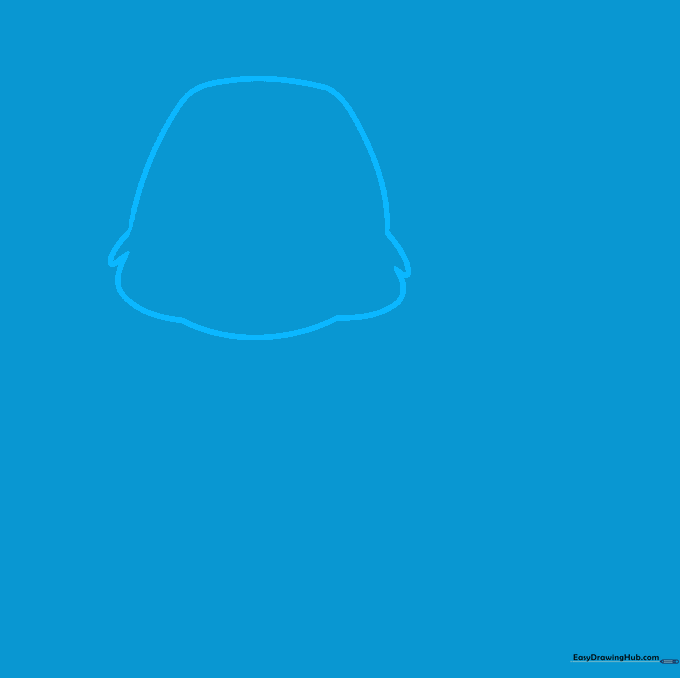
Draw a rounded shape for the head, adding small, jagged lines on the sides to suggest fluffy cheeks. Teacher's Tip: Keep your pencil grip loose to make these curves flow naturally.
Step 2: Adding the Collar and Chest
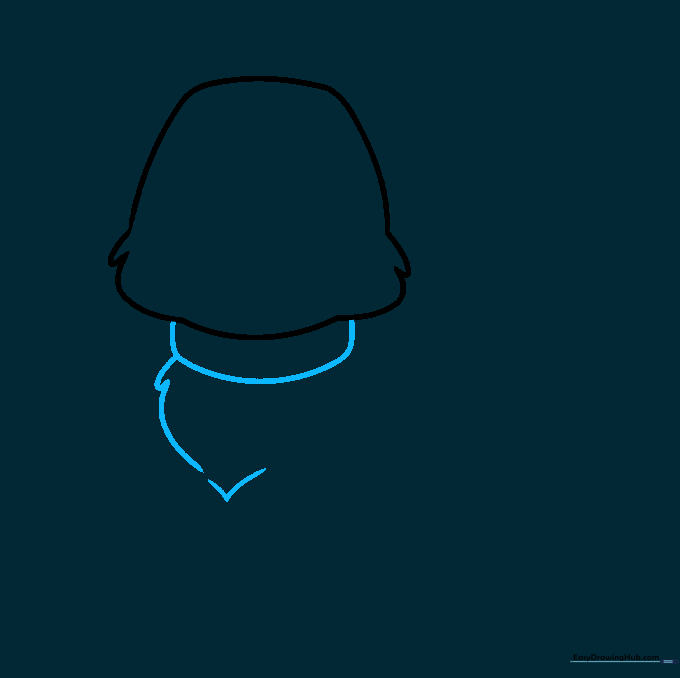
Draw a curved line for the collar, then sketch the furry chest using short, overlapping 'U' shapes. Add a small 'V' at the bottom to mark where the legs begin. Tip: Use quick, rhythmic strokes to make the fur look soft.
Step 3: Drawing the First Front Leg
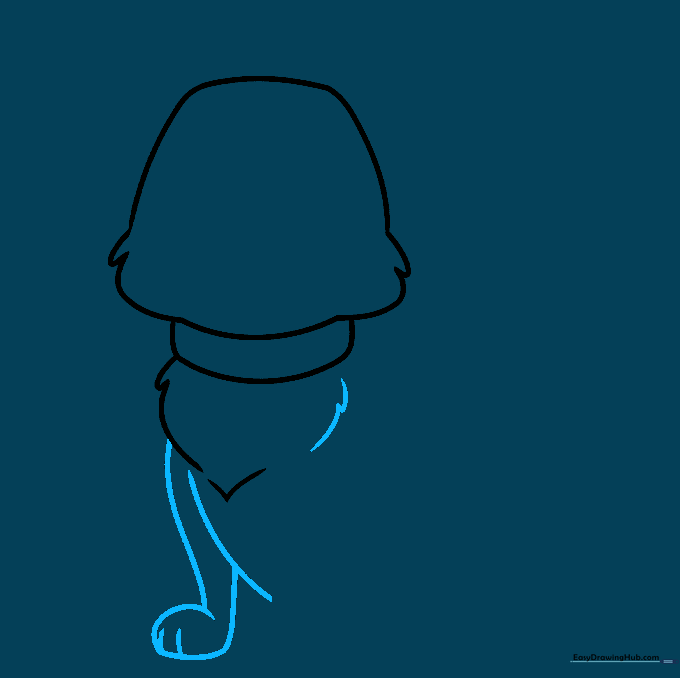
Draw a long, curved line for the front leg, looping it back to form the paw. Add a few small lines at the bottom for toes. Tip: Ensure the leg looks sturdy by making the base slightly wider than the top.
Step 4: Sketching the Second Leg
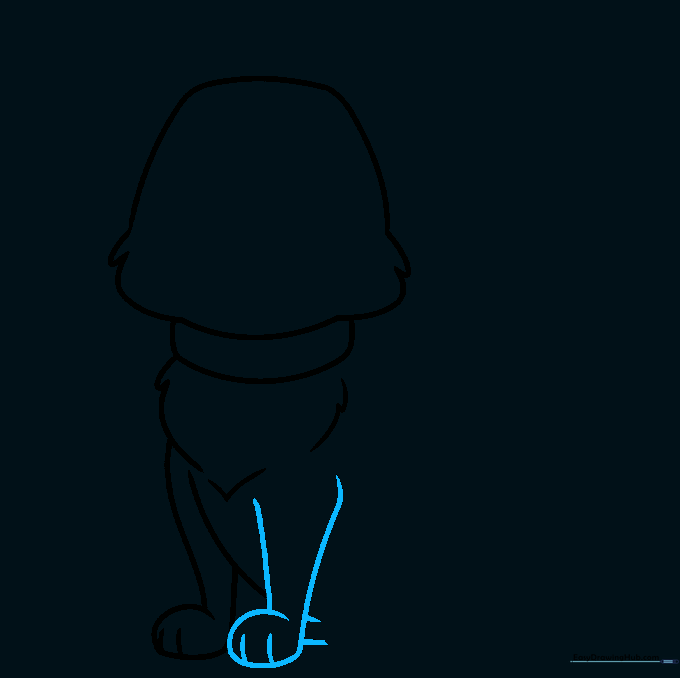
Repeat the process for the other front leg, making it slightly overlap the first to show depth. Add a small line for the far rear leg. Tip: Overlapping lines is a secret trick to make your drawing look 3D!
Step 5: Defining the Haunches

Draw a 'C' shaped line to create the dog's seated haunches, connecting it back to the collar. This gives the dog its 'sitting' posture. Tip: Keep the curve smooth to show the dog is relaxed.
Step 6: Adding Facial Features

Draw two ovals for the eyes, adding smaller shaded circles inside for pupils. Use curved lines above for eyebrows to give your dog a friendly expression. Tip: Leave a tiny white dot in the pupil to make the eyes sparkle!
Step 7: The Snout and Nose
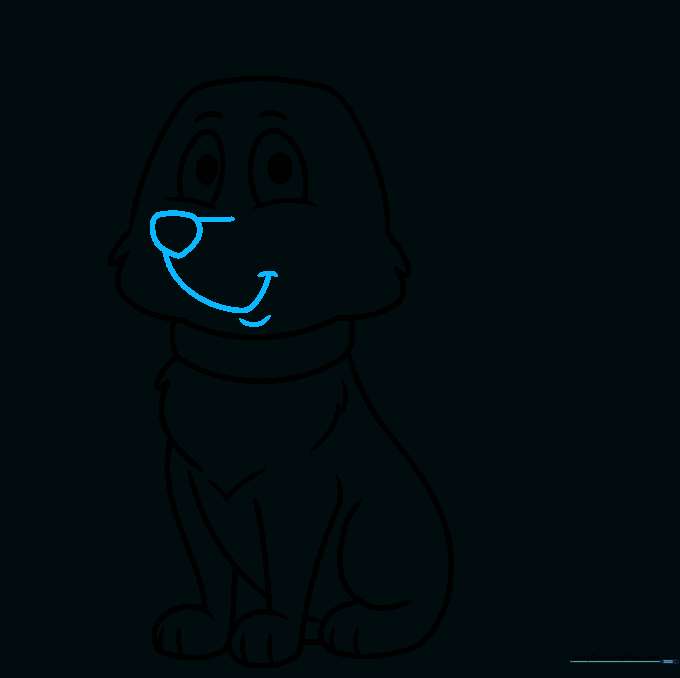
Draw a rounded, pointed shape for the nose pad. Add a curved line for the snout and a small line for the mouth. Tip: A slightly crooked mouth can make your dog look like it's smiling!
Step 8: Drawing the Ears
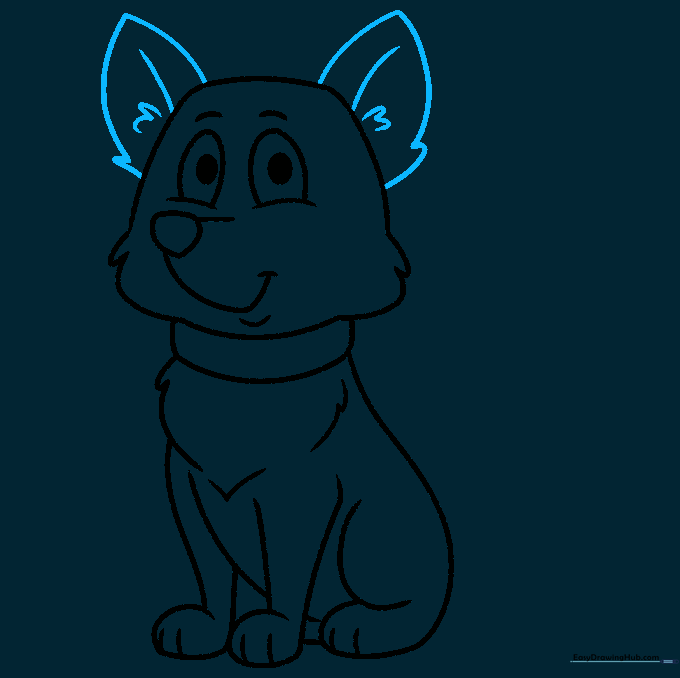
Sketch two triangular ears with soft, rounded points. Add a few tufts of fur at the base. Tip: Drawing one ear slightly flopped over adds personality to your character.
Step 9: Adding the Tail
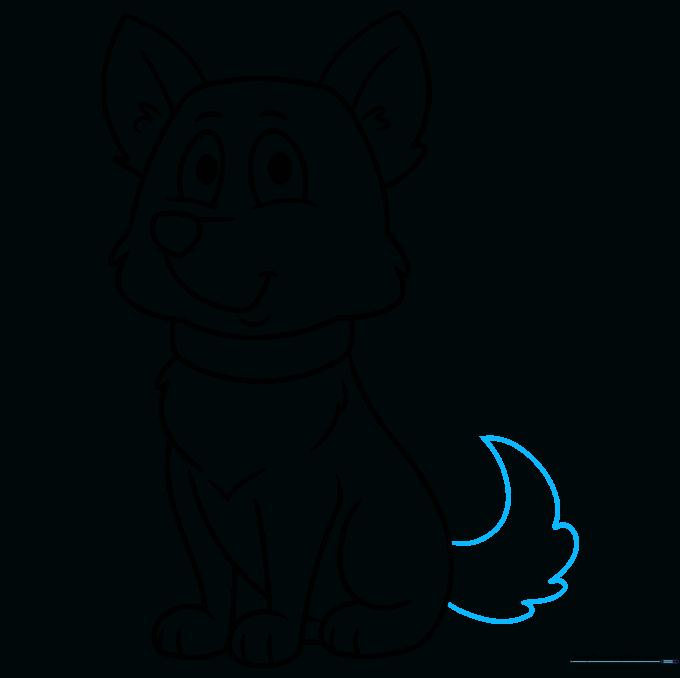
Draw a long, curved line for the top of the tail and a series of smaller curves for the bottom. Tip: A bushy tail makes the dog look happy and excited!
Step 10: Coloring Your Masterpiece
Time to bring your dog to life with color! Use your favorite shades—browns, blacks, or even spots. Tip: Use light pressure with your colored pencils to create soft gradients in the fur.
More Tutorials


