How to Draw a Sitting Anime Girl: Easy 8-Step Guide
Ready to bring your own anime character to life? This guide is perfect for artists ages 8+ looking to master a 3/4 perspective pose. You'll need a pencil, eraser, and paper to follow along as we break down complex anatomy into simple, manageable shapes.
🎯 Final Result
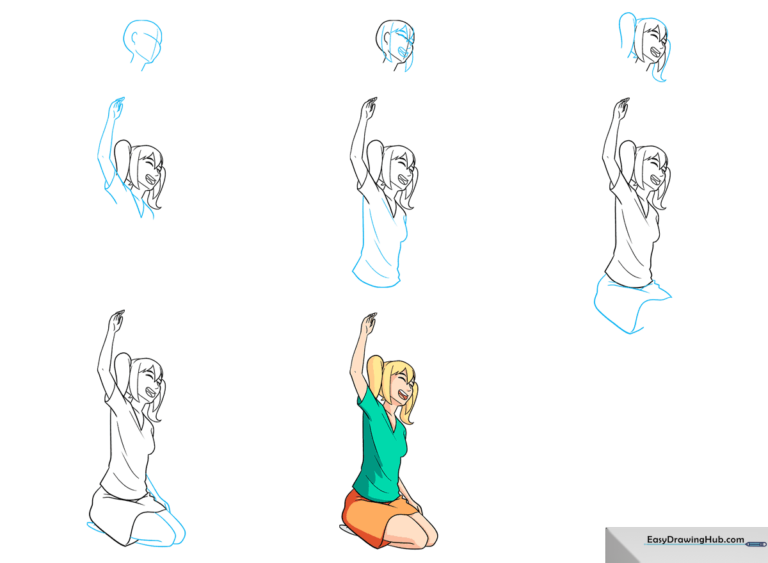
Step-by-Step Instructions
Step 1: Establishing the Head Shape
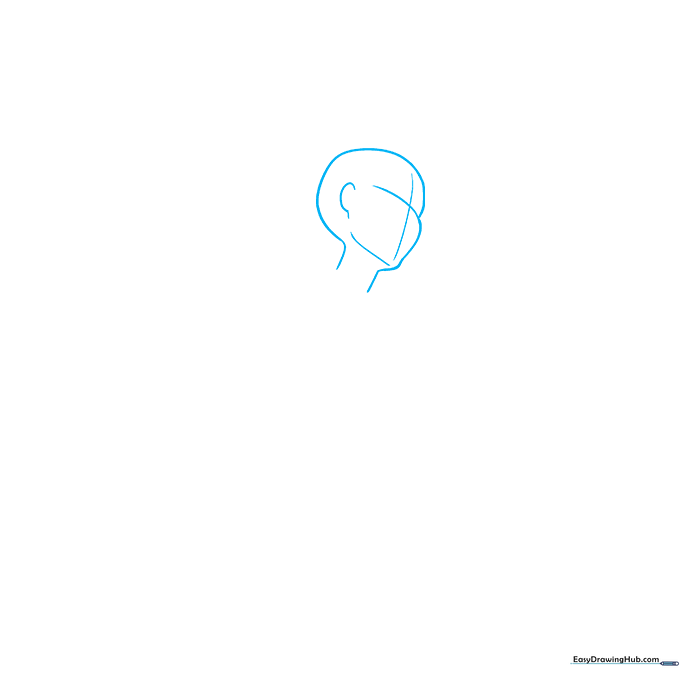
Use light, sweeping curved lines to outline the jaw and ear from a 3/4 perspective. Teacher's Tip: Draw a faint cross-grid over the face; the horizontal line should align with the eye sockets, helping you place features accurately later.
Step 2: Adding Facial Features
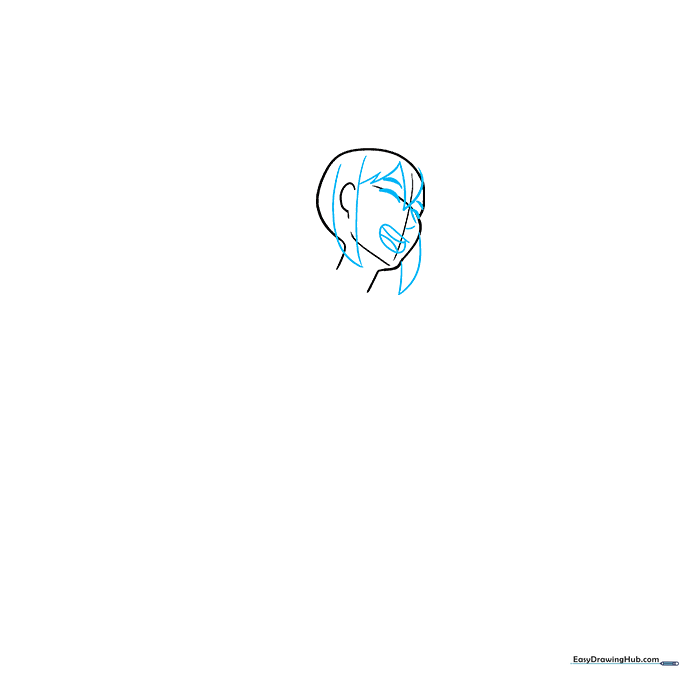
Place the closed eyes along your horizontal guide and the nose on the vertical line. Sketch the mouth slightly open to give the character personality. Teacher's Tip: Keep your pencil pressure light so you can easily erase the grid lines once the face is complete.
Step 3: Styling the Hair
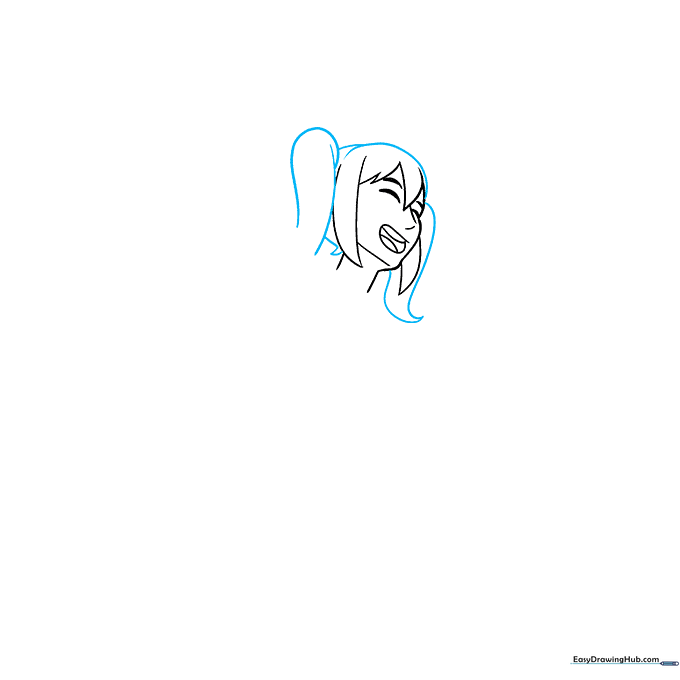
Draw the hair using long, curved lines that taper to sharp points. Create a twin-tail style by sketching two distinct sections of hair flowing from the sides of the head. Teacher's Tip: Use 'clumps' of hair rather than individual strands for that classic anime look.
Step 4: Sketching the Upper Body
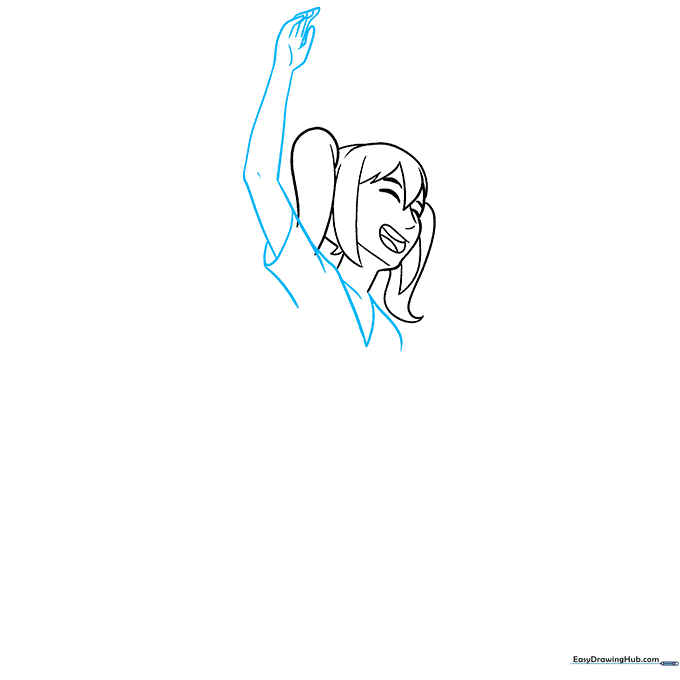
Outline the shoulders and V-neck of the shirt. Draw one arm raised in a gentle wave. Teacher's Tip: Use simple geometric shapes like cylinders for the arms to help you get the proportions right before adding clothing details.
Step 5: Defining the Torso
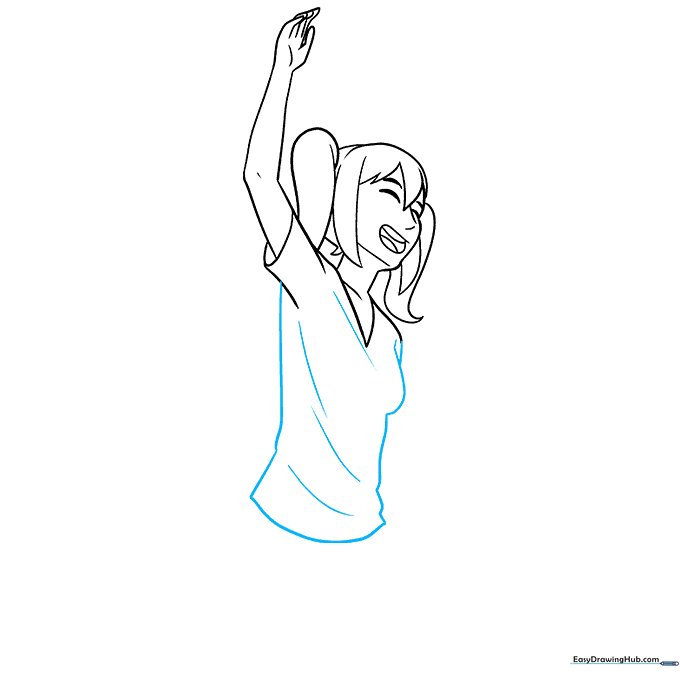
Connect the shoulders to the waist using curved lines to show the torso's shape. Add small, subtle lines to suggest fabric folds on the shirt. Teacher's Tip: Less is more—a few well-placed lines suggest fabric movement better than too many messy ones.
Step 6: Drawing the Skirt
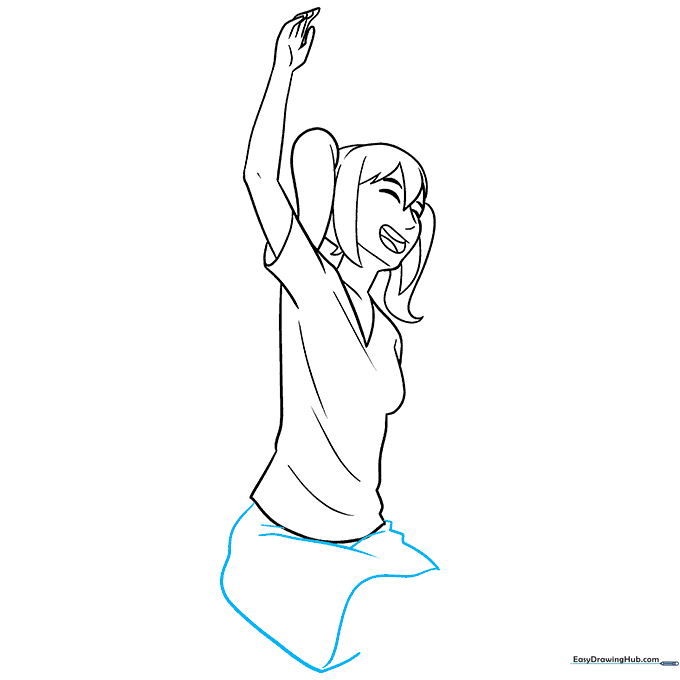
Sketch the skirt using curved lines that follow the contour of the hips. This creates the illusion of the character sitting down. Teacher's Tip: Ensure the skirt lines curve naturally around the thighs to show depth.
Step 7: Adding Legs and Feet
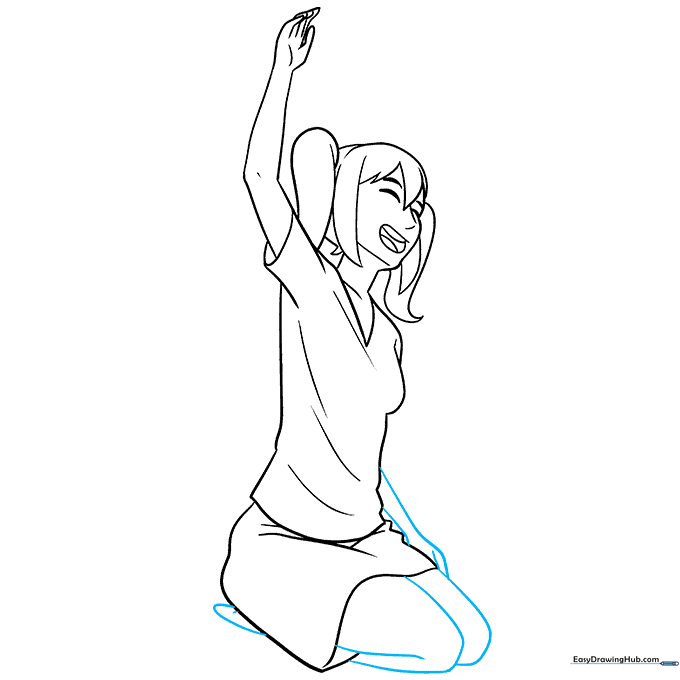
Draw the legs bent at the knees and tucked underneath the body. Add the visible foot to complete the sitting pose. Teacher's Tip: If the legs look stiff, try rounding the knee joints slightly to make them look more natural.
Step 8: Final Inking and Color

Trace your final lines with a pen and erase your pencil marks. Now, add your favorite colors! Teacher's Tip: Use a darker shade of your base color to add shadows under the hair and skirt for a professional, 3D finish.
More Tutorials


