How to Draw a Sink: Easy 10-Step Guide for Kids
Ready to bring your bathroom or kitchen scenes to life? This tutorial is perfect for young artists ages 5 and up. All you need is a pencil, an eraser, and a piece of paper to practice drawing clean, geometric lines.
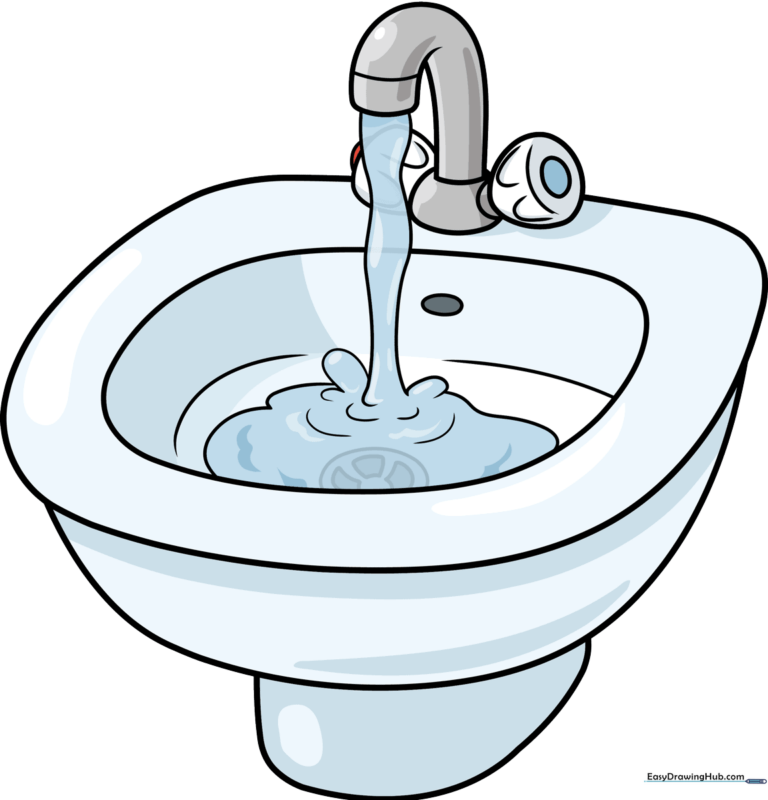
🎯 Final Result
Step-by-Step Instructions
Step 1: Sketching the Basin Rim
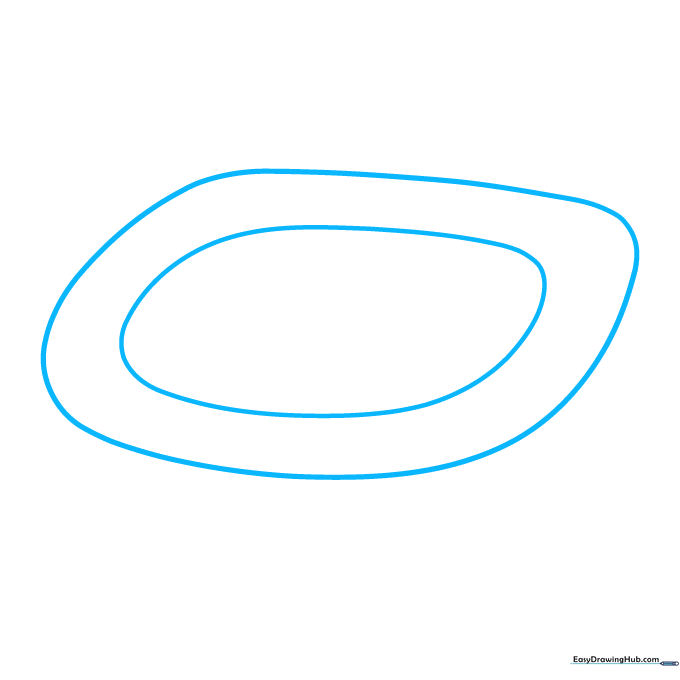
Draw two parallel, rounded shapes to create the top edge of the sink. Teacher's Tip: Think of this as drawing a thick, rounded rectangle; keep the corners soft and smooth.
Step 2: Defining the Basin Depth
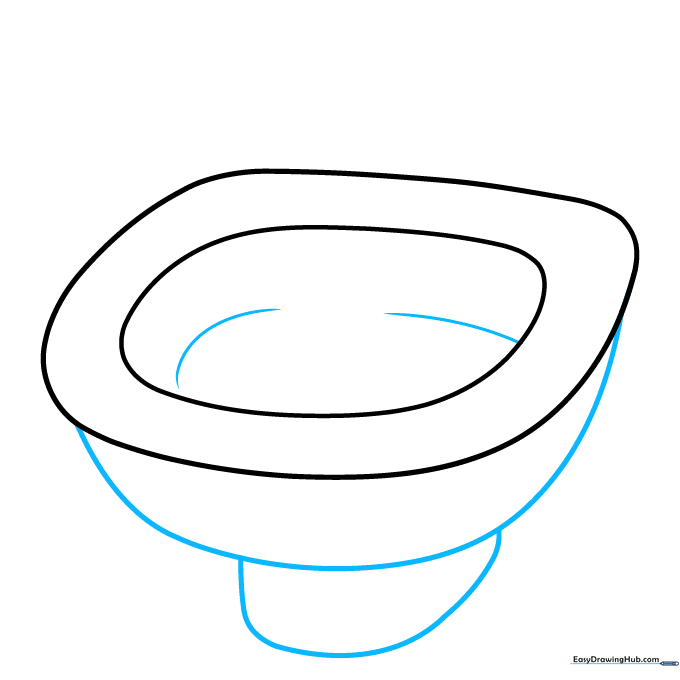
Use a long, sweeping curved line to connect the sides and form the bottom of the basin. Add a few horizontal curved lines inside to suggest the water level. Teacher's Tip: Use a light touch for the water lines to make them look transparent.
Step 3: Drawing the Faucet

Sketch an inverted 'J' shape rising from the back of the sink. Teacher's Tip: Make sure the curve is smooth—try drawing it in one continuous motion to keep the line steady.
Step 4: Adding the Faucet Base and Handle
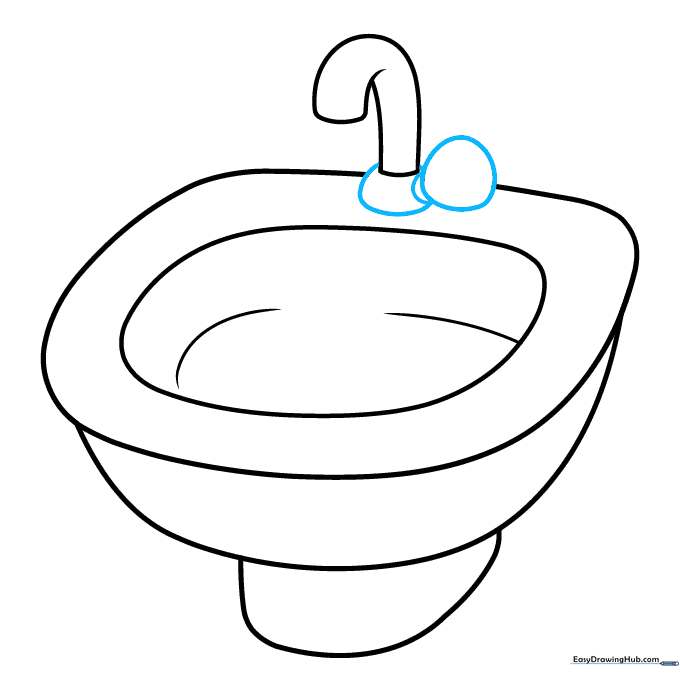
Enclose a small circle at the base of the faucet and add a handle shape next to it. Teacher's Tip: If you make a mistake, use your eraser to clean up the overlapping lines where the faucet meets the sink.
Step 5: Detailing the Handles
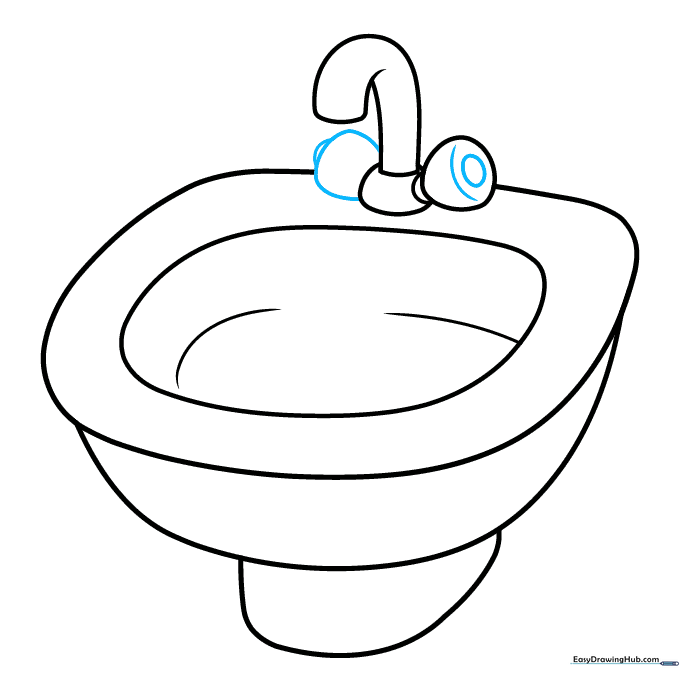
Draw a matching handle on the opposite side and add an oval detail to the center of the handle. Teacher's Tip: Symmetry is key here, so take your time to make both handles look balanced.
Step 6: Adding Water Flow
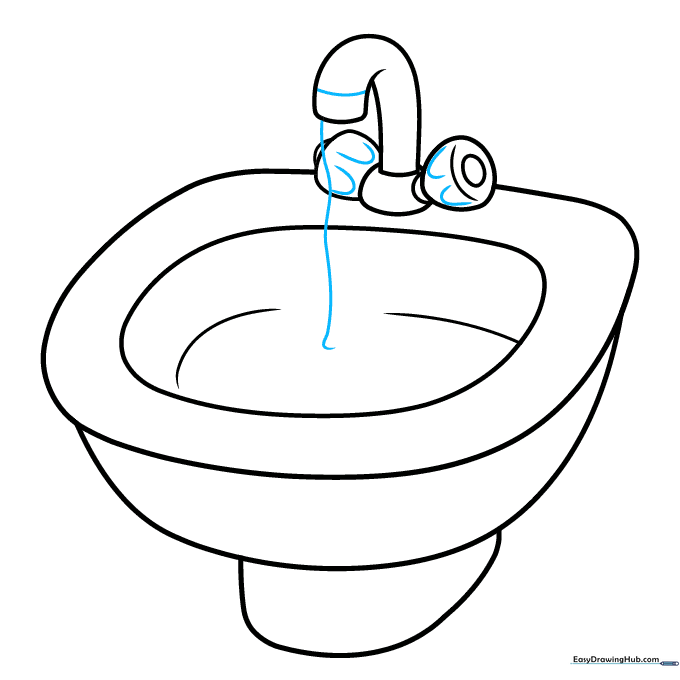
Draw 'U' shaped lines on the handles for texture, then draw a wavy line falling from the faucet into the basin. Teacher's Tip: Wavy lines should look fluid and loose to represent moving water.
Step 7: Refining the Water Stream
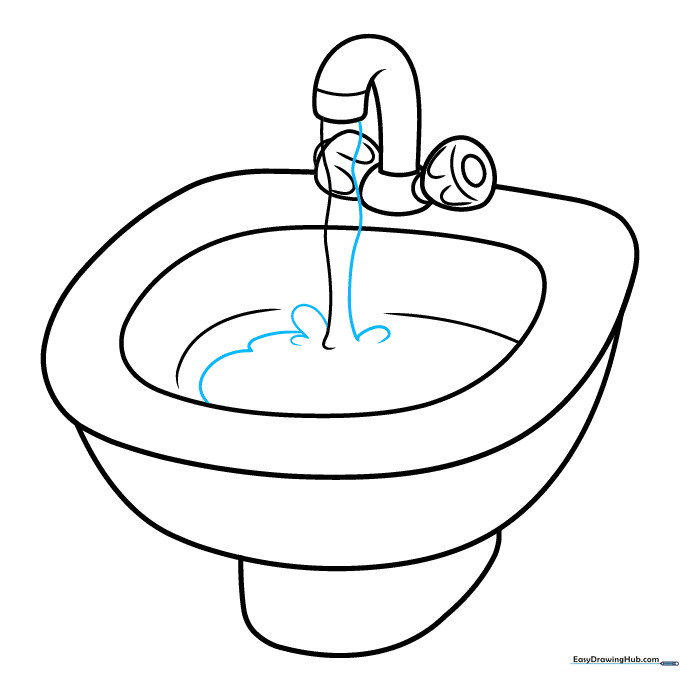
Draw a second wavy line parallel to the first to give the water stream thickness. Add small curved lines where the water hits the basin. Teacher's Tip: These little curves represent splashes!
Step 8: Adding the Drain
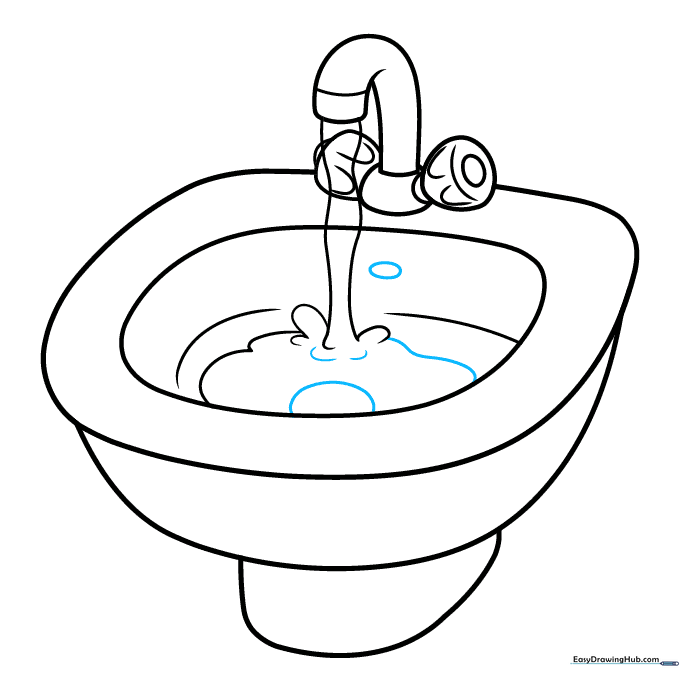
Draw an oval at the bottom of the basin for the drain and a smaller oval near the faucet for the overflow. Teacher's Tip: Use a light pencil pressure so you can darken these shapes later.
Step 9: Finalizing Details
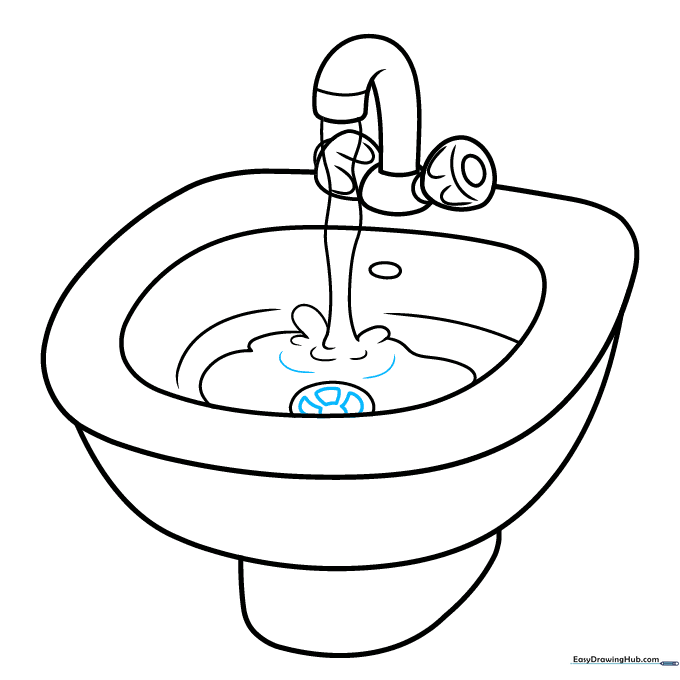
Add small trapezoid shapes inside the drain to create a grate effect. Add a few more ripples in the water. Teacher's Tip: Keep the trapezoids small and uniform for a clean look.
Step 10: Coloring Your Sink
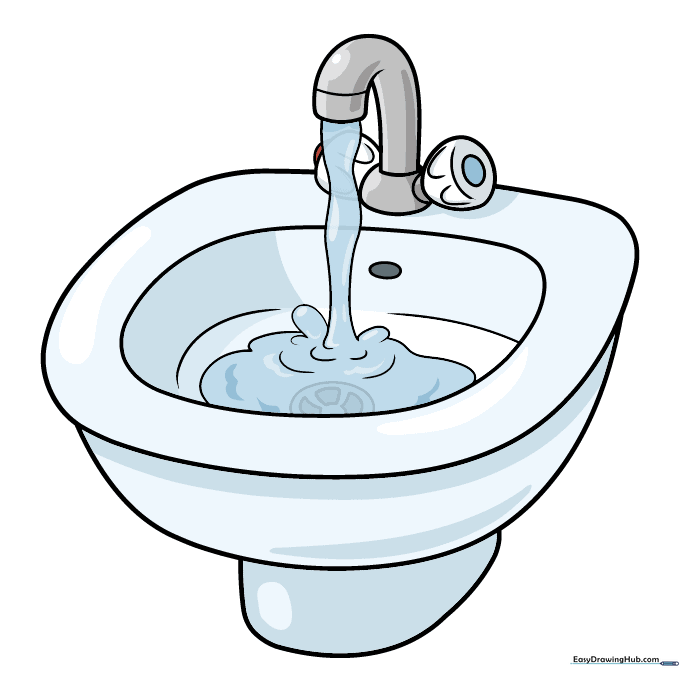
Time to color! Use cool grays for a metal finish or white for porcelain. Add a red dot for the hot handle and a blue dot for the cold handle. Teacher's Tip: Use a light blue for the water to make it pop against the sink.
More Tutorials


