How to Draw a Simple House: Easy 10-Step Guide for Kids
This simple house drawing project is perfect for children ages 5 and up looking to master basic geometric shapes. All you need is a pencil, an eraser, and a piece of paper to get started. Follow these steps to build your own cozy cartoon home while practicing steady line control.
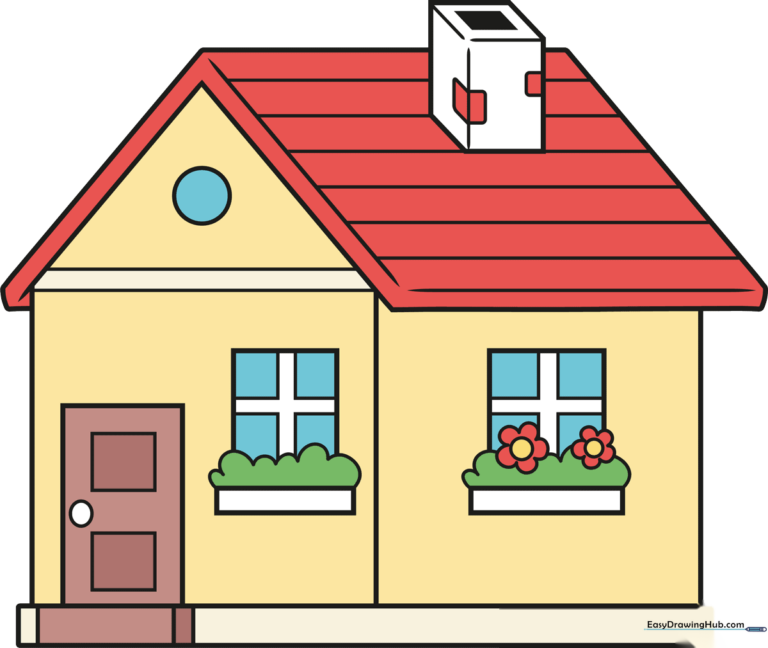
🎯 Final Result
Step-by-Step Instructions
Sketching the Roofline

Start by drawing a wide, shallow trapezoid shape for the roof. Tip: Keep your pencil pressure light so you can easily adjust the angles if the roof looks a bit lopsided.
Defining the Roof Eaves
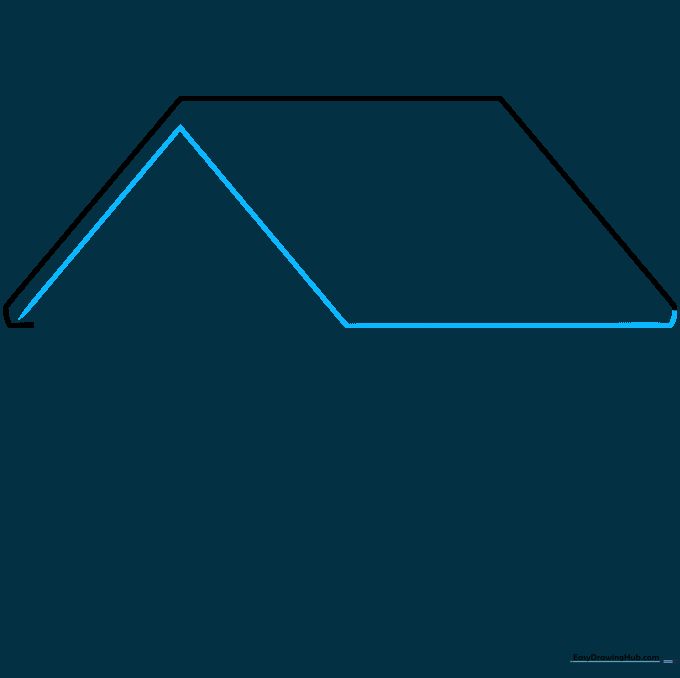
Outline the remaining sides of the roof to create a triangle-like structure. Tip: Use a ruler if you find it hard to keep your lines straight, but try freehand first to build muscle memory.
Adding Depth and Detail
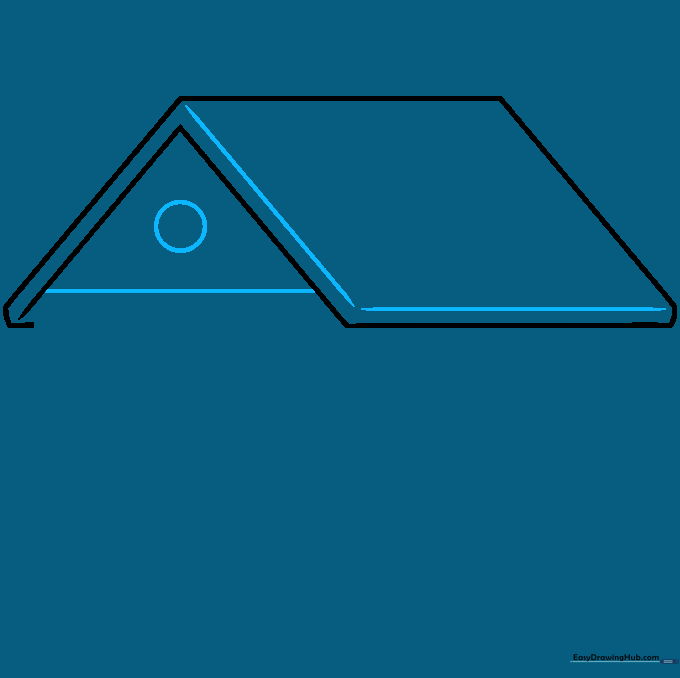
Draw parallel lines to give the roof a 3D look, then add a small circle in the center of the triangle. Tip: This circle will eventually become a decorative attic window!
Constructing the Walls
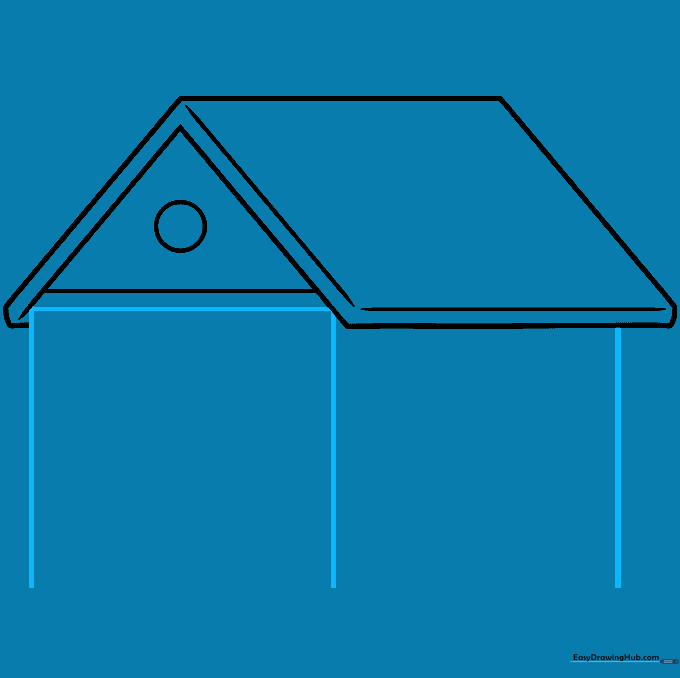
Draw vertical lines down from the corners of the roof to form the walls. Tip: Make sure your vertical lines are parallel to each other so the house doesn't look like it's leaning.
Drawing the Foundation
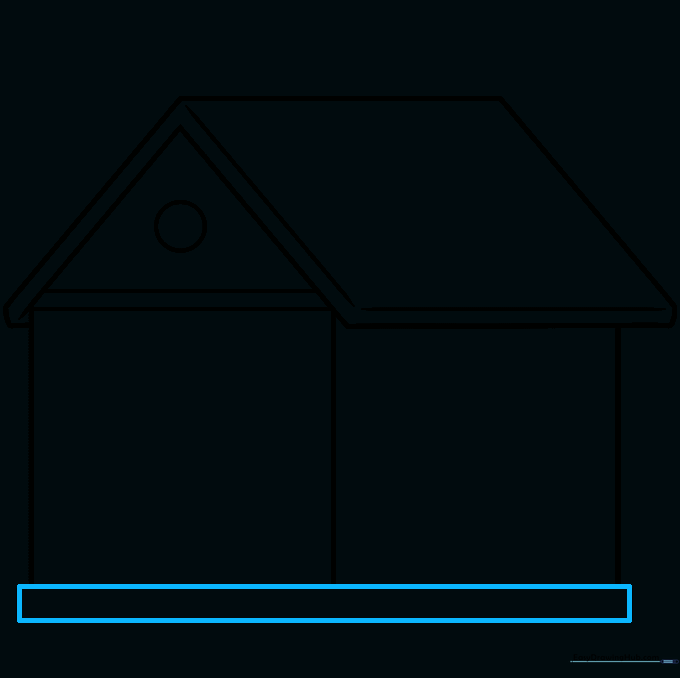
Connect the bottom of your walls with a narrow horizontal rectangle. Tip: This creates a solid base, making your house look grounded and stable.
Adding the Front Door
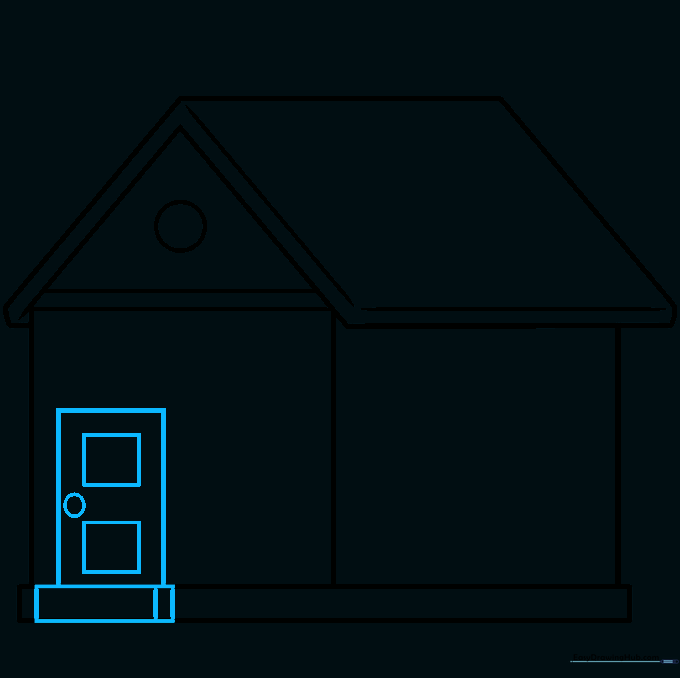
Draw a rectangle for the door and add a small circle for the knob. Tip: Draw the door slightly off-center to give your house a more natural, lived-in look.
Adding Windows and Flowers
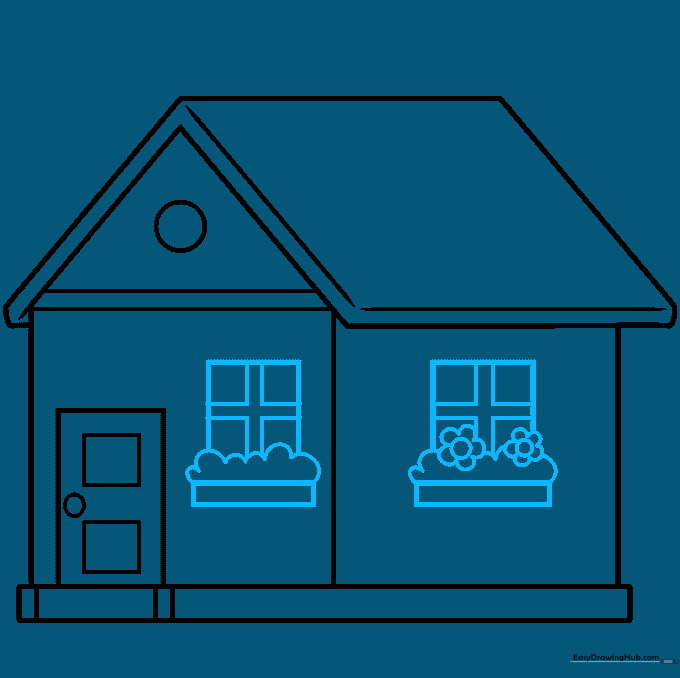
Draw rectangular windows with flower boxes underneath. Tip: Use small 'U' shapes to create the petals of the flowers—it's a great way to practice repetitive, small-scale drawing.
Sketching the Chimney
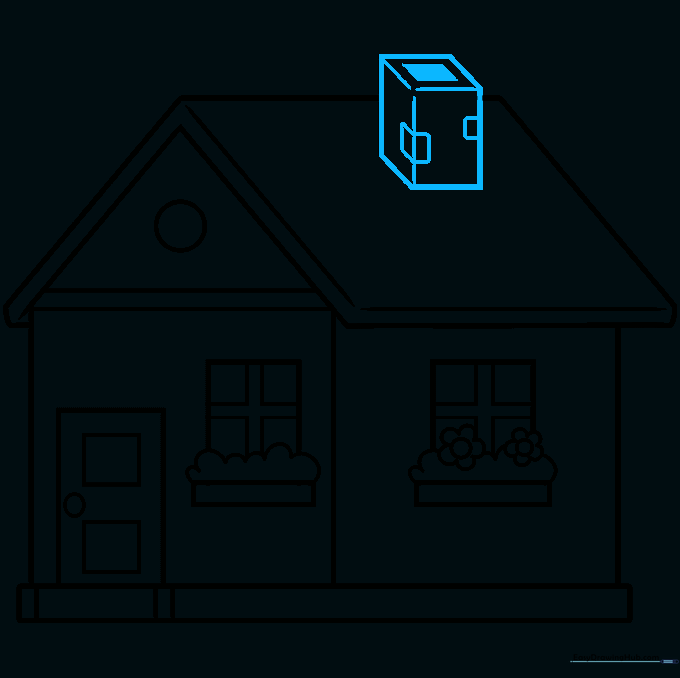
Draw a tall, narrow cube on the roof for the chimney. Tip: Add small rectangles on the side to represent bricks; this adds texture and makes your drawing look more professional.
Adding Roof Shingles
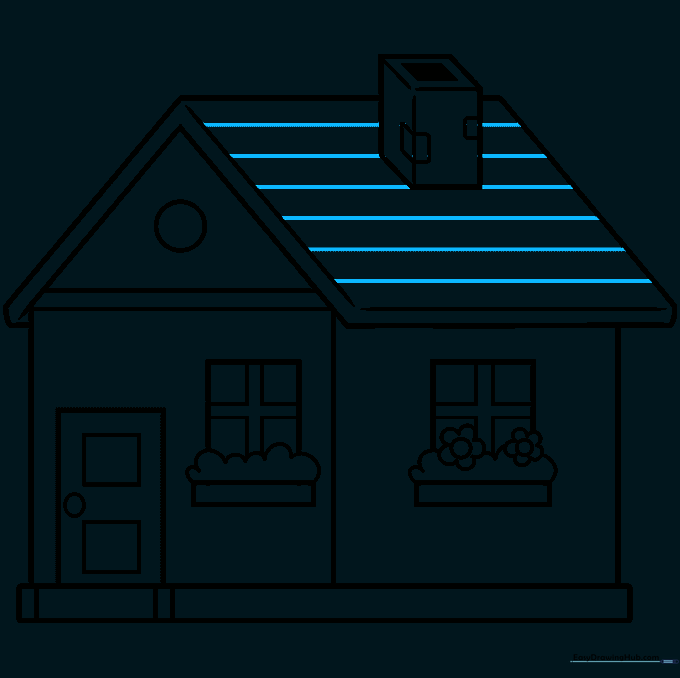
Draw horizontal lines across the roof to create the look of shingles. Tip: Keep the lines evenly spaced to make the roof look neat and tidy.
Final Touches and Coloring
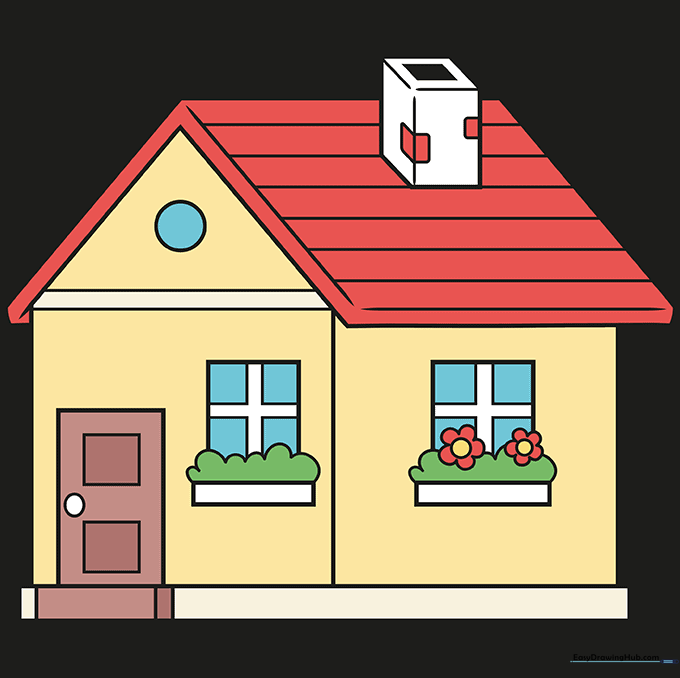
Now it's time to bring your house to life with color! Tip: Use warm colors for the walls and cool colors for the roof to create a nice visual contrast.
More Tutorials


