How to Draw a Simple Fox: Easy 10-Step Guide for Kids
Looking for a fun, screen-free activity? This simple fox tutorial is perfect for artists ages 5 and up. All you need is a pencil, paper, and an eraser to bring this woodland friend to life while building essential fine motor skills.
🎯 Final Result

Step-by-Step Instructions
Step 1: Sketching the Eyes

Draw two curved lines to form the shape of the eyes, then add a large, dark circle inside each for the pupils. Teacher's Tip: Keep the eyes close together to give your fox a cute, friendly expression.
Step 2: Defining the Snout

Draw an inverted triangle for the nose. Connect a curved line from the inner eye corners to create the snout, then add a curved line below for the jaw. Teacher's Tip: Use a light touch; the snout is the center of the fox's face.
Step 3: Shaping the Head and Cheeks
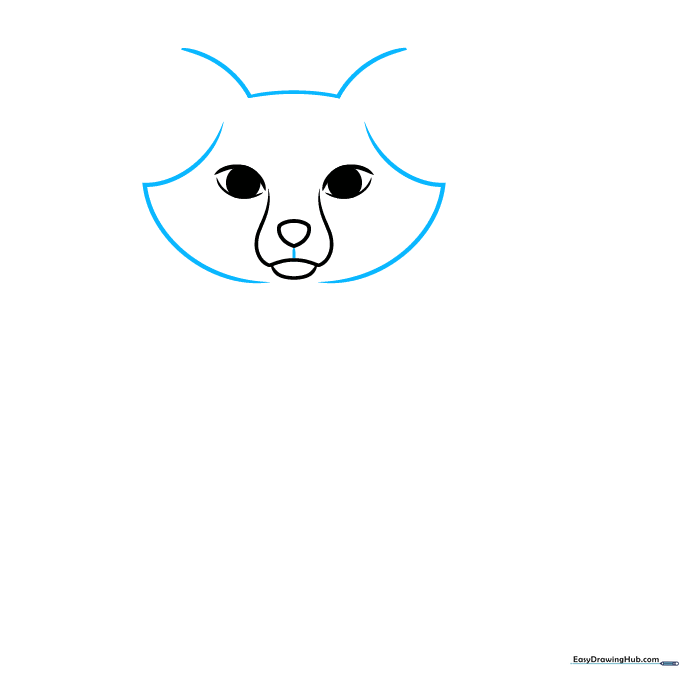
Use long, sweeping curved lines to outline the triangular cheeks and the top of the head. Teacher's Tip: Imagine you are drawing a soft, fluffy heart shape around the face.
Step 4: Adding Ears

Draw two large triangles on top of the head. Add a smaller line inside each for depth and use jagged lines to show tufts of fur. Teacher's Tip: Jagged lines make the fur look soft and realistic.
Step 5: Sketching the Chest
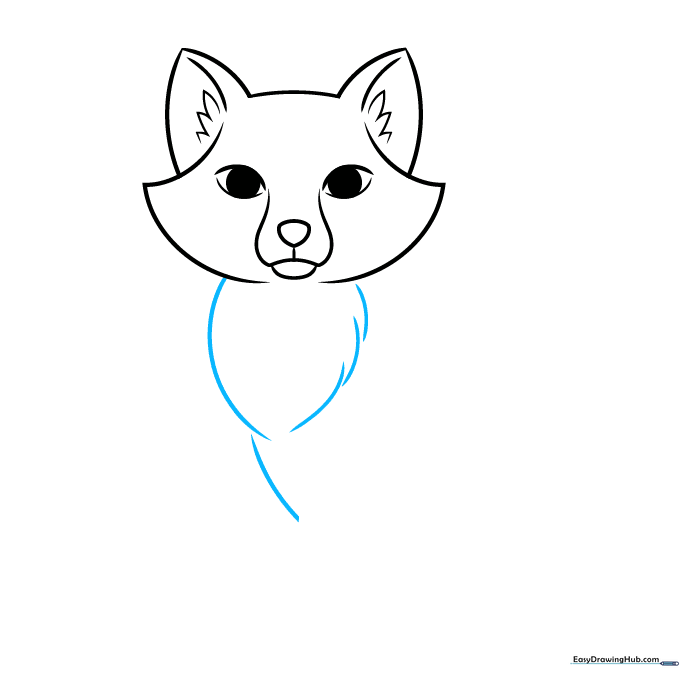
Draw two long, curved lines extending down from the cheeks to form the chest. Teacher's Tip: Make these lines slightly wider at the bottom to give your fox a sturdy, sitting posture.
Step 6: Drawing the Front Legs
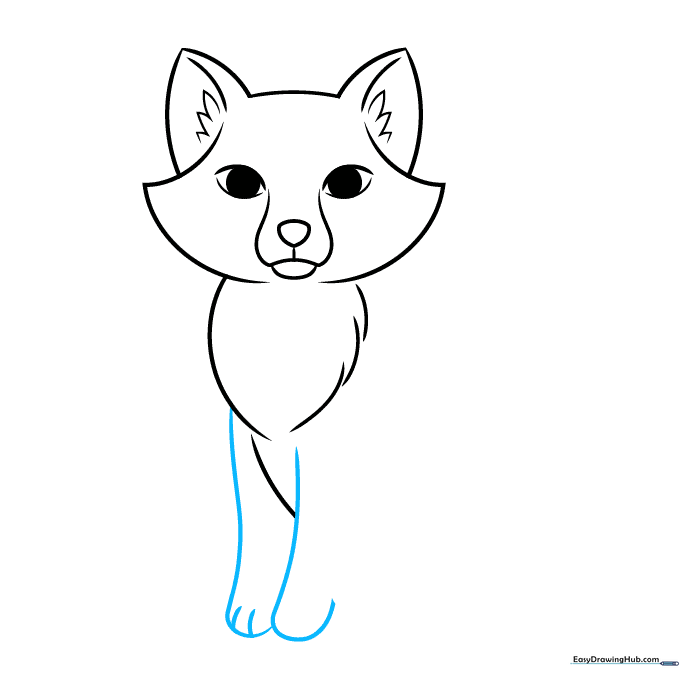
Extend two curved lines down from the chest to create the front legs, adding small lines at the bottom for toes. Teacher's Tip: Keep the legs parallel to make the fox look like it is sitting upright.
Step 7: Adding the Tail
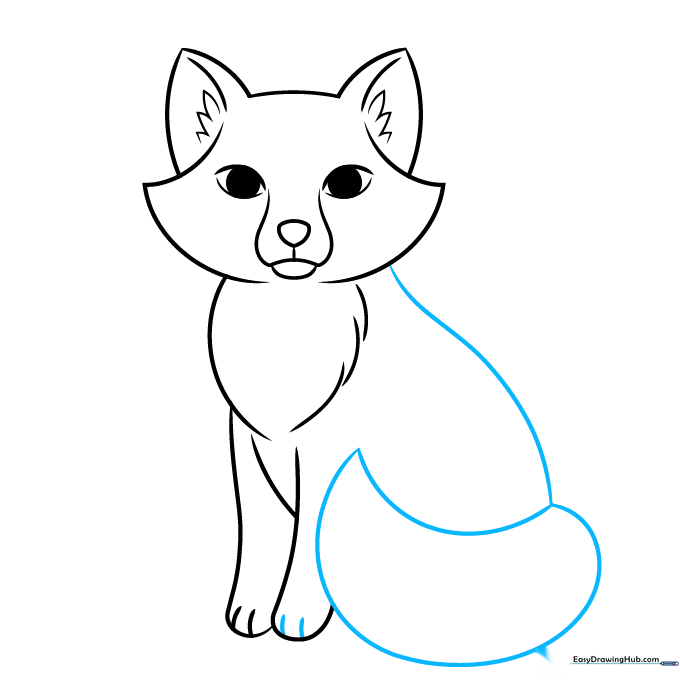
Enclose a large, pointed shape for the tail using two curved lines. Connect the head to the tail to complete the body outline. Teacher's Tip: A big, bushy tail is a fox's signature feature—don't be afraid to make it large!
Step 8: Adding Texture

Use a zigzag line to separate the tip of the tail. Add small, disconnected lines on the legs to suggest fur texture. Teacher's Tip: Less is more—a few well-placed lines are better than too many.
Step 9: Final Details

Add curved lines to band the feet, nose, and cheeks. These markings help define the fox's face. Teacher's Tip: Use these lines as a guide for where to change colors later.
Step 10: Bring Your Fox to Life with Color

Time to color! Use vibrant reddish-orange for the body, white for the chest and tail tip, and black for the feet. Teacher's Tip: Try using light pressure for the white areas to keep them clean.
More Tutorials


