How to Draw an Elephant: Easy 10-Step Guide for Kids
This simple elephant drawing tutorial is designed for children ages 5 and up to build confidence in their artistic abilities. All you need is a pencil, an eraser, and a piece of paper to get started. Follow these clear steps to create a friendly cartoon elephant while developing essential hand-eye coordination.
🎯 Final Result

Step-by-Step Instructions
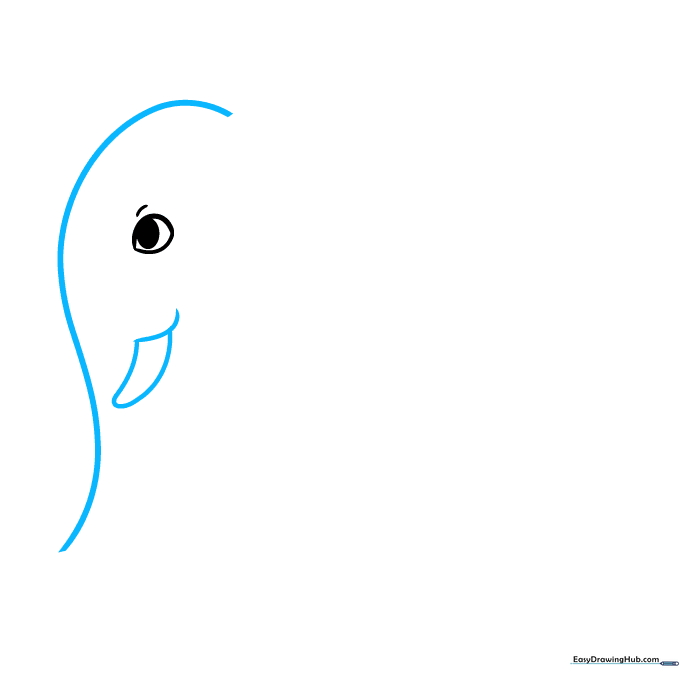
Step 1: Sketching the Eye

Draw the eye using two gentle, curved lines that meet at a point. Add a small shaded oval inside for the pupil. Teacher's Tip: Keep the eye small to make the rest of the elephant's head look larger and cuter!
Step 2: Forming the Trunk and Tusk
Draw a long, sweeping curve for the trunk starting near the eye. Add a small, curved shape for the tusk underneath. Teacher's Tip: Think of the trunk as a gentle 'S' shape to give it a natural, flexible look.
Step 3: Defining the Face and Trunk
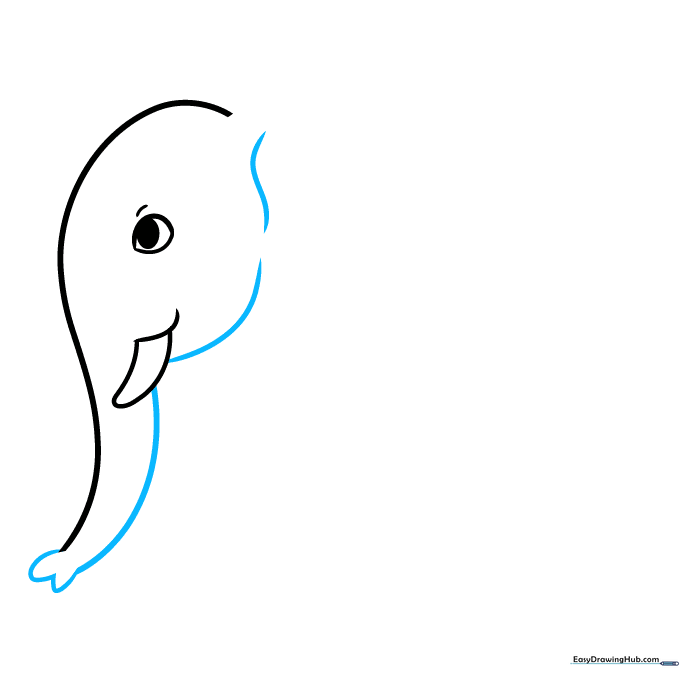
Use long, smooth lines to connect the face to the trunk. Finish the end of the trunk with a small 'W' shape to show the tip. Teacher's Tip: Use a light touch here so the trunk looks soft and rounded, not stiff.
Step 4: Sketching the Ear and Chest
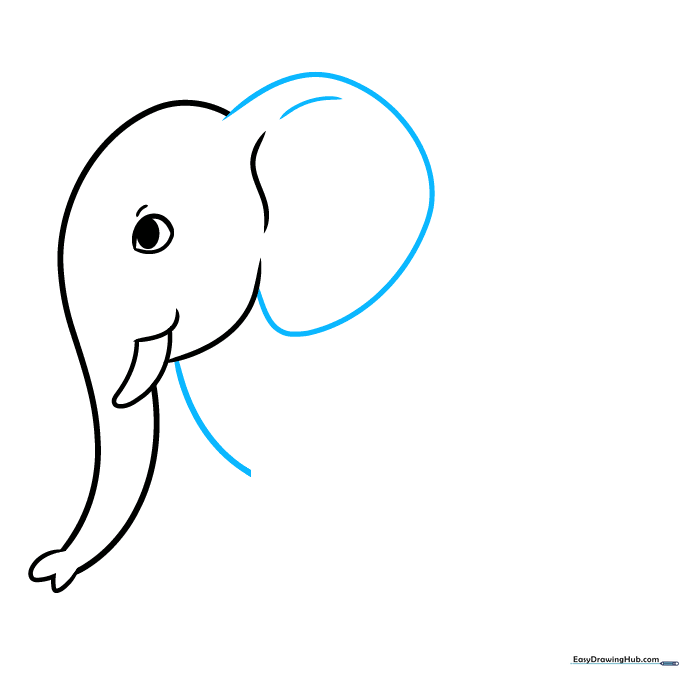
Draw a large, wide curve to create the elephant's ear and a shorter curve for the chest. Teacher's Tip: Elephants have big ears! Don't be afraid to make this shape nice and wide.
Step 5: Drawing the Front Leg
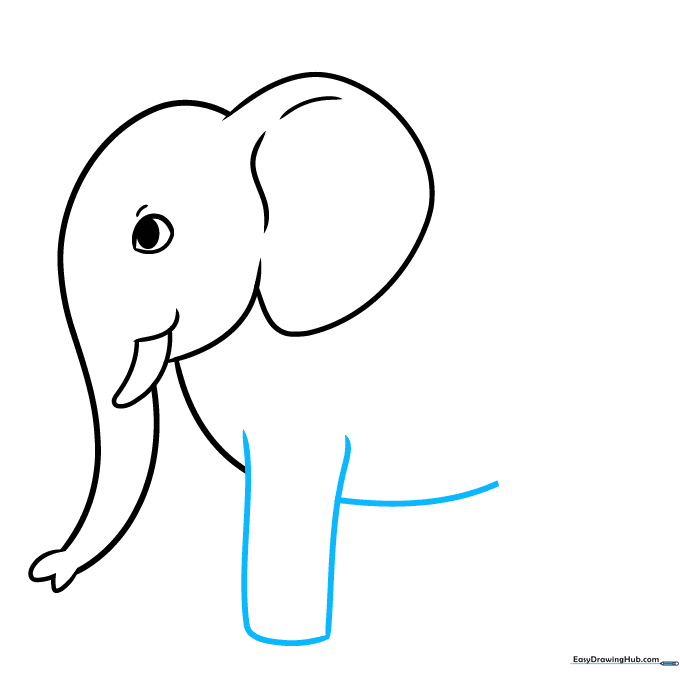
Draw a rectangular shape with rounded corners for the front leg, then extend a line for the belly. Teacher's Tip: Keep the leg slightly wider at the bottom to give your elephant a sturdy look.
Step 6: Adding the Back and Rear Legs
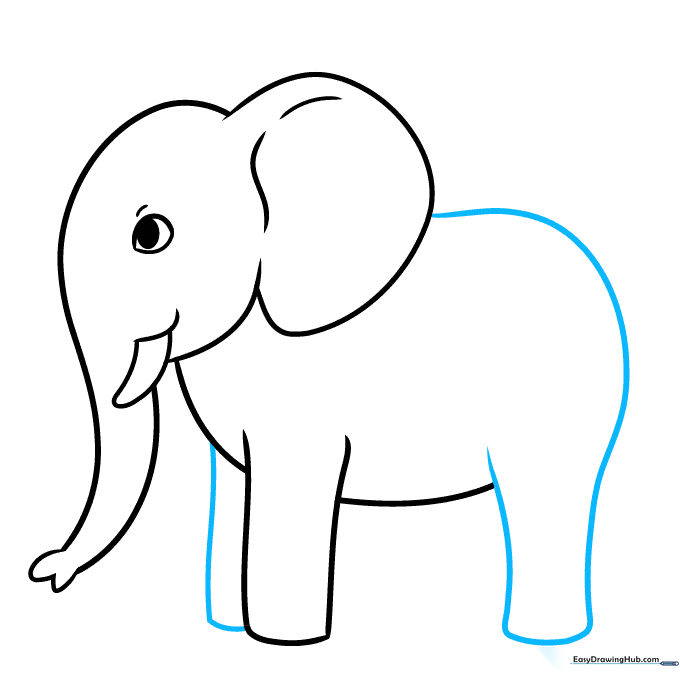
Draw a long curve for the back and rump, then add the rear leg. Connect the front leg to the body. Teacher's Tip: Ensure the back leg is slightly behind the front one to create a sense of depth.
Step 7: The Tail and Details
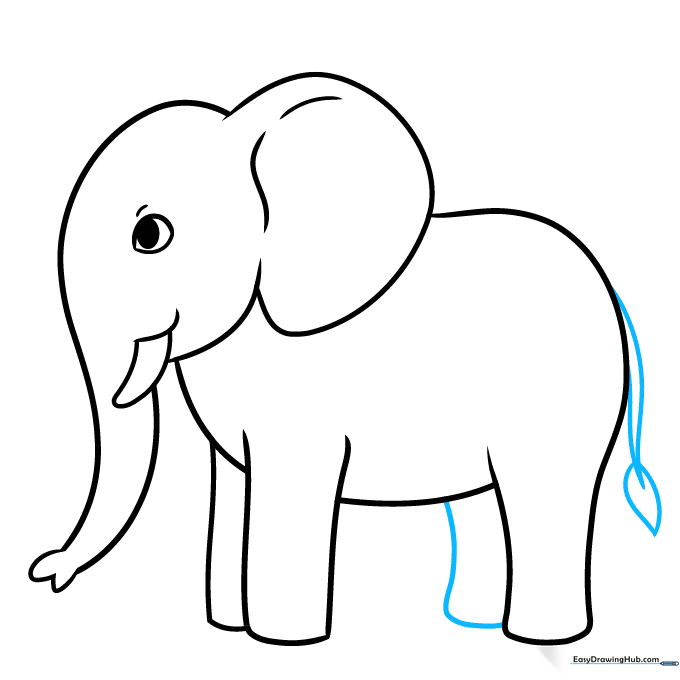
Draw the tail with a small teardrop shape at the end for the tuft of hair. Teacher's Tip: Make the tail look like it's swinging to give your elephant a playful, happy mood.
Step 8: Adding Toenails
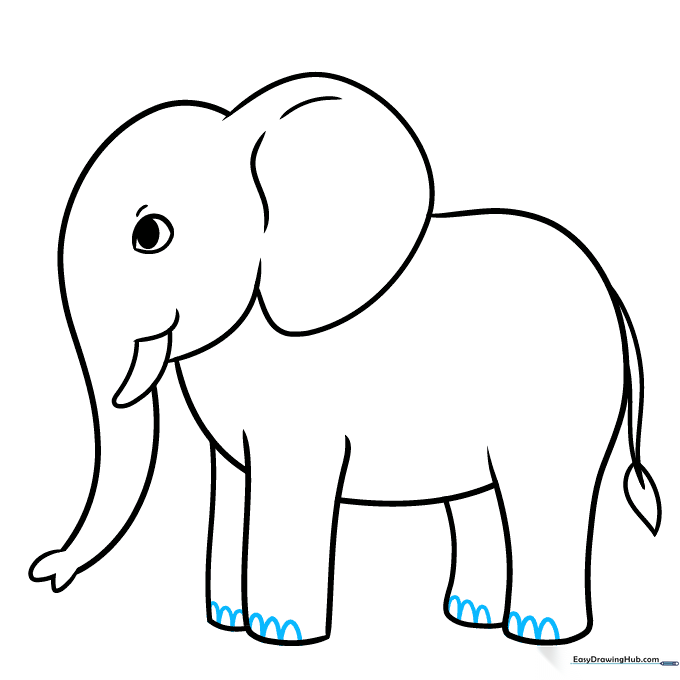
Add small 'U' shaped lines at the bottom of each foot to represent the toenails. Teacher's Tip: Three small 'U' shapes per foot look very realistic for a cartoon style.
Step 9: Refining the Outline
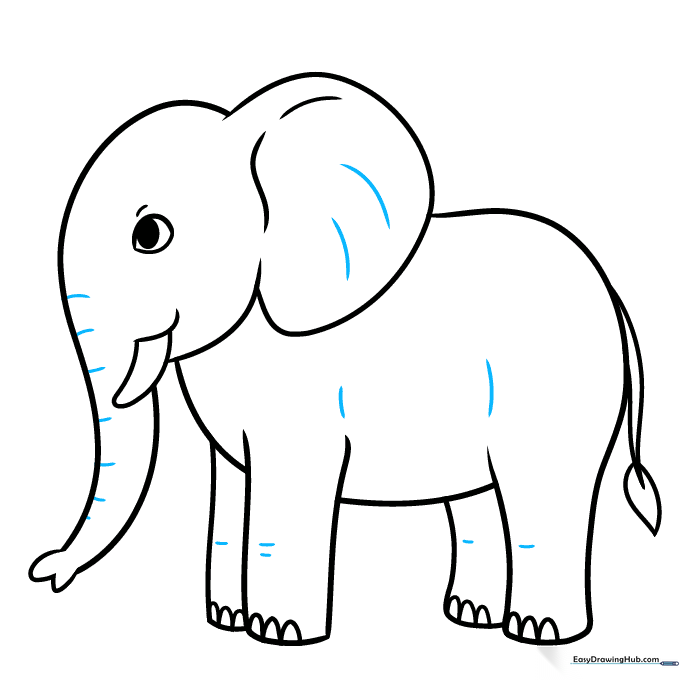
Go over your sketch with a darker pencil or pen, adding subtle curves to the knees and ears to show texture. Teacher's Tip: Use short, light strokes to make the lines look clean and professional.
Step 10: Bringing Your Elephant to Life with Color

Color your elephant using shades of gray or brown. Keep the tusks white or cream. Teacher's Tip: Try coloring in one direction to make your drawing look smooth and polished!
More Tutorials


