How to Draw a Dog: Easy 5-Step Guide for Beginners
Looking for a fun, screen-free activity to boost your child's confidence? This step-by-step guide is designed for artists ages 5 and up to master a friendly cartoon dog. You only need a pencil, an eraser, and a piece of paper to get started.
🎯 Final Result

Step-by-Step Instructions
Step 1: Sketching the Head

Start by drawing a soft, horizontal line for the top of the head, then connect it with a large 'U' shape. Teacher's Tip: Keep your pencil pressure light here; this is just the foundation for your dog's face.
Step 2: Adding Expressive Eyes

Draw two small triangles for eyebrows, then create the eyes using a flat bottom line and a curved top. Add a small oval inside for the pupil. Tip: Placing the eyes slightly lower on the head makes the dog look younger and cuter!
Step 3: Drawing the Nose and Mouth

Place an inverted triangle in the center for the nose, and a rounded 'W' shape below for the mouth. Connect them with a tiny vertical line. Tip: Keep the nose small to maintain the 'puppy' proportions.
Step 4: Ears and Collar
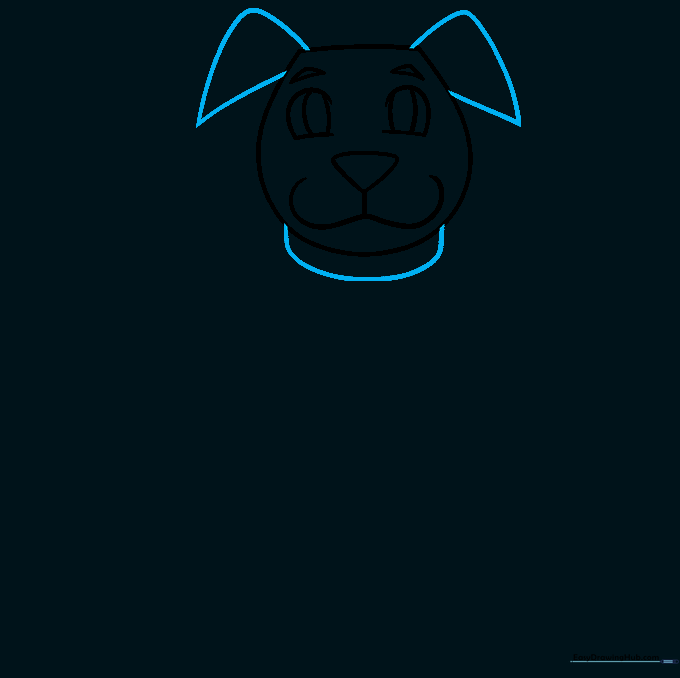
Add two rounded triangles on the sides of the head for ears. Below the head, draw a curved line to represent the collar. Tip: If you want a floppy-eared dog, make the triangles longer and more rounded at the tips.
Step 5: Defining the Body
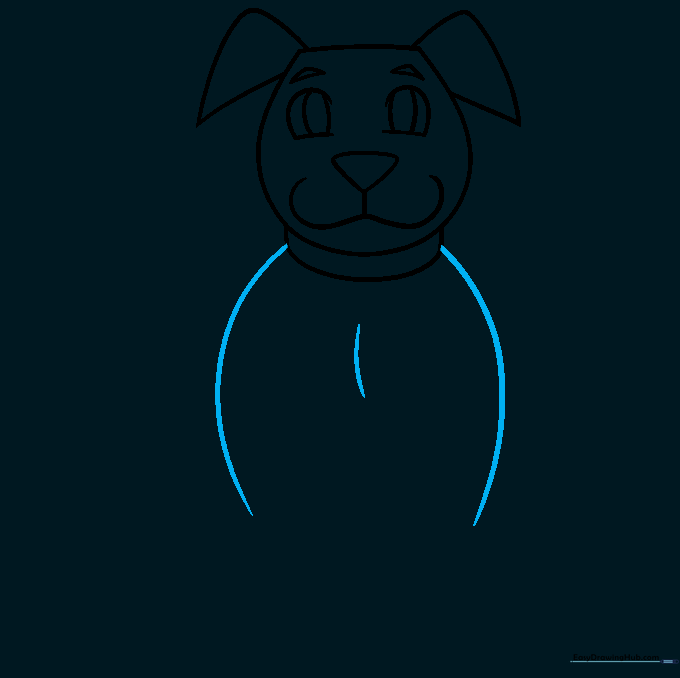
Use two long, sweeping curved lines to create the sides of the dog's body. Add a small curve in the center for the chest. Tip: Imagine the dog is sitting down, so keep the body shape compact.
Step 6: First Foreleg
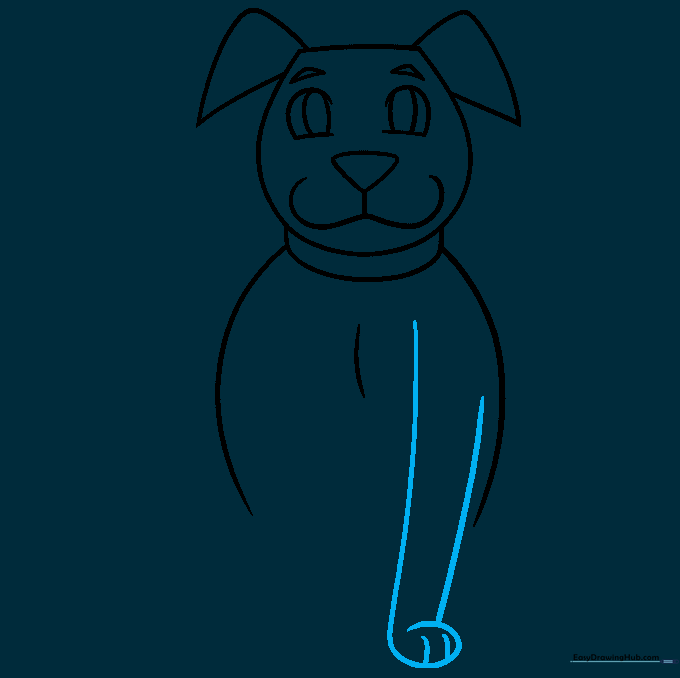
Draw two parallel lines for the leg, curving them at the bottom to form a paw. Add small lines for toes. Tip: Use a 'spiral' motion with your wrist to get that smooth curve for the paw.
Step 7: Second Foreleg
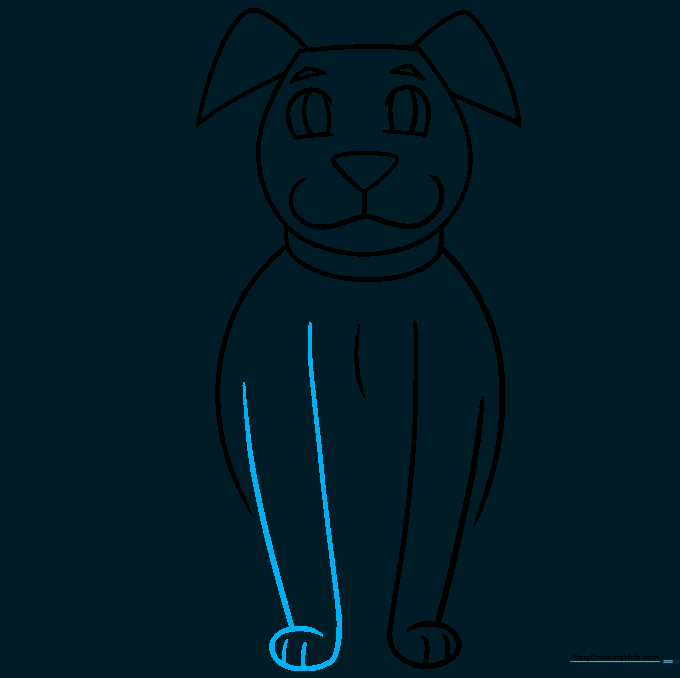
Repeat the process for the second foreleg, mirroring the first one. Tip: Make sure the paws are aligned at the same height so your dog looks like it's sitting straight.
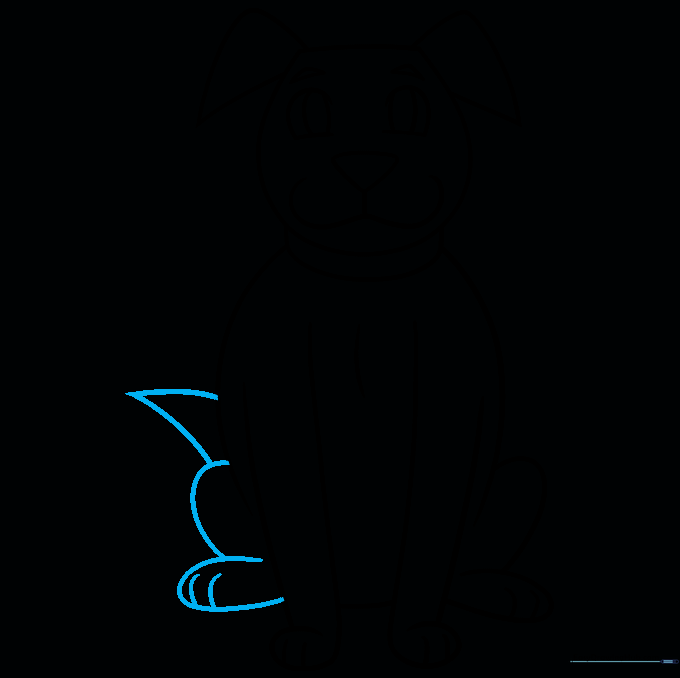
Step 8: Rear Leg
Draw the back leg with a curved line and a paw. Add a small line between the front legs to show the body's depth. Tip: Keep the back leg slightly tucked to show the dog is sitting.
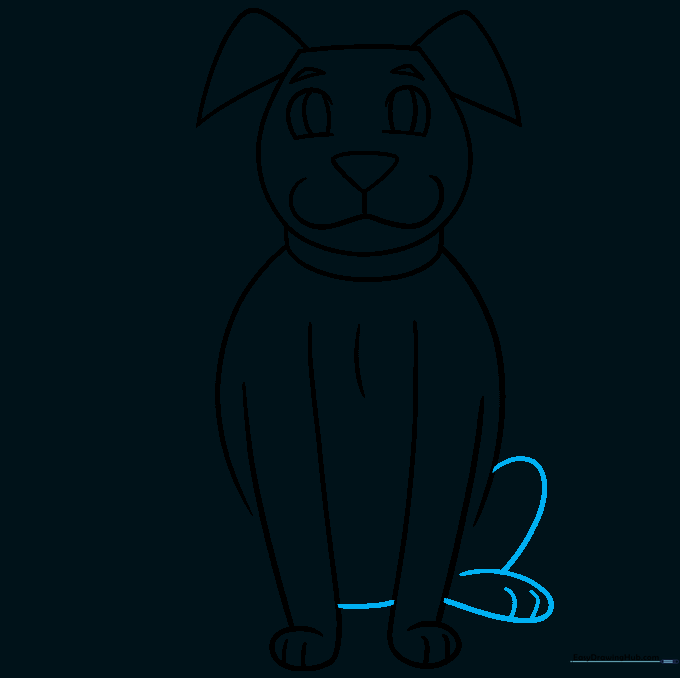
Step 9: Final Touches
Draw the final leg and a pointy tail. Tip: Use quick, confident strokes for the tail to make it look like it's wagging!
Step 10: Bring it to Life with Color
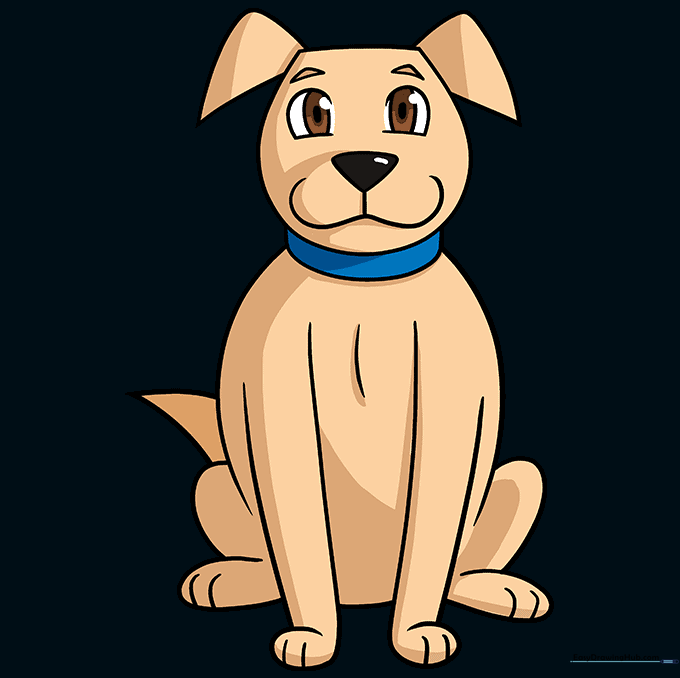
Time to color! We used brown, but feel free to add spots, patches, or a mask around the eyes. Tip: Use light pressure with your colored pencils to create soft shading for a more professional look.
More Tutorials


