How to Draw a Cute Mermaid: Easy 10-Step Guide for Kids
Bring a magical mermaid to life with this beginner-friendly drawing tutorial, perfect for artists ages 5 and up. You only need a pencil, an eraser, and some paper to get started. Follow these simple steps to build confidence and develop your character-drawing skills.
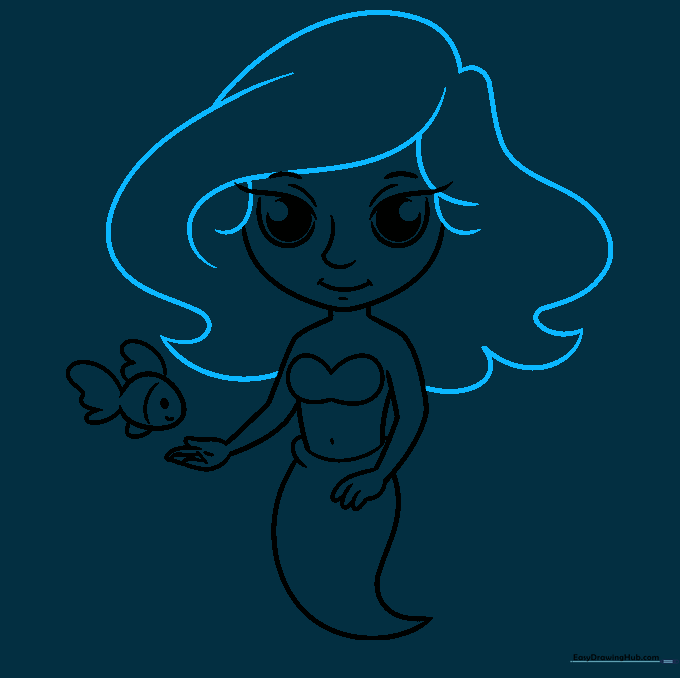
🎯 Final Result

Step-by-Step Instructions
Step 1: Sketching the Mermaid's Torso

Start near the middle of your page by drawing the bottom half of a heart shape. Add two short lines underneath, then extend a diagonal line on each side pointing outward. Teacher's Tip: Keep your pencil pressure light so you can easily adjust the shape if needed.
Step 2: Drawing the Arms

In the center of the body, draw two small ovals connected like an infinity symbol. Add a curved line for the arm, a half-oval for the palm, and simple, narrow shapes for the fingers. Teacher's Tip: Think of the fingers as tiny 'hot dogs' to keep the proportions cute and simple.
Step 3: Defining the Waist

Complete the right arm with two straight lines and add more finger shapes. Draw curved lines on both sides of the torso, connecting them at the bottom to create the waistline. Teacher's Tip: Ensure the curves are symmetrical to give your mermaid a balanced look.
Step 4: Shaping the Tail
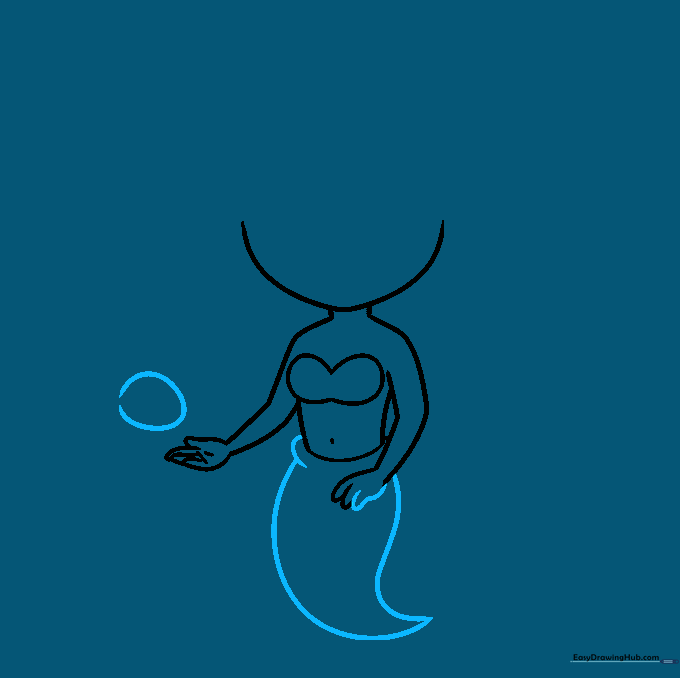
Sketch an oblong oval above the left hand. Below the waist, draw a long, sweeping teardrop shape that curves upward at the tip for the tail. Teacher's Tip: A fluid, continuous motion works best for the tail curve—don't worry if it's not perfect on the first try!
Step 5: Adding Fins and Face
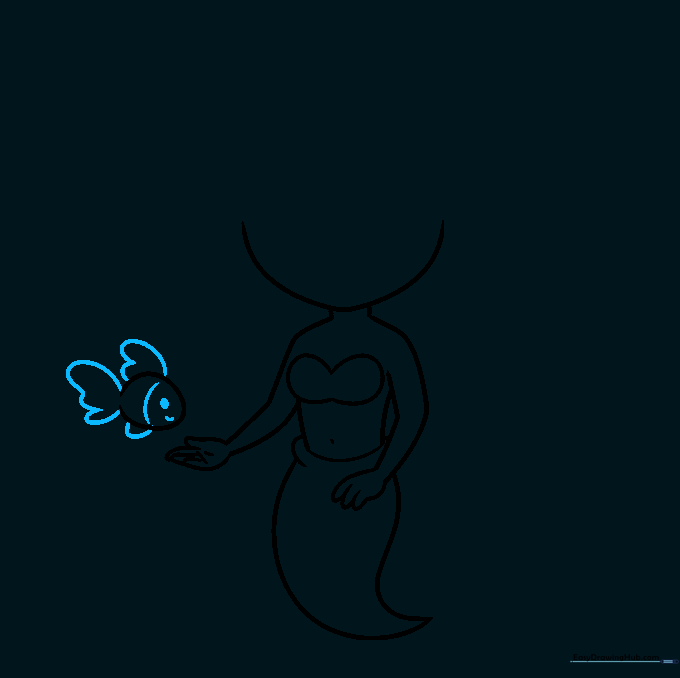
Add loopy shapes around the body to represent fins. Place a small dot and a gentle curve on the face area to mark the eyes and mouth. Teacher's Tip: Keep the facial features centered to maintain that 'cute' aesthetic.
Step 6: Drawing Expressive Eyes
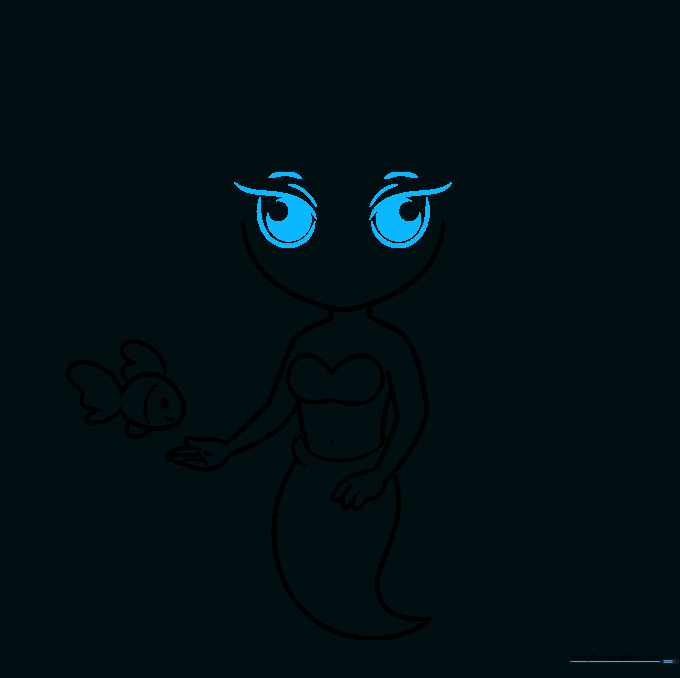
Draw two semi-circles for the eyes, topped with loose S-shapes for lashes. Fill in the pupils, leaving a small white circle blank to create a 'sparkle' effect. Teacher's Tip: Adding that tiny white glint makes the eyes look bright and full of life.
Step 7: Adding Nose and Mouth
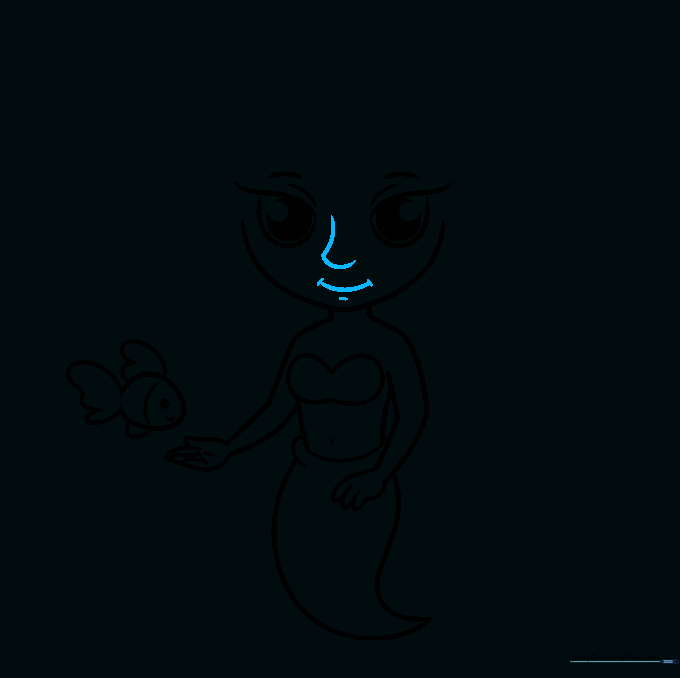
Draw a small hook shape for the nose and a gentle curve for a smiling mouth. Teacher's Tip: A simple, small mouth keeps the character looking sweet and friendly.
Step 8: Styling the Hair
Create the hair using two broad, swooping lines that meet at a point above the head. Surround the head with loose, wavy lines to give it a soft, cloud-like volume. Teacher's Tip: Don't worry about making every hair strand perfect; wavy, flowing lines look more natural for underwater hair.
Step 9: Finalizing the Tail

Draw a wide heart shape at the bottom of the tail to create the fin. Add a few lines inside the tail to show texture and depth. Teacher's Tip: These inner lines help the tail look like it has scales or movement.
Step 10: Adding Color

Outline your drawing with a black pen or marker, then erase your pencil guidelines. For a vibrant finish, color the hair yellow, the fish orange, the tail green, and the top purple. Teacher's Tip: Use your favorite colors to make this mermaid uniquely yours!
More Tutorials


