How to Draw a Simple Cat: Easy 10-Step Guide for Kids
Ready to bring a feline friend to life? This tutorial is perfect for ages 5+ and requires only a pencil, paper, and an eraser. Follow these simple steps to master basic shapes and build your confidence as a young artist.
🎯 Final Result

Step-by-Step Instructions
Step 1: Sketching the Eyes

Draw two half-circles for the eyes. Add a small curved line inside each to create the pupils. Teacher's Tip: Keep these shapes symmetrical to give your cat a friendly, balanced look.
Step 2: Adding the Nose and Mouth

Place an upside-down triangle between the eyes for the nose, then draw a rounded 'W' shape below it for the mouth. Tip: Keep the 'W' small and centered to give the cat a cute, petite expression.
Step 3: Shaping the Head
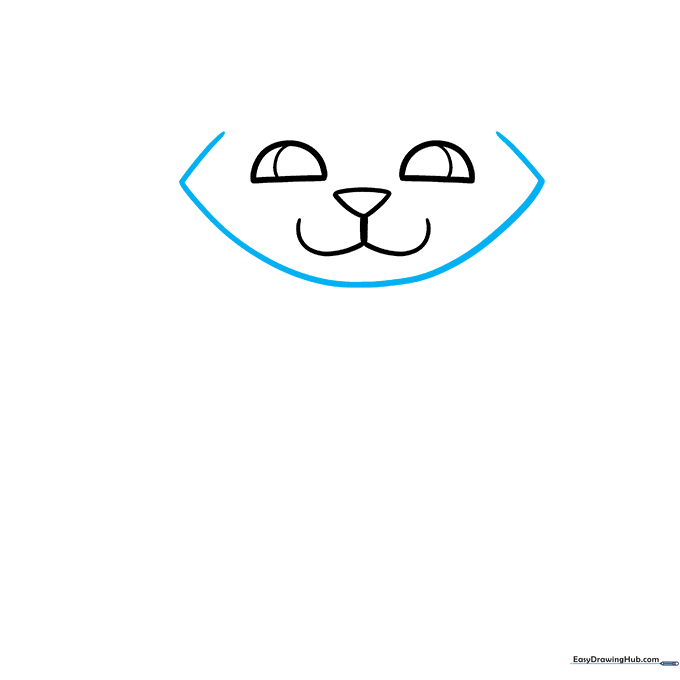
Outline the head using a curved line that narrows at the cheeks, resembling a lemon shape. Tip: Use soft, flowing strokes to suggest the softness of cat fur.
Step 4: Drawing the Ears
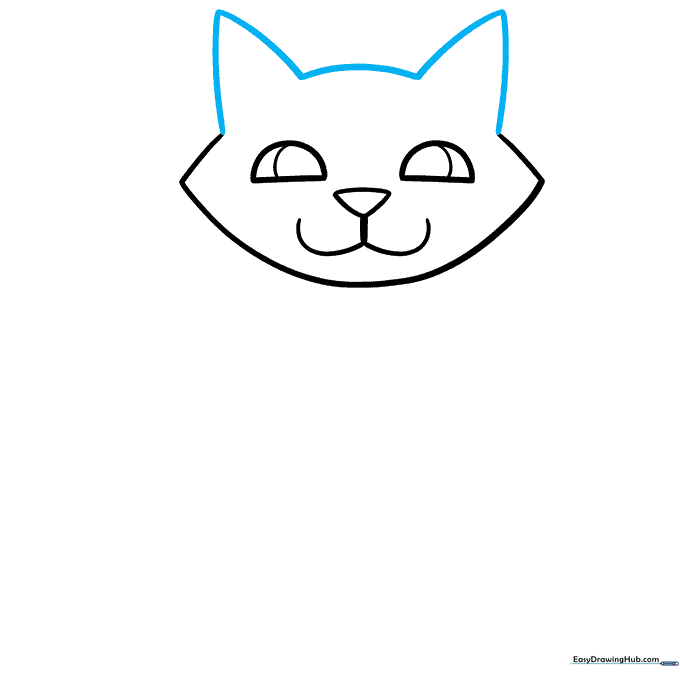
Add two triangle shapes on top of the head and connect them with a gentle curve. Tip: Make the ears slightly rounded at the tips so they look natural rather than sharp.
Step 5: The First Front Leg

Draw a long, curved line extending from the head and loop it back to form the first leg. Tip: Keep the leg slightly thick to give the cat a sturdy, cartoon-like appearance.
Step 6: The Second Front Leg
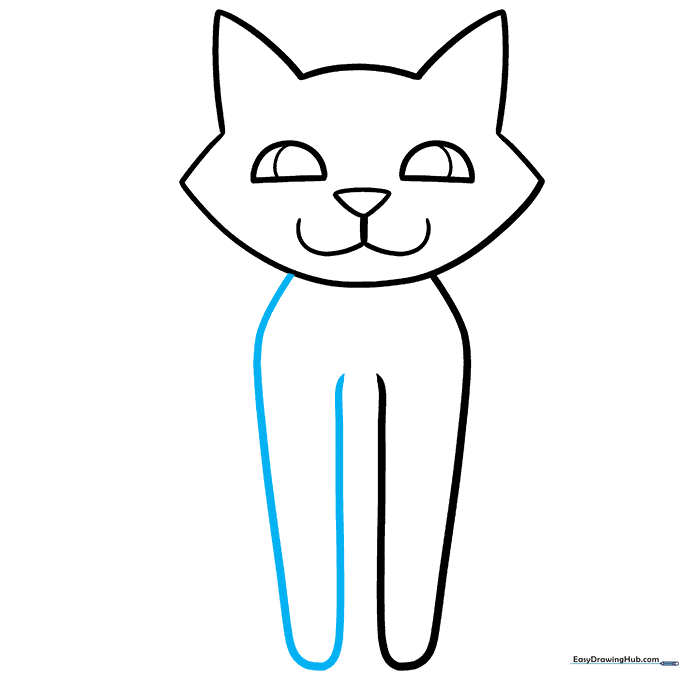
Mirror the first leg on the opposite side of the body. Tip: Try to make the legs the same length so your cat looks like it's standing straight.
Step 7: Sketching Rear Legs
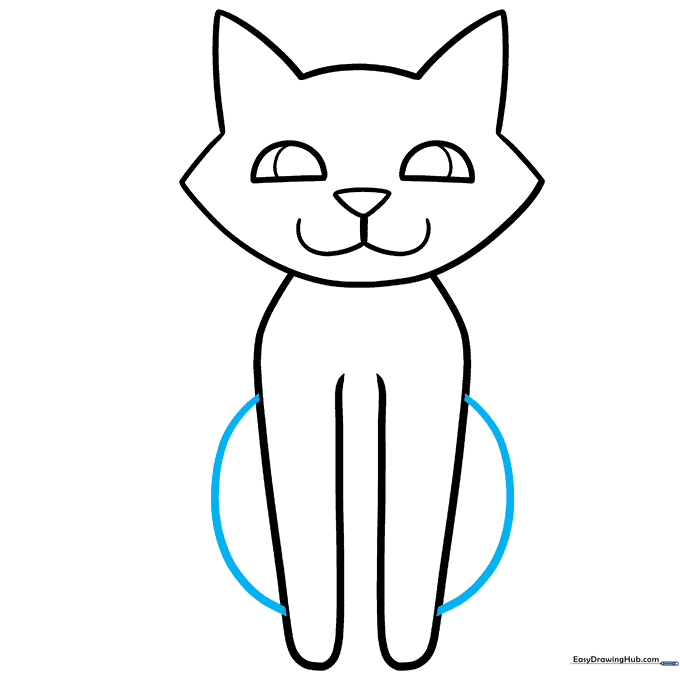
Draw a curved line on the outer side of each front leg to represent the back legs. Tip: Imagine these are circles tucked behind the front legs to get the shape just right.
Step 8: Finishing the Body and Feet
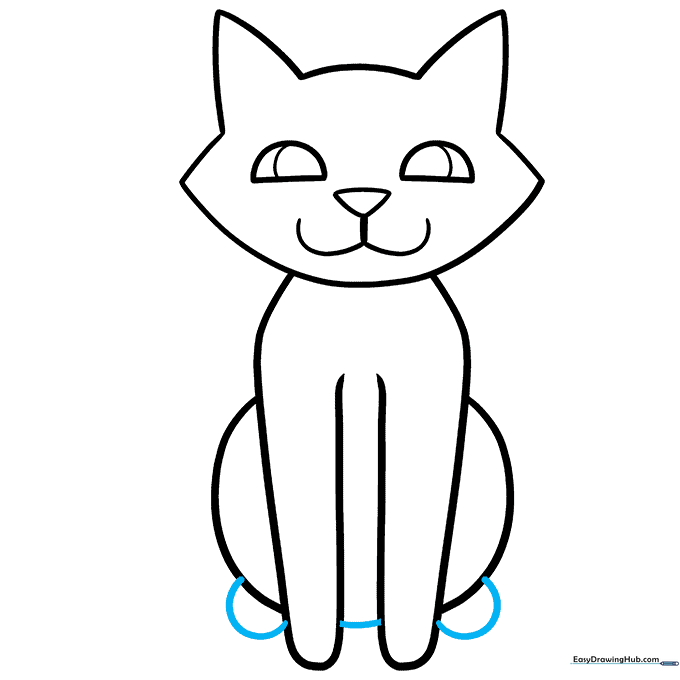
Connect the body lines and add small half-circles at the base of the rear legs for the feet. Tip: Keep these feet small to maintain the cat's cute, simple proportions.
Step 9: Adding the Tail
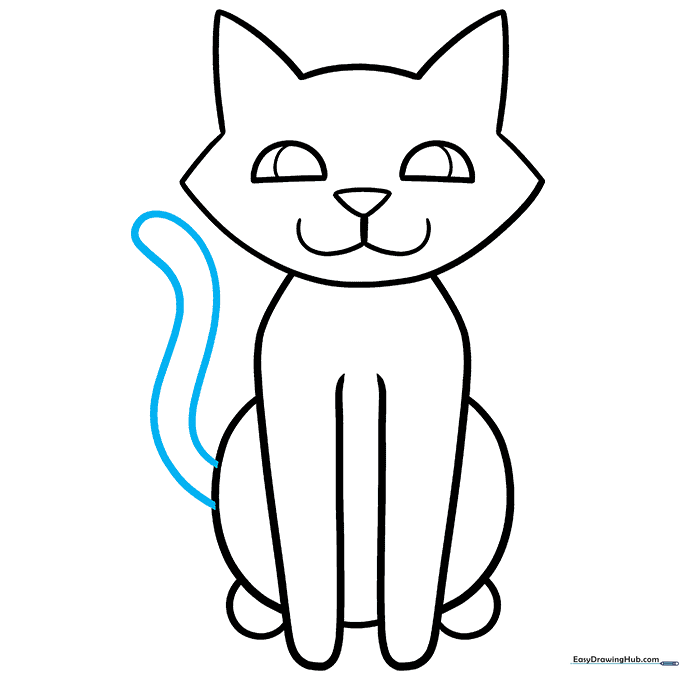
Draw a long, curved tail extending from the back. Tip: Make the tail thick at the base and slightly thinner at the tip for a graceful look.
Step 10: Coloring Your Cat
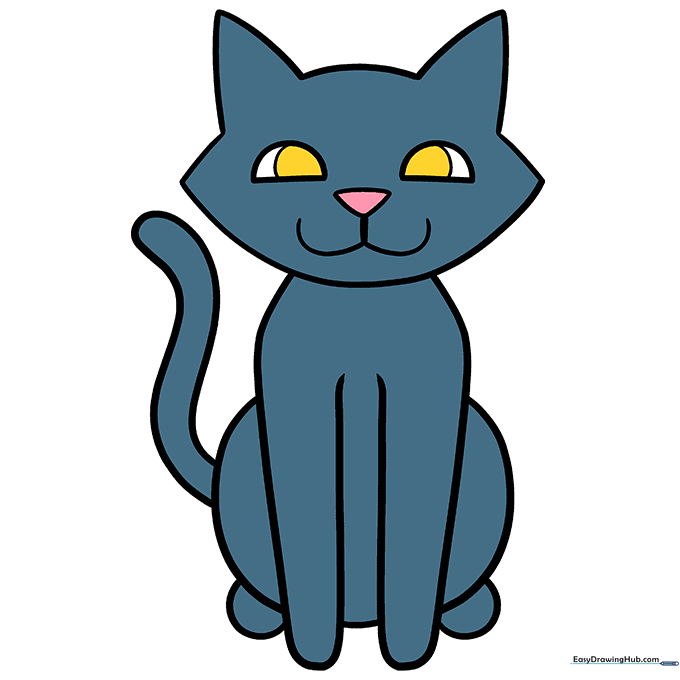
Bring your cat to life with color! We chose black fur with yellow eyes and a pink nose, but feel free to use your favorite colors. Tip: Use light pressure with your pencils for a smooth, even fill.
More Tutorials


