How to Draw a Simple Bunny: Easy 10-Step Guide for Kids
Ready to draw a friendly bunny? This tutorial is perfect for ages 5 and up, requiring only a pencil, paper, and an eraser. Follow these simple steps to build confidence and develop fine motor skills while creating your own adorable rabbit character.
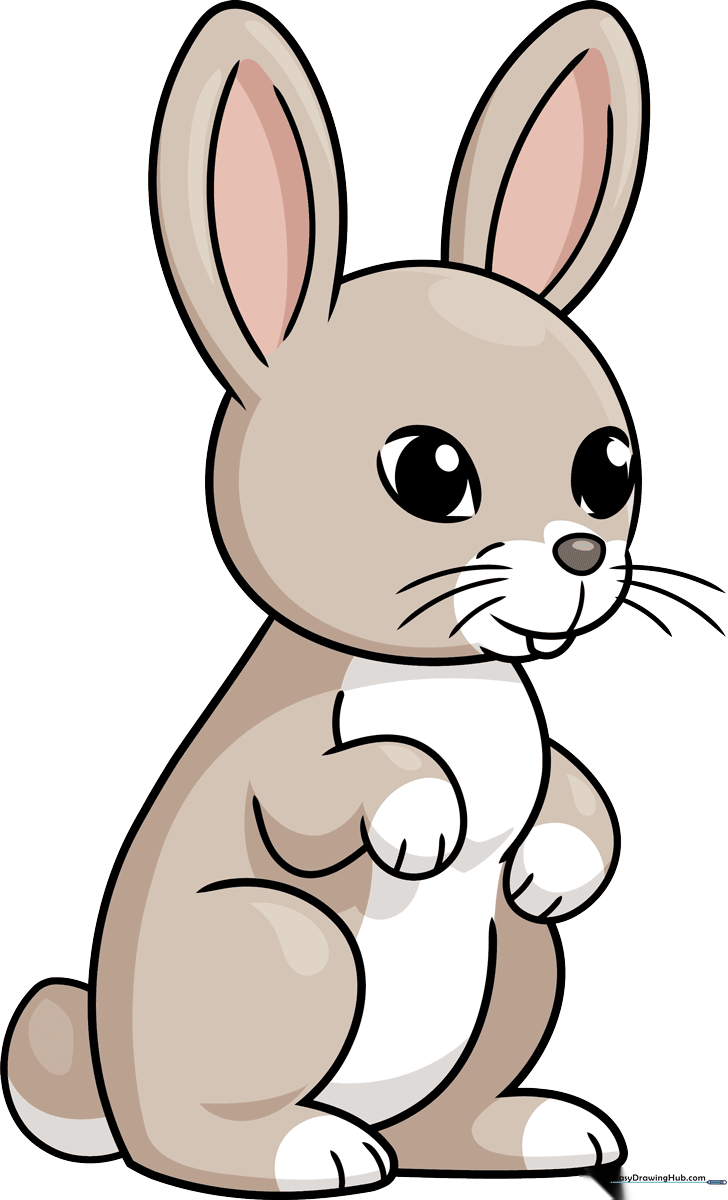
🎯 Final Result
Step-by-Step Instructions
Step 1: Sketching the Expressive Eyes

Draw two curved lines for the top of the eyes, leaving them open at the bottom. Add a large, dark circle inside each for the pupils. Teacher's Tip: Keep your pencil pressure light so you can easily adjust the spacing if the eyes look too far apart.
Step 2: Adding the Nose and Teeth
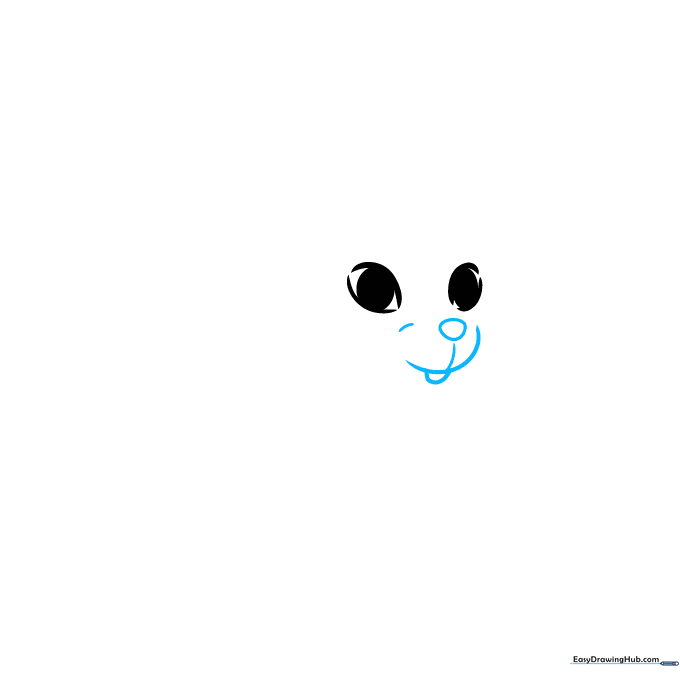
Draw a small, egg-shaped nose centered below the eyes. Add a tiny curved line for the mouth and a square shape for the front tooth. Teacher's Tip: A single tooth gives the bunny a playful, 'goofy' expression that kids love!
Step 3: Shaping the Head and Ears

Draw a rounded shape for the head, then add two long, tall ears on top. Teacher's Tip: Make the ears slightly wider at the base and rounded at the tips to keep them looking soft and friendly.
Step 4: Adding Ear Detail and Whiskers

Add inner lines to the ears to show depth. Draw three quick, curved lines on each side of the nose for whiskers. Teacher's Tip: Use short, flicking motions with your pencil to make the whiskers look natural and sharp.
Step 5: Drawing the Chest and Front Paw
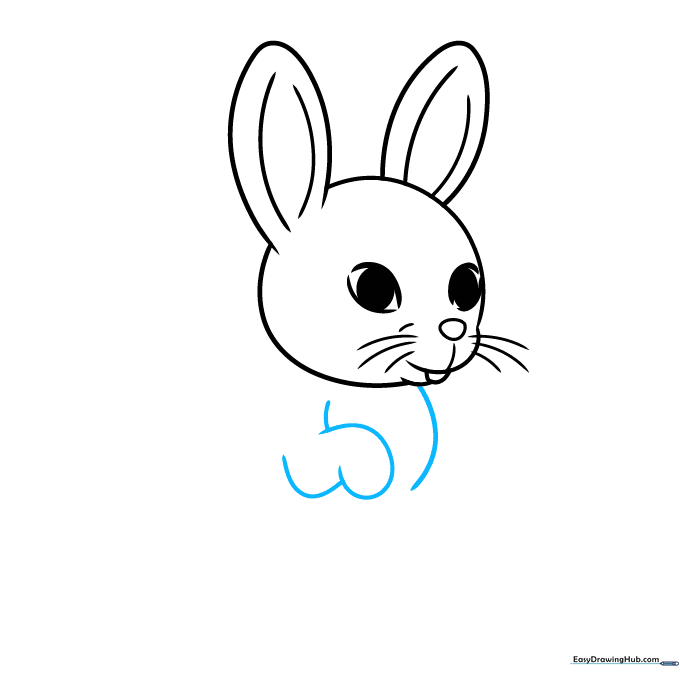
Draw a curved line for the chest and a small, rounded shape for the raised paw. Teacher's Tip: Imagine the bunny is waving 'hello' to make the pose feel more active.
Step 6: Adding the Second Paw and Belly
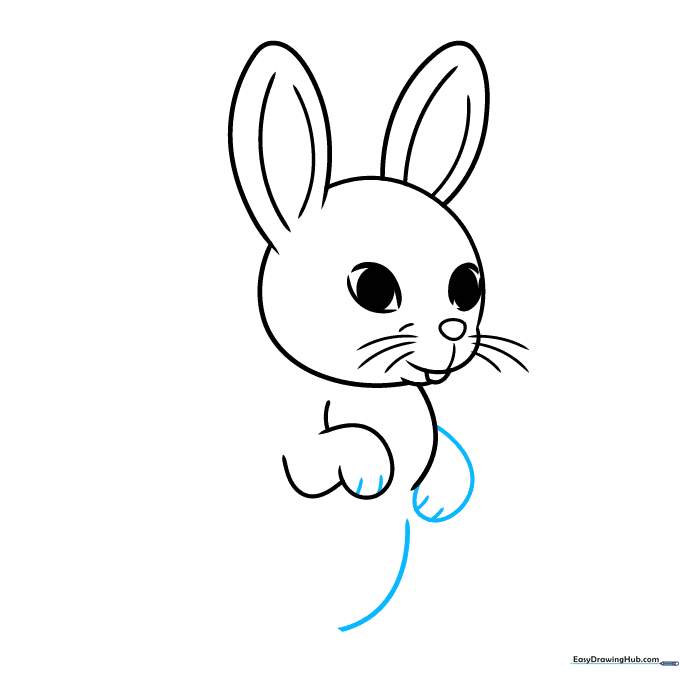
Draw the second paw tucked against the body and a curved line for the belly. Teacher's Tip: Keep the belly line slightly rounded to give the bunny a cute, chubby look.
Step 7: Sketching the Back and Leg
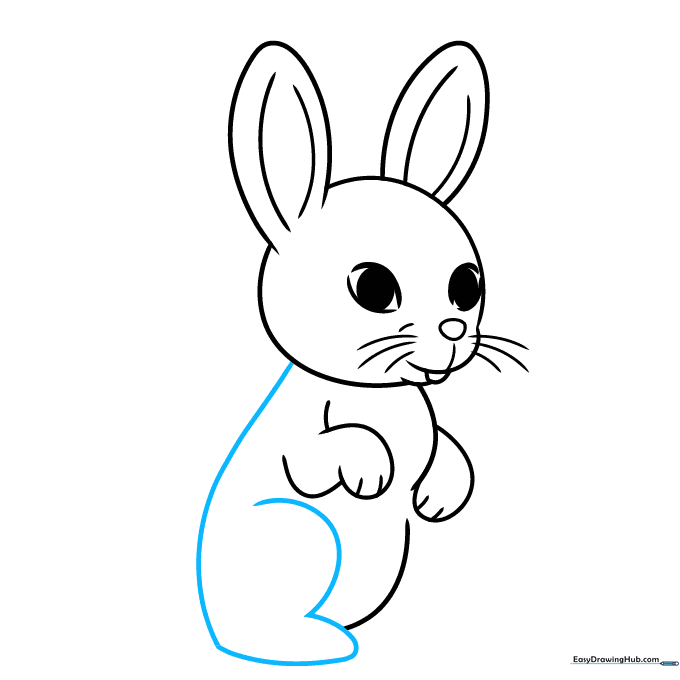
Draw a long, smooth curve for the back and a heart-like shape for the rear leg. Teacher's Tip: The 'heart' shape is a great trick for drawing a bent bunny leg quickly.
Step 8: Completing the Rear Legs
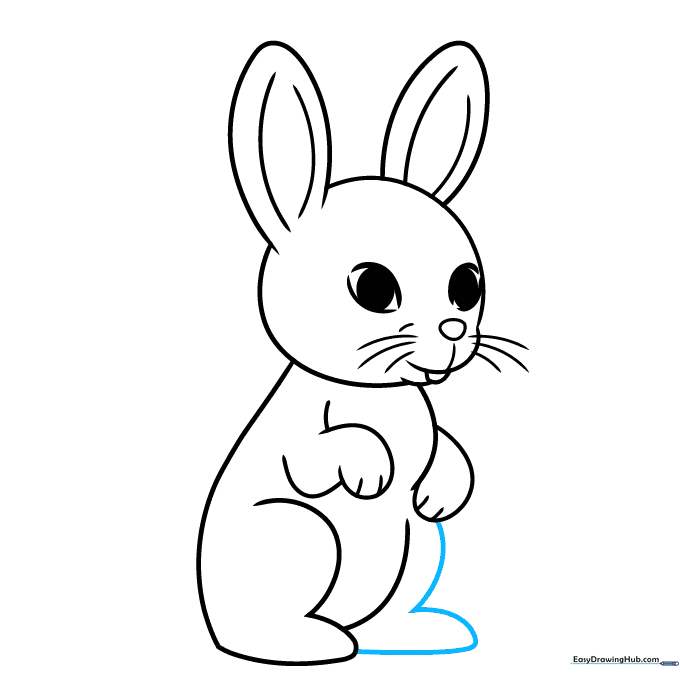
Add the second rear leg using two simple curved lines. Teacher's Tip: Ensure the legs look balanced so the bunny looks like it's sitting comfortably.
Step 9: Adding the Fluffy Tail
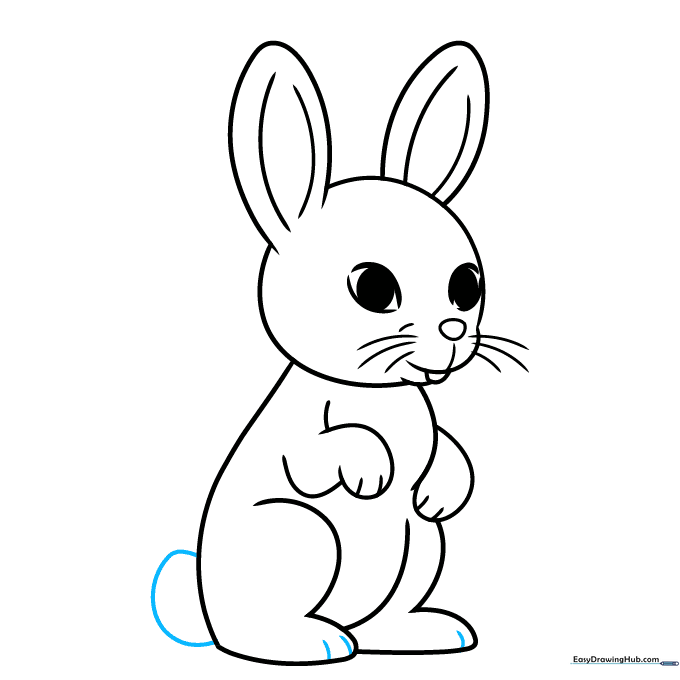
Use a 'C' shaped line to add a small, fluffy tail. Teacher's Tip: You can make the tail look extra soft by using tiny, jagged lines instead of one smooth curve.
Step 10: Bringing Your Bunny to Life with Color
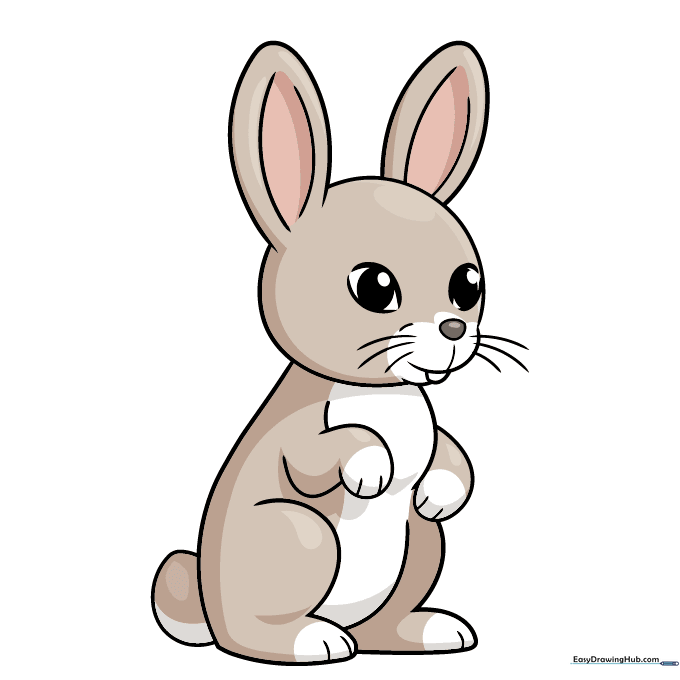
Your outline is finished! Now, choose your favorite colors. Traditional bunnies look great in soft grays, browns, or creams. Teacher's Tip: Try using a light pink for the inside of the ears to make them pop!
More Tutorials


