How to Draw a Simple Boat: Easy 10-Step Guide for Kids
Ready to set sail? This tutorial is perfect for young artists ages 5 and up who want to learn how to draw a classic sailboat. All you need is a pencil, an eraser, and some paper to bring this nautical scene to life.
🎯 Final Result

Step-by-Step Instructions
Step 1: Sketching the Hull
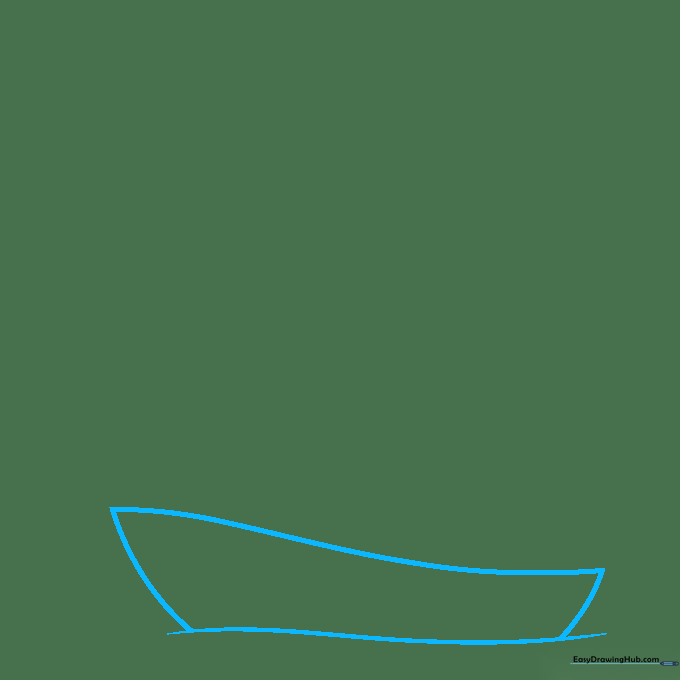
Draw a gentle, wavy line to represent the water's surface. Below this, draw two curved lines that meet at the bottom to form the boat's hull. Teacher's Tip: Keep the hull shape rounded like a bowl so it looks like it's floating on the water.
Step 2: Adding the Cabin
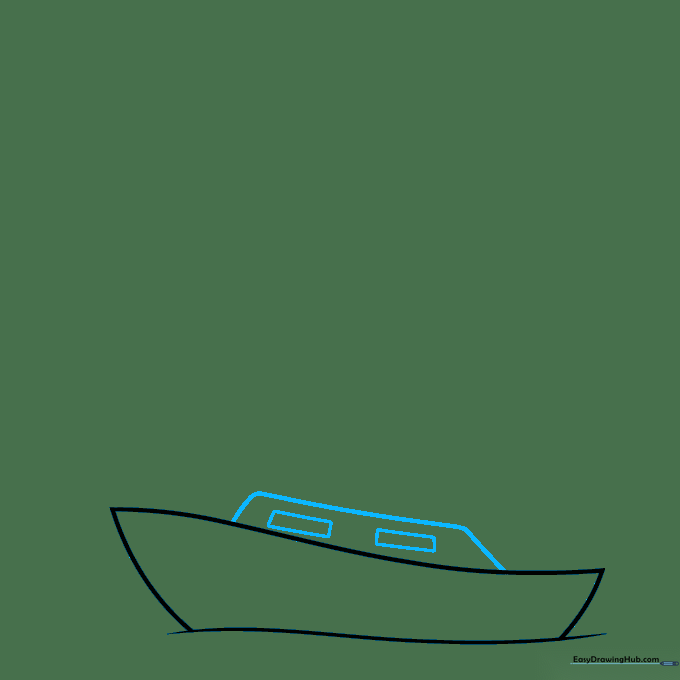
Draw a small trapezoid shape on the deck for the cabin, and add two small rectangles inside for windows. Teacher's Tip: Use a ruler if you want the windows to look perfectly straight, or keep them freehand for a whimsical look.
Step 3: Drawing the Mast
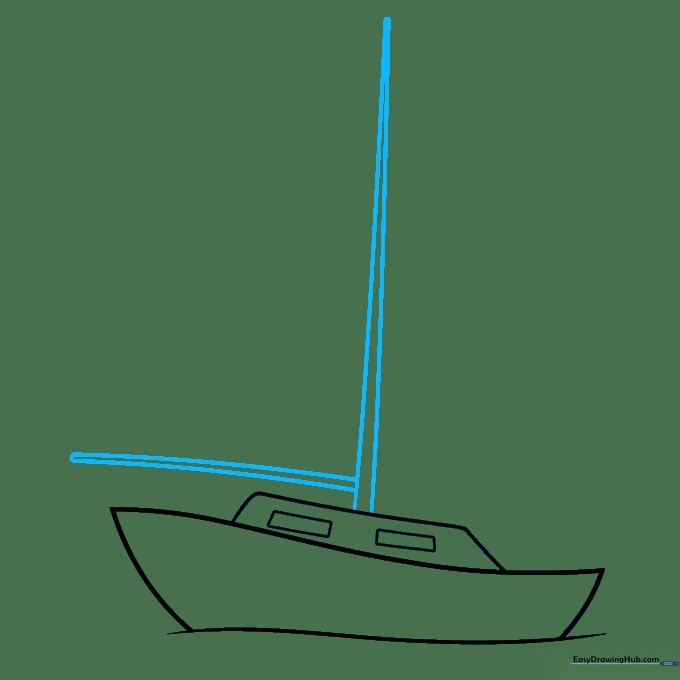
Draw two long, vertical lines extending upward from the cabin to create the mast. Connect them at the top. Add a horizontal line for the boom. Teacher's Tip: Make sure your mast is nice and tall to give your boat plenty of room for sails!
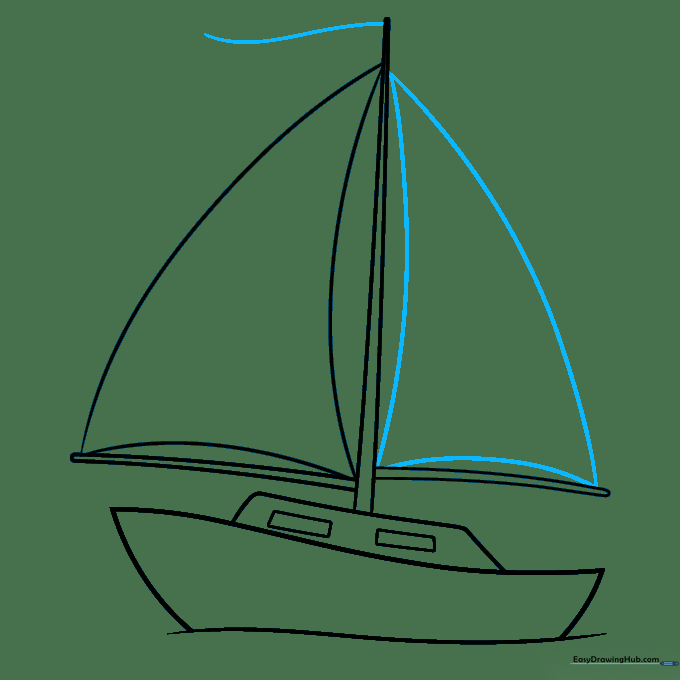
Step 4: Creating the Headsail
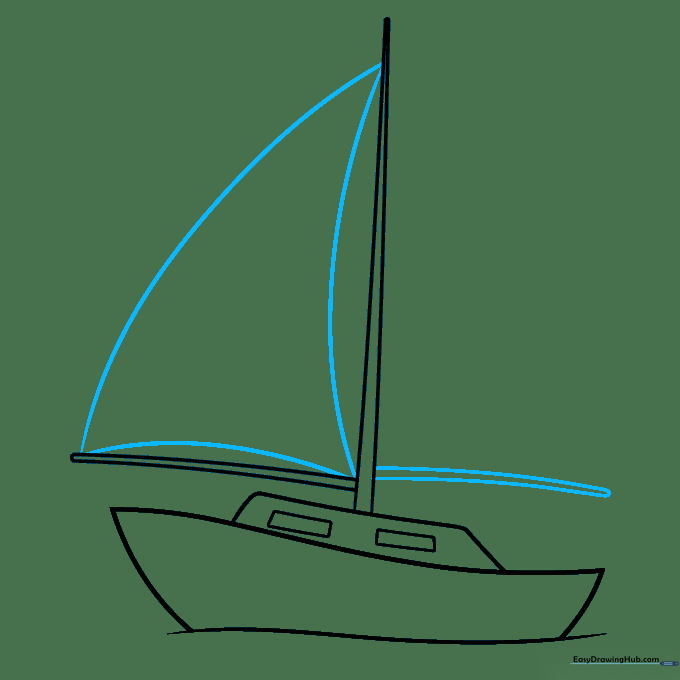
Draw a large, curved triangle shape between the mast and the front of the boat. This is your headsail. Teacher's Tip: Imagine the wind is blowing, so give the sail a slight curve to show movement.
Step 5: Adding the Mainsail and Flag
Draw a second triangular sail behind the mast, then add a small flag at the very top. Teacher's Tip: Keep the flag small so it doesn't distract from the main sails.
Step 6: Refining the Details
Complete the flag shape and draw a line along the hull to add depth. Teacher's Tip: This line helps separate the deck from the side of the boat, making it look 3D.
Step 7: Adding Stripes and Horizon
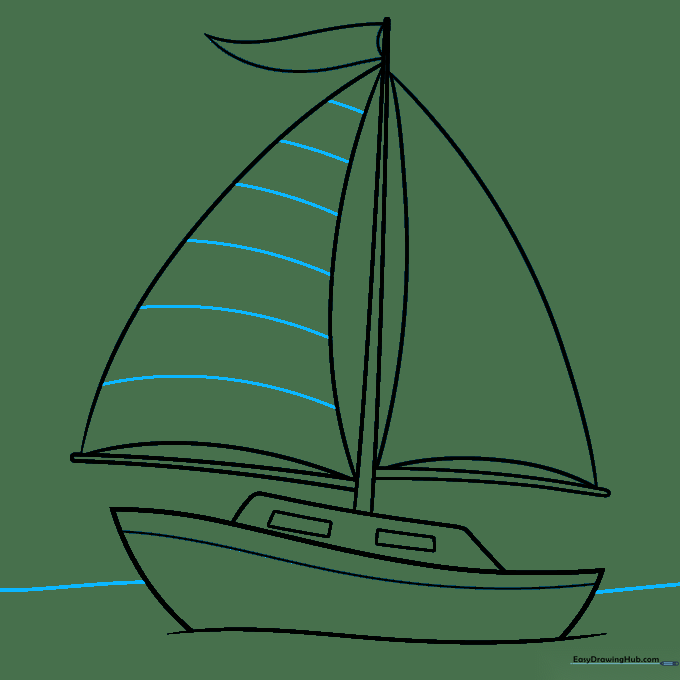
Add horizontal stripes to your sail and draw a long, curved line in the background for the horizon. Teacher's Tip: The horizon line helps ground your boat in the scene.
Step 8: Drawing Clouds
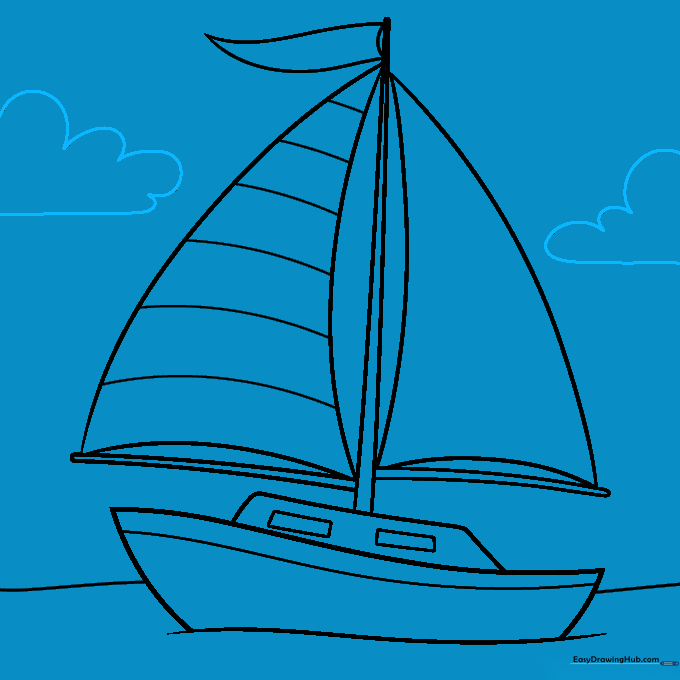
Use soft, rounded lines to draw fluffy clouds in the sky. Teacher's Tip: Don't make them perfect circles; clouds are naturally bumpy and irregular!
Step 9: Final Touches
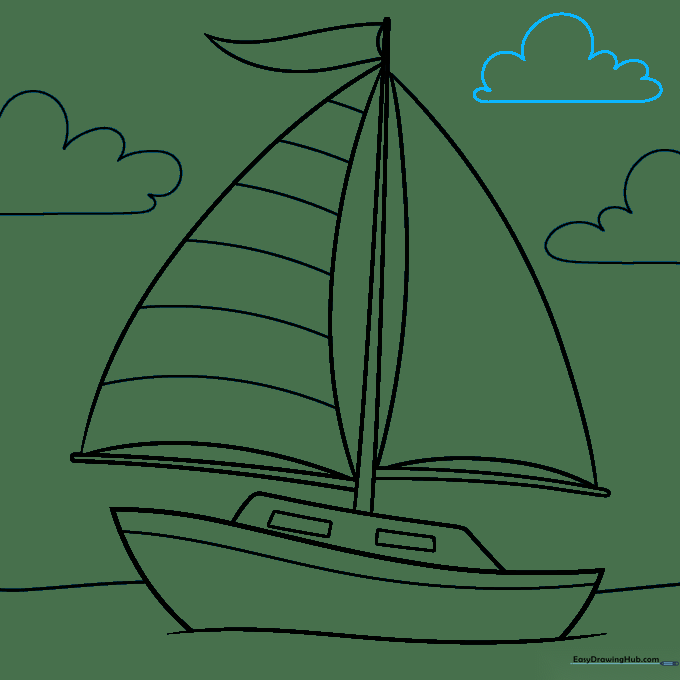
Add one more cloud to balance your composition. Teacher's Tip: Check your drawing for any stray pencil marks and erase them now before you start coloring.
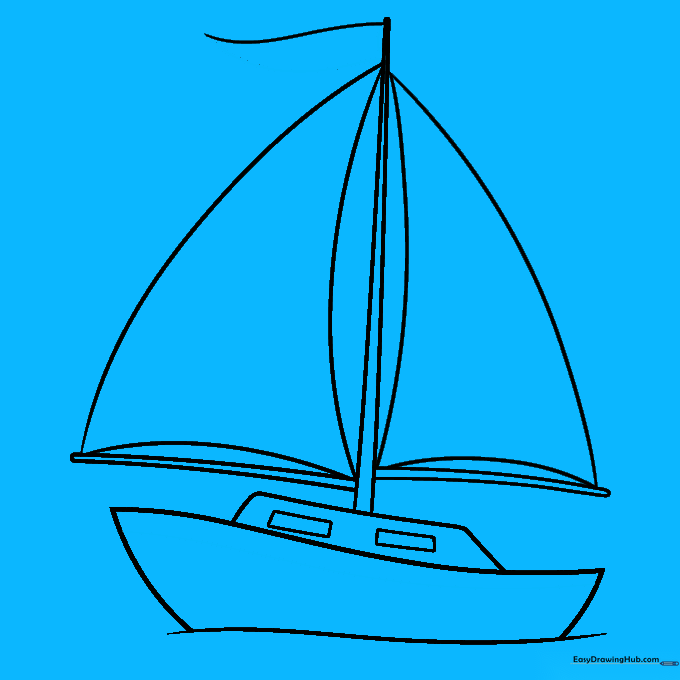
Step 10: Color Your Masterpiece
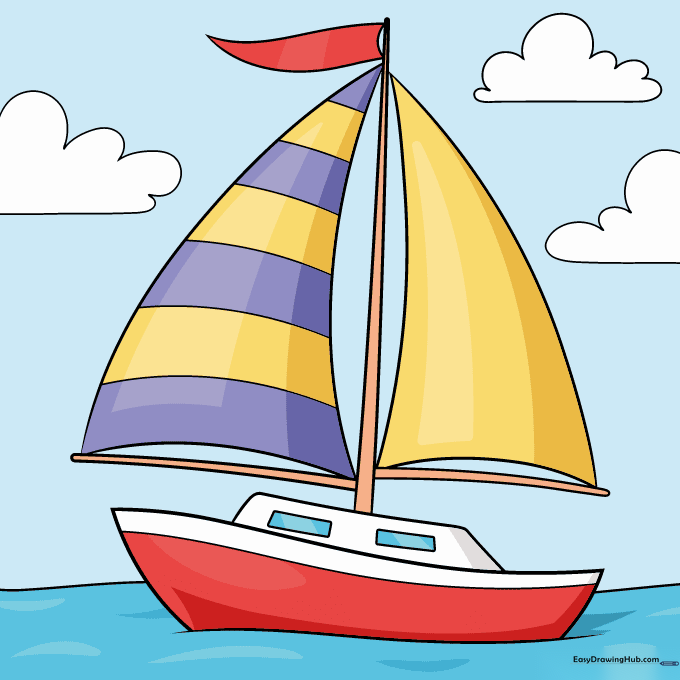
Bring your boat to life with your favorite colors! Teacher's Tip: Use bright, bold colors for the sails to make your boat stand out against the blue water.
More Tutorials


