How to Draw a Ship: Easy 10-Step Guide for Kids
Ready to set sail on an artistic adventure? This tutorial is perfect for young artists ages 5 and up. You only need a pencil, an eraser, and a piece of paper to bring this ocean-faring vessel to life.
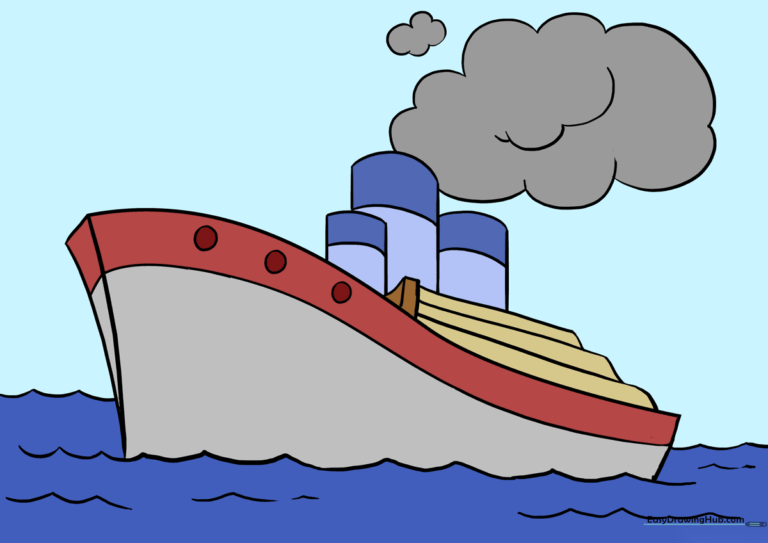
🎯 Final Result
Step-by-Step Instructions
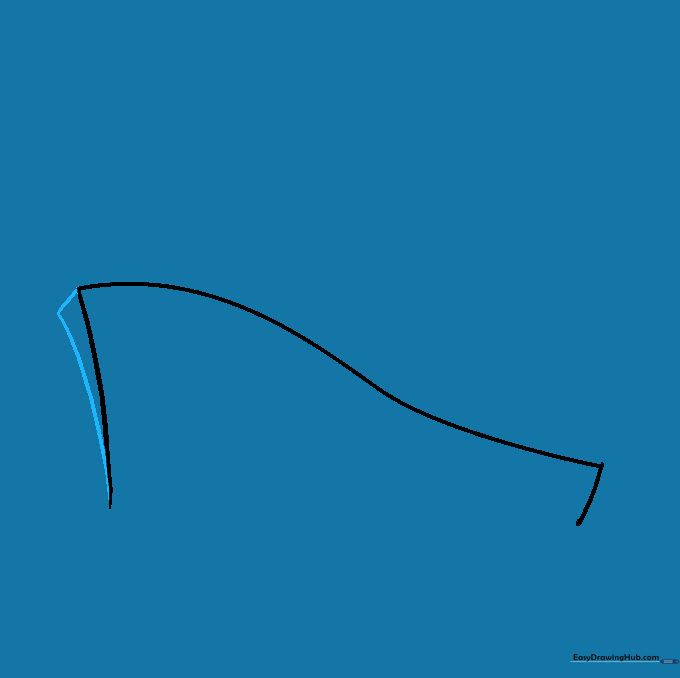
Step 1: Sketching the Hull

Start by drawing two curved lines—one long and one short—to form the bow and stern of your ship. Teacher's Tip: Keep these lines soft and rounded to give the ship a sturdy, classic look.
Step 2: Connecting the Hull

Connect the tops of your bow and stern lines with one long, sweeping curved line. This creates the top edge of your ship's deck.
Step 3: Adding Depth
Draw a short, curved line from the bow and connect it to the bottom. This creates the illusion of the ship's far side, giving your drawing 3D perspective.
Step 4: Drawing the Waves
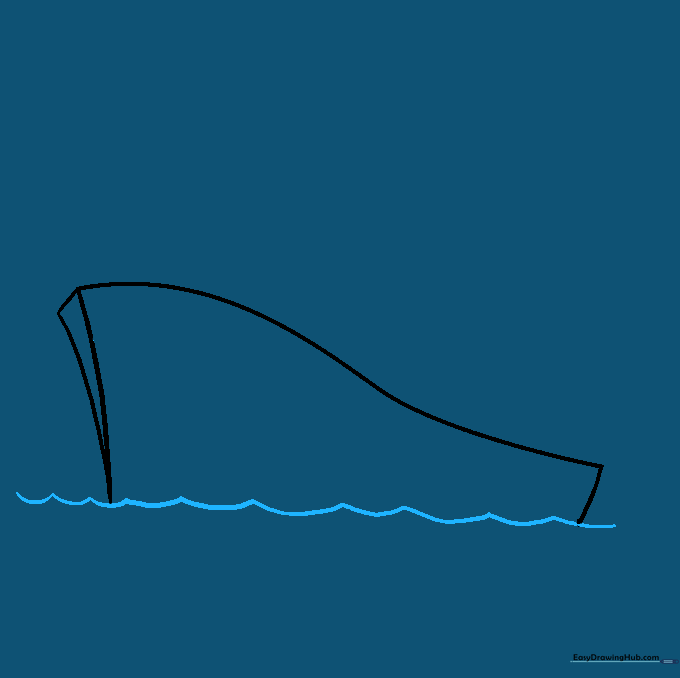
Draw a long, wavy line beneath the ship with sharp, pointed crests. Tip: Vary the height of your waves to make the ocean look like it's moving!
Step 5: Detailing the Hull
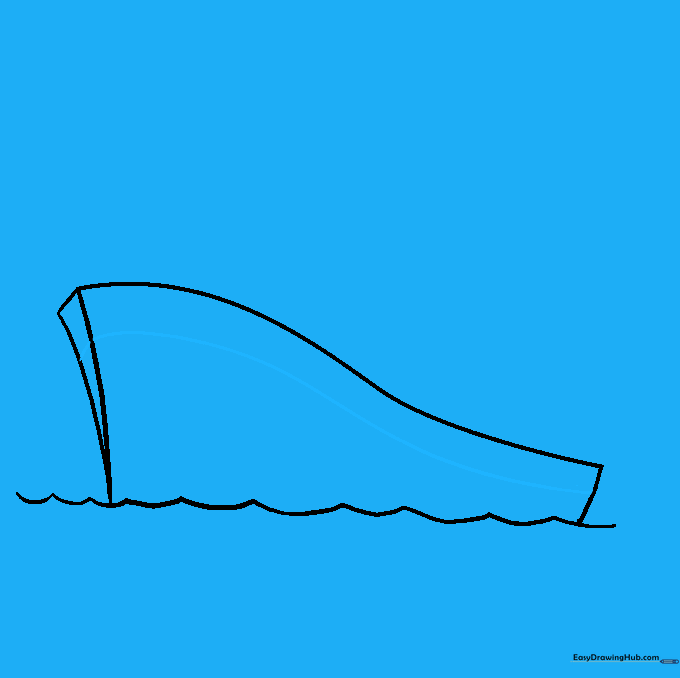
Draw a long, curved line running parallel to the top of the ship. This adds a nice trim detail to the side of the vessel.
Step 6: Building the Cabin
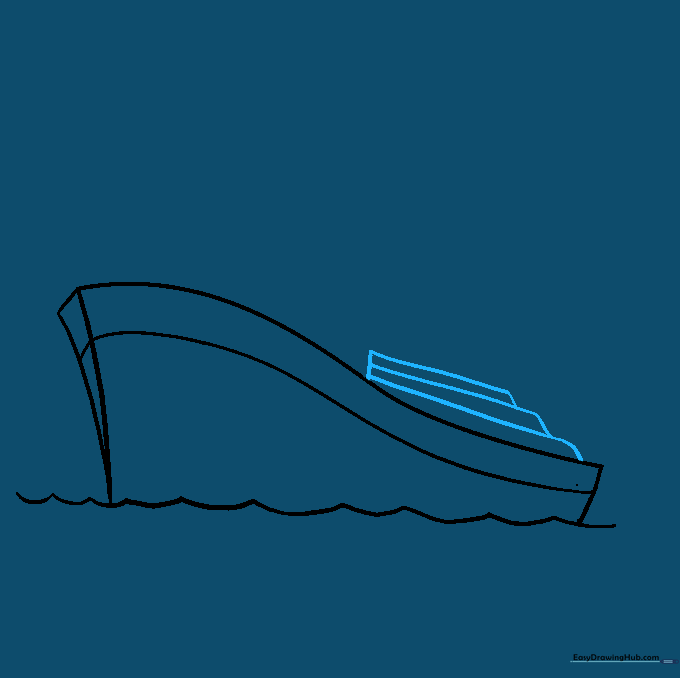
Draw stacked, narrow rectangles with rounded ends on the deck. These will serve as the ship's cabin structures.
Step 7: Adding Portholes

Add small circles along the side for portholes. Add a vertical rectangle to the cabin and connect it to the side with a small line for extra detail.
Step 8: Drawing Smokestacks
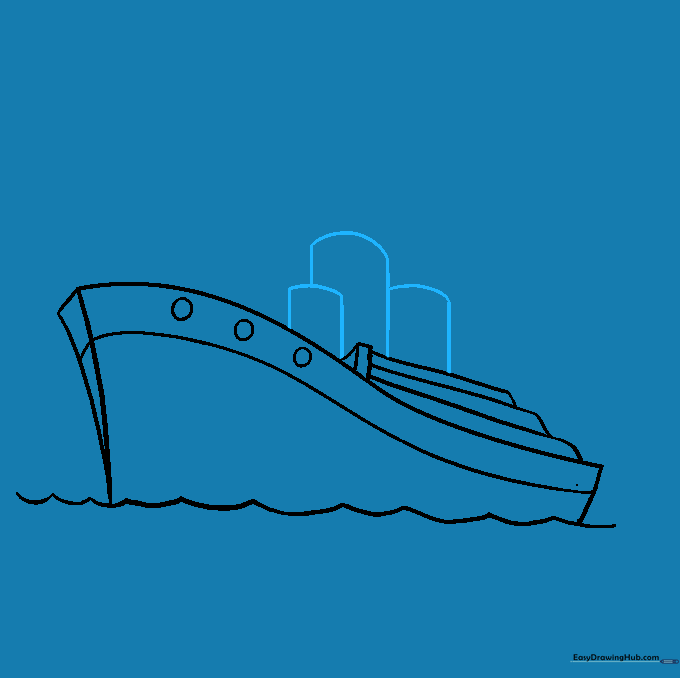
Draw two parallel lines extending upward for each smokestack, connecting them at the top with a curve. Make them different heights to show depth.
Step 9: Adding Smoke and Waves
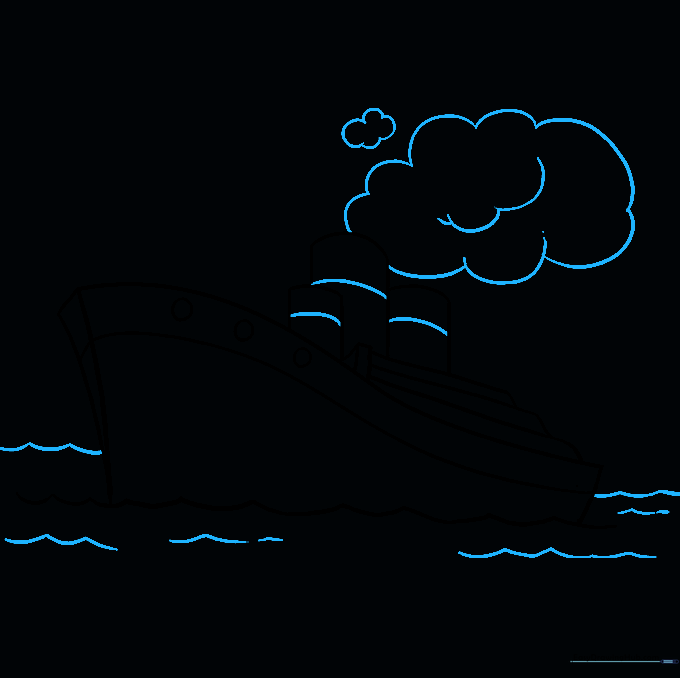
Draw fluffy, cloud-like shapes above the smokestacks using short, curved lines. Add a few more wavy lines in the water to complete the scene.
Step 10: Final Touches
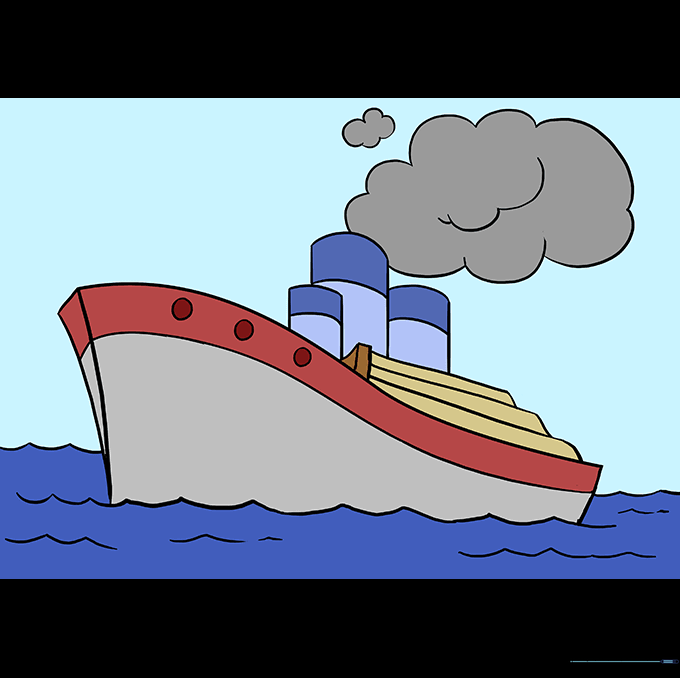
Color your ship! Use blues for the ocean and bold colors for the hull. Why not add a whale or a dolphin nearby to complete your ocean masterpiece?
More Tutorials


