How to Draw a Shiba Inu: Easy 10-Step Guide for Kids
Capture the spirited personality of a Shiba Inu with this beginner-friendly drawing tutorial. Designed for young artists and hobbyists, this guide requires only a pencil, paper, and an eraser. Follow along to master the iconic curled tail and fox-like features of this beloved breed.
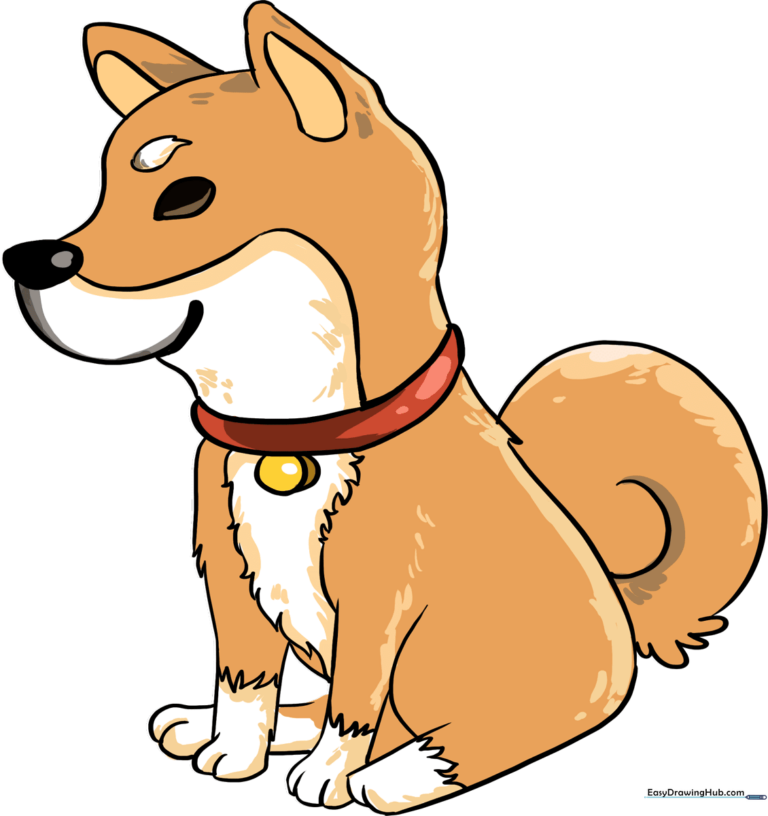
🎯 Final Result
Step-by-Step Instructions
Step 1: Sketching the Face and Snout
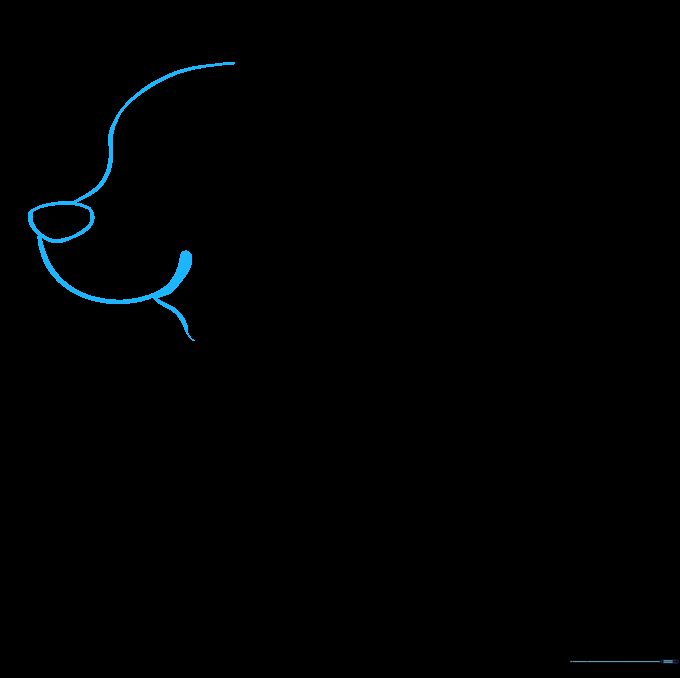
Start by sketching the dog's face. Use an 'S' shaped line to craft the forehead and top of the snout. Then, draw an irregular rounded shape to form the nose. Add a 'U' shaped line beneath the nose for the mouth and a small curve for the neck. Teacher's Tip: Keep your pencil pressure light so you can easily adjust the snout shape if needed.
Step 2: Defining Ears and Eyes
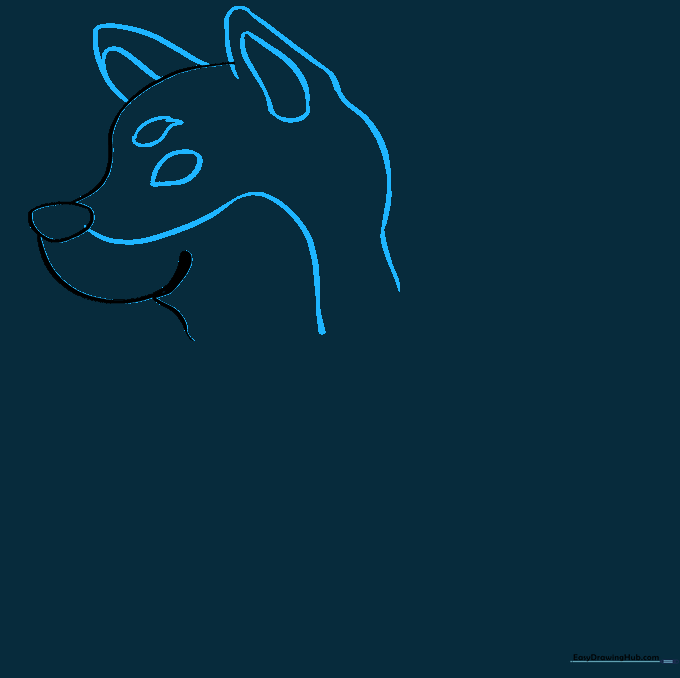
Sketch rounded triangular shapes for the ears, adding a smaller triangle inside each for depth. Draw a teardrop shape for the eye and a brow above it. Use a long 'S' line from the nose down the neck to mark the color transition. Teacher's Tip: Shiba Inu ears are perky and alert; make sure they point slightly outward.
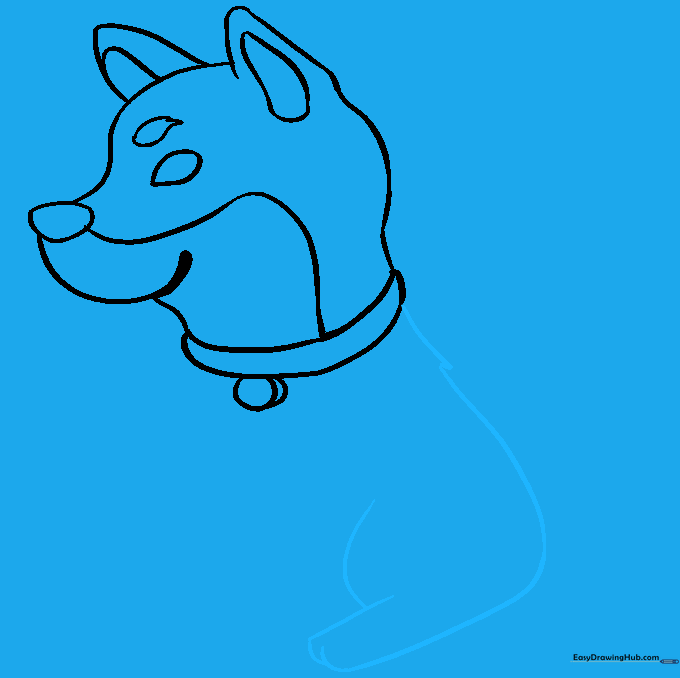
Step 3: Adding the Collar and Tag
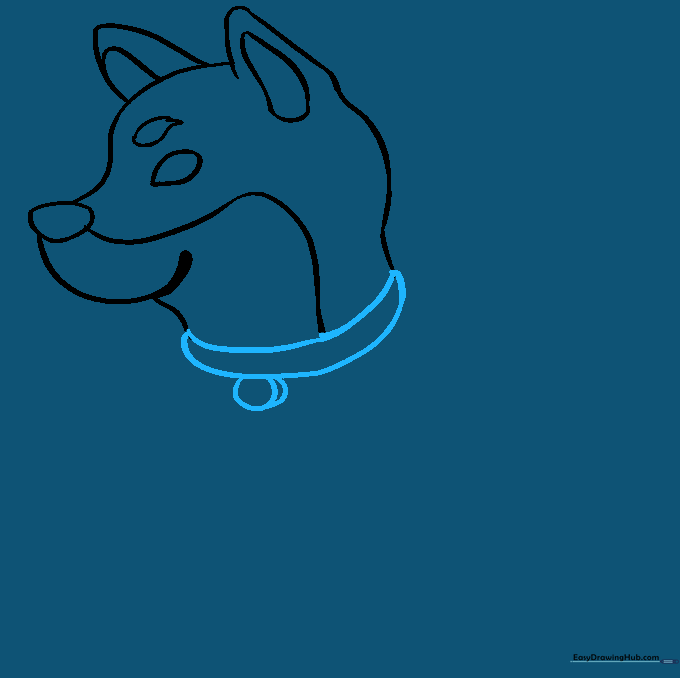
Enclose the collar with two long, curved lines around the neck. Add a small circle below for the name tag, and a tiny curved line inside the tag to give it a 3D look. Teacher's Tip: Use a steady hand to make the collar look like it is resting comfortably against the fur.
Step 4: Sketching the Back and Rear Leg
Use long, curved lines to sketch the back and rear leg. Create a pointed overlap on the back to suggest fluffy fur texture. Teacher's Tip: When drawing the foot, use small overlapping lines to represent the toes, which helps the drawing look more realistic.
Step 5: Drawing the Front Leg
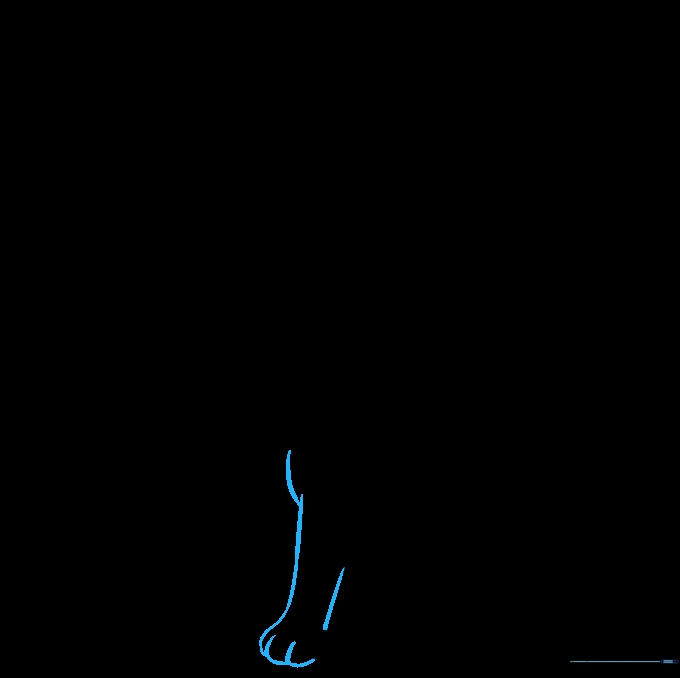
Draw the foreleg using long lines and a short curve for the shoulder. Use overlapping 'U' shapes to enclose the foot and define the toes. Teacher's Tip: Keep the leg lines relatively straight to show the dog is standing firmly.
Step 6: Adding Chest Fur Detail
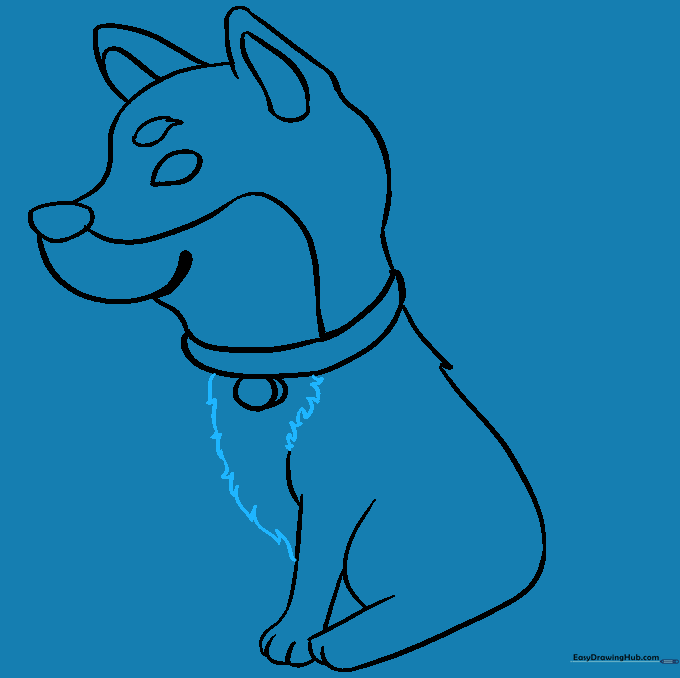
Use a series of short, curved lines that meet at jagged points to create the white chest patch. Teacher's Tip: Vary the length of your strokes to make the fur look natural and soft rather than perfectly uniform.
Step 7: Drawing the Second Foreleg
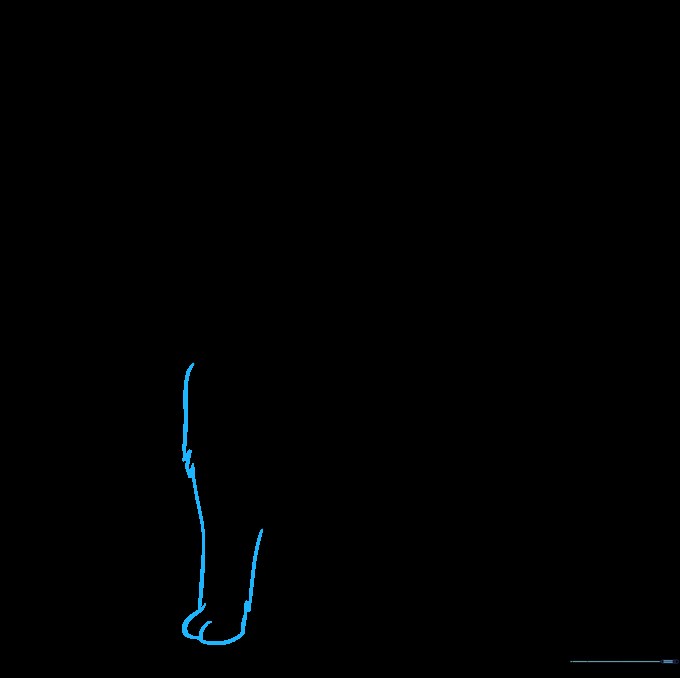
Draw the remaining foreleg using long, curved lines. Add jagged points to indicate fur texture and 'U' shapes for the toes. Teacher's Tip: Ensure this leg aligns with the first one to keep the dog's posture balanced.
Step 8: Adding the Final Leg
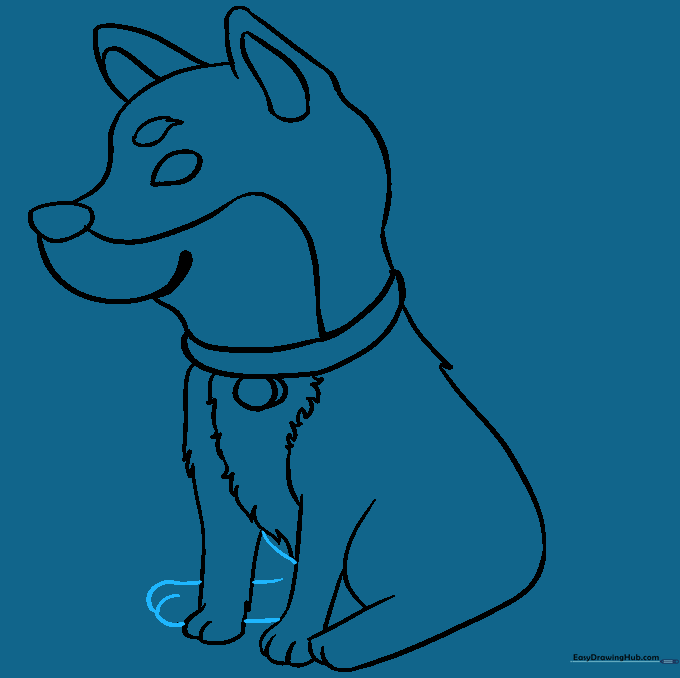
Draw the remaining rear leg using horizontal lines and overlapping 'U' shapes for the toes. Teacher's Tip: This leg should be slightly behind the others, so keep the lines clean and simple.
Step 9: Drawing the Tail and Final Touches
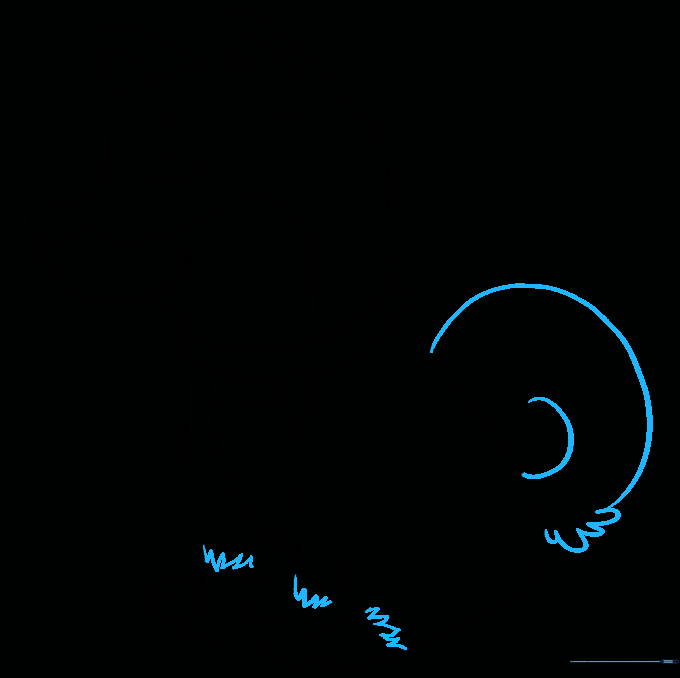
Draw the iconic curled, spiral-shaped tail. Add 'U' shaped lines at the base for fur detail. Add a zigzag line across the bottom of each leg just above the paw to show fur patterns. Teacher's Tip: The curled tail is the signature of the Shiba Inu, so make it nice and fluffy!
Step 10: Coloring Your Shiba Inu
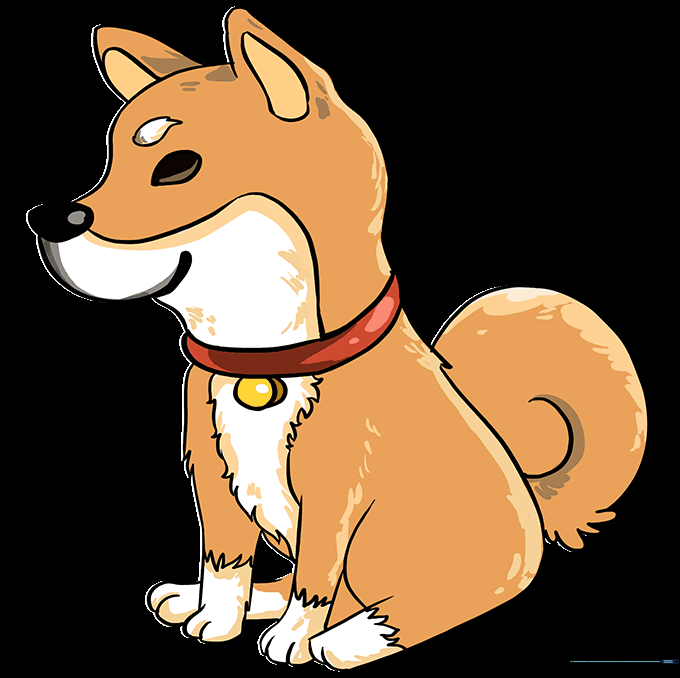
Bring your drawing to life with color! Shiba Inus are typically a mix of ginger, tan, red, or black with white accents. Teacher's Tip: Use light, circular motions with your colored pencils to create a smooth, even coat. Explore our other dog tutorials to draw a whole pack of friends!
More Tutorials


