How to Draw a Self-Portrait: Easy Step-by-Step Guide
Perfect for budding artists ages 6 and up, this self-portrait tutorial helps children observe their unique features and translate them onto paper. All you need is a pencil, an eraser, and a mirror to get started. By the end of this lesson, your child will have a personalized character drawing that celebrates their own identity.
🎯 Final Result

Step-by-Step Instructions
Step 1: Sketching the Eyes
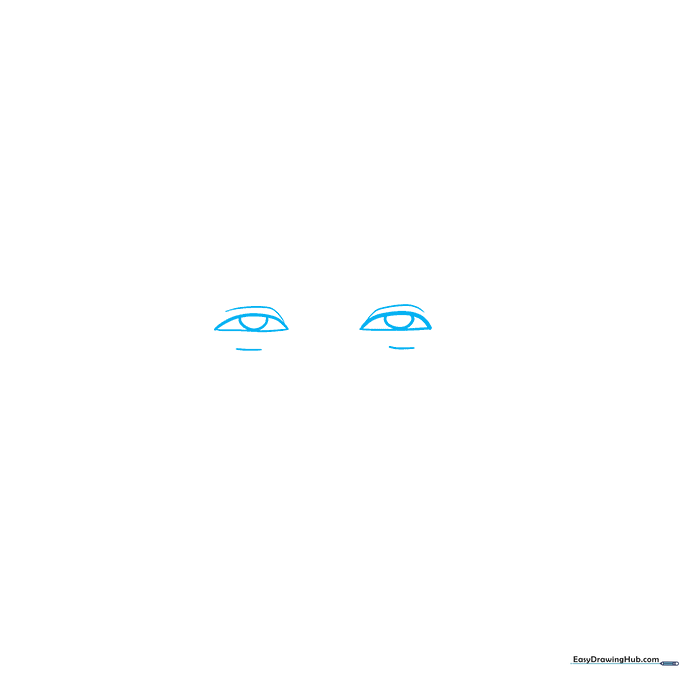
Draw two semi-ovals with circles inside for the eyes. Teacher's Tip: Keep your pencil pressure light so you can easily adjust the shape later if you want to change the expression!
Step 2: Adding Brows and Nose
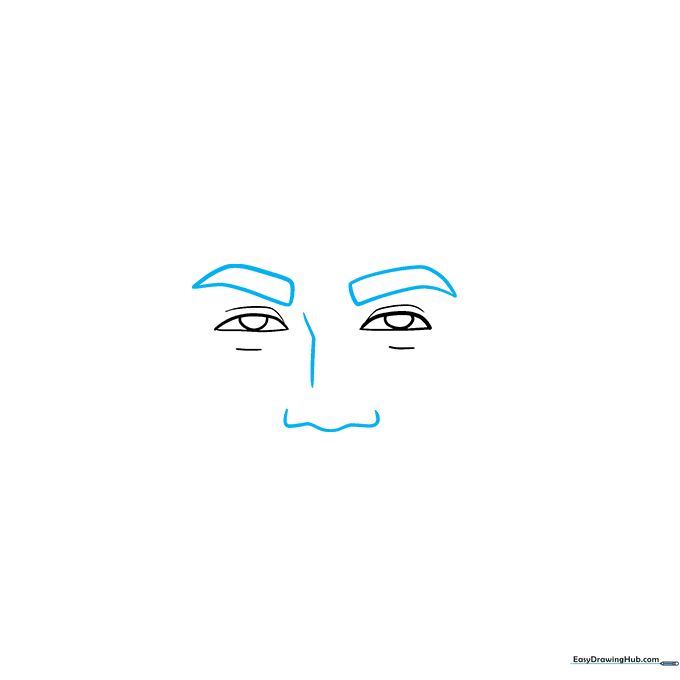
Add two straight lines beside the left eye and a small wavy line for the nose. Teacher's Tip: Look in the mirror—are your eyebrows thick or thin? Adjust your shapes to match your own unique look.
Step 3: Drawing the Mouth
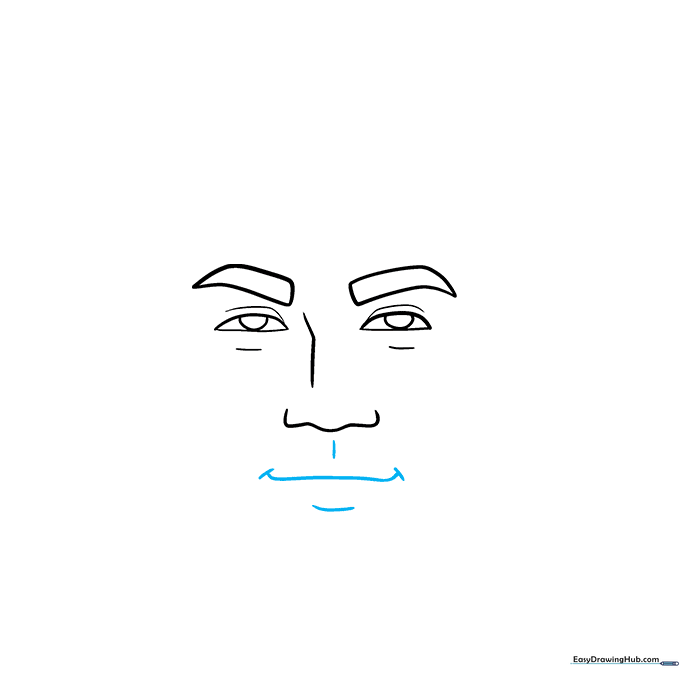
Draw a horizontal line that curves at the ends for the mouth, adding small dashes for detail. Teacher's Tip: A slight curve upward makes your portrait look happy and friendly!
Step 4: Defining Face Shape
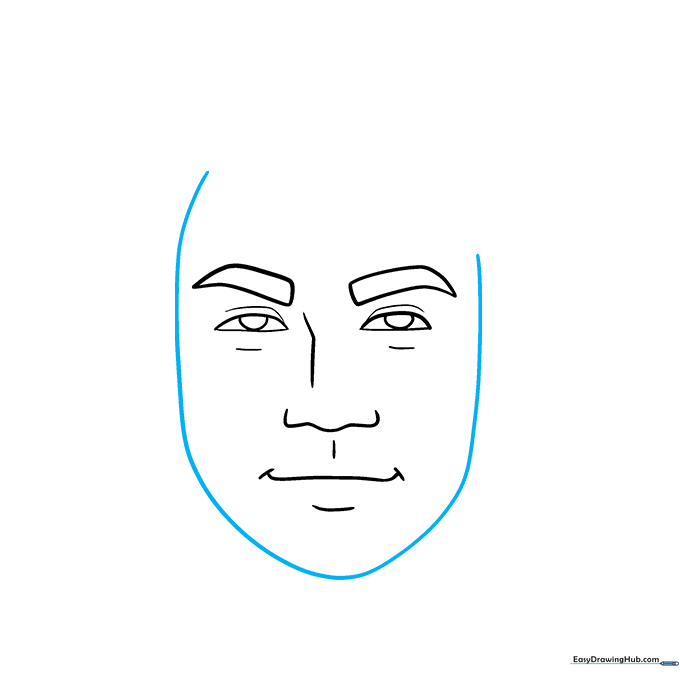
Draw an oval around your features to define your face shape. Teacher's Tip: Everyone's face is different! Observe your jawline in the mirror—is it round, square, or pointed?
Step 5: Adding Hairline and Ears
Draw triangles at the hairline and add two curves for the ears. Teacher's Tip: Ears usually align with the space between your eyes and your nose.
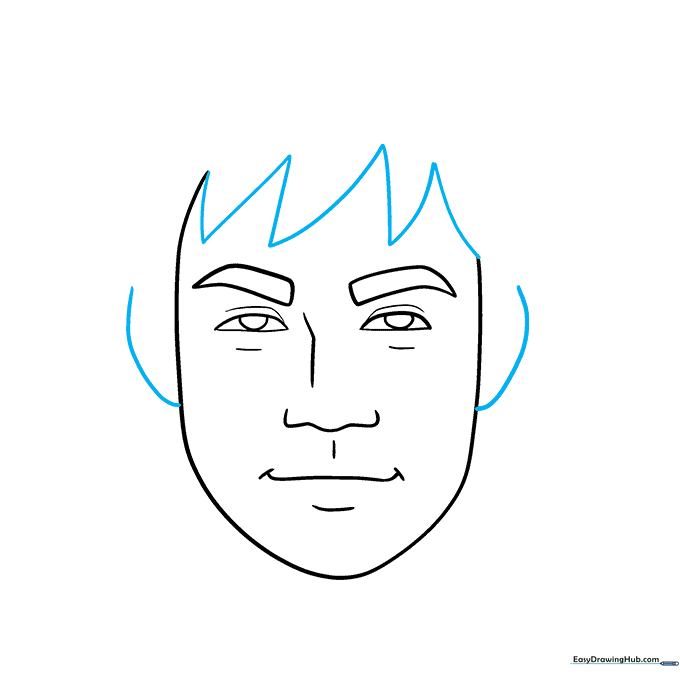
Step 6: Building the Hair

Add triangles around the ears and sketch a dome shape for the top of the head. Teacher's Tip: Don't worry about perfect lines; hair has texture and movement!
Step 7: Refining Hair and Ears
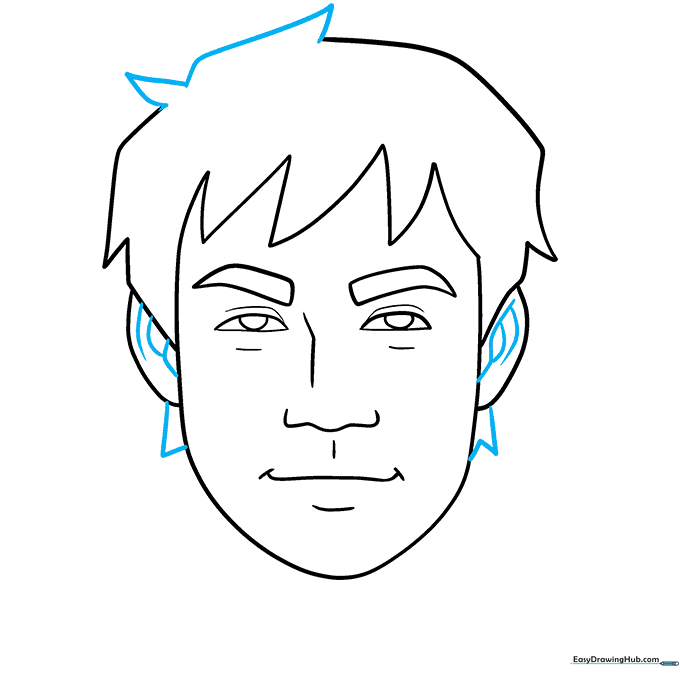
Complete the hair with loose triangles and add inner details to the ears. Teacher's Tip: Use small, quick strokes to make the hair look more natural.
Step 8: Drawing the Neck
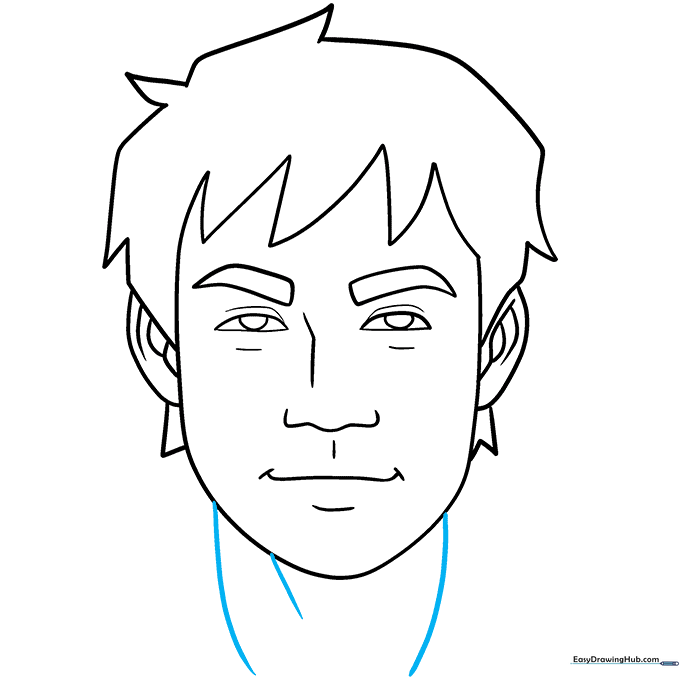
Draw two long curves for the neck and a diagonal line for the collar. Teacher's Tip: Keep the neck lines centered so your head looks balanced.
Step 9: Shoulders and Final Outline
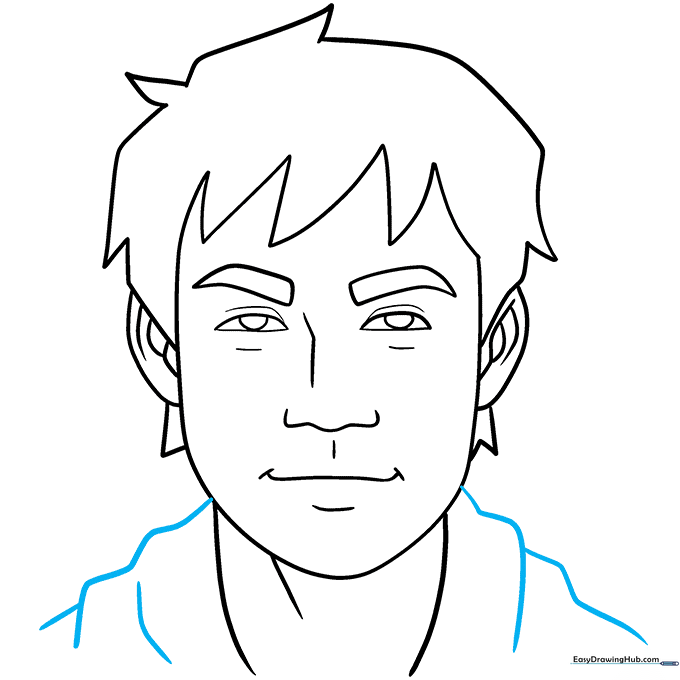
Sketch the shoulders and add lines for clothing folds. Finally, trace over your work with a black pen and erase your pencil marks. Teacher's Tip: Use a steady hand when outlining to keep your lines clean.
Step 10: Adding Color

Bring your portrait to life! Use colors that match your own hair, eyes, and favorite shirt. Teacher's Tip: Try coloring in one direction to keep your artwork looking smooth and professional.
More Tutorials


