How to Draw a Seashell: Easy 10-Step Guide for Kids
Bring the beach to your sketchbook with this simple seashell drawing guide, perfect for artists ages 5 and up. You only need a pencil, an eraser, and your favorite coloring supplies to get started. Follow these steps to build confidence in your line work and create a charming ocean treasure.
🎯 Final Result

Step-by-Step Instructions
Step 1: Establishing the Guide Line

Start by drawing a light diagonal line across your paper. Teacher's Tip: Use a ruler if you need help, but keeping it freehand helps develop steady hand control!
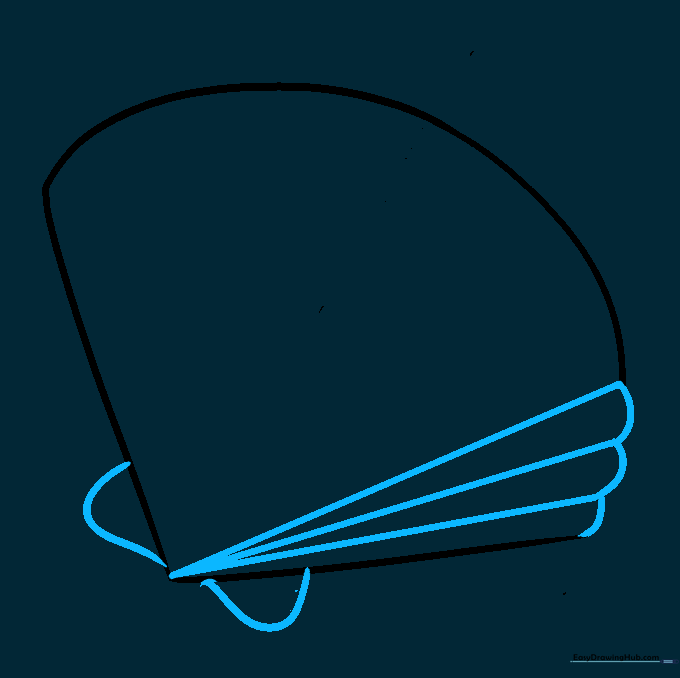
Step 2: Creating the Shell's Angle

Draw a second line extending from your first at an acute angle, then connect the ends with a soft curve. Tip: Imagine you are drawing a slice of pizza to get the angle just right.
Step 3: Adding Depth

Add another line segment from the same starting point and connect it with a curve. Tip: Keep your pencil pressure light so you can easily adjust the curves later.
Step 4: Cleaning the Outline

Carefully erase your original guide lines. You should now have a clean, wedge-like shape remaining on your paper.
Step 5: Defining the Base
Draw 'C' shaped curves on the sides of the base and add straight lines radiating outward. Tip: These lines act as the 'ribs' of the shell, giving it a realistic texture.
Step 6: Adding More Texture

Continue drawing lines from the base to the top, connecting them with small curves. Tip: Try to space your lines evenly to make the shell look symmetrical.
Step 7: Refining the Shape
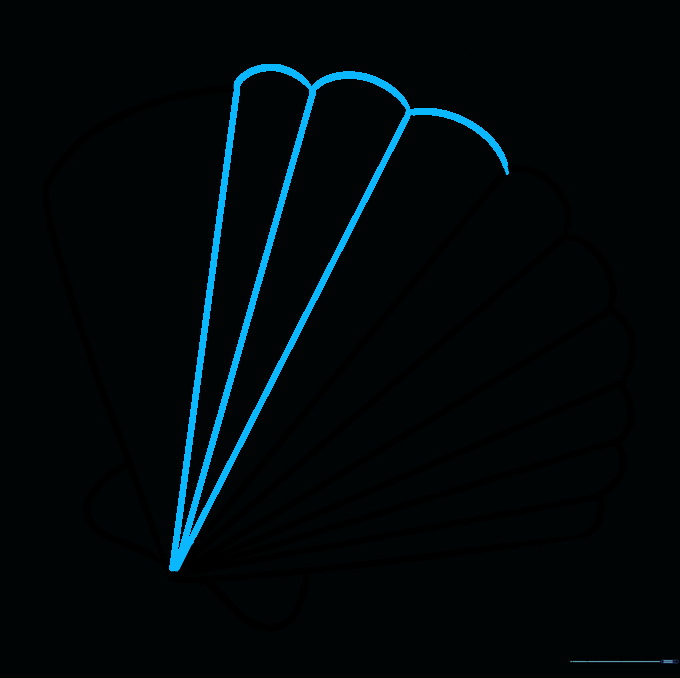
Add a few more lines to fill in the gaps. Tip: If you make a mistake, don't worry—just erase and try again. Drawing is all about practice!
Step 8: Creating Scalloped Edges

Erase the top straight edge and replace it with a scalloped, wavy line. Tip: Use short, quick strokes to make the edge look natural and organic.
Step 9: Adding Final Details

Draw a pair of wavy lines across the middle of the shell to add a decorative pattern. Tip: These lines add a sense of dimension and interest to your drawing.
Step 10: Bringing Your Shell to Life

Color your seashell! You can use pinks, browns, or even bright yellows. Tip: Use a darker shade on one side to create a simple shadow effect for a 3D look.
More Tutorials


