How to Draw a Seal: Easy 10-Step Guide for Kids
Bring a playful seal to life with this easy, step-by-step drawing tutorial designed for ages 5 and up. All you need is a pencil, an eraser, and a piece of paper to get started. Follow along to build confidence in your sketching skills while creating an adorable ocean friend.
🎯 Final Result

Step-by-Step Instructions
Sketching the Eyes and Snout

Start by drawing two almond-shaped eyes with a small space between them. In that space, sketch the top of the snout. Teacher's Tip: Keep these shapes symmetrical to give your seal a friendly, balanced face.
Defining the Nostrils

Complete the snout area by adding two small teardrop shapes for the nostrils. Tip: Press firmly with your pencil for the nostrils to make them stand out against the lighter face lines.
Adding the Head and Eyebrows

Draw a smooth, long curved line over the eyes to form the top of the head. Add two small, arched lines above the eyes for eyebrows. Tip: Add two tiny ovals inside the eyes to create a 'sparkle' effect.
Outlining the Body
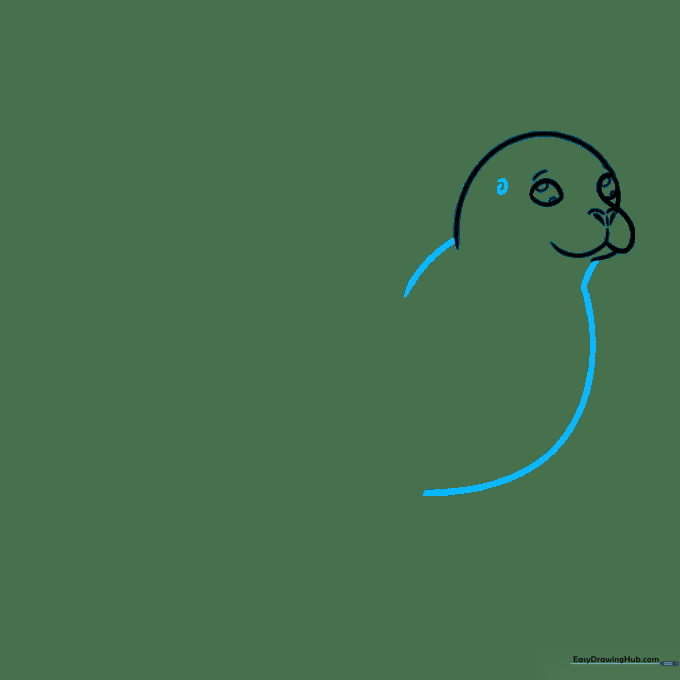
Draw a small spiral near the head for the ear. Then, extend a long, sweeping curved line to create the seal's back and belly. Tip: Use a fluid motion with your wrist to get a nice, smooth curve.
Drawing the Front Flipper

Extend a curved line from the belly to create the first flipper. Add small, rounded 'toes' at the end with tiny teardrop claws. Tip: Keep the flipper shape slightly rounded to make the seal look soft and friendly.
Adding the Second Flipper
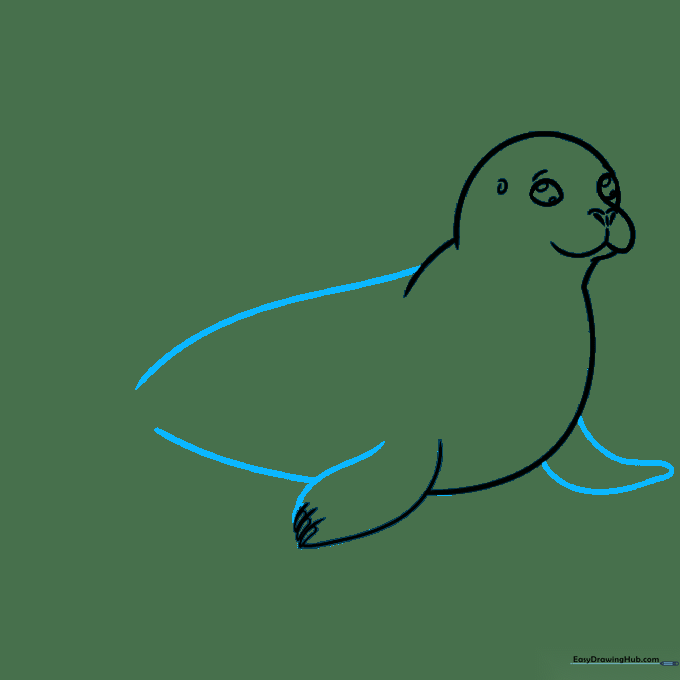
Draw the second flipper by extending a line from the chest and doubling it back. Continue the lines for the back and belly to give the seal its full shape.
Sketching the Rear Flippers

Use curved lines to outline the rear flippers, overlapping them to show depth. Tip: Think of these as two rounded paddles at the base of the body.
Adding Whiskers
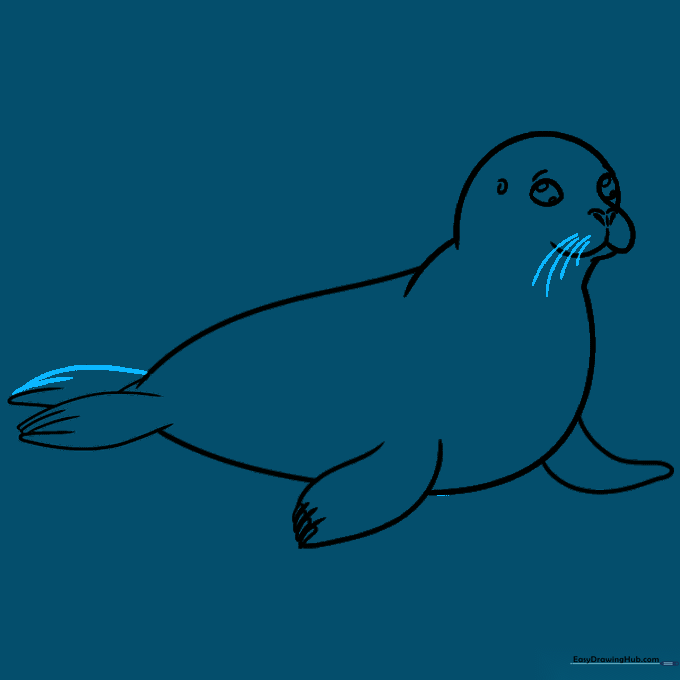
Finish the rear flippers and add whiskers to one side of the face using lines of varying lengths. Tip: Whiskers should be thin and quick strokes to look natural.
Finalizing the Outline
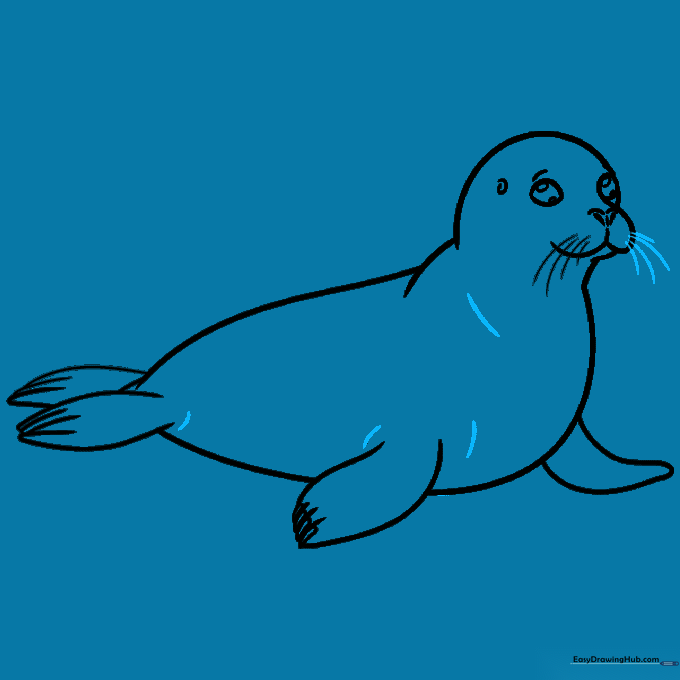
Add whiskers to the other side of the face and refine the neck and body contours. Tip: Go over your final lines with a darker pencil or pen to make the drawing pop.
Coloring Your Seal

Bring your seal to life with color! Use light browns or grays for the body, and add darker spots to give it a realistic texture. Tip: Use a lighter shade for the belly to create a 3D effect.
More Tutorials


