How to Draw a Scythe: Easy 10-Step Guide for Beginners
Ready to illustrate a classic scythe? This tutorial is perfect for young artists and beginners looking to practice curved lines and structural shapes. All you need is a pencil, an eraser, and a piece of paper to get started.
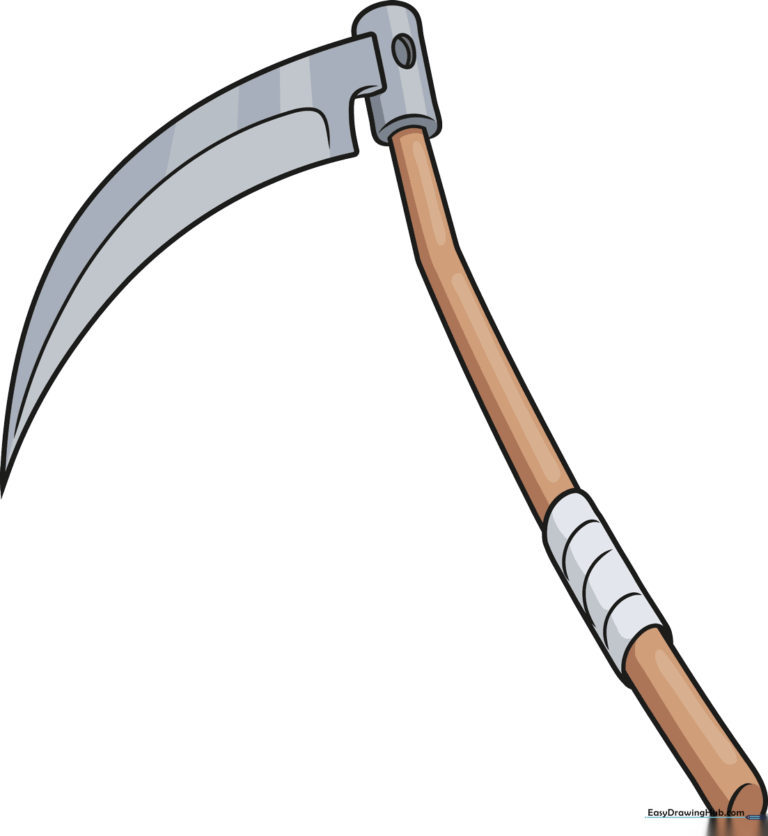
🎯 Final Result
Step-by-Step Instructions
Sketching the Blade's Curve

Start by drawing a long, elegant curved line to form the top of the blade. Add a small 'L' shape at one end to create the heel. Teacher's Tip: Keep your pencil pressure light so you can easily adjust the shape if needed.
Defining the Cutting Edge
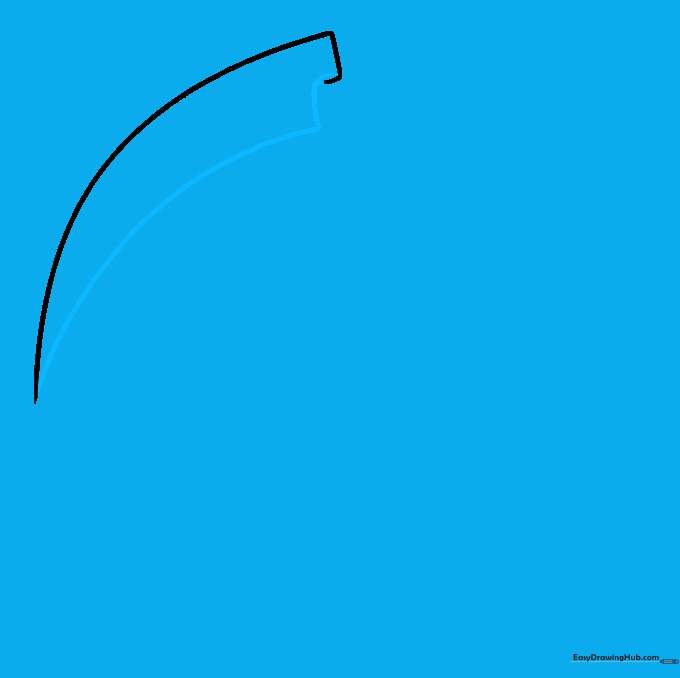
Use a long and a short curved line to trace the sharp edge of the blade. Ensure they meet at a crisp, sharp point. Teacher's Tip: Imagine the blade is slicing through the air—keep the lines smooth and fluid.
Adding Blade Contour

Add a curved contour line along the blade to give it depth. Teacher's Tip: This line helps define the thickness of the metal, making your drawing look more realistic.
Starting the Handle
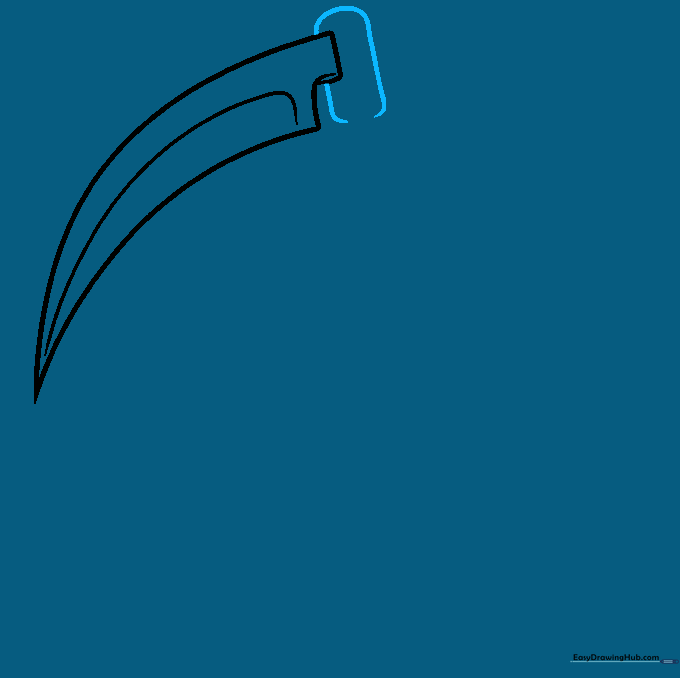
Draw the top of the handle using a curved line that doubles back on itself. Teacher's Tip: Think of this as the 'neck' of the tool where the metal meets the wood.
Extending the Handle
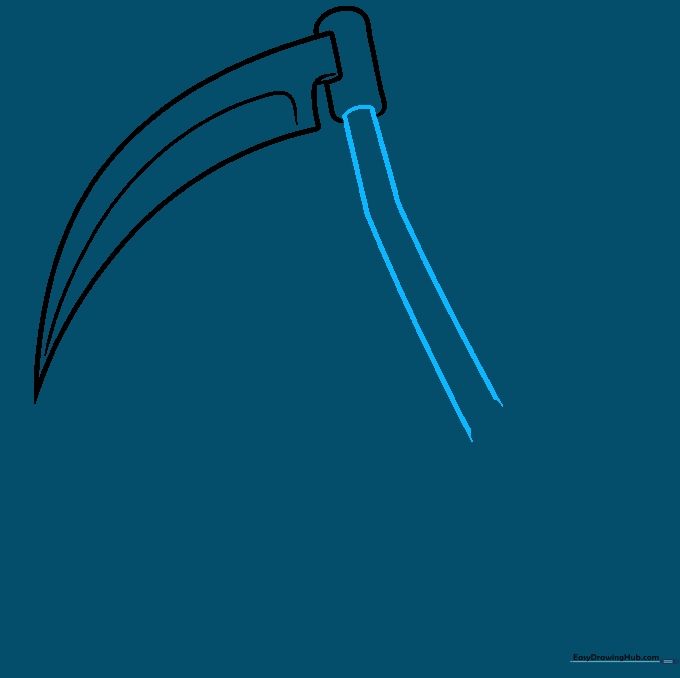
Draw two parallel curved lines downward to form the long handle. Add a slight bend for a natural look. Teacher's Tip: Try to keep the distance between the two lines consistent so the handle looks sturdy.
Creating the Grip
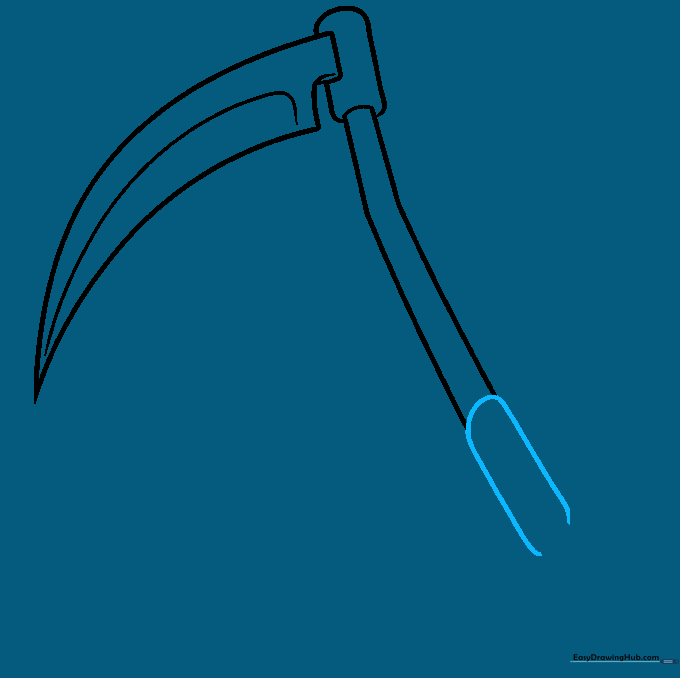
Draw a curved line at the base of the handle to form the grip, doubling it back on itself. Teacher's Tip: This creates a comfortable spot for the user's hand.
Finishing the Handle Base
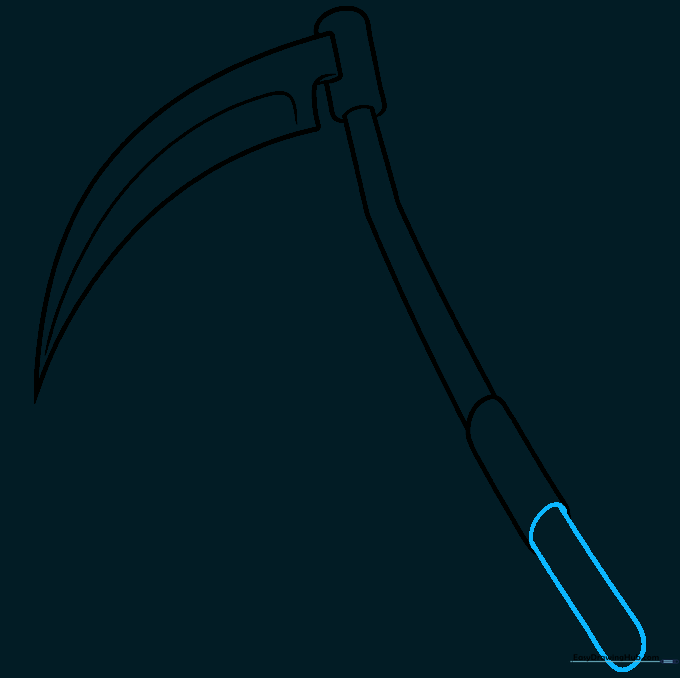
Extend the handle lines further and connect them at the bottom. Teacher's Tip: Make the bottom rounded to show the thickness of the wood.
Adding Attachment Details

Draw a small oval on the attachment ring. Add a curved line inside to give it a 3D look. Teacher's Tip: Small details like this make your drawing look professional and realistic.
Finalizing the Grip
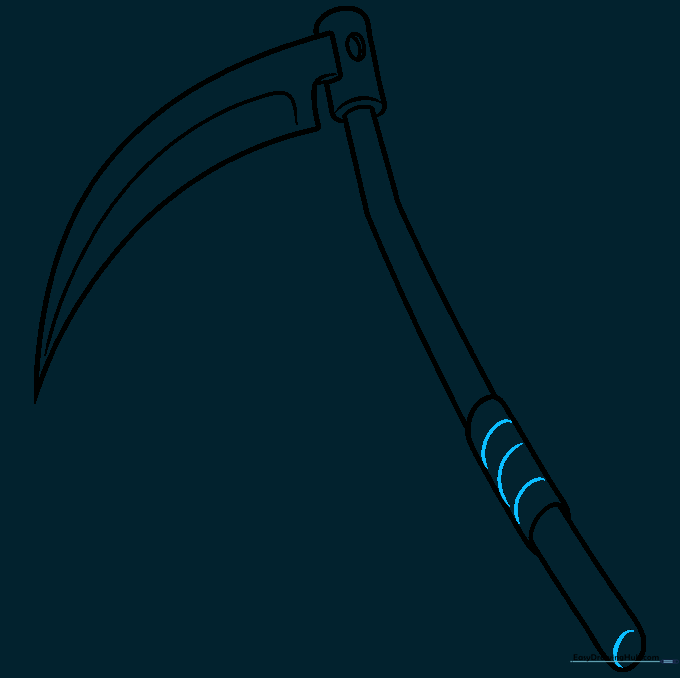
Add texture lines to the grip area to suggest leather wrapping. Draw a 'C' shape at the very bottom. Teacher's Tip: Varying your line weight here can make the grip look textured.
Coloring Your Scythe
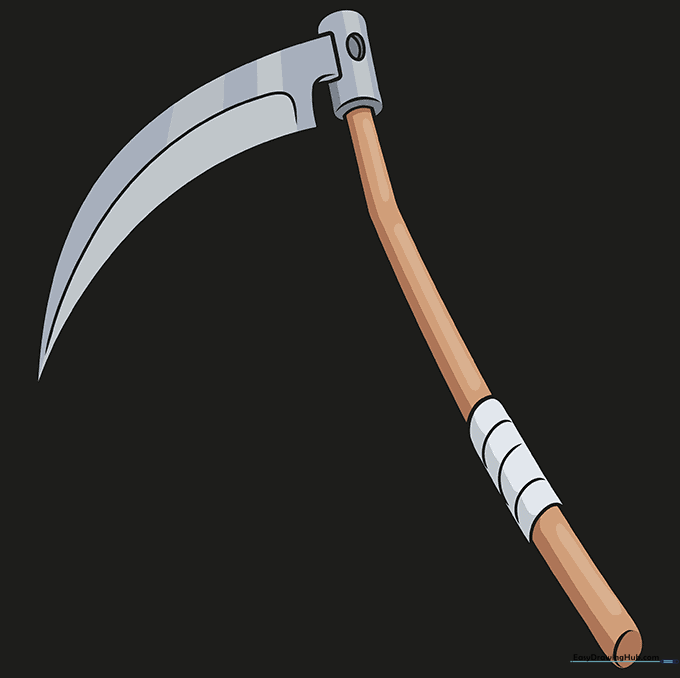
Bring your drawing to life! Use cool greys for the metal blade and warm browns for the wooden handle. Teacher's Tip: Try adding a little highlight on the blade to make it look shiny.
More Tutorials


