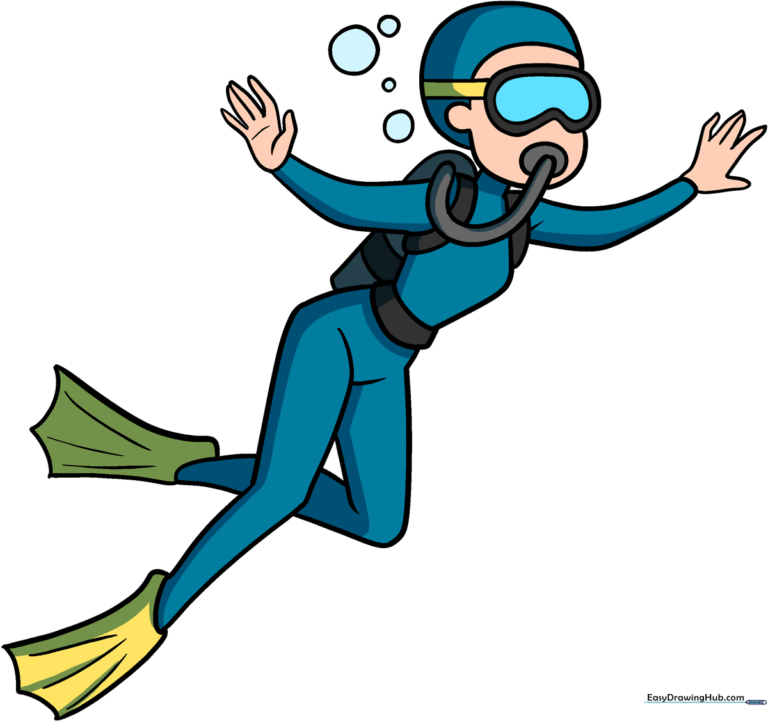
How to Draw a Scuba Diver: Easy 9-Step Guide for Kids
Ready to explore the deep sea? This tutorial is perfect for young artists ages 5 and up. All you need is a pencil, an eraser, and some paper to bring your underwater adventurer to life.
🎯 Final Result
Step-by-Step Instructions
Step 1: Sketching the Goggles and Head

Start by drawing an irregular peanut shape for the goggles, then add a parallel shape around it. Connect these to a curved line to form the head. Tip: Keep your pencil lines light so you can easily erase any overlap later.
Step 2: Adding the Breathing Regulator
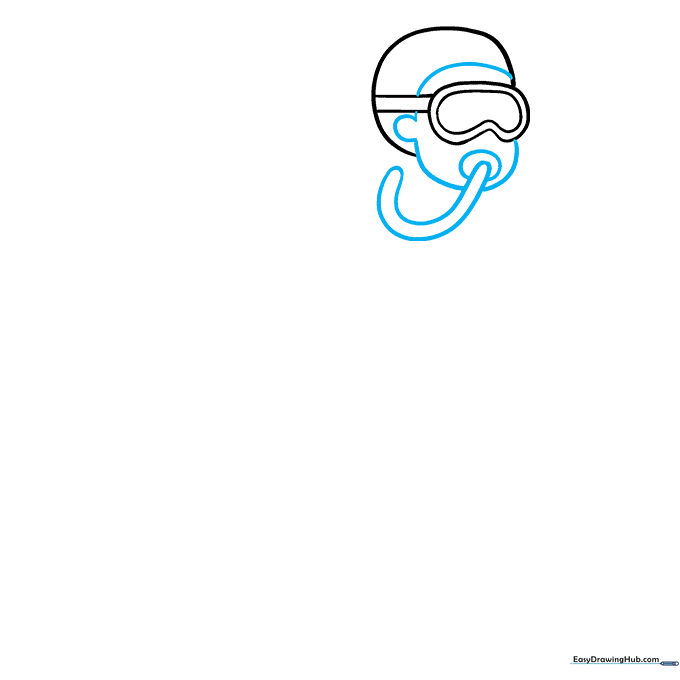
Draw an oval near the mouth area for the regulator, then extend a 'J' shaped line to create the breathing hose. Tip: Imagine the air flowing through the tube as you draw the curve to keep the line smooth.
Step 3: Defining the Torso and Gear
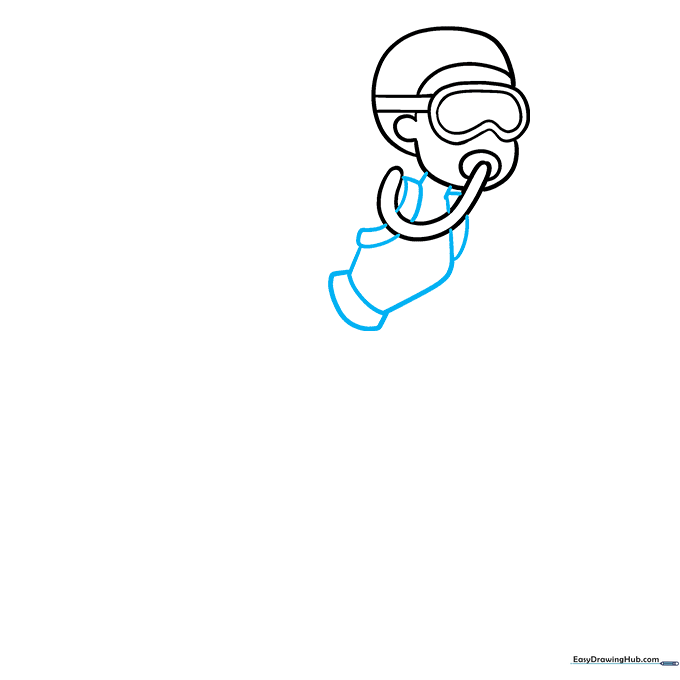
Use smooth, curved lines to outline the neck, torso, and the shoulder straps of the scuba gear. Tip: Make the straps look snug against the shoulders to show they are holding the heavy tank in place.
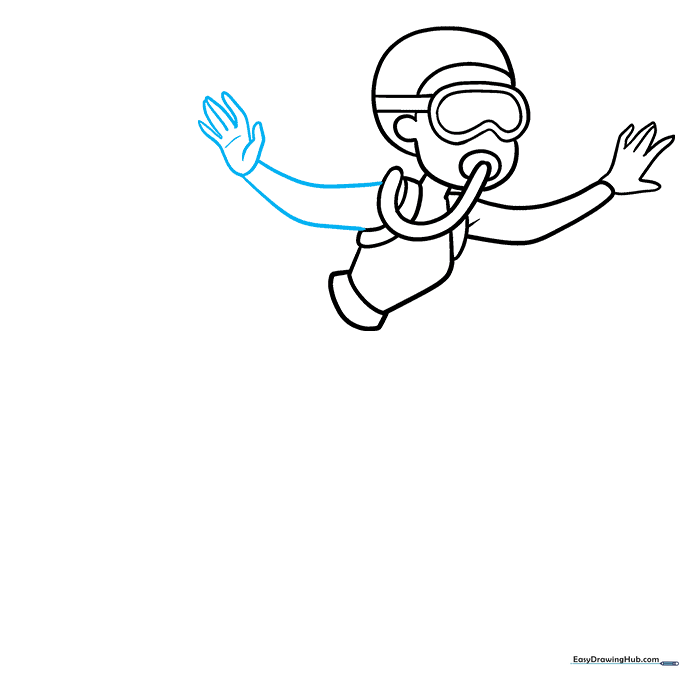
Step 4: Sketching the First Arm
Extend two curved lines from the torso to form the arm, finishing with a hand. Tip: Keep the arm slightly bent to make your diver look like they are swimming through the water.
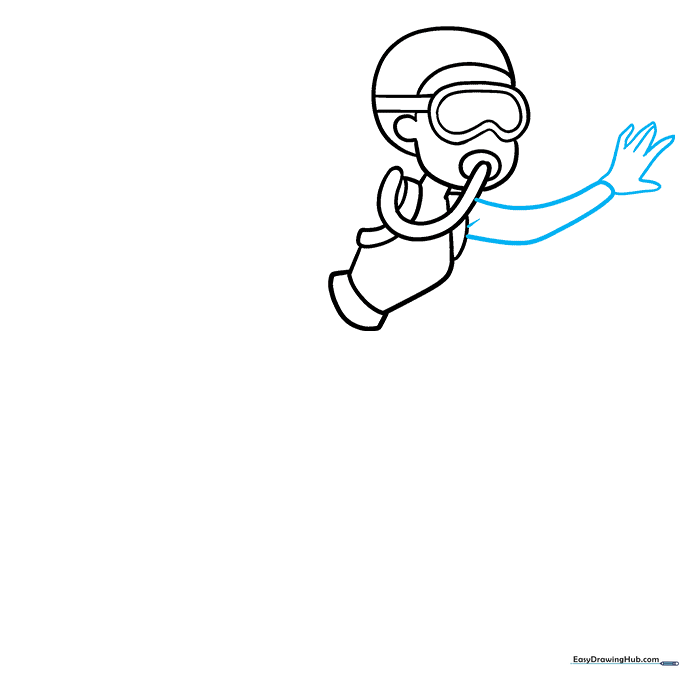
Step 5: Adding the Second Arm
Repeat the process on the opposite side to draw the second arm. Tip: Try to match the thickness of the first arm so the diver looks balanced.
Step 6: Drawing the Scuba Tank
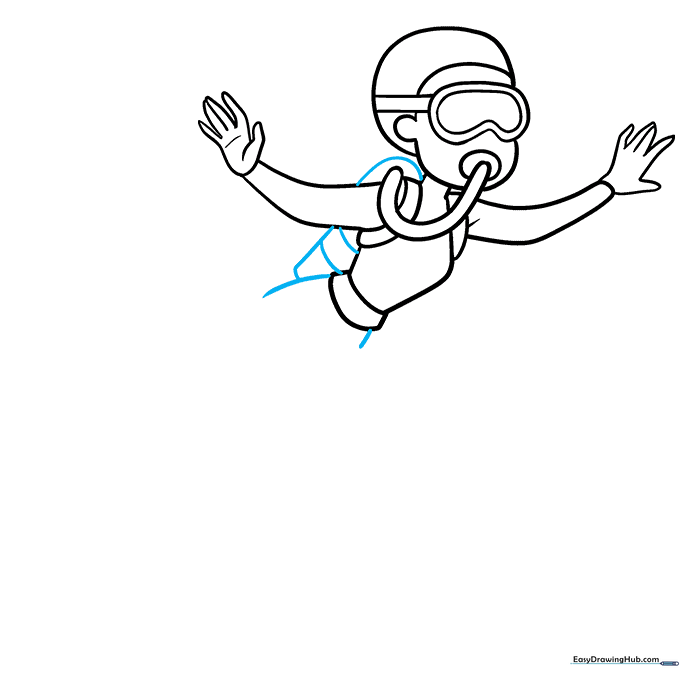
Draw the hips, then add the oxygen tank on the back with a horizontal stripe. Tip: A cylinder shape works best for the tank—keep the top and bottom rounded.
Step 7: Sketching the First Leg and Flipper
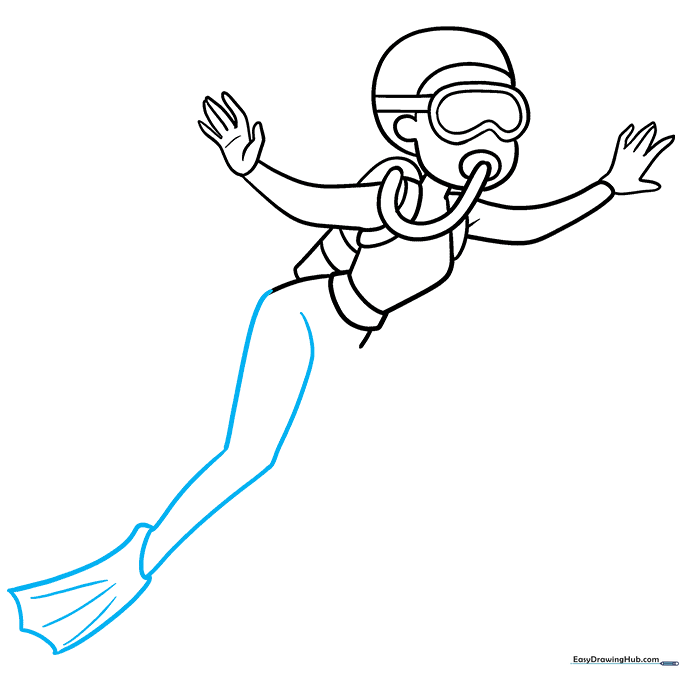
Draw a long, curved leg ending in a large, pointed flipper. Tip: Add a few extra lines on the flipper to give it a realistic, textured look.
Step 8: Adding the Second Leg
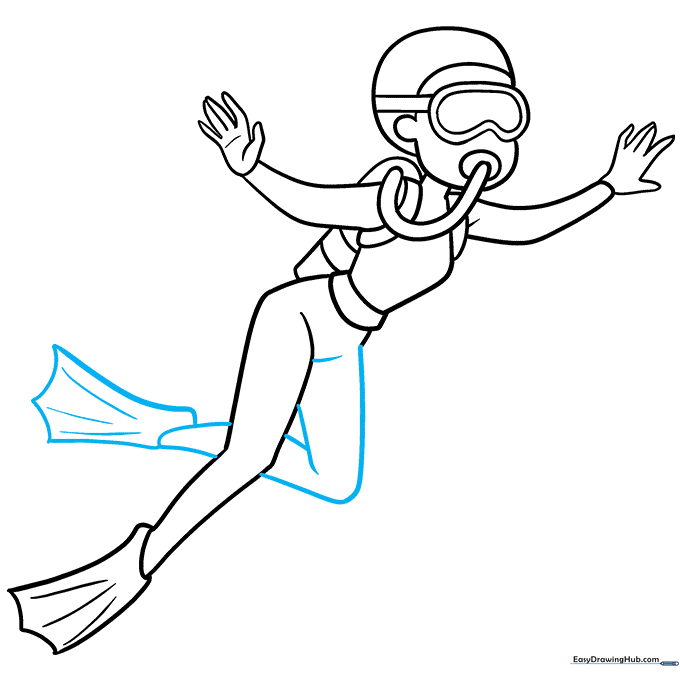
Draw the second leg bent at the knee, finishing with another flipper. Tip: Bending the knee adds 'action' to your drawing, making it look like the diver is kicking through the water.
Step 9: Adding Bubbles

Draw circles of various sizes near the diver's head to represent bubbles. Tip: Varying the size of the bubbles makes the drawing look more dynamic and alive.
Color Your Scuba Diver
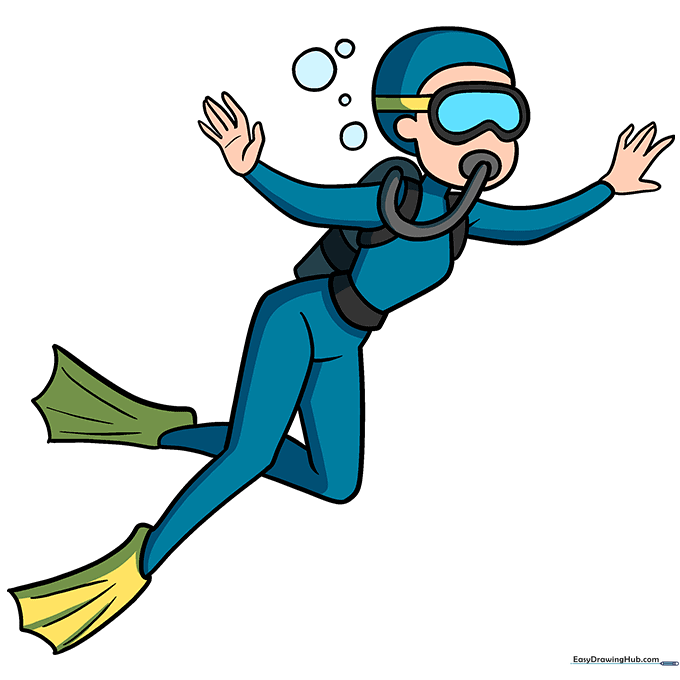
Now for the fun part! Use bright colors for the flippers and suit to make your diver pop. Tip: Use a light blue or white for the bubbles to make them look like they are reflecting light.
More Tutorials


