How to Draw a Scooter: Easy 10-Step Guide for Kids
Ready to hit the pavement? This step-by-step guide is perfect for young artists ages 5 and up. All you need is a pencil, an eraser, and a piece of paper to bring your own custom scooter to life.
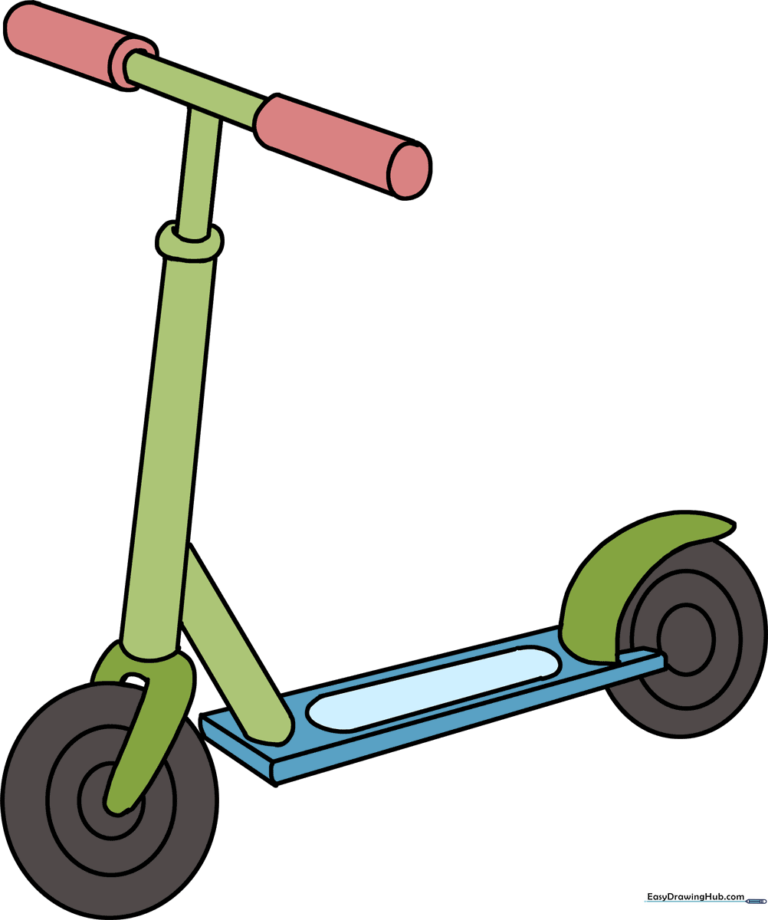
🎯 Final Result
Step-by-Step Instructions
Step 1: Sketching the Handlebars

Draw two straight, parallel lines slanted diagonally. Teacher's Tip: Keep these lines light; they act as the skeleton for your handlebars.
Step 2: Defining the Steering Column
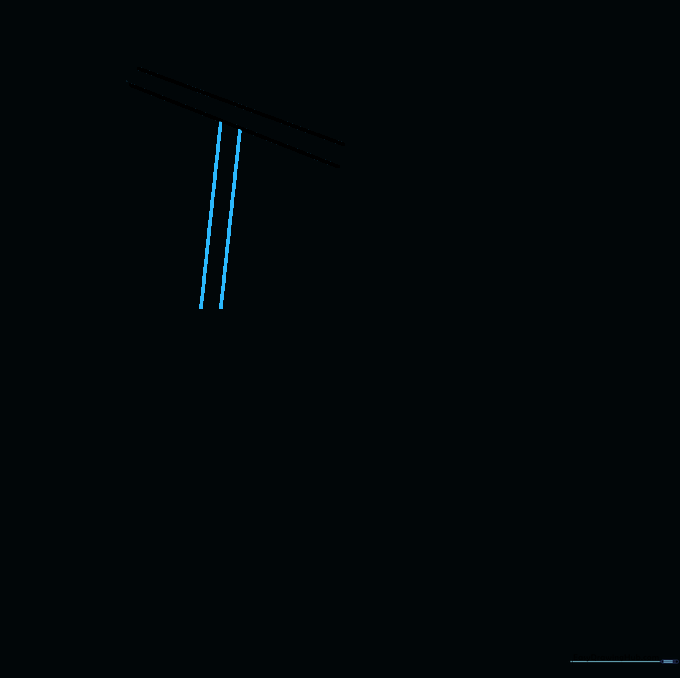
Draw a second set of parallel lines perpendicular to the first to form the steering column. Your drawing should now look like a capital 'T'.
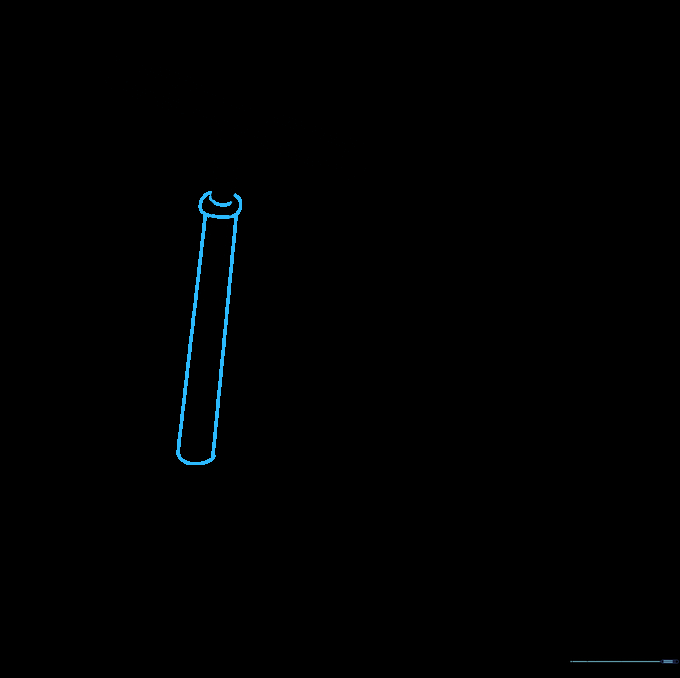
Step 3: Adding Handlebar Grips
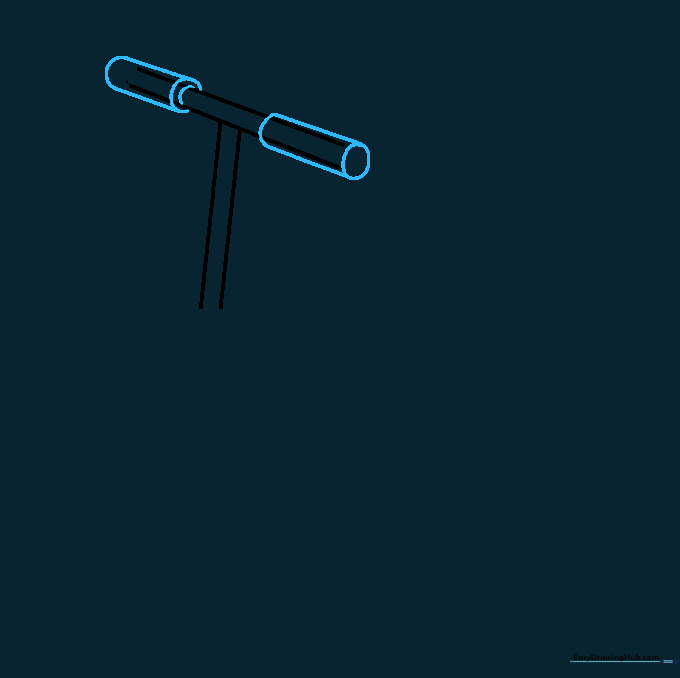
Draw small circles at the ends of the bars, then connect them with parallel lines to create a cylinder. Tip: Think of these as the soft foam grips you hold onto while riding.
Step 4: The Lower Steering Column
Extend the steering column downward by drawing parallel lines connected with a curved base. This creates the sturdy neck of the scooter.
Step 5: Cleaning Up

Gently erase the overlapping guide lines inside the handlebars. A clean drawing makes the final coloring much easier!
Step 6: Drawing the Deck
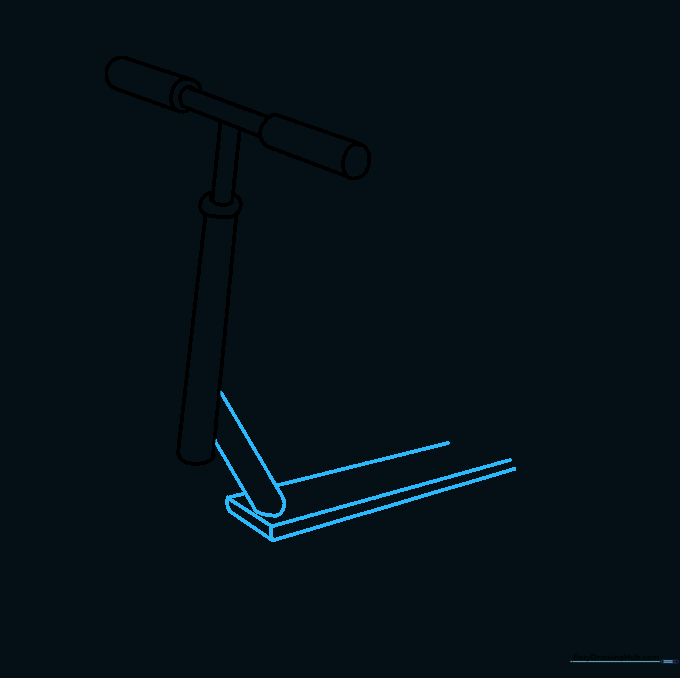
Sketch the rectangular deck extending from the bottom of the steering column. Use parallel lines to give it a 3D perspective.
Step 7: Adding the Rear Brake

Draw a small curved shape at the back of the deck. This is your rear fender brake. Tip: Keep it small so it looks proportional to the deck.
Step 8: Refining the Fork
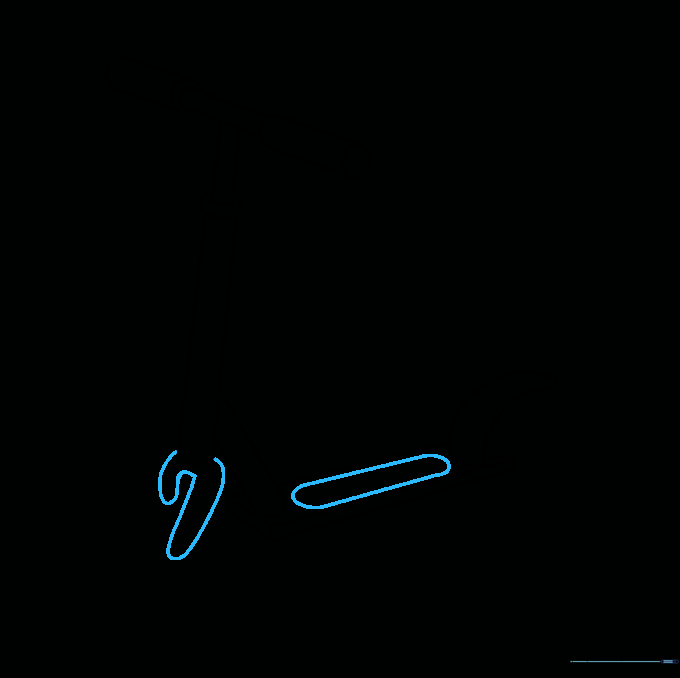
Add a 'J' shaped fork beneath the steering column. This holds the front wheel in place.
Step 9: Adding the Wheels

Draw three concentric circles for each wheel. Tip: Using a circular object like a coin can help you get perfect, round wheels!
Step 10: Bringing it to Life with Color
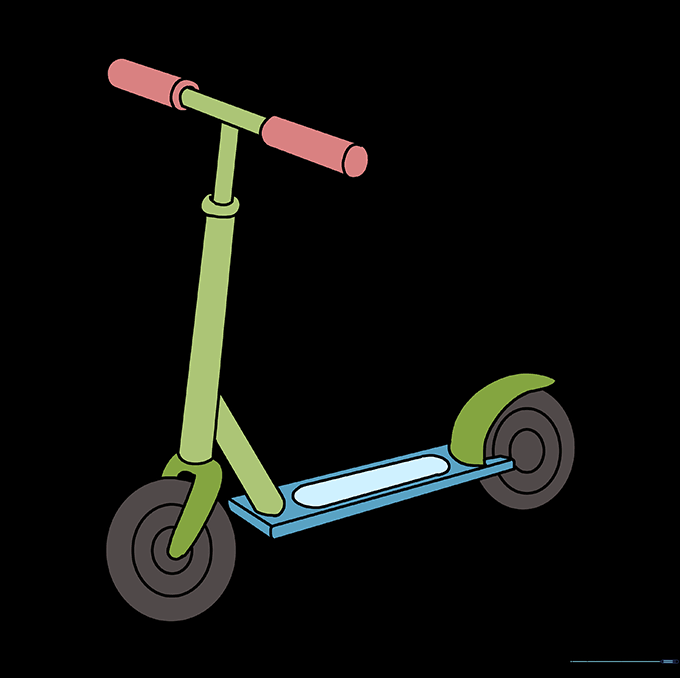
Time to color! Use bright colors for the deck and metallic shades for the handlebars to make your scooter pop.
More Tutorials


