How to Draw a Sci-Fi Landscape: Easy 10-Step Space Guide
Ready to blast off into space? This tutorial is perfect for young artists ages 6+ who want to create their own alien world. You will need a pencil, an eraser, and your favorite coloring markers to bring this cosmic scene to life.
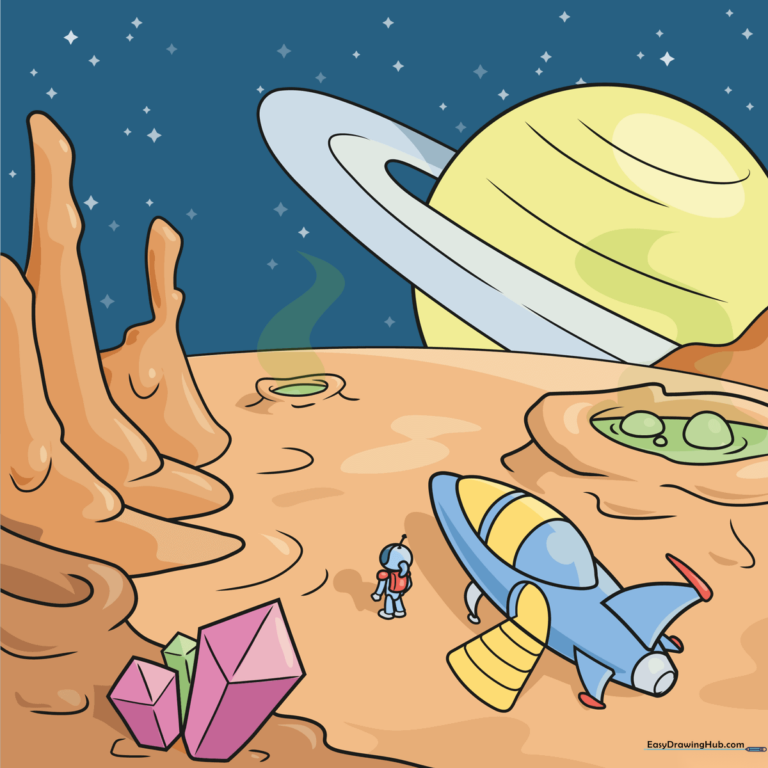
🎯 Final Result
Step-by-Step Instructions
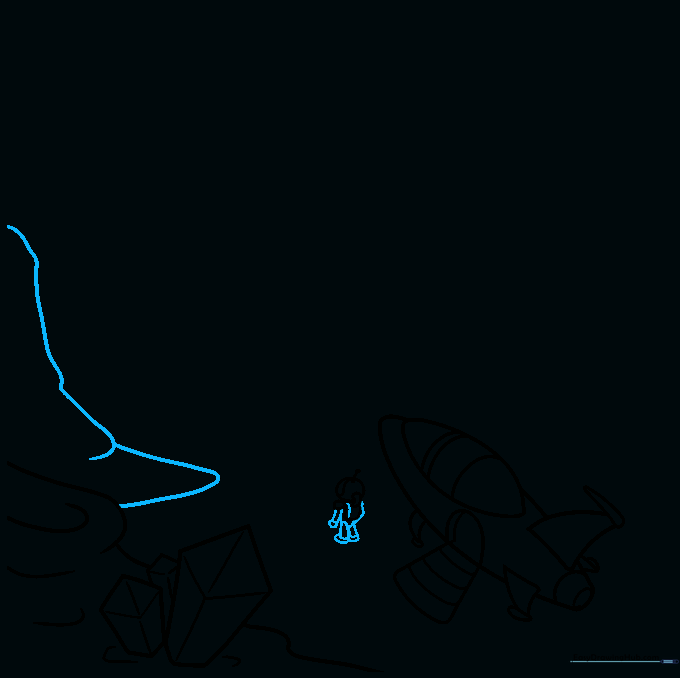
Step 1: Sketching the Alien Terrain

Start by drawing a crater and some crystals. Use curved lines to contour the crater's edge. For the crystals, sketch elongated hexagonal shapes. Teacher's Tip: Keep your pencil lines light so you can easily erase any overlapping lines later.
Step 2: Designing the Rocket Ship
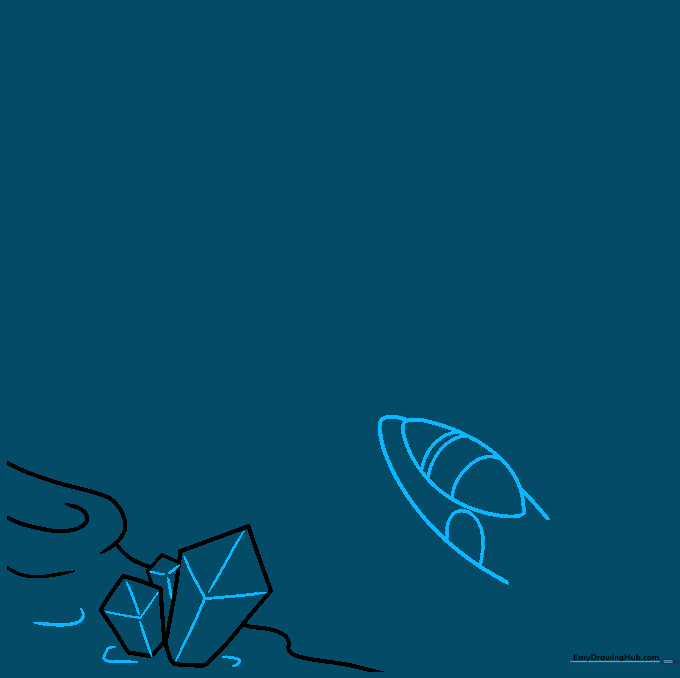
Sketch the rocket ship using curved lines to form an oval fuselage and cockpit. Add a 'U' shaped doorway on the side. Tip: Imagine the rocket is a smooth, aerodynamic tube; keep your curves rounded to make it look metallic.
Step 3: Adding Rocket Details
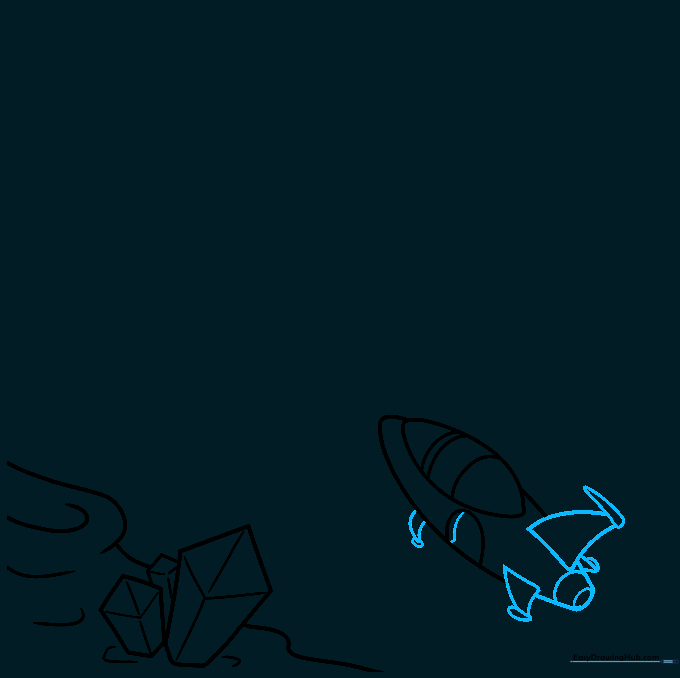
Complete the rocket by adding triangular tail fins and landing gear. Draw a teardrop shape at the tip of each fin. Add curved lines at the rear to represent the engine. Tip: Symmetry is key here—try to make the fins on both sides look balanced.
Step 4: Drawing the Explorer
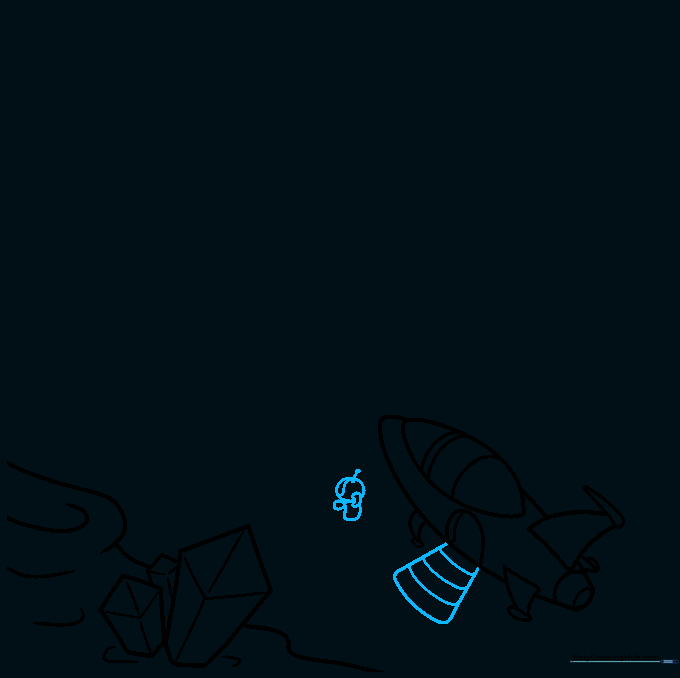
Draw an astronaut standing near the ship. Use a circle for the helmet and irregular shapes for the backpack and hoses. Add a visor line and an antenna. Tip: Keep the astronaut's posture slightly hunched to show they are walking on uneven terrain.
Step 5: Finishing the Astronaut
Outline the torso, arms, and legs using curved lines. Add bands to the wrists and ankles for a 'space suit' look. Add another rock formation in the background. Tip: Use overlapping lines to make the rocks look like they are behind the astronaut.
Step 6: Building the Landscape
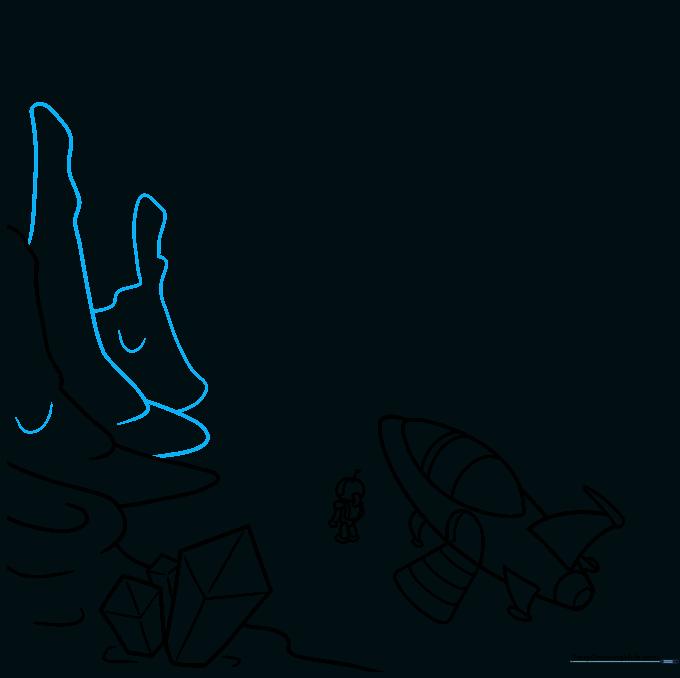
Add more irregular rock formations across the ground. Use curved lines to contour the surfaces, making them look bumpy and alien. Tip: Vary the size of the rocks to create a more natural, rugged look.
Step 7: The Bubbling Crater
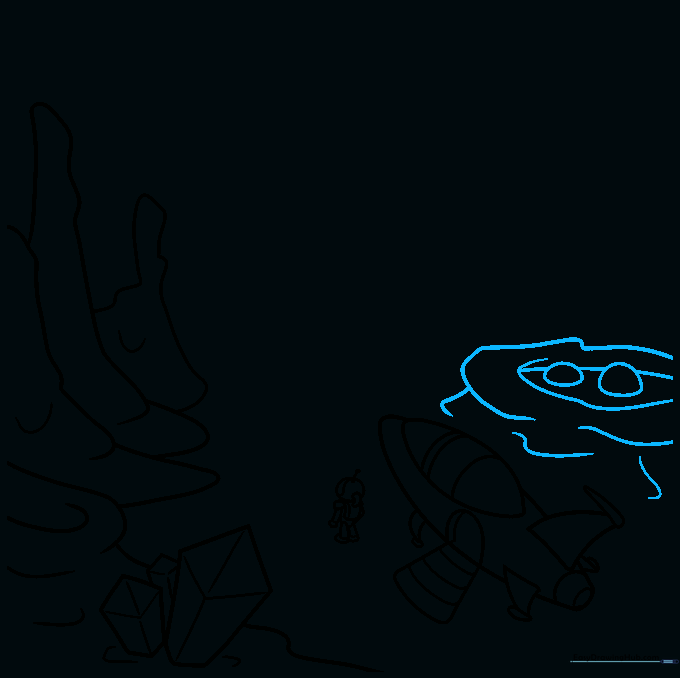
Draw a large crater filled with 'space goo.' Use overlapping curved lines for the crater and small ovals for the bubbles. Tip: Make the bubbles different sizes to show some are popping and some are just forming.
Step 8: Defining the Horizon
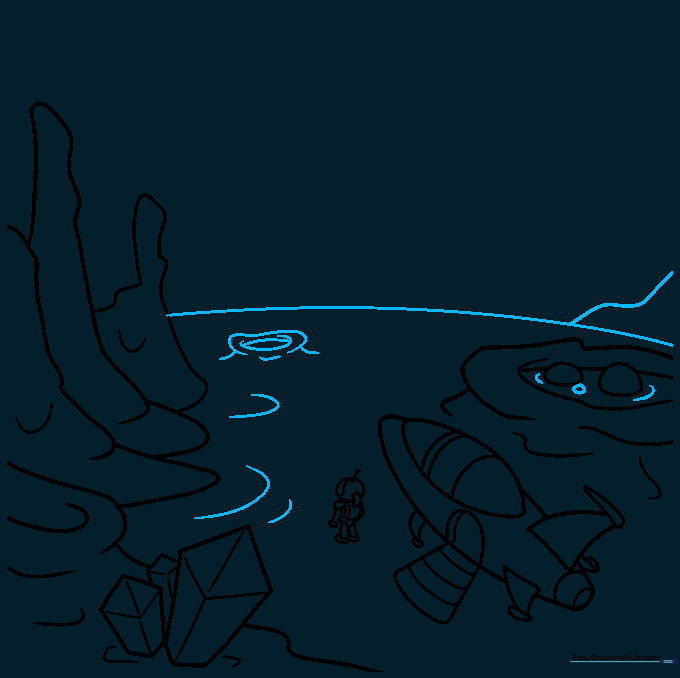
Draw a long, sweeping curved line across the horizon to show the planet's curvature. Add a few more distant craters. Tip: This line separates the ground from the sky, helping the viewer understand the scale of your drawing.
Step 9: Adding a Planet
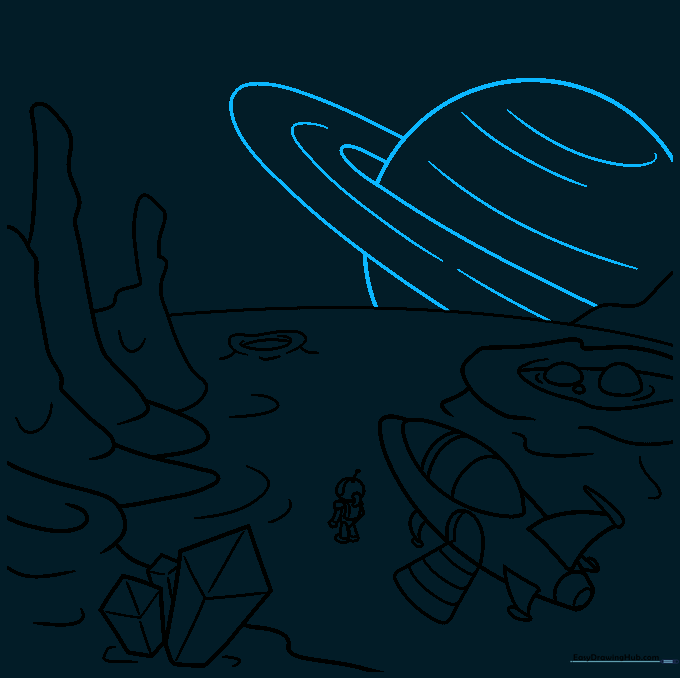
Draw a Saturn-like ringed planet rising in the sky. Use a partial circle and two curved lines for the rings. Tip: Don't worry about making the circle perfect; space is full of unique shapes!
Step 10: Bringing it to Life with Color
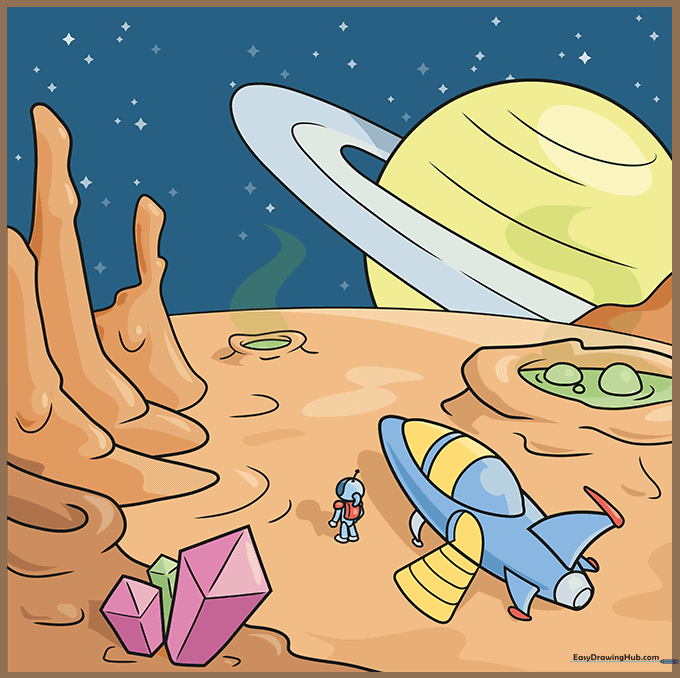
Time to color! Use deep purples and blues for the space sky, and metallic silvers or bright oranges for your rocket. Tip: Use a white gel pen to add 'sparkle' highlights to the crystals and the rocket.
More Tutorials


