How to Draw a School Boy: Easy 10-Step Guide for Kids
Ready to draw a friendly student? This tutorial is perfect for ages 5 and up, requiring only a pencil, eraser, and paper. Follow these simple steps to build confidence in character drawing while practicing basic shapes and proportions.
🎯 Final Result

Step-by-Step Instructions
Step 1: Sketching the Face

Start by drawing the face shape. Add curved lines for the eyebrows, nose, and a happy mouth. Draw two circles for the eyes and shade in the pupils. Teacher's Tip: Keep the eyes centered to give your character a friendly, focused look.
Step 2: Defining the Head and Ears

Outline the chin and sides of the face with a smooth, curved line. Add 'C' shaped ears on the sides. Start the hair using overlapping curved strokes. Teacher's Tip: Use short, quick strokes for the hair to make it look textured and natural.
Step 3: Adding Hair and Neck

Continue the hair with connected curved lines, creating a few sharp points for style. Add two short lines for the neck and connect them with a 'V' shape for the collar. Teacher's Tip: Ensure the neck isn't too thin so the head looks well-supported.
Step 4: Drawing the Backpack Strap
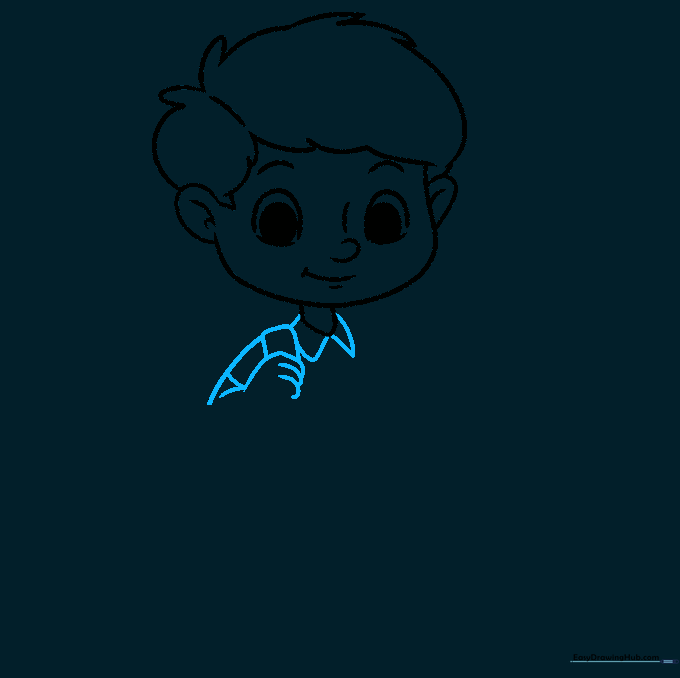
Draw triangular collars at the neck. Sketch the shoulder, arm, and the start of the backpack strap using curved lines. Teacher's Tip: Think of the backpack strap as a ribbon resting over the shoulder.
Step 5: Shaping the Backpack

Finish the arm and fingers. Extend the backpack strap down and outline the main body of the backpack. Teacher's Tip: Draw the backpack flap slightly overlapping the main pack to create depth.
Step 6: Adding Torso Details
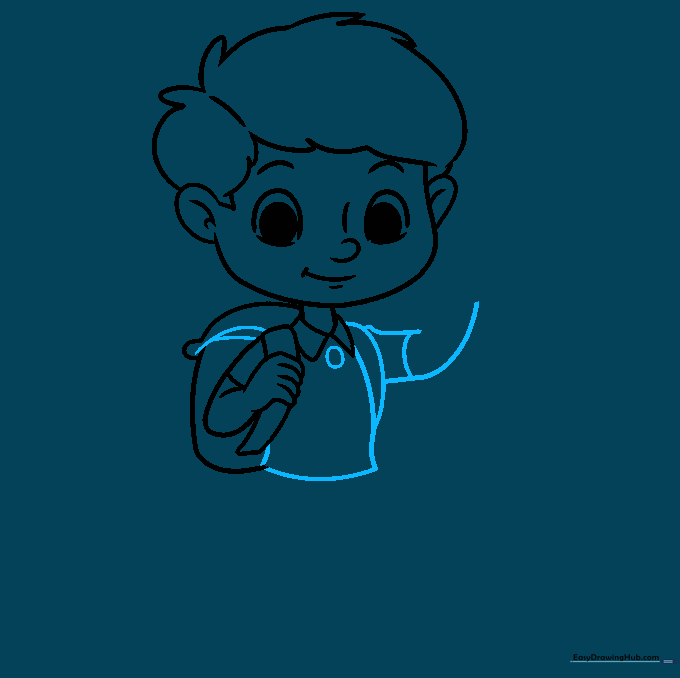
Add a point at the top of the backpack. Sketch the torso, the second strap, and add a small circle for a shirt button. Teacher's Tip: Keep your lines smooth to make the clothing look like soft fabric.
Step 7: The Waving Hand
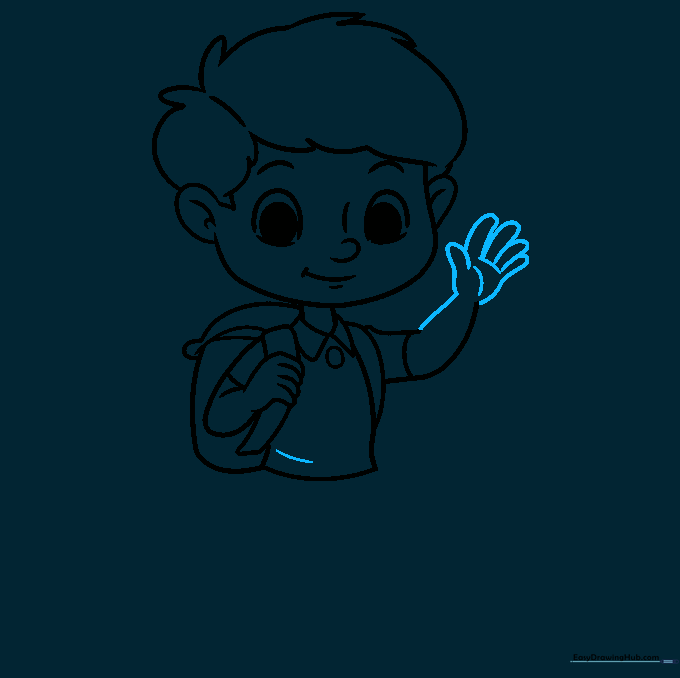
Draw the waving hand using simple curved lines for fingers and palm. Add a curved line on the shirt for texture. Teacher's Tip: Waving hands are tricky—start with a mitten shape first, then add the finger lines.
Step 8: Legs and Socks
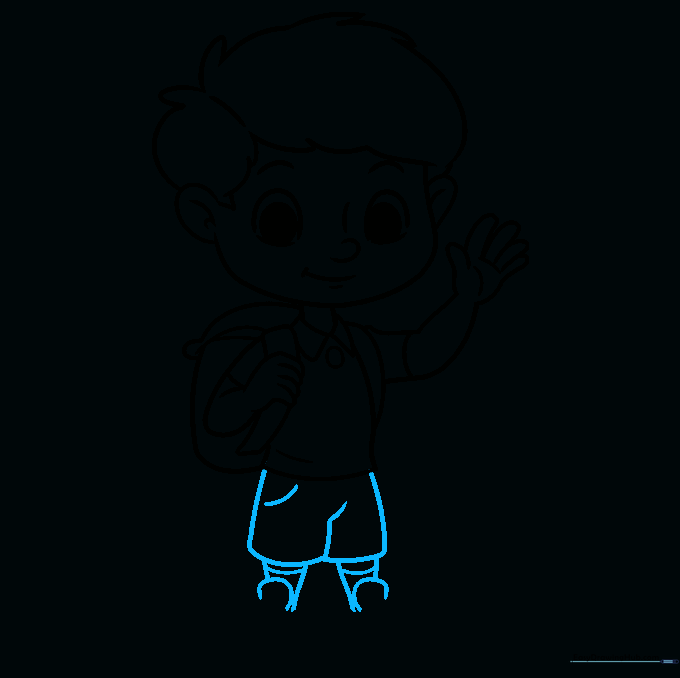
Outline the legs and pants pocket. Add 'U' shaped lines at the bottom for socks and shoe tongues. Teacher's Tip: Use parallel lines for the legs to keep them looking straight and sturdy.
Step 9: Finishing the Shoes
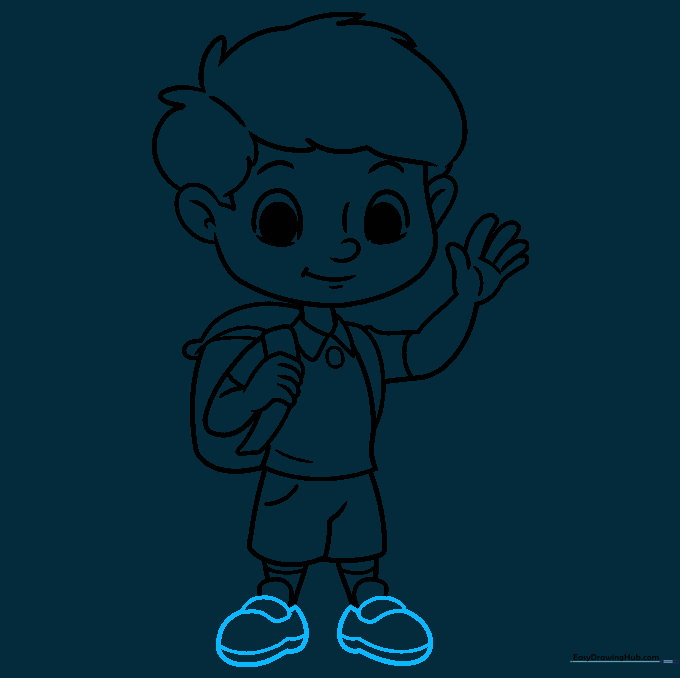
Complete the shoes with curved shapes for the soles and velcro straps. Teacher's Tip: Adding a small rectangle for the velcro makes the shoes look much more realistic.
Step 10: Add Color

Bring your school boy to life with your favorite colors! Use bright tones for the shirt and backpack to make him look ready for class. Teacher's Tip: Try coloring in one direction to keep your work looking neat.
More Tutorials


