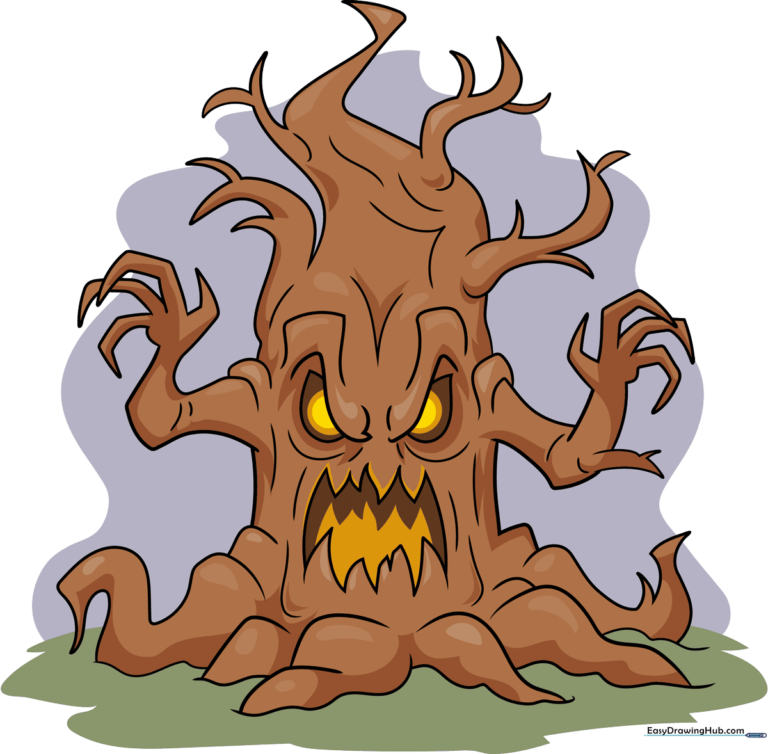
How to Draw a Scary Tree: Easy 9-Step Halloween Tutorial
Looking for a fun, screen-free Halloween activity? This tutorial is perfect for young artists ages 6+ to practice organic shapes and expressive line work. Grab a pencil, an eraser, and some paper to bring this spooky, gnarled tree to life in just a few simple steps.
🎯 Final Result
Step-by-Step Instructions
Step 1: Sketching the Spooky Eyes
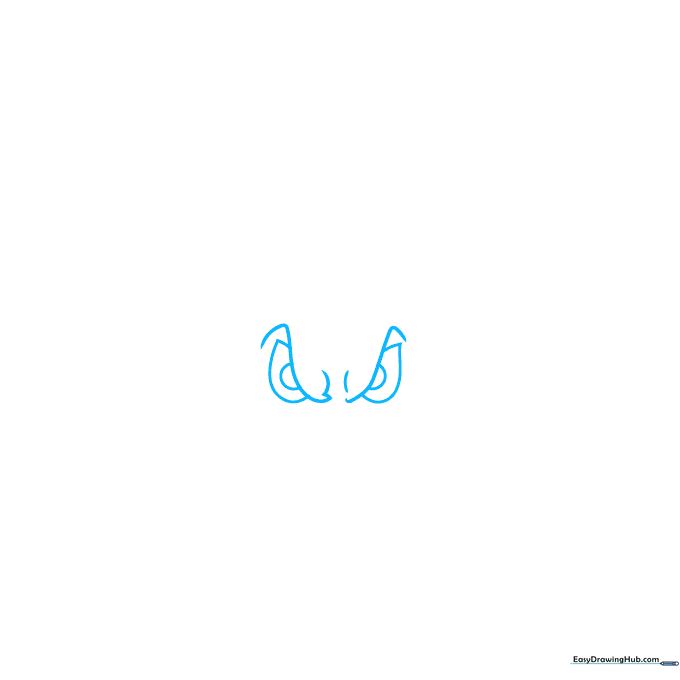
Start by drawing two teardrop shapes with circles inside—think of them like halved avocados. Add small hooks that overlap these shapes to create a brow line. Teacher's Tip: Keep your pencil pressure light so you can easily adjust the 'scary' expression later.
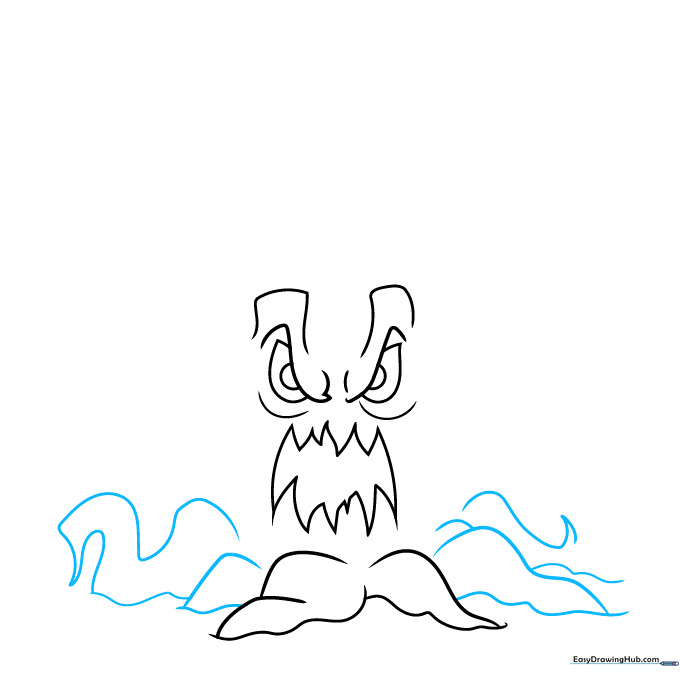
Step 2: Defining the Brow and Mouth
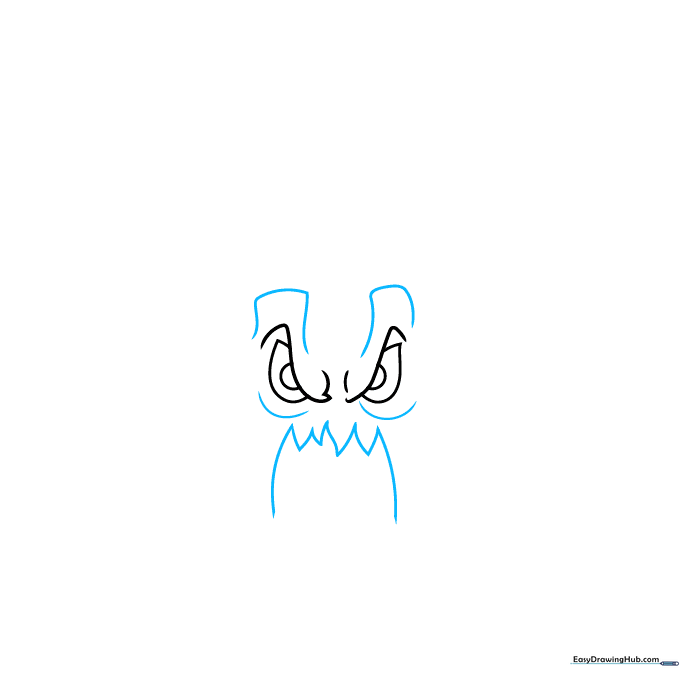
Draw loose rectangles above the eyes for a furrowed brow, then sketch five jagged, flame-like triangles beneath the eyes to form the mouth. Add a vertical line on each side to frame the face. Tip: Don't worry about perfect symmetry; trees in nature are wonderfully uneven!
Step 3: Adding the Base Roots
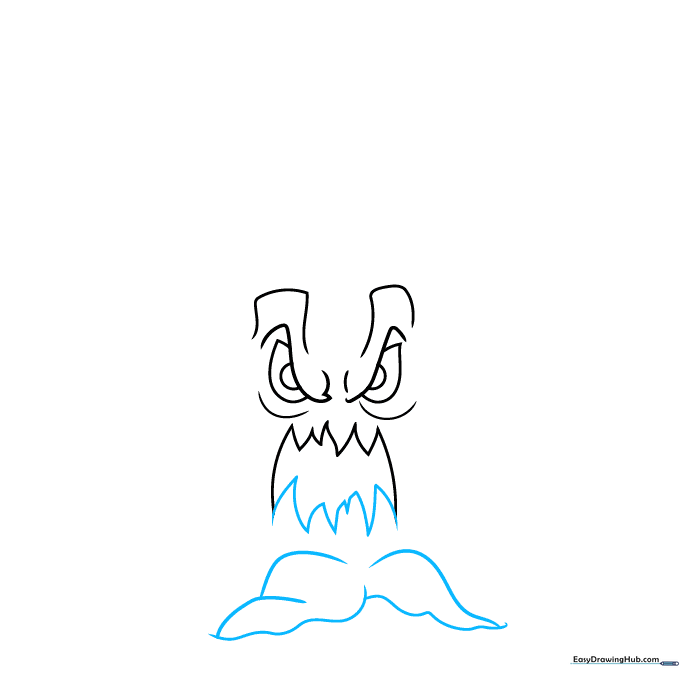
Complete the jagged mouth with more triangles. At the bottom, sketch three horizontal curves and two wavy lines to start the root system. Tip: Use long, sweeping motions to make the roots look like they are gripping the ground.
Step 4: Expanding the Roots
Layer more roots around the base using a mix of curves, hooks, and wavy lines. Aim for a wide, uneven base to give your tree a sturdy, ancient look. Tip: Vary the length of your lines to create depth.
Step 5: Starting the Branches
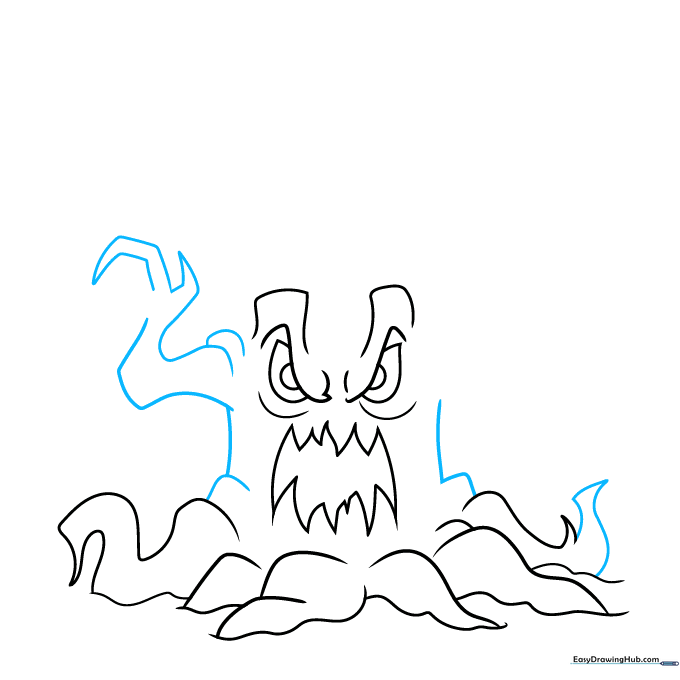
Add a root on the right and outline the face with small hills and vertical lines. Sketch a branch using wavy lines that taper into narrow triangles. Tip: Tapering your lines at the ends makes the branches look sharp and spooky.
Step 6: Adding Branch Details
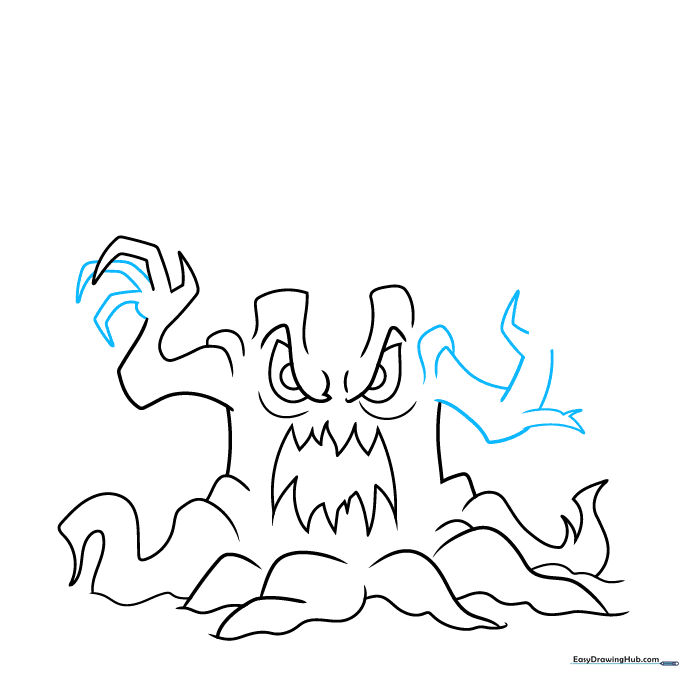
Add two more narrow triangles and a curve to your branch. On the right side, sketch additional curves and small triangles to create a textured, gnarled look. Tip: Think of these as 'knots' in the wood.
Step 7: Creating Upper Branches
Draw three narrow triangles curving downward, overlapping them for a layered effect. Add a vertical line and sketch the upper branch with swooping curves and four thin triangles. Tip: Overlapping shapes creates a sense of 3D volume.
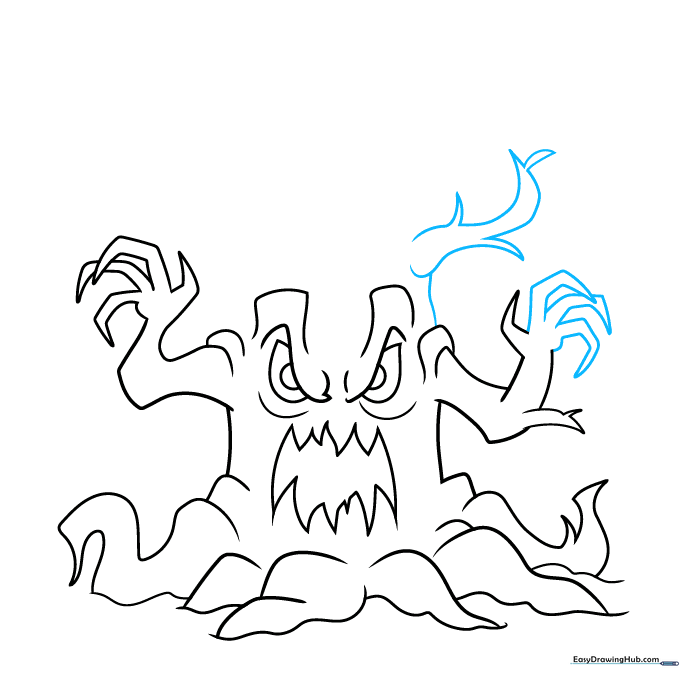
Step 8: Finalizing Branch Shapes
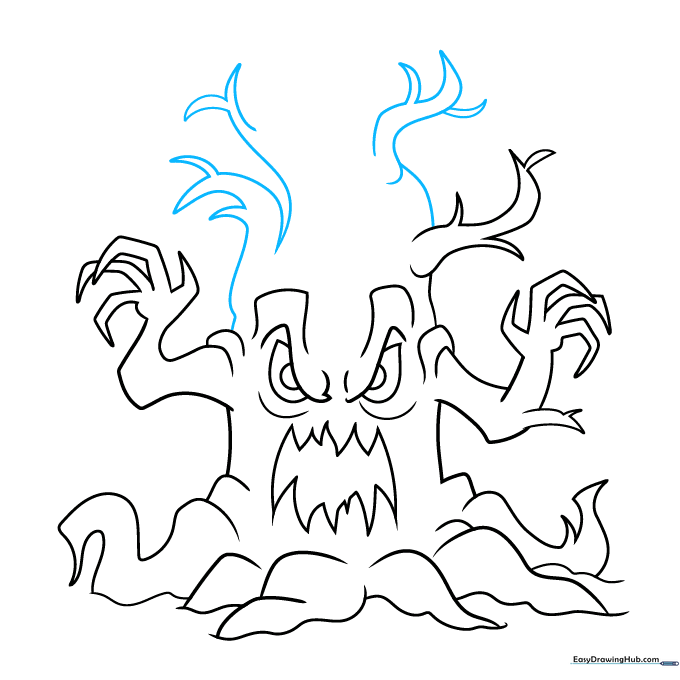
Add a diagonal line and more swooping curves to connect your branches. Sketch additional branches on the left using the same wavy line technique. Tip: Keep your lines loose—the 'messier' the lines, the scarier the tree looks!
Step 9: Texture and Outline
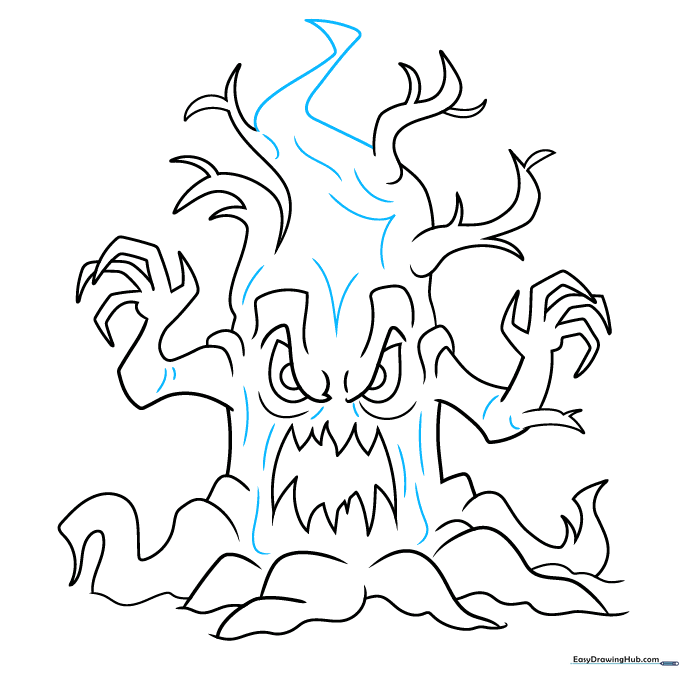
Draw a final top branch and add wavy lines throughout the trunk to simulate bark texture. Once you're happy, outline your drawing with a black pen and erase any stray pencil marks. Tip: Use short, broken lines for the bark to make it look rough and aged.
Step 10: Bringing it to Life with Color
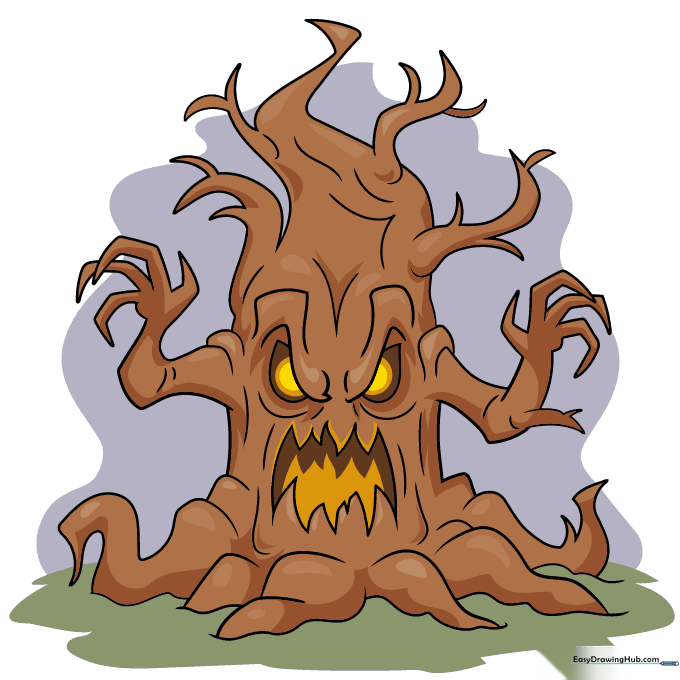
Use three shades of brown to create highlights and shadows on the bark. Use muted greens and blues for the background to set a spooky mood, and bright yellow or orange for the eyes and mouth to make them 'glow.'
More Tutorials


