How to Draw a Scary Cat: Easy 10-Step Tutorial
Ready to create a spooky feline friend? This tutorial is perfect for young artists ages 6+ looking to practice character design. All you need is a pencil, an eraser, and a piece of paper to bring this mischievous cat to life.
🎯 Final Result

Step-by-Step Instructions
Step 1: Sketching the Maniacal Face

Draw two half-circle eyes with thick, bold lines. Add a small triangle in the inner corner of each eye for a piercing look. Tip: Use short, angled lines between the eyes to create a furrowed, 'scary' brow.
Step 2: Defining the Head and Ears

Connect the eyes with a curved line to form the top of the head. Add pointed ears using 'L' shaped lines to give them depth. Tip: Keep the ears slightly asymmetrical to make the cat look more alert and mischievous.
Step 3: Sketching the Neck and Chest
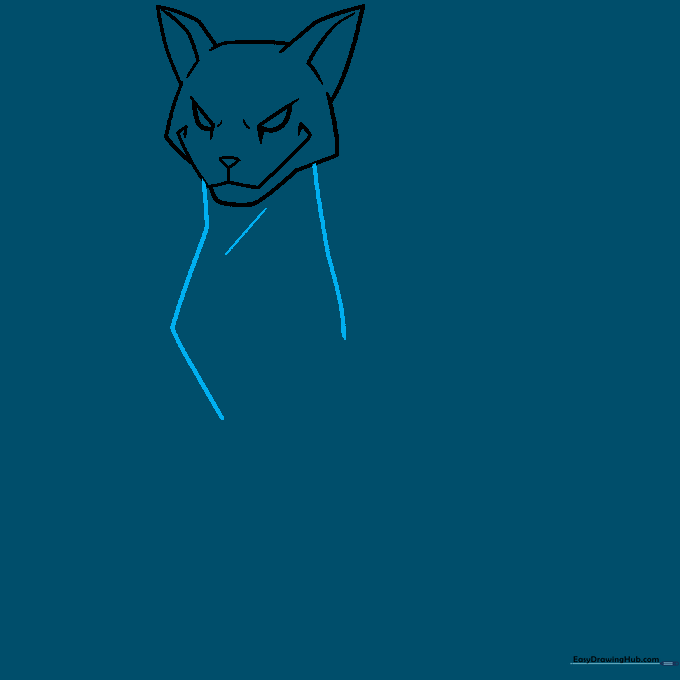
Draw a geometric shape for the chest and a gentle curve for the back. Use a short, straight line to connect the head to the body. Tip: Think of the chest as a slightly flattened oval to give the cat a sturdy, hunched posture.
Step 4: Drawing the Forelimb
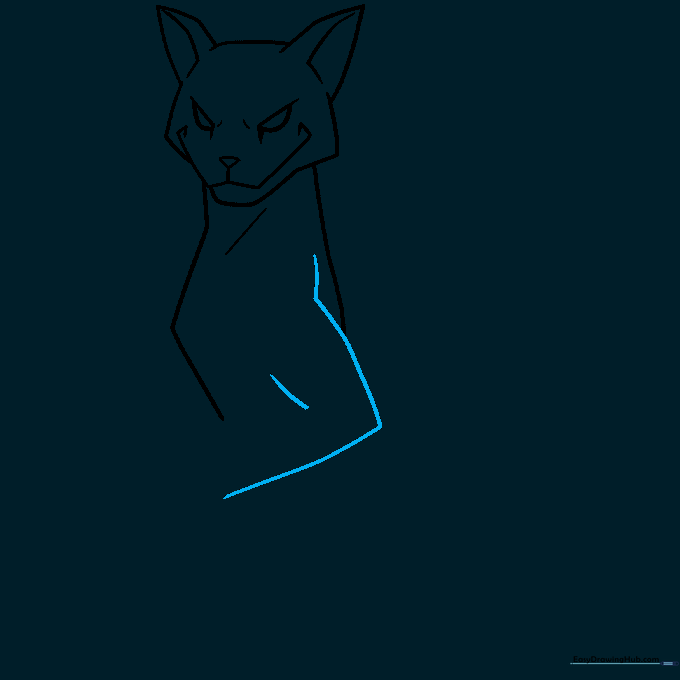
Use smooth, curved lines to trace the front leg. Focus on the bend at the shoulder and elbow. Tip: A slight curve in the leg suggests the cat is crouching, which adds to the 'scary' vibe.
Step 5: Adding Claws and Belly
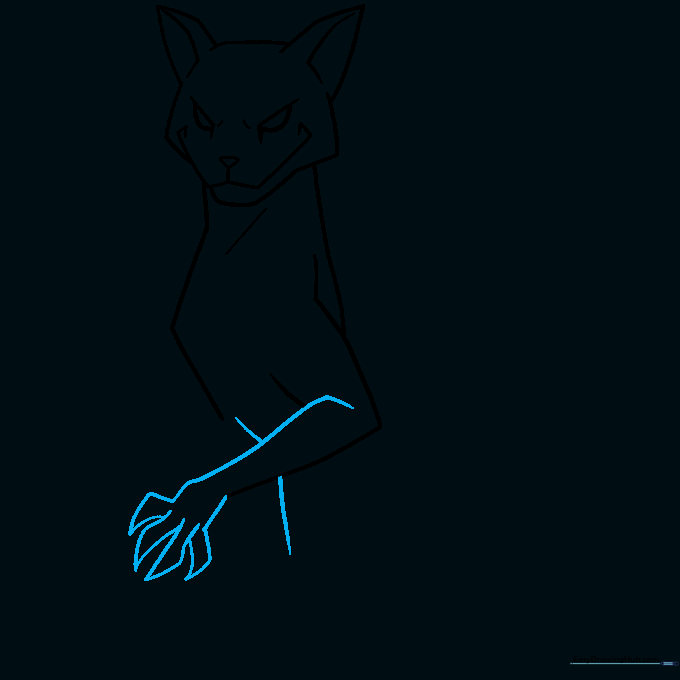
Finish the forearm and draw the paw with sharp, talon-like claws. Extend a line for the belly. Tip: Make the claws look extra sharp by drawing them as thin, pointed triangles.
Step 6: Drawing the Remaining Legs
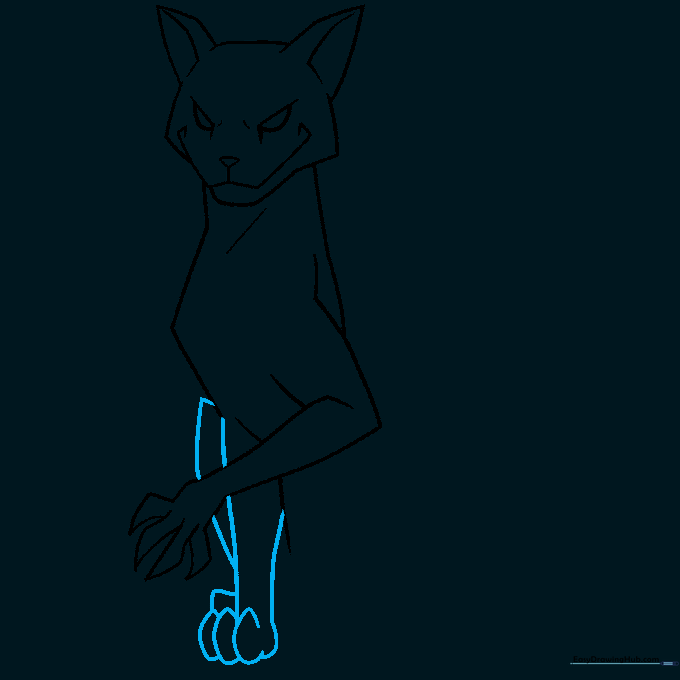
Draw the second foreleg and the rear leg. Use overlapping curved lines to show the toes. Tip: Overlapping lines are a great way to show depth and make your drawing look 3D.
Step 7: Refining the Paws
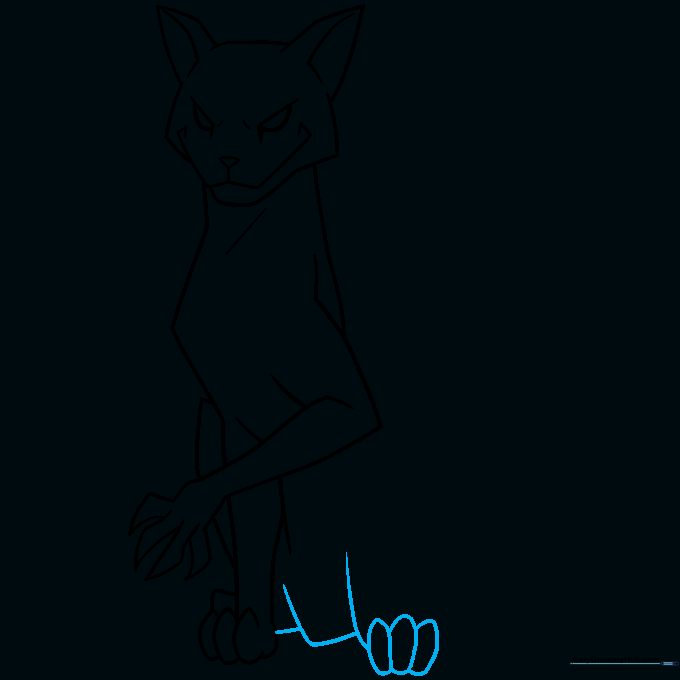
Sketch the bottom of the rear paw and the torso. Use small ovals to indicate the toes. Tip: Keep your ovals consistent in size so the paws look balanced.
Step 8: Closing the Outline

Enclose the body by connecting the hip and back with smooth, flowing lines. Tip: Use a continuous motion for the back to make the cat look sleek and agile.
Step 9: Adding the Tail

Complete the outline by drawing a long, curved tail that comes to a sharp point. Tip: A curved tail can make the cat look like it's ready to pounce!
Step 10: Bringing it to Life with Color
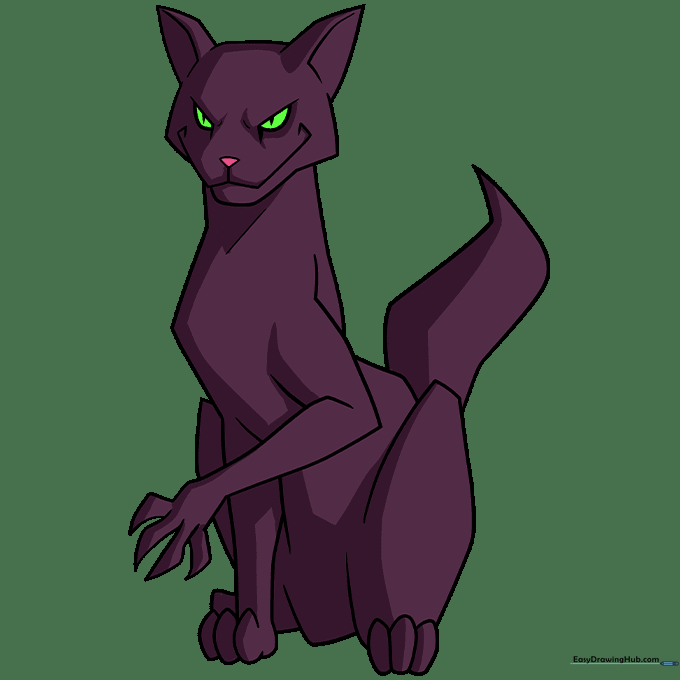
Time to color! We used black for the fur and a bright, glowing green for the eyes. Tip: Use a lighter shade of green in the center of the eyes to make them look like they are glowing in the dark.
More Tutorials


