How to Draw a Scared Cat: Easy 10-Step Guide for Kids
Bring a funny, expressive character to life with this easy-to-follow guide, perfect for young artists ages 5 and up. All you need is a pencil, an eraser, and a piece of paper to master this cartoon cat. Follow along to practice capturing emotions through simple shapes and expressive lines.
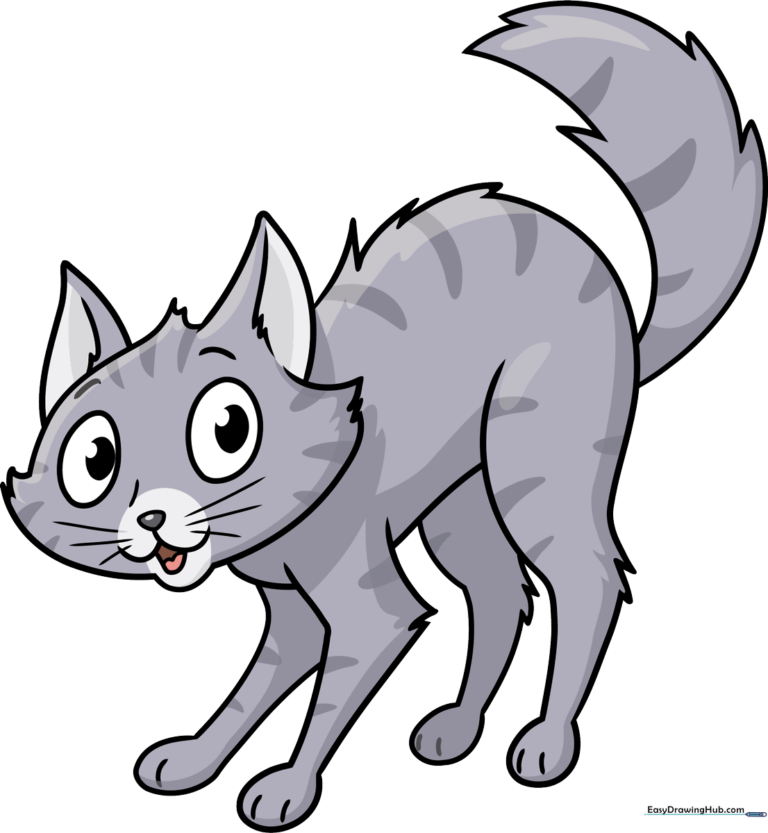
🎯 Final Result
Step-by-Step Instructions
Step 1: Sketching the Expressive Eyes

Draw two ovals on the left side of your paper. Add smaller circles inside for pupils and fill them in. Tip: Keep your pencil strokes light so you can easily adjust the spacing if the eyes look too far apart.
Step 2: Defining the Face and Whiskers

Sketch a wide curve to the left for the cheek and a loop for the chin. Add small tufts of fur on the right side. Tip: Use quick, flicking motions with your pencil to make the fur look soft and realistic.
Step 3: Adding the First Ear

Draw a large triangle on the right side of the head. Add curves above and below the face to create the shape of the head. Tip: Make the ear slightly tilted to show the cat is alert.
Step 4: Completing the Ears and Neck
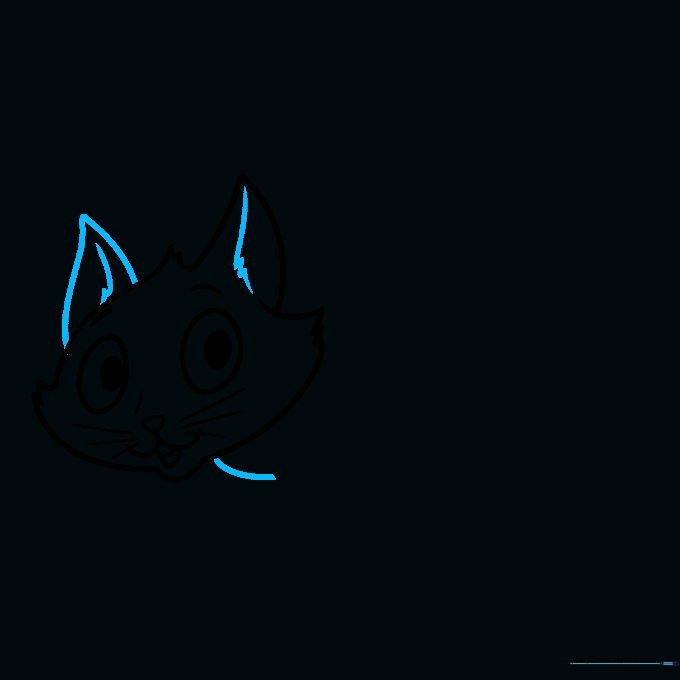
Add a second triangle for the left ear, using jagged lines inside to show texture. Draw a smooth curve to start the neck. Tip: Vary the length of your 'fur' lines to make the cat look shaggy.
Step 5: Sketching the Front Legs
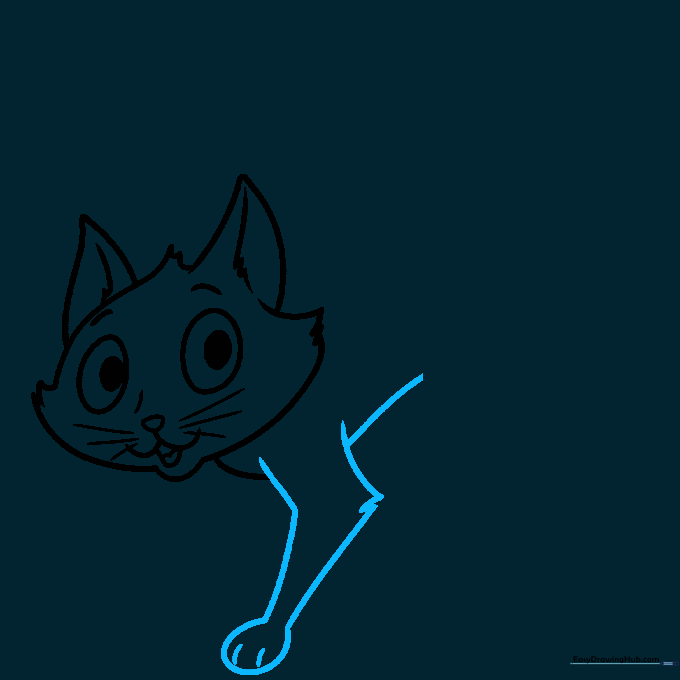
Draw two diagonal lines for the front leg, ending in a rounded paw. Use small dashes to indicate toes. Tip: Keep the legs slightly bent to suggest the cat is crouching in fear.
Step 6: Creating the Arched Back
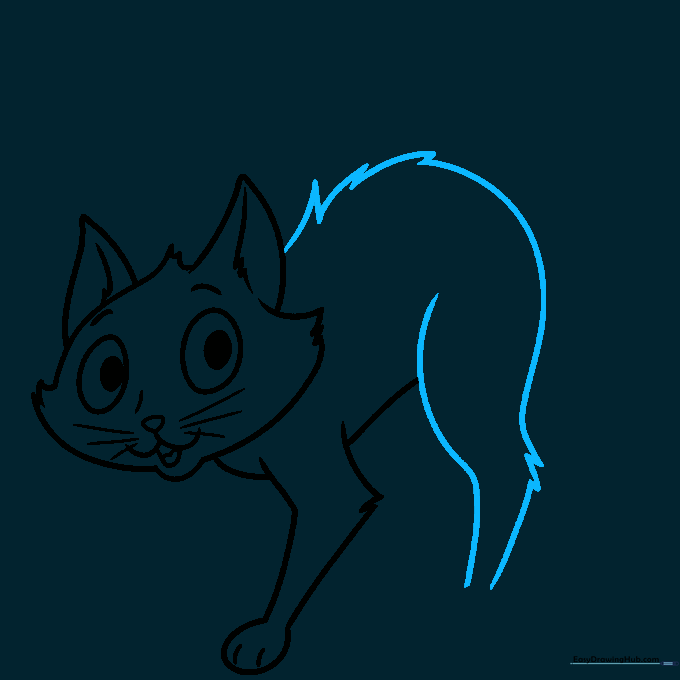
Draw a large, sweeping curve for the back, using loose, sketchy lines to represent fur. This arch is key to showing the cat is startled. Tip: Imagine the shape of a blade of grass to get that sharp, pointy fur look.
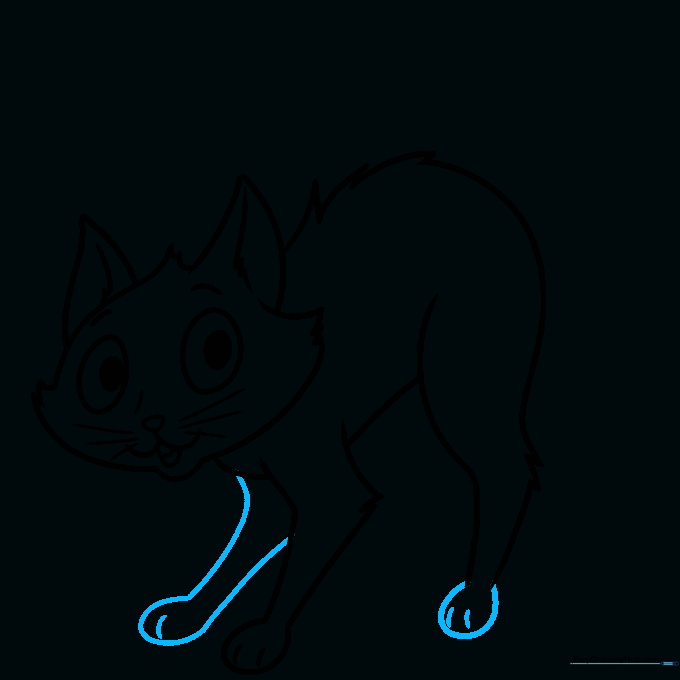
Step 7: Adding the Back Paws

Add the back legs using simple loops and cylinders. Ensure the paws look planted firmly on the ground. Tip: Think of the leg shape like a spoon to get the curve just right.
Step 8: Finalizing the Body Shape
Connect the legs to the main body with a smooth curve on the left and jagged lines on the right to show the fur texture. Tip: Check that your proportions look balanced before moving to the tail.
Step 9: Drawing the Frightened Tail

Draw a large, puffy tail using sweeping, pointed curves. The tail should look thick and bristled. Tip: A 'frightened' tail is usually puffed up, so make your curves wider than a normal tail.
Step 10: Adding Color and Detail

Outline your drawing with a black marker. Color the cat in shades of gray, using darker stripes for depth. Keep the eyes white to emphasize the 'wide-eyed' look. Tip: Add a simple background like a lightning bolt to tell a story!
More Tutorials


