How to Draw a Santa Hat: Easy 10-Step Guide for Kids
Ready to add some holiday cheer to your sketchbook? This tutorial is perfect for artists ages 5 and up, requiring only a pencil, eraser, and paper. Follow these simple steps to master the classic Santa hat shape and build your confidence with curved lines.
🎯 Final Result

Step-by-Step Instructions
Step 1: Sketching the Top Curve
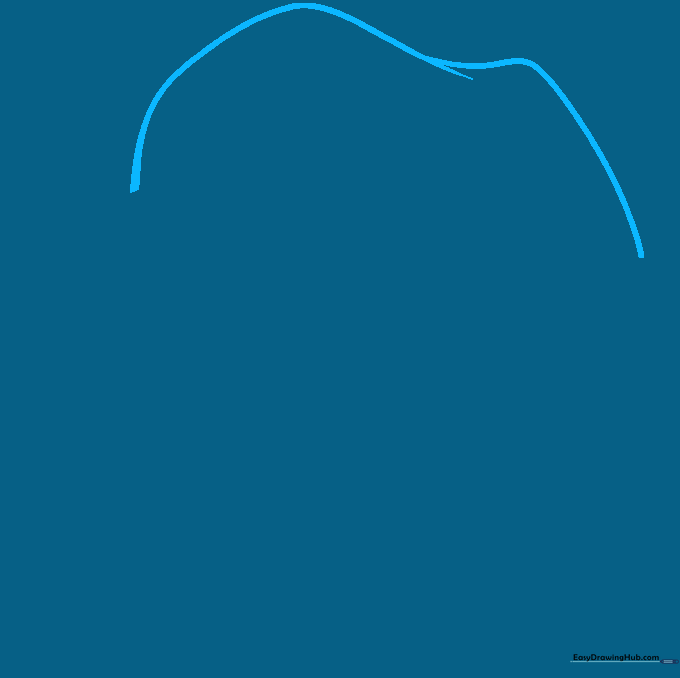
Draw two long, overlapping curved lines to form the top peak of the hat. Teacher's Tip: Keep these lines soft and rounded to make the hat look like it's made of cozy fabric.
Step 2: Defining the Hat Shape
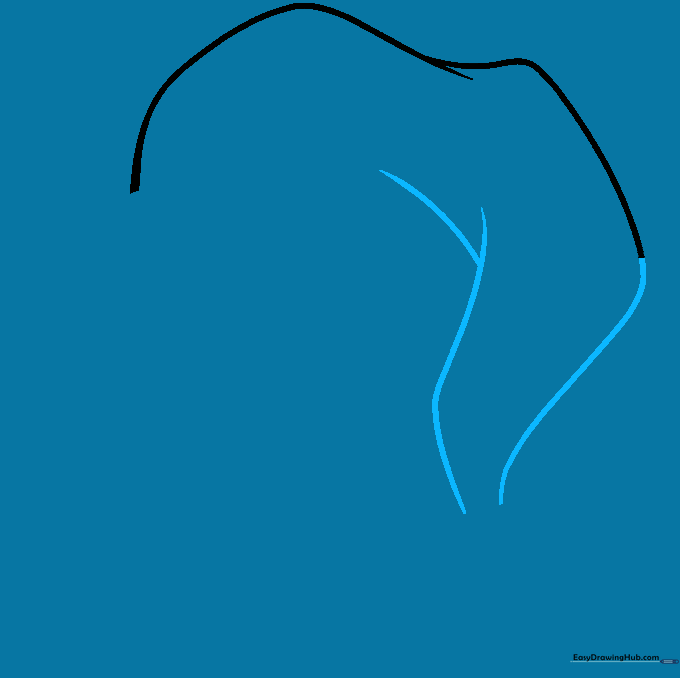
Extend the previous lines and add a 'Y' shape to outline the opposite side of the hat. Teacher's Tip: Think of this as the 'body' of the hat; make sure the lines flow naturally toward the bottom.
Step 3: Starting the Fur Trim
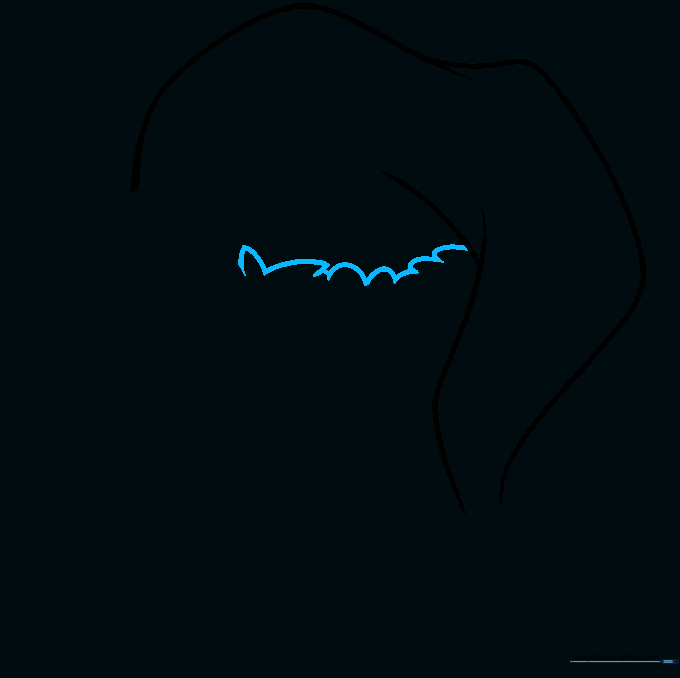
Draw a series of connected, bumpy curved lines along the bottom opening. Teacher's Tip: These bumps represent the fluffy white fur trim, so keep them irregular to look more realistic.
Step 4: Enclosing the Hat Top
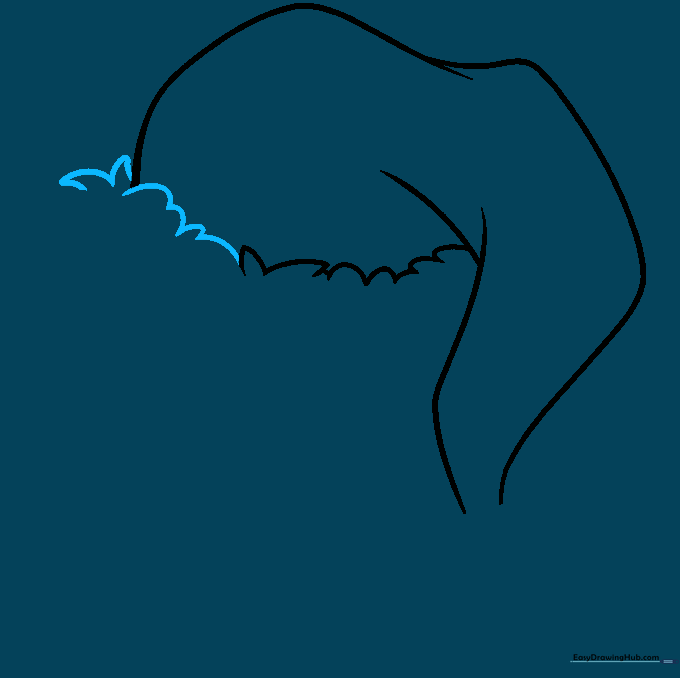
Continue the furry texture lines until the top section of the hat is fully enclosed. Teacher's Tip: Ensure your lines connect smoothly to the main body of the hat.
Step 5: Shaping the Lower Trim
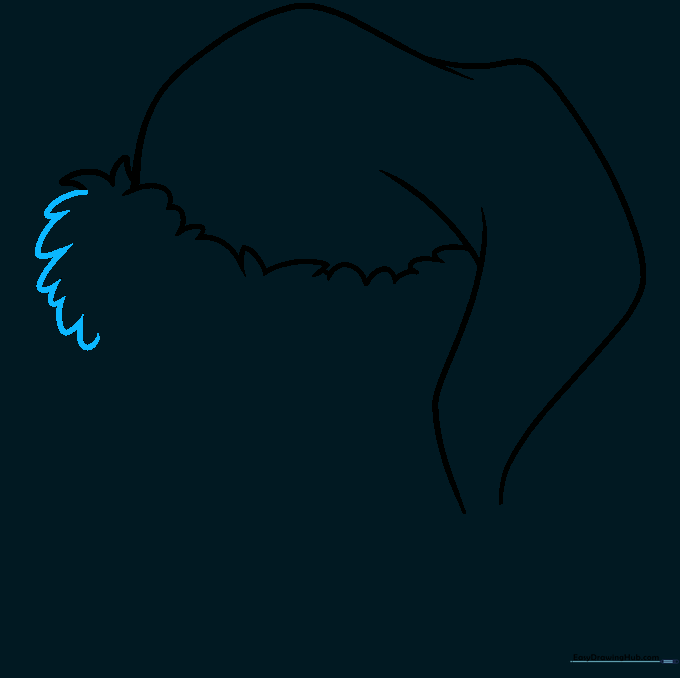
Use 'U' shaped lines to outline the side and begin the bottom edge of the trim. Teacher's Tip: Keep your pencil pressure light here so you can easily adjust the curve of the hat's brim.
Step 6: Detailing the Fur
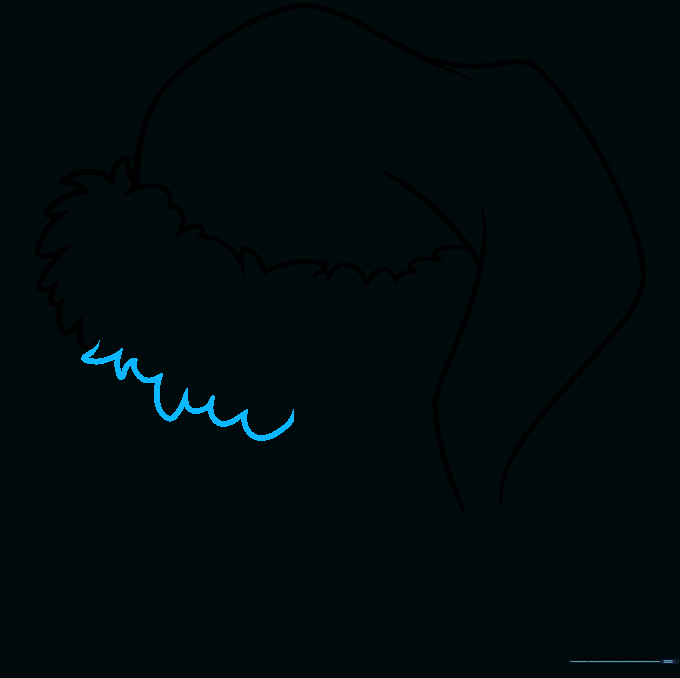
Continue the trim using short, connected, curved lines. Teacher's Tip: Vary the size of your 'U' shapes slightly to make the fur look soft and fluffy rather than uniform.
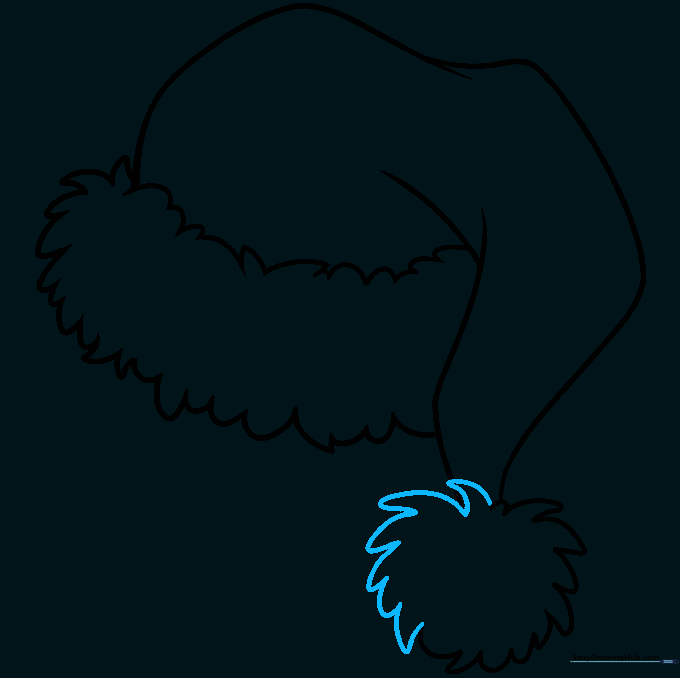
Step 7: Drawing the Pom-Pom
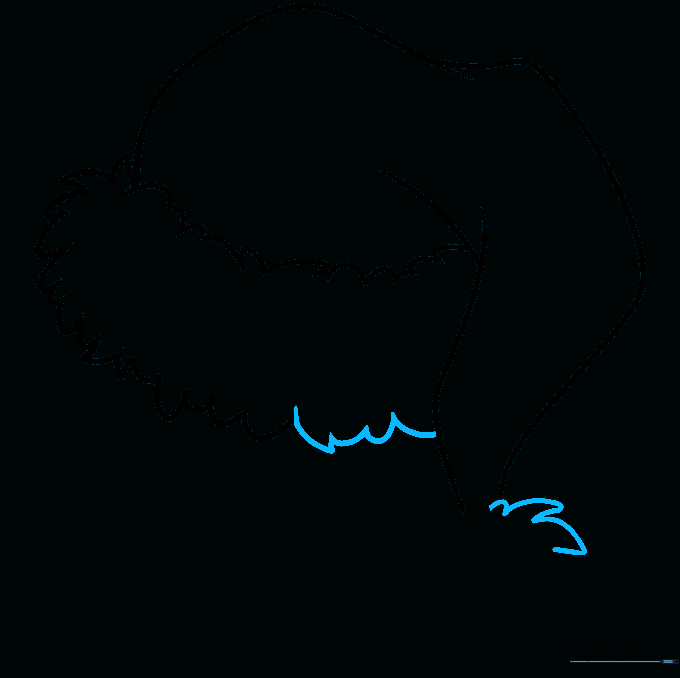
Finish the trim outline, then draw curved lines meeting at gentle points to start the pom-pom. Teacher's Tip: The pom-pom should look like a small, fluffy cloud sitting at the tip of the hat.
Step 8: Refining the Pom-Pom
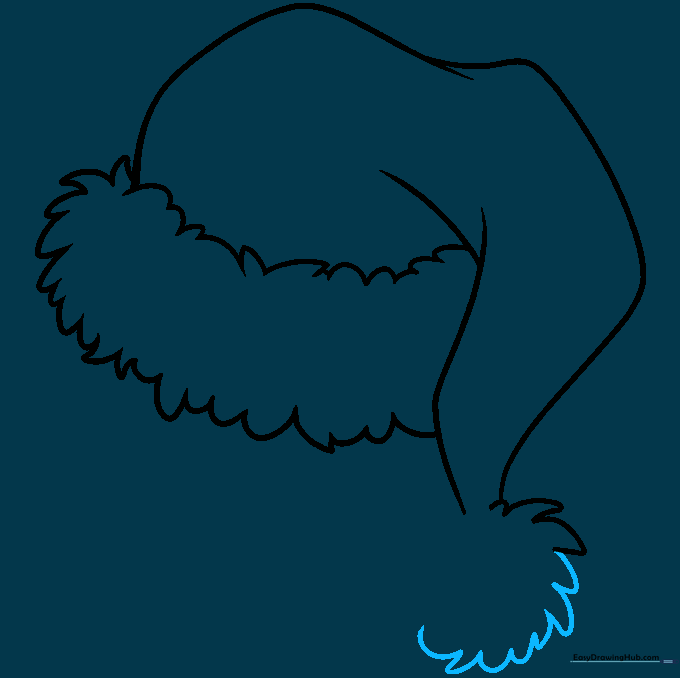
Continue drawing the pom-pom with a series of connected curved lines. Teacher's Tip: Don't make it a perfect circle; a slightly irregular shape looks much more like real yarn.
Step 9: Finalizing the Outline
Close the pom-pom shape. Notice how the furry texture points in opposite directions on each side. Teacher's Tip: Use your eraser to clean up any overlapping lines inside the pom-pom.
Step 10: Adding Color

Bring your hat to life with color! Use bright red for the main fabric and leave the trim and pom-pom white or add a light gray shadow. Teacher's Tip: Use short, light strokes to color the fur to give it a soft, textured appearance.
More Tutorials


