How to Draw a Sandwich: Easy 10-Step Guide for Kids
Ready to create a tasty masterpiece? This step-by-step guide is perfect for young artists ages 5 and up to practice layering shapes and textures. All you need is a pencil, an eraser, and your favorite coloring supplies to bring your lunch creation to life.
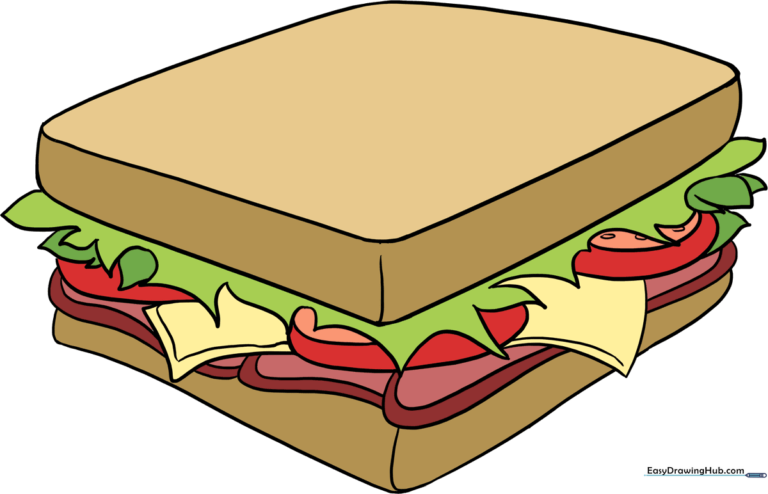
🎯 Final Result
Step-by-Step Instructions
Step 1: Sketching the Top Crust

Draw a diamond shape with soft, rounded corners to represent the top of your bread. Teacher's Tip: Keep your pencil pressure light here so you can easily adjust the shape if needed.
Step 2: Adding Bread Depth

Draw short, vertical lines descending from the corners, then connect them with straight lines. This creates the 'thickness' of the bread. Tip: Imagine the bread is a block to help you visualize the 3D edges.
Step 3: Drawing the Lettuce

Tuck some wavy, pointed shapes right under the bread to represent fresh lettuce. Tip: Use quick, jagged motions with your pencil to make the leaves look ruffled and realistic.
Step 4: Adding Tomato and Cheese

Draw a semicircle for the tomato slice and a small triangle for the corner of the cheese. Tip: Adding a smaller shape inside the cheese corner creates a nice 'folded' effect.
Step 5: More Tomato Slices

Add another tomato slice on the opposite side using the same semicircle technique. Tip: Vary the size of your tomatoes to make the sandwich look more natural.
Step 6: Layering Cheese and Lettuce

Add more cheese corners and extra lettuce leaves to fill in the gaps. Tip: Overlapping your shapes makes the sandwich look much more appetizing and full!
Step 7: Adding the Meat

Use long, sweeping curved lines to outline the lunchmeat. Tip: Keep the lines parallel to show the thin, folded texture of deli meat.
Step 8: Refining the Meat Texture

Continue adding parallel curved lines to build up the meat layer. Tip: Don't worry if the lines aren't perfectly straight; meat is naturally wavy!
Step 9: The Bottom Slice
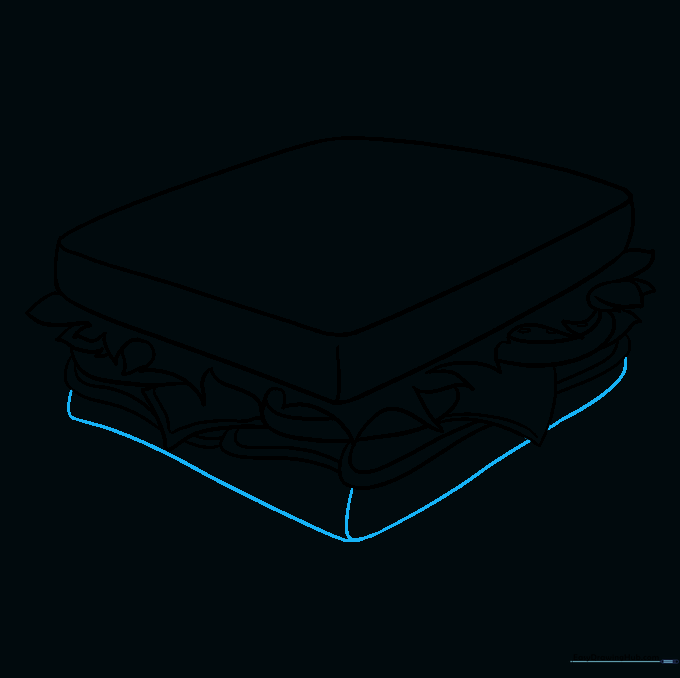
Draw the bottom slice of bread by extending lines down from the corners and connecting them with a long curve. Tip: Ensure the bottom slice aligns with the top one to keep the sandwich stable.
Step 10: Bring It to Life with Color
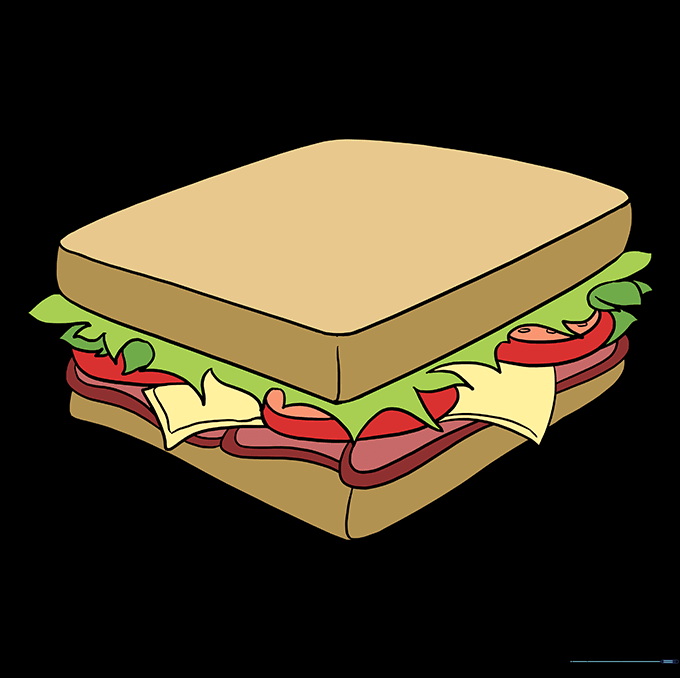
Time to color! Use warm browns for the bread, vibrant greens for the lettuce, and bright reds for the tomatoes. Tip: Use a darker shade of brown on the edges of the bread to give it a 'toasted' look.
More Tutorials


