How to Draw a Sandhill Crane: Easy 9-Step Bird Tutorial
Capture the elegance of the Sandhill Crane with this beginner-friendly drawing guide, perfect for young artists ages 7 and up. You will only need a pencil, an eraser, and a sheet of paper to bring this majestic bird to life. Follow along to master basic shapes and fluid lines while learning about bird anatomy.
🎯 Final Result

Step-by-Step Instructions
Step 1: Sketching the Head and Eye
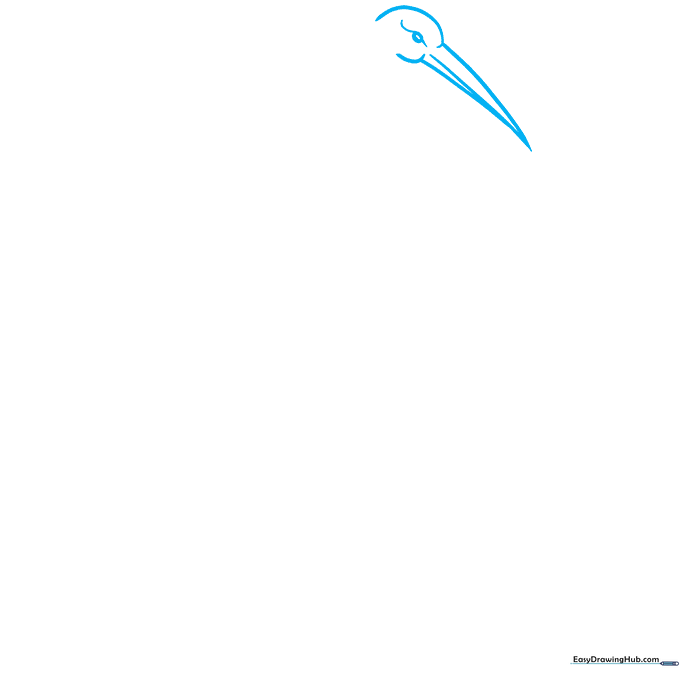
Start by drawing two small ovals for the eyes, shading the space between them. Use soft, curved lines to define the top of the head and the sharp, pointed beak. Teacher's Tip: Keep your pencil pressure light here; you want the beak to look slender and elegant, not bulky.
Step 2: Defining the Neck
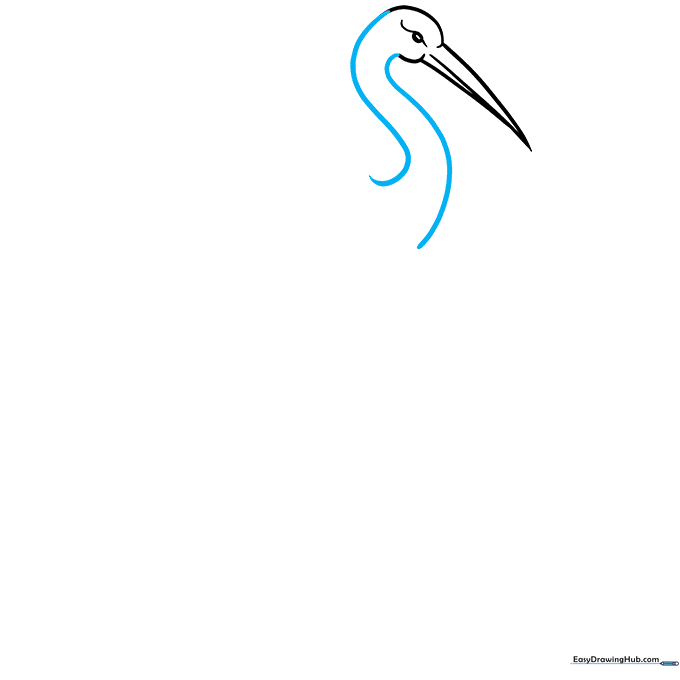
Extend two long, flowing lines down from the head to create the signature 'S' shape of the crane's neck. Teacher's Tip: Think of this like drawing a graceful swan neck—keep the lines smooth and continuous to show the bird's flexibility.
Step 3: Creating the Feathered Chest
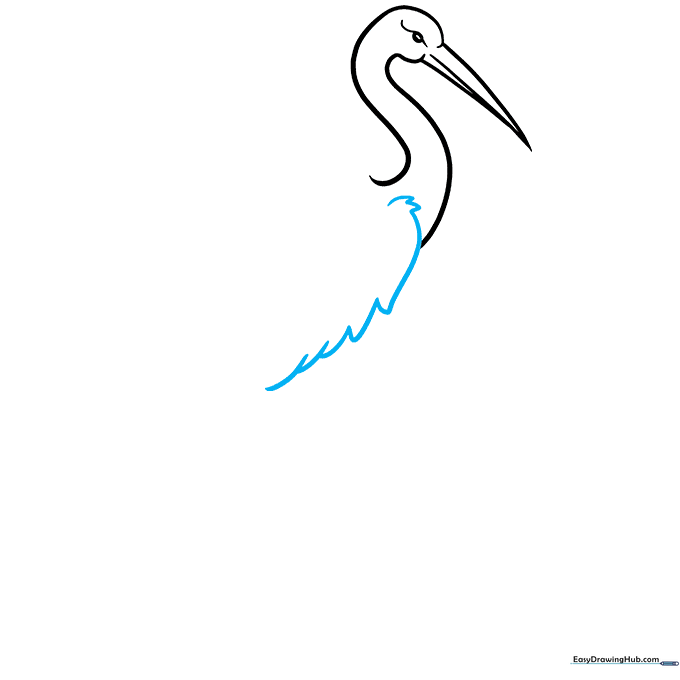
Use a series of short, overlapping curved lines to form the chest area. Ensure the lines meet at soft, rounded points to mimic the look of soft plumage. Teacher's Tip: Don't make these lines too uniform; feathers are naturally messy and layered.
Step 4: Forming the Back and Tail
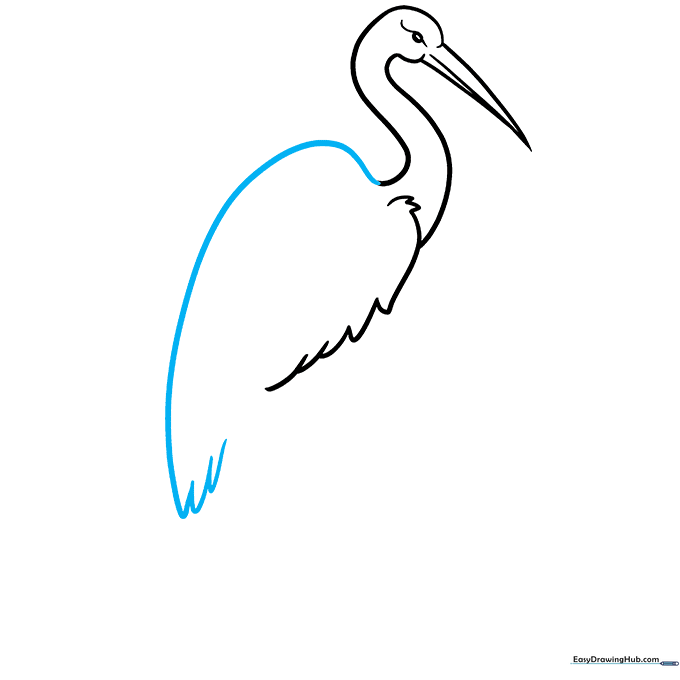
Extend the neck line into a gentle arch for the back. At the bottom, loop the line back and add 'U' shaped strokes to create the tail feathers. Teacher's Tip: The tail should look like a small fan; keep the 'U' shapes consistent in size.
Step 5: Adding Wing Detail
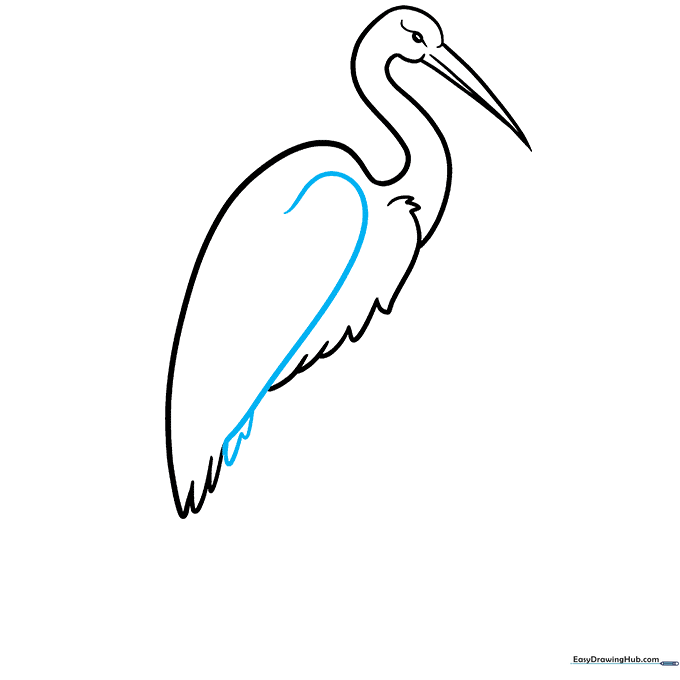
Draw a long 'J' shaped line from the shoulder down toward the tail. Add a few more 'U' shapes along this line to suggest folded wing feathers. Teacher's Tip: This line defines the wing's edge, so make it a bold, confident stroke.
Step 6: Texturing the Body
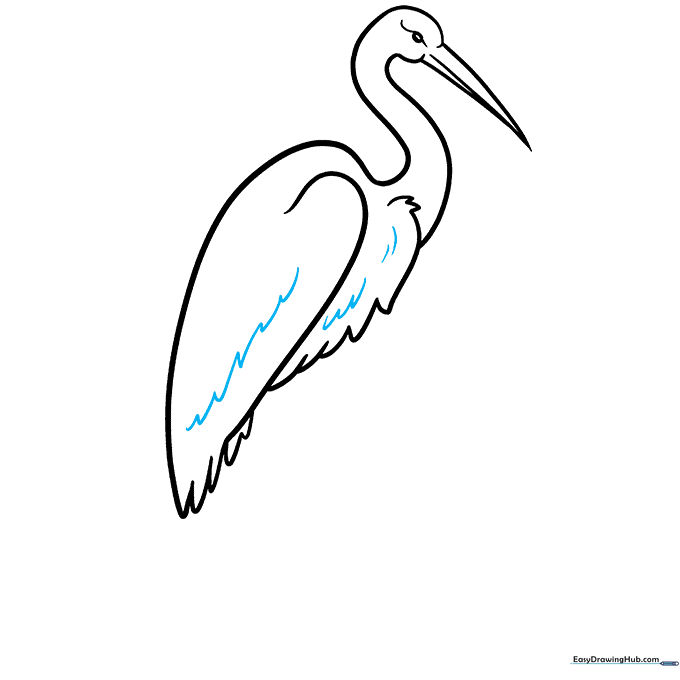
Add depth to the wing and body by drawing curved lines that meet at jagged, sharp points. This creates the illusion of overlapping feathers. Teacher's Tip: Vary the length of these lines to make the feathers look more realistic.
Step 7: Drawing the First Leg
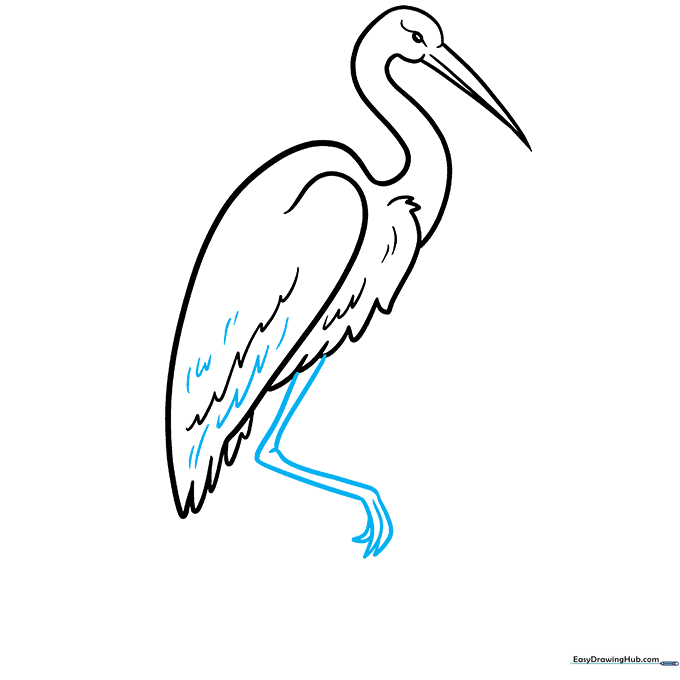
Continue adding feather texture to the wing, then draw a long, slender leg extending downward. Finish with sharp, pointed toes. Teacher's Tip: Crane legs are very thin; don't make them too thick, or the bird will look heavy.
Step 8: Adding the Second Leg
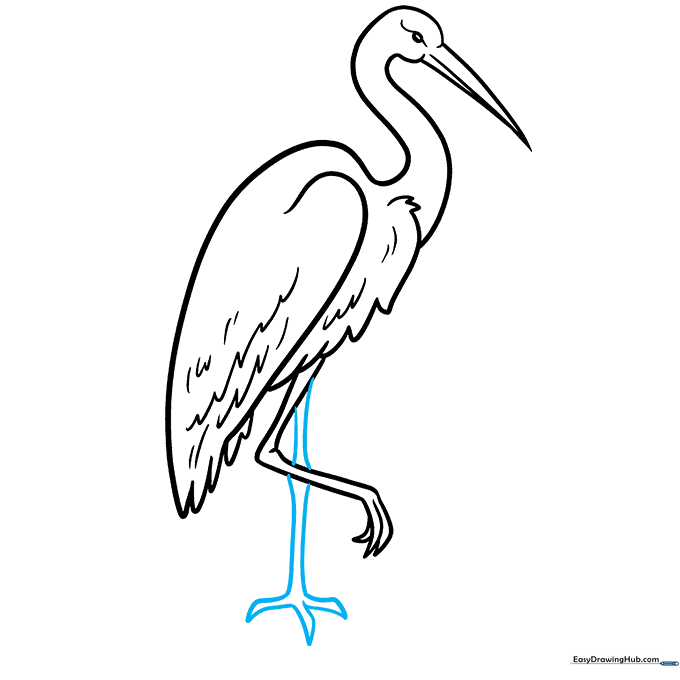
Draw the second leg slightly behind the first, keeping it straight to show the bird standing firmly. Ensure the toes are splayed out for balance. Teacher's Tip: Drawing the legs at slightly different angles adds a sense of movement to your drawing.
Step 9: Grounding Your Crane
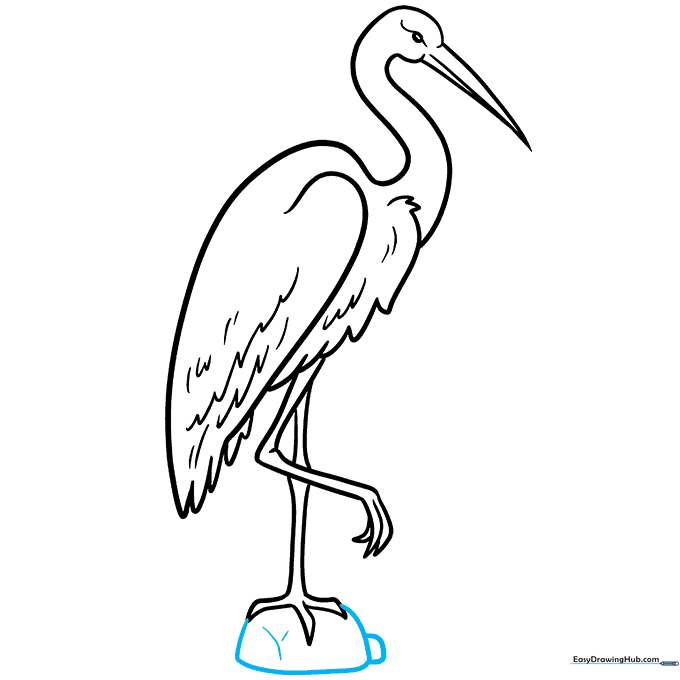
Draw a few curved lines to create a rock for your crane to stand on. Add a small 'Y' shape to the rock to give it a natural, craggy texture. Teacher's Tip: Grounding your subject helps make the drawing feel like a complete scene.
Step 10: Bringing It to Life with Color
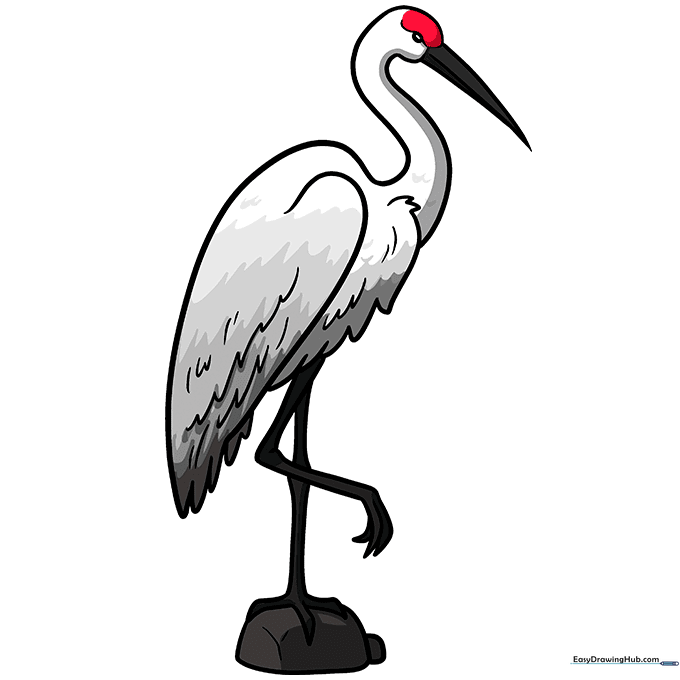
Time to color! Use soft greys and sandy browns for the feathers, a solid black for the beak, and a vibrant red spot on the crown of the head. Teacher's Tip: Use light, circular motions with your colored pencils to create a smooth, blended look.
More Tutorials


