How to Draw a Samurai: Easy 10-Step Guide for Beginners
Bring history to life with this engaging samurai drawing tutorial, perfect for artists ages 8 and up. You will only need a pencil, an eraser, and a sheet of paper to complete this warrior portrait. Follow along to develop your character design skills and learn how to construct balanced, heroic figures.
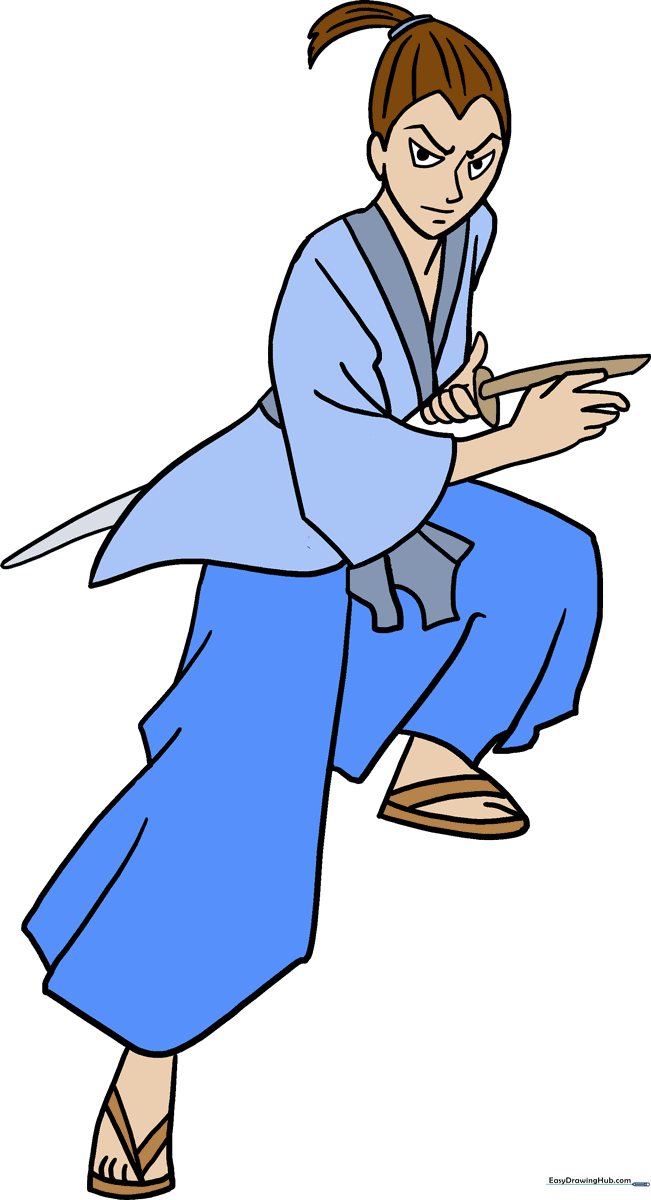
🎯 Final Result
Step-by-Step Instructions
Step 1: Sketching the Head and Chin

Draw a light circle for the head. Tip: Keep it about the size of a coin. Extend two curved lines downward to meet at a point for the chin, and add a small 'C' shape on the side for the ear.
Step 2: Defining the Neck and Collar

Draw a short line below the ear and connect it to the chin with a deep 'V' shape. Add small, overlapping rectangles along the 'V' to create the traditional kimono collar, then sketch the shoulder curves.
Step 3: Sketching the Sleeve

Define the neck with a short vertical line. Use overlapping curved lines to draw the wide sleeve. Tip: Make the sleeve wider at the bottom to give it a natural, flowing look.
Step 4: Adding the Arm and Hand
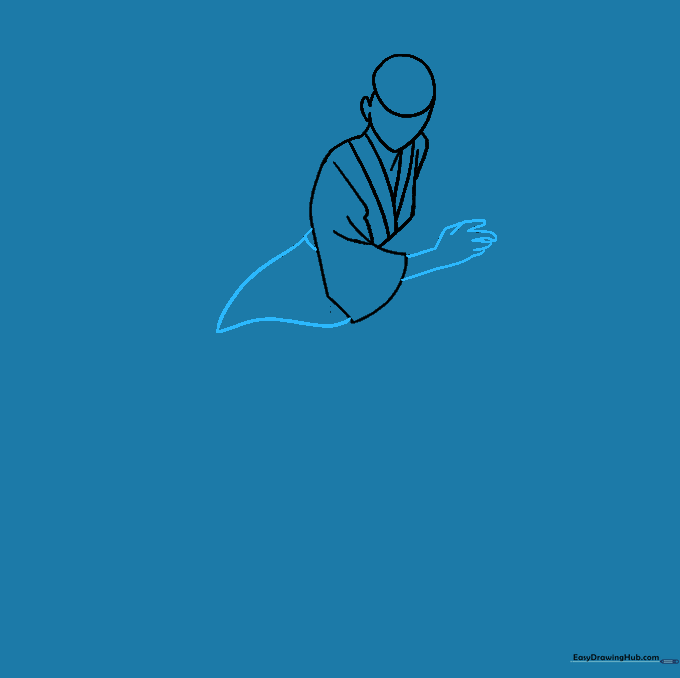
Draw a curved triangle shape for the bottom of the garment. Use parallel lines for the arm and small, curved pairs for the fingers. Tip: Keep the fingers rounded to make them look less stiff.
Step 5: Drawing the Traditional Hairstyle

Create an 'M' shape for the hairline and add a semicircle on top. Draw a small tie at the crown with two curved lines connected by a jagged line for the hair texture. Erase any overlapping guide lines.
Step 6: Drawing the Billowing Pants
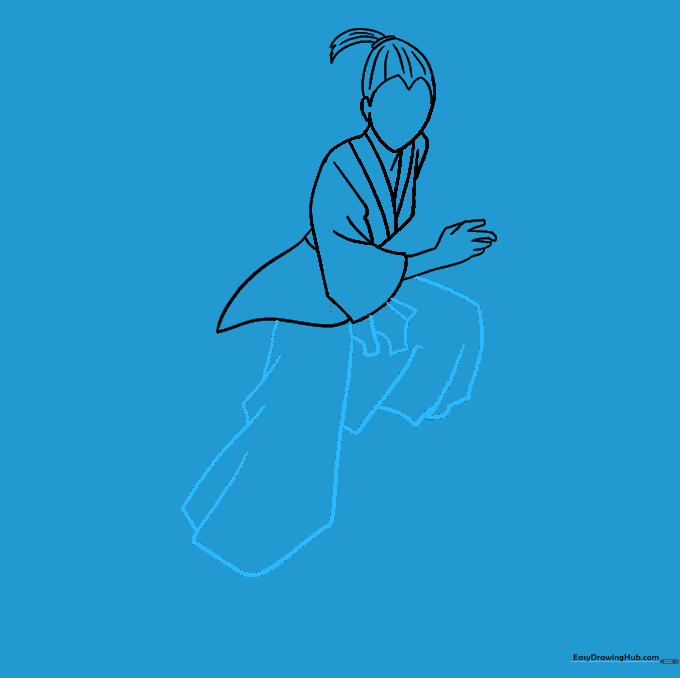
Use overlapping, curved lines to draw the wide, traditional hakama pants. One leg should look slightly bent at the knee to show movement. Add irregular shapes near the sleeve to show fabric folds.
Step 7: Adding Feet and Sandals
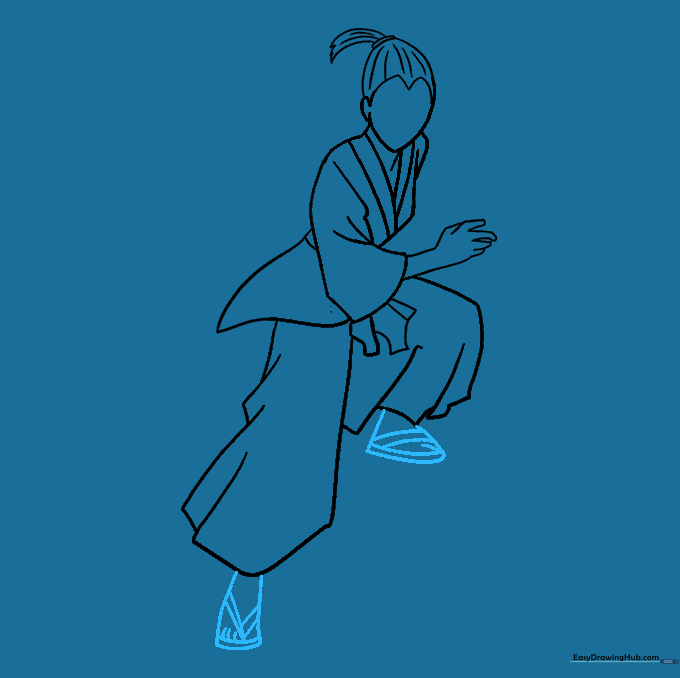
Sketch the feet at the bottom of the pants. Add simple shapes for the traditional sandals. Tip: Keep the feet small to maintain the correct proportions of the character.
Step 8: Adding the Weapon
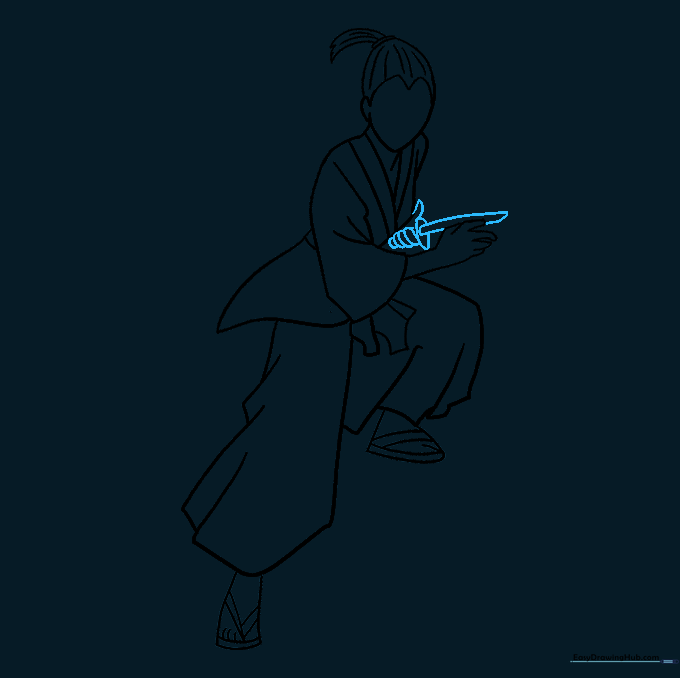
Draw the hand holding the sword hilt using overlapping ovals. This creates a realistic grip. Ensure the hilt aligns with the hand position.
Step 9: Finalizing Details and Face

Draw the sword blade behind the samurai. For the face, use anime-style eyes with flat tops and shaded pupils. Add simple curved lines for the eyebrows, nose, and mouth to give your warrior a focused expression.
Step 10: Color Your Samurai

Bring your samurai to life with color! Use traditional colors like deep blues, blacks, or reds for the kimono. Tip: Use a darker shade to add shadows under the sleeves for a 3D effect.
More Tutorials


