How to Draw a Salamander: Easy 10-Step Guide for Kids
Bring this fascinating amphibian to life with a simple, guided drawing lesson perfect for young artists ages 5 and up. All you need is a pencil, an eraser, and your favorite markers or crayons. Follow these steps to build your character from basic shapes into a detailed, colorful salamander.
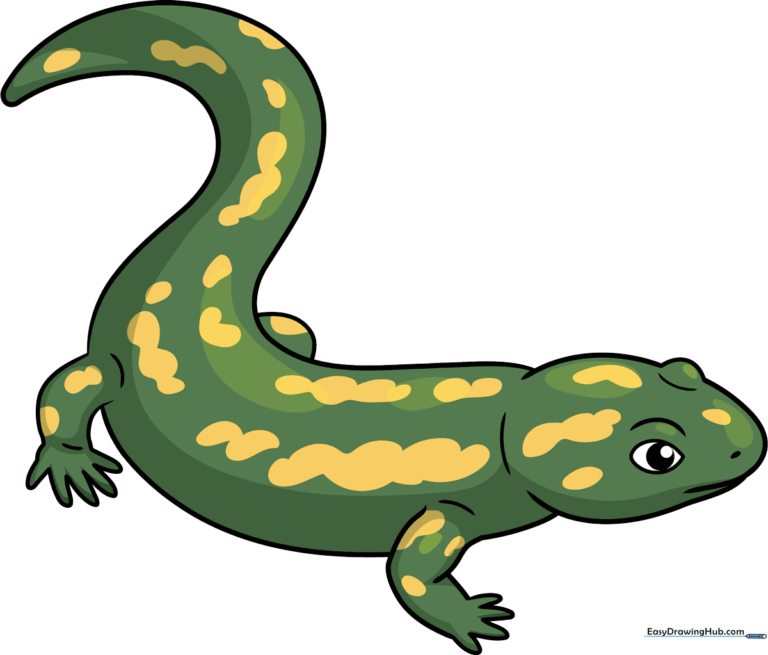
🎯 Final Result
Step-by-Step Instructions
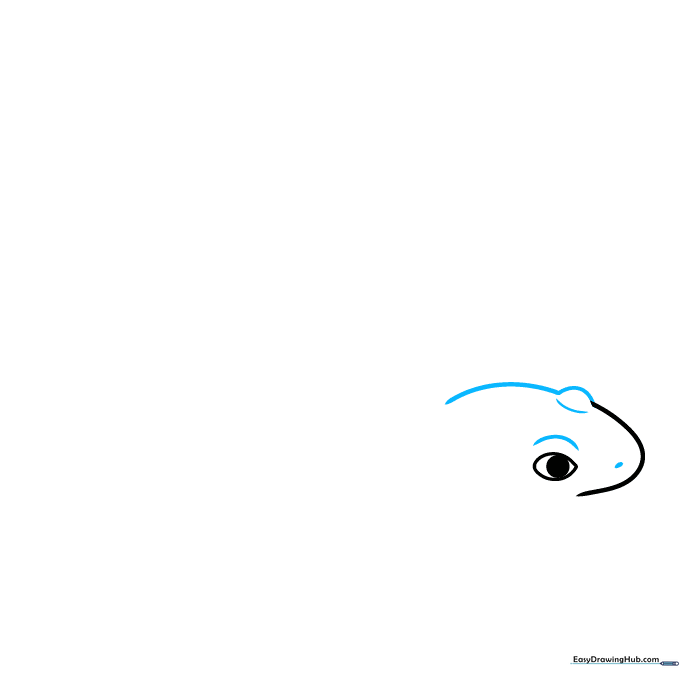
Step 1: Sketching the Head and Eye

Start by drawing a soft, curved line for the front of the face. Then, add a small, pointed teardrop shape for the eye with a shaded circle inside. Teacher's Tip: Keep your pencil pressure light here so you can easily adjust the shape if needed.
Step 2: Adding Facial Details
Draw a small oval for the nostril, then add a curved line above the eye to create a brow ridge. Extend the head line backward to define the skull. Teacher's Tip: Use short, smooth strokes to keep the salamander's head looking rounded and friendly.
Step 3: Defining the Jaw and Front Leg
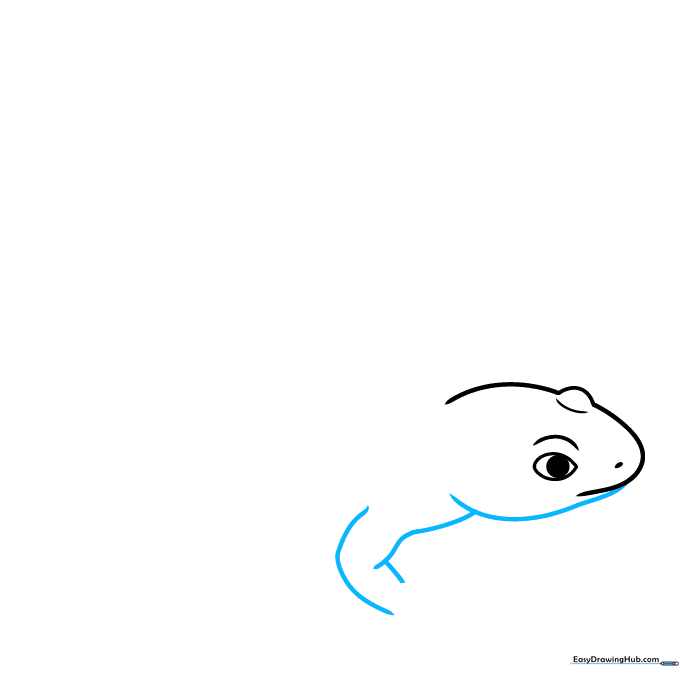
Extend a long, smooth curve from the face to form the lower jaw. Below this, draw a 'Y' shape to start the front leg. Teacher's Tip: Think of the 'Y' as the base of the shoulder; keeping it slightly angled makes the salamander look like it's ready to crawl.
Step 4: Body Outline and Toes
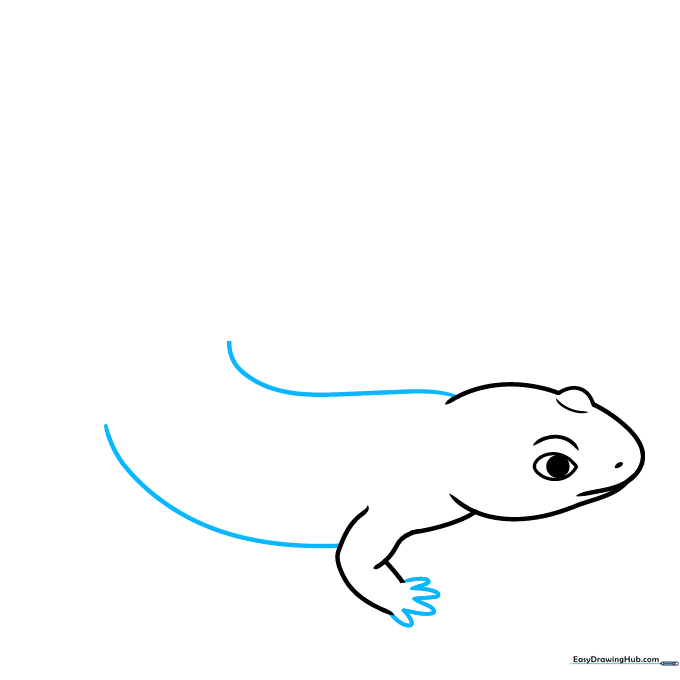
Draw two parallel curved lines extending from the head and leg to form the body. Use a series of connected 'U' shapes to create the toes on the front foot. Teacher's Tip: Make the toes small and rounded to give the salamander a cute, cartoonish appearance.
Step 5: Drawing the Rear Leg
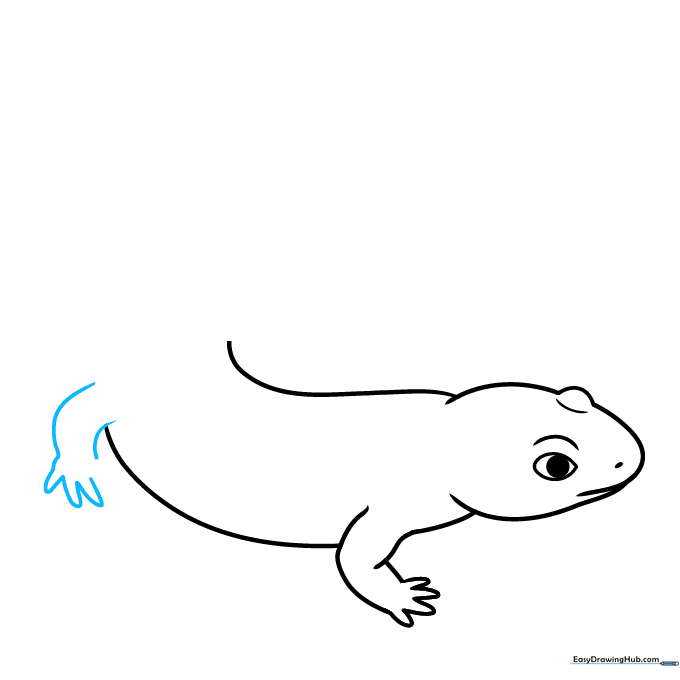
Sketch the rear leg using two curved lines, then add the toes using the same 'U' shape technique as before. Teacher's Tip: Ensure the rear leg is slightly larger than the front one to show perspective.
Step 6: Forming the Tail
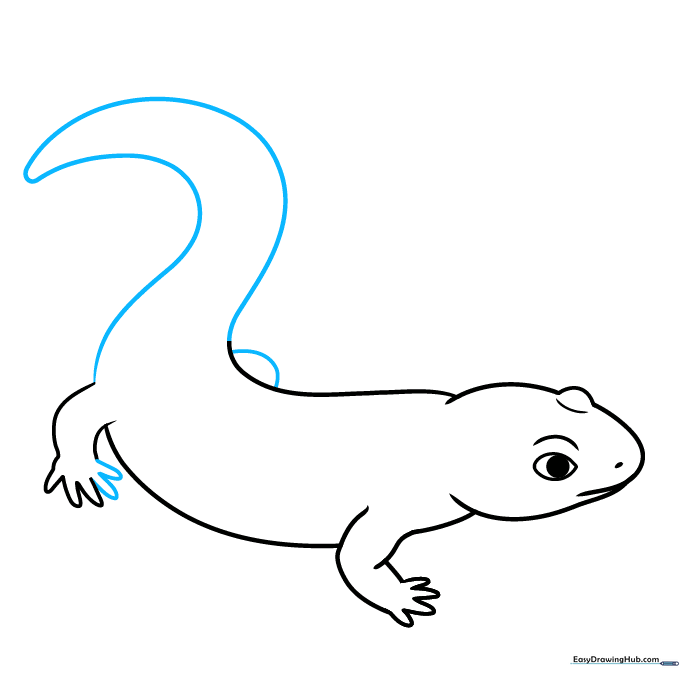
Extend long, tapering curved lines from the body to meet at a point for the tail. Add a half-circle at the base of the tail to define the hip. Teacher's Tip: A long, sweeping tail adds movement to your drawing.
Step 7: Adding Body Contours and Spots
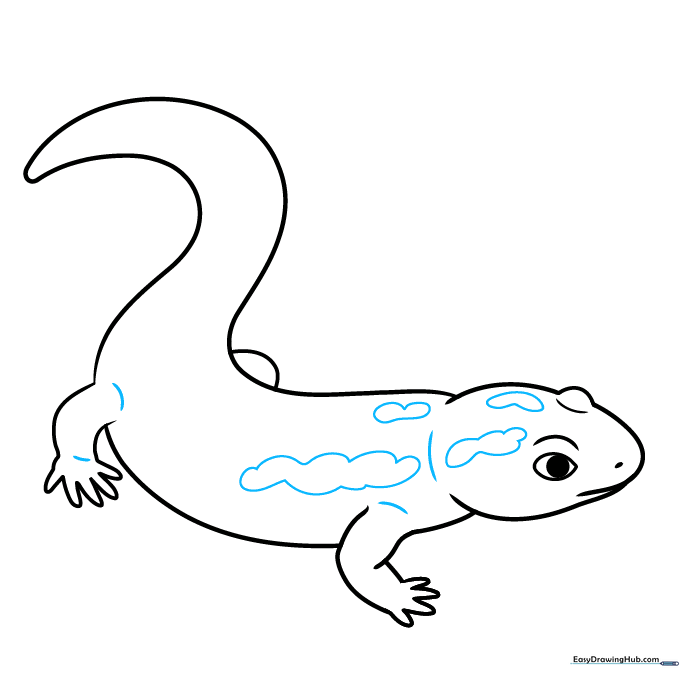
Use curved lines to contour the neck, shoulder, and hip. Then, draw wavy, cloud-like shapes on the back to represent spots. Teacher's Tip: Vary the size of your spots to make the pattern look natural.
Step 8: Patterning the Tail
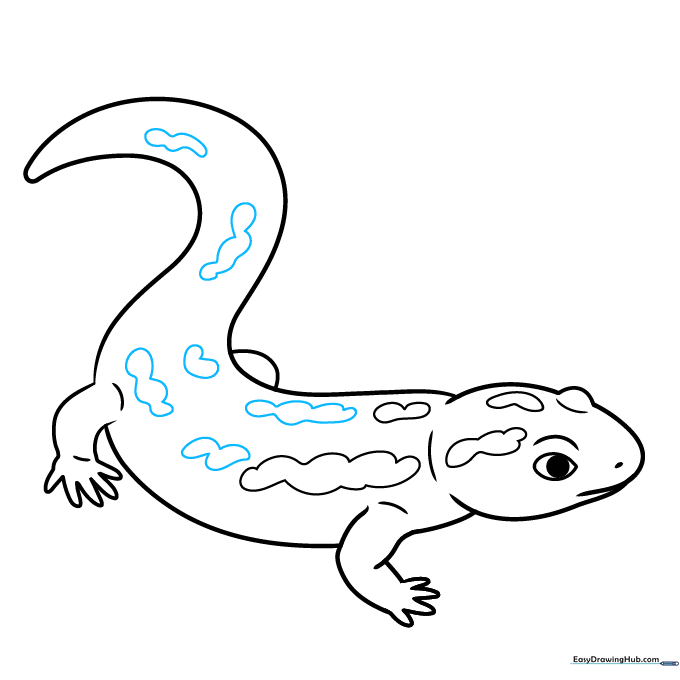
Continue adding cloud-like spots in two neat rows down the length of the tail. Teacher's Tip: Try to keep the spots spaced out evenly so the pattern looks balanced.
Step 9: Final Details
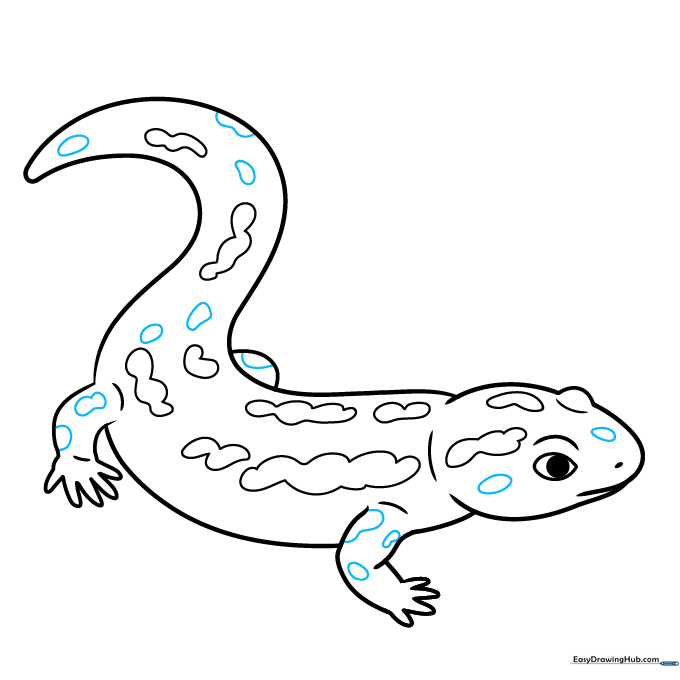
Add a few smaller spots to the legs and face to complete the texture. Teacher's Tip: Use a fine-liner or dark pencil to go over your final lines before erasing your guide marks.
Step 10: Bringing Your Salamander to Life with Color
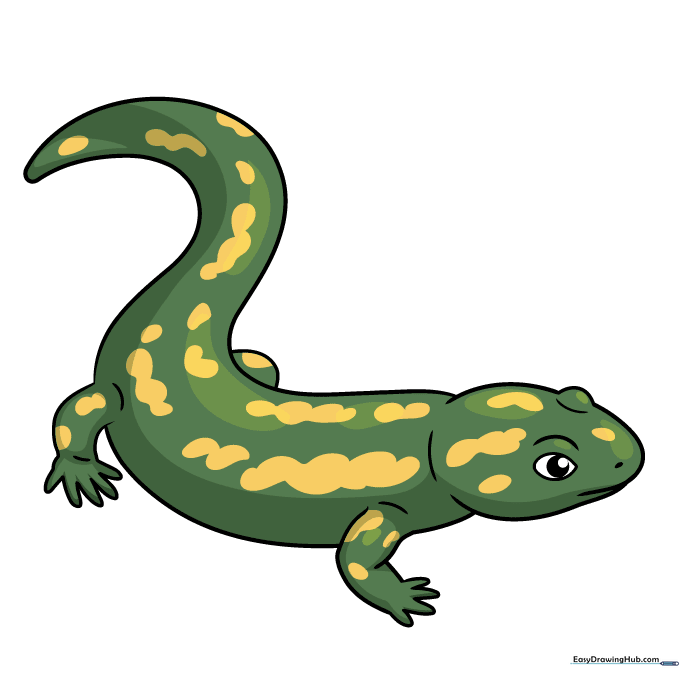
Your outline is complete! Now, choose your colors. We used green with yellow spots, but you can try red and orange for a 'Red Salamander' look. Teacher's Tip: Use light, circular motions with your colored pencils to create a smooth, vibrant fill.
More Tutorials


