How to Draw a Saber Tooth Tiger: Easy 9-Step Guide
Bring the Ice Age to life with this fun, step-by-step tutorial designed for young artists ages 6 and up. You only need a pencil, an eraser, and a piece of paper to build your own prehistoric predator. Follow along to develop your sketching confidence and learn how to add realistic fur textures to your cartoon animals.
🎯 Final Result

Step-by-Step Instructions
Step 1: Sketching the Profile

Start by drawing the upper profile of the face using a long, smooth curved line. Add a smaller curve for the eye and shade in a dark, round pupil. Teacher's Tip: Keep your pencil pressure light here so you can easily adjust the shape if needed.
Step 2: The Iconic Fangs
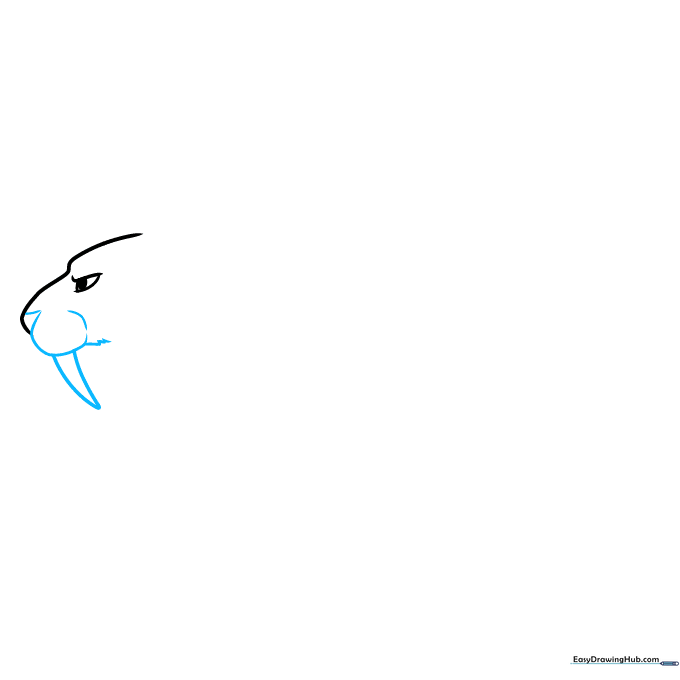
Draw a small triangle for the nose and a partial circle to anchor the famous saber tooth. Extend two curved lines from that circle to create a sharp, pointed fang. Use a jagged, 'furry' line to start the lower jaw. Teacher's Tip: Use short, quick strokes for the fur to make it look soft and wild.
Step 3: Defining the Jaw and Ear
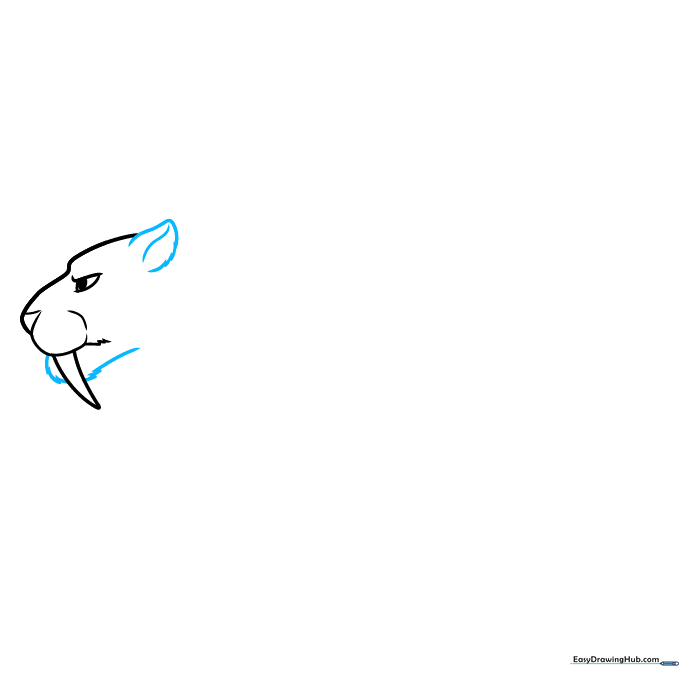
Continue the jagged line to finish the lower jaw, then add a rounded ear shape at the top of the head. Add a small curved line inside the ear for depth. Teacher's Tip: Imagine the ear is a small cup; the inner line shows the curve of the cartilage.
Step 4: Neck and Front Leg
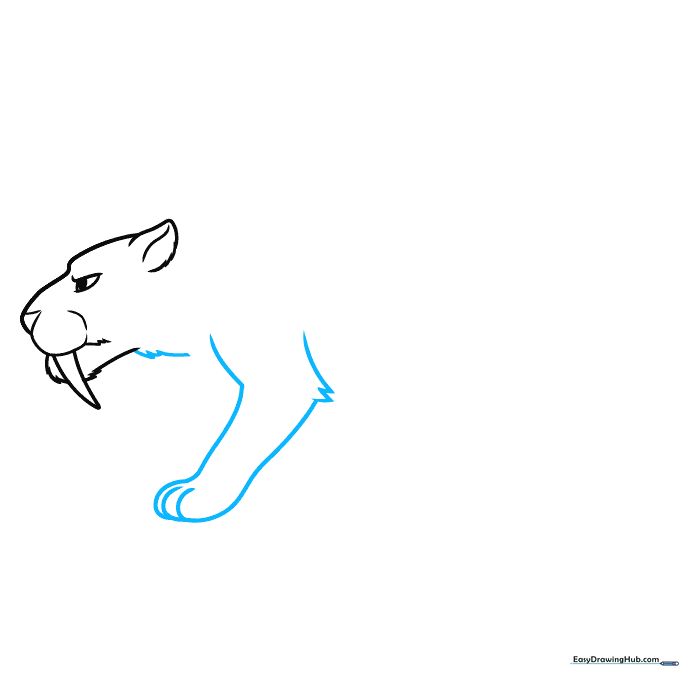
Draw the furry neck using short, overlapping lines. For the front leg, use long, smooth curves. Create an 'M' shape at the elbow to suggest muscle and fur texture. Teacher's Tip: Overlap your lines at the paw to create the appearance of individual toes.
Step 5: Body and Back Leg
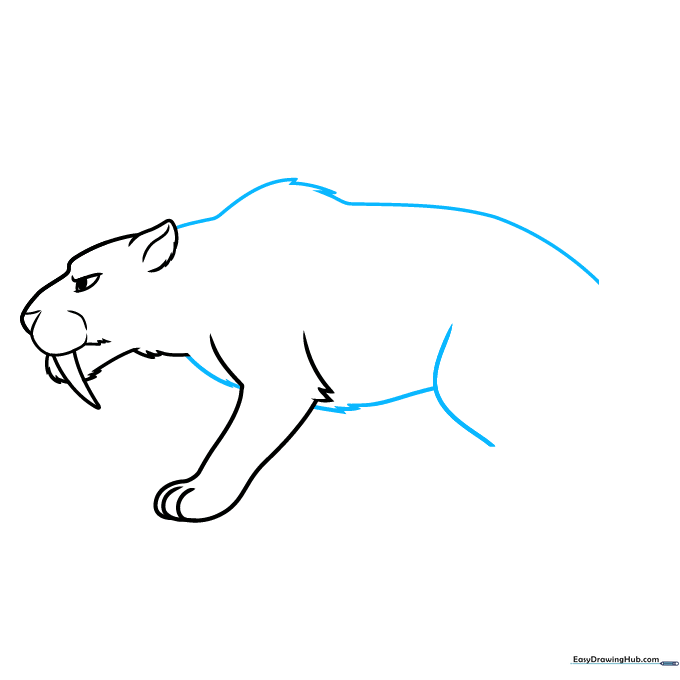
Use long, sweeping lines to connect the neck to the back, belly, and rear leg. Add a few jagged points along the back to represent the thick fur of an Ice Age cat. Teacher's Tip: Keep the belly line slightly curved to show the cat's strength.
Step 6: Refining the Rear Leg
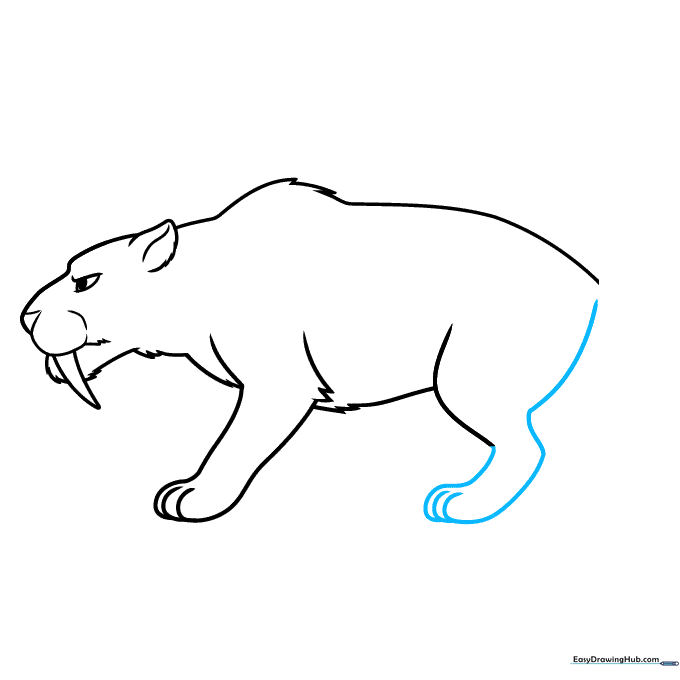
Finish the rear leg by drawing the back curve and adding small, overlapping lines at the bottom for the toes. Teacher's Tip: Make the back of the leg slightly thicker than the front to show the powerful muscles these cats used for pouncing.
Step 7: Adding Remaining Legs
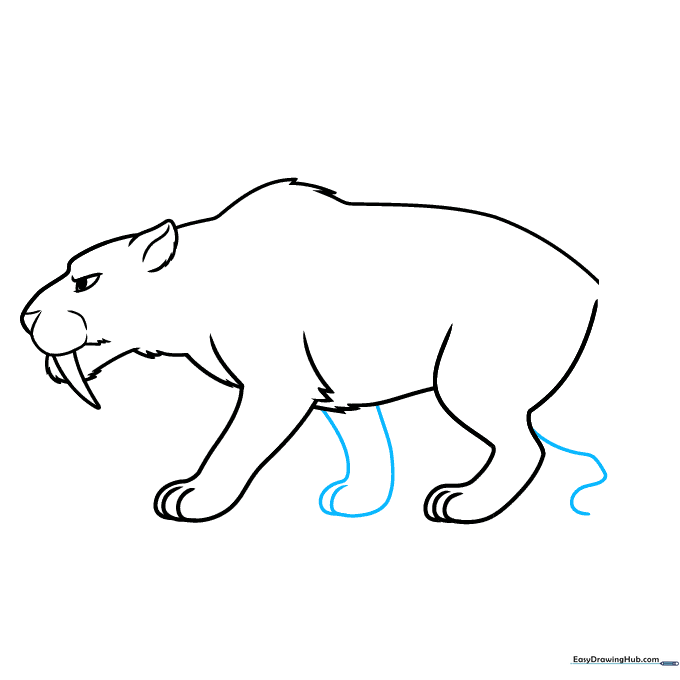
Draw the legs on the opposite side of the body using similar curved lines. Ensure they overlap slightly with the front legs to create a sense of perspective. Teacher's Tip: Keep these lines a bit lighter to push them into the background.
Step 8: The Bushy Tail
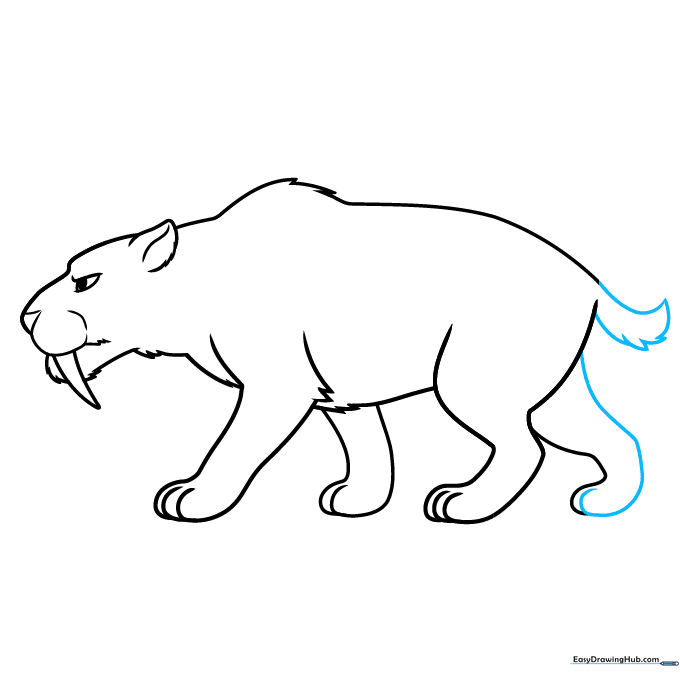
Finish the final leg and add a short, thick tail. Use short, zig-zag lines to give the tail a bushy, prehistoric look. Teacher's Tip: A shorter tail helps distinguish this cat from modern tigers!
Step 9: Final Details
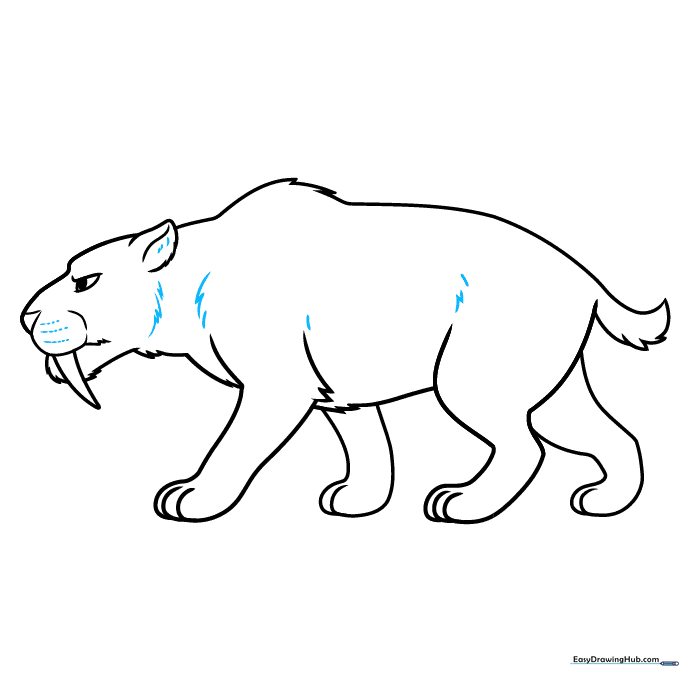
Add texture to the fur by using small, jagged lines along the jaw, shoulders, and hips. Finally, add a few dots on the muzzle for whiskers. Teacher's Tip: Whiskers are the finishing touch—keep them light and delicate.
Color Your Masterpiece
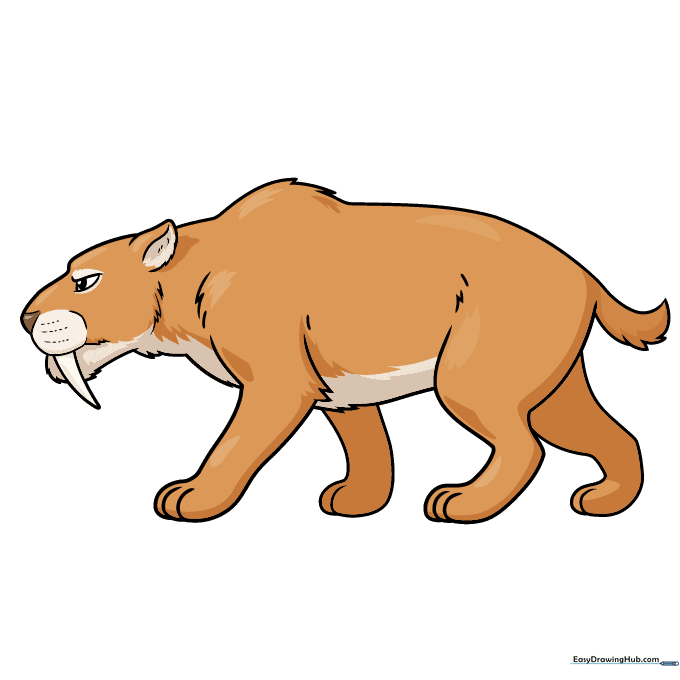
Your Smilodon is ready for color! Since we don't know exactly what color they were, get creative. Try sandy browns, tiger stripes, or even spots. Teacher's Tip: Use a darker shade of your base color to add shadows under the belly and legs for a 3D effect.
More Tutorials


