How to Draw a Rubber Duck: Easy 10-Step Guide for Kids
Ready to bring a cheerful bath-time friend to life? This tutorial is perfect for ages 5 and up, requiring only a pencil, paper, and an eraser. Follow these simple steps to master basic shapes and build confidence in your drawing skills.
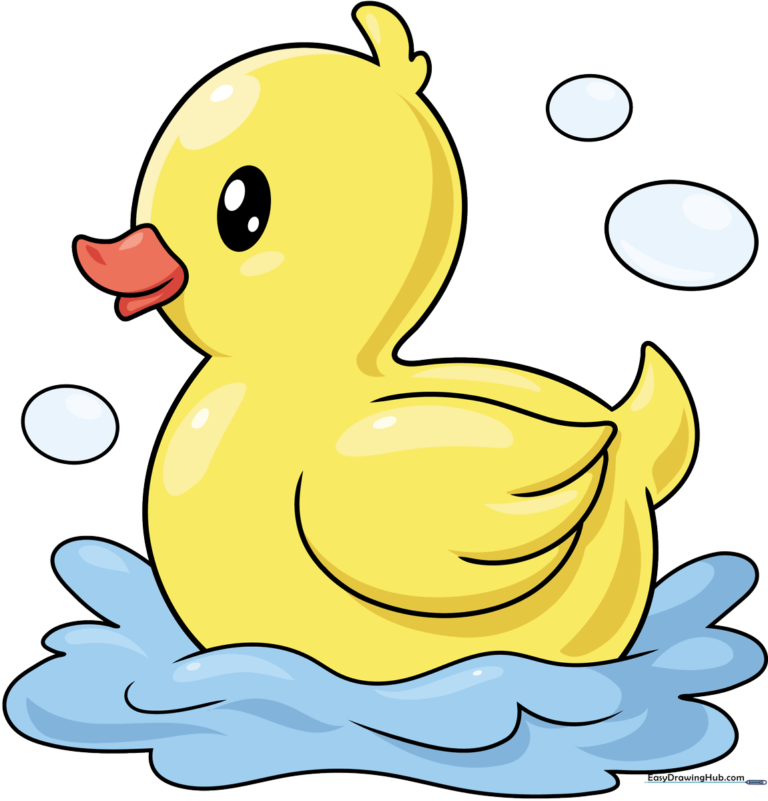
🎯 Final Result
Step-by-Step Instructions
Sketching the Head and Eye
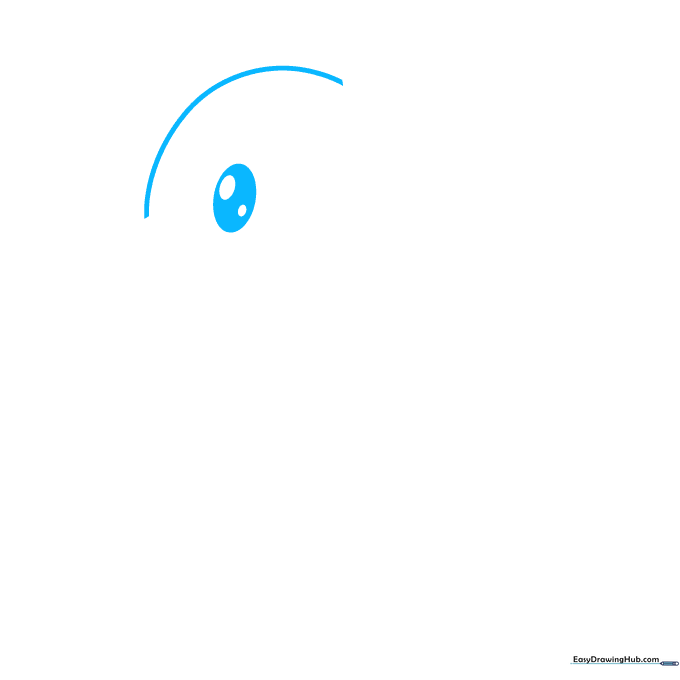
Start by drawing a soft, curved line for the top of the head. Add an oval with two smaller circles inside for the eye. Teacher's Tip: Keep your pencil pressure light so you can easily erase any stray lines later.
Forming the Beak

Draw a long, curved line that doubles back to create the iconic duck bill. Teacher's Tip: Imagine the beak is shaped like a sideways 'U' to help keep the proportions balanced.
Defining the Head Shape
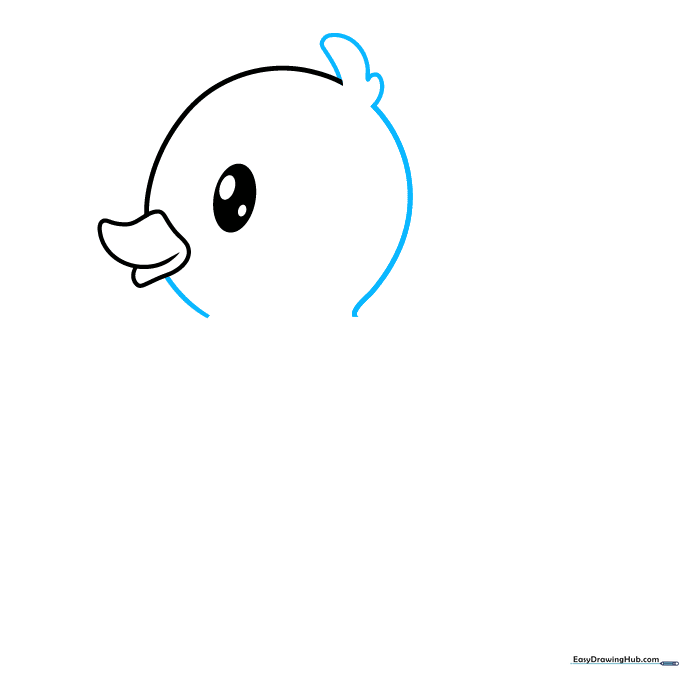
Complete the head by drawing a line under the beak and adding a small tuft of feathers on top. Teacher's Tip: Use short, quick strokes for the feathers to make them look soft and fluffy.
Outlining the Body
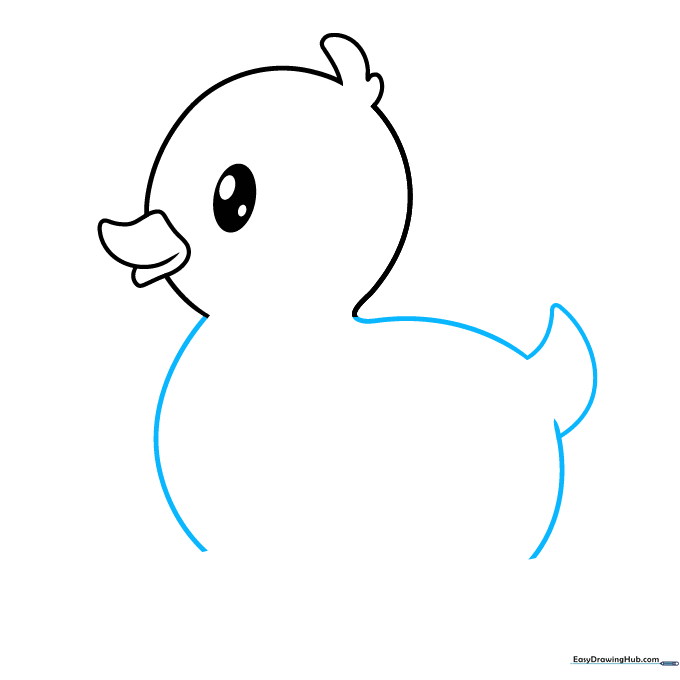
Draw the round body and a small, pointed tail. Teacher's Tip: Make sure the tail line overlaps slightly with the body to give it a natural, three-dimensional look.
Adding the Wing
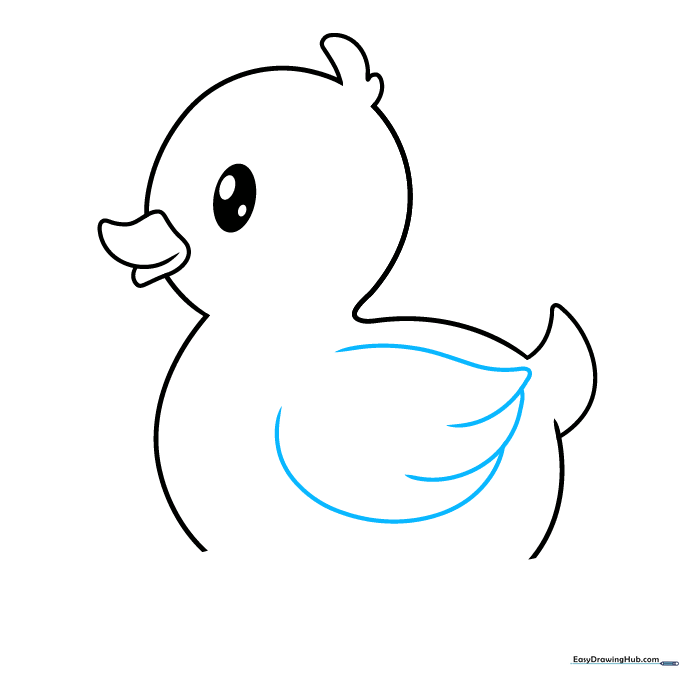
Use overlapping curved lines to sketch the wing on the side of the body. Teacher's Tip: Keep the wing shape simple and rounded to match the duck's friendly, cartoon style.
Creating the Water Splash
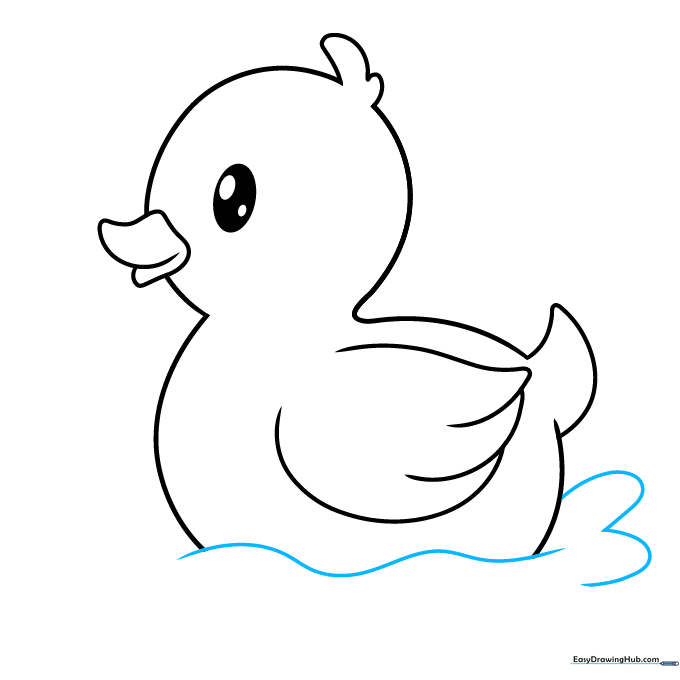
Draw a wavy line below the duck and add 'U' shaped lines to create a splash effect. Teacher's Tip: Vary the size of your 'U' shapes to make the water look like it's actually moving.
Extending the Splash
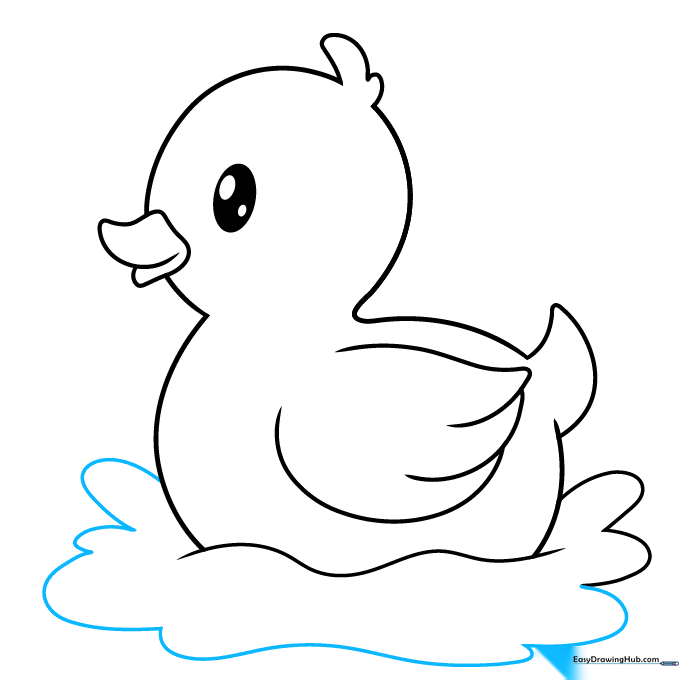
Continue the splash pattern around to the front of the duck. Teacher's Tip: Don't worry about making it perfect; water splashes are naturally messy and irregular!
Adding Bath Time Bubbles
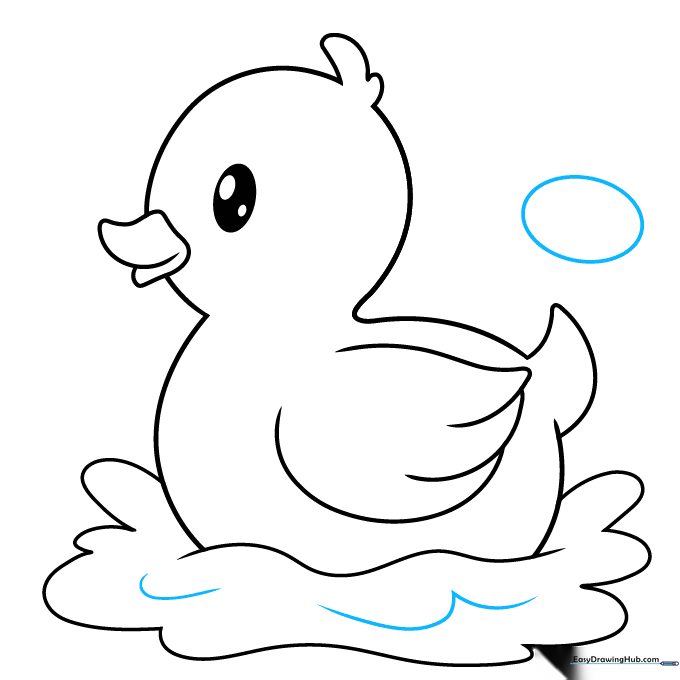
Add more curved lines to the water and draw a small oval above the tail for a bubble. Teacher's Tip: Bubbles are just circles, so feel free to draw them in different sizes to add depth.
Finalizing the Scene
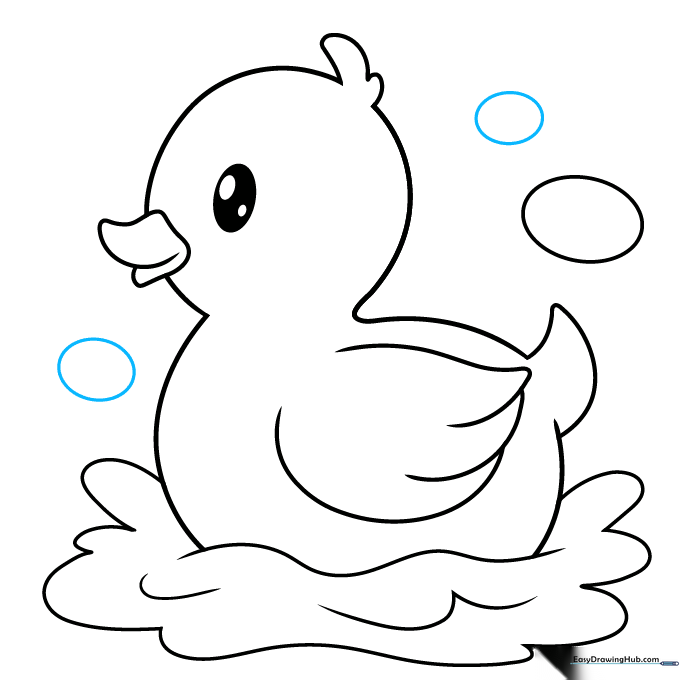
Draw a few more bubbles of varying sizes around the duck to complete the scene. Teacher's Tip: Place some bubbles overlapping the duck's body to show they are floating in front of it.
Adding Color
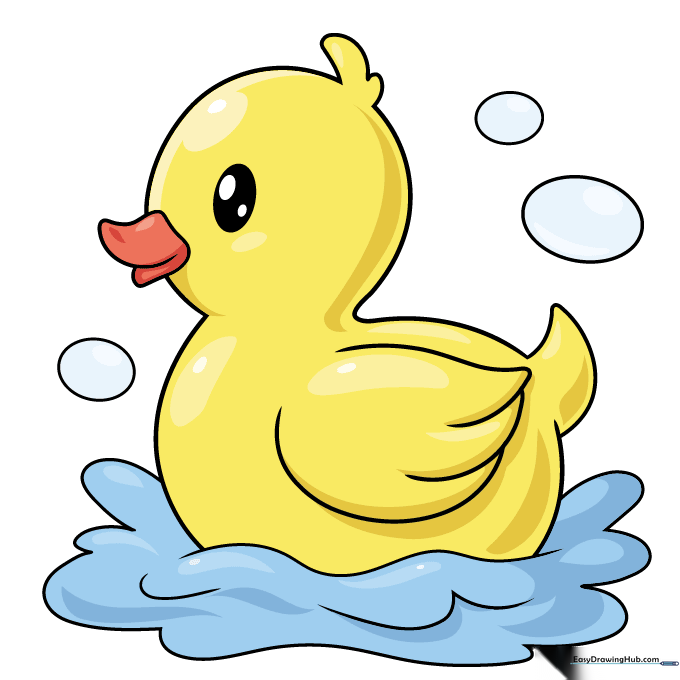
Time to bring your duck to life! Use bright yellow for the body and orange for the beak. Teacher's Tip: Try adding a tiny white dot in the eye to make it look like it's sparkling!
More Tutorials


