How to Draw a Rose: Easy 9-Step Outline Guide
Ready to draw a classic rose? This tutorial is perfect for artists ages 5 and up. All you need is a pencil, an eraser, and a piece of paper to create a stunning floral design that builds confidence and line-control skills.
🎯 Final Result
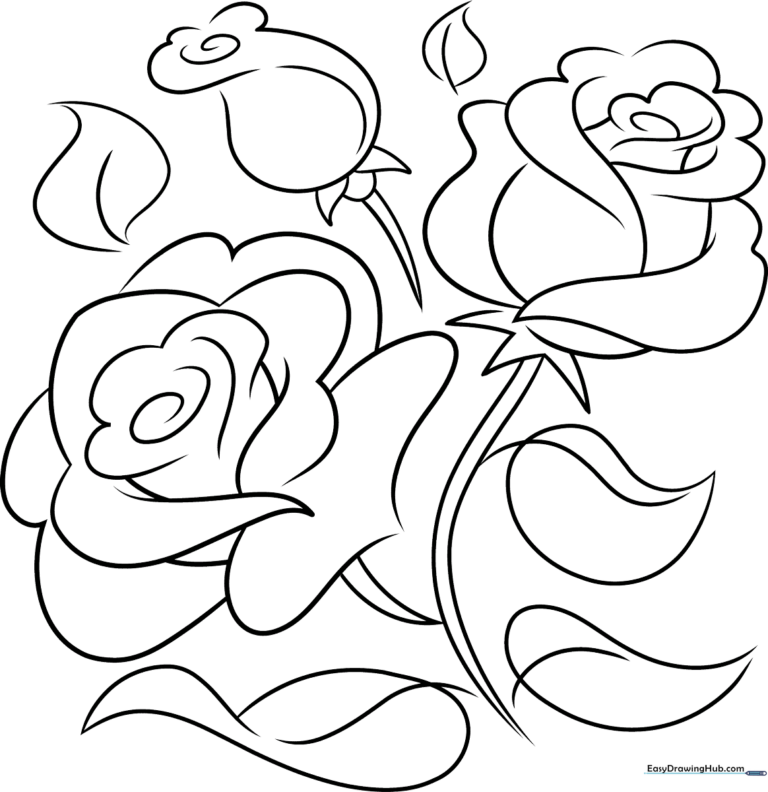
Step-by-Step Instructions
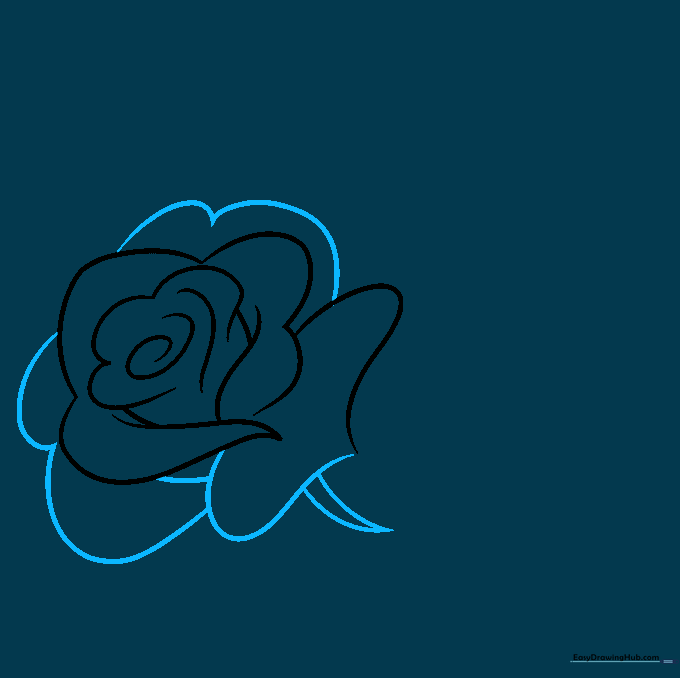
Step 1: Sketching the Rosebud Center

Start with a small spiral in the center of your paper. Surround it with a few curved lines to form the inner petals. Teacher's Tip: Keep the spiral loose and organic; roses are never perfectly symmetrical!
Step 2: Adding Outer Petals

Use long, sweeping curved lines to build the outer layers of the rose. Tip: Imagine you are wrapping a ribbon around the center; let the lines overlap slightly to create depth.
Step 3: Defining the Stem
Continue adding outer petals. At the base, draw two lines that taper to a point to create the stem. Tip: Don't make the stem too straight; a slight curve makes the flower look more natural.
Step 4: Drawing the Second Flower

Start a second flower nearby. Sketch a narrow heart shape for the petal, then add small, sharp triangles at the base for the sepals. Tip: Sepals are the little green leaves that hold the flower head; keep them pointy!
Step 5: Adding Petal Overlaps

Add detail to your second flower using 'Y' shaped lines where petals overlap. Tip: These small lines create the illusion of depth and make your drawing look 3D.
Step 6: Developing the Bloom

Draw a 'Y' shape with a spiral arm in the center of your third flower. Add a 'V' shaped gap between the flowers to show they are separate. Tip: Varying the size of your flowers makes the bouquet look more realistic.
Step 7: Adding a Rosebud

Draw a tight, closed bud at the top of a stem. Use a small half-circle to connect the bud to the stem. Tip: A closed bud adds variety to your drawing, showing different stages of growth.
Step 8: Adding Leaves

Draw a spiral in your third flower, then add leaves. Use long, curved lines for the stems and teardrop shapes for the leaves. Tip: Draw a line down the center of each leaf to represent the vein.
Step 9: Final Touches

Complete your sketch by adding a few more leaves to fill in empty spaces. Use curved lines to define the edges. Tip: Don't worry if your leaves aren't perfect; nature is full of unique shapes!
Step 10: Color Your Masterpiece

Time to color! Use vibrant reds for the petals and deep greens for the leaves. Tip: Try using two shades of green on the leaves to show where the light hits them.
More Tutorials


