How to Draw a Rosary: Simple 10-Step Guide for Beginners
This step-by-step tutorial is perfect for artists of all ages looking to practice symmetry and repetitive shapes. You will only need a pencil, an eraser, and a piece of paper to get started. Follow along to build confidence in your linework while creating a beautiful, detailed rosary design.
🎯 Final Result
Step-by-Step Instructions
Step 1: Sketching the Crucifix Base

Start by drawing the central cross. Use pairs of slightly curved lines that widen as they move away from the center. Tip: Keep your lines light; the bottom arm should be noticeably longer than the top and sides to give it a realistic proportion.
Step 2: Adding Detail to the Cross

Refine the cross by adding a teardrop shape inside each arm. Then, place a small circle at the very tip of each arm. Tip: Use a steady hand here—these small shapes act as decorative anchors for your design.
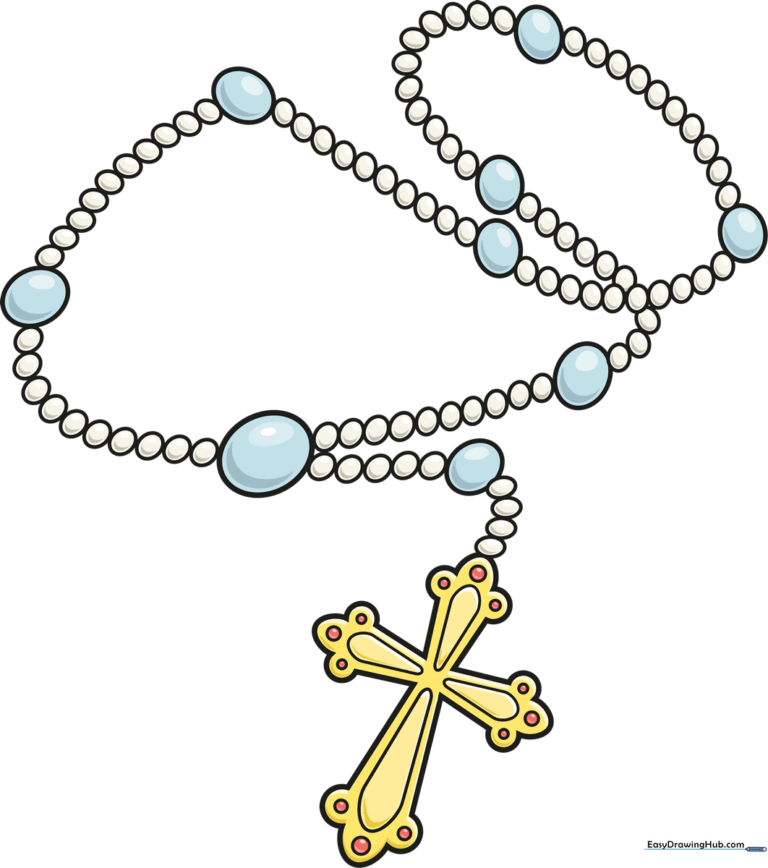
Step 3: Starting the Bead Chain
Begin the chain by drawing a series of small, connected ovals extending upward from the cross. Add one larger oval to represent the first prayer bead. Tip: Keep the ovals uniform in size to make the rosary look balanced.
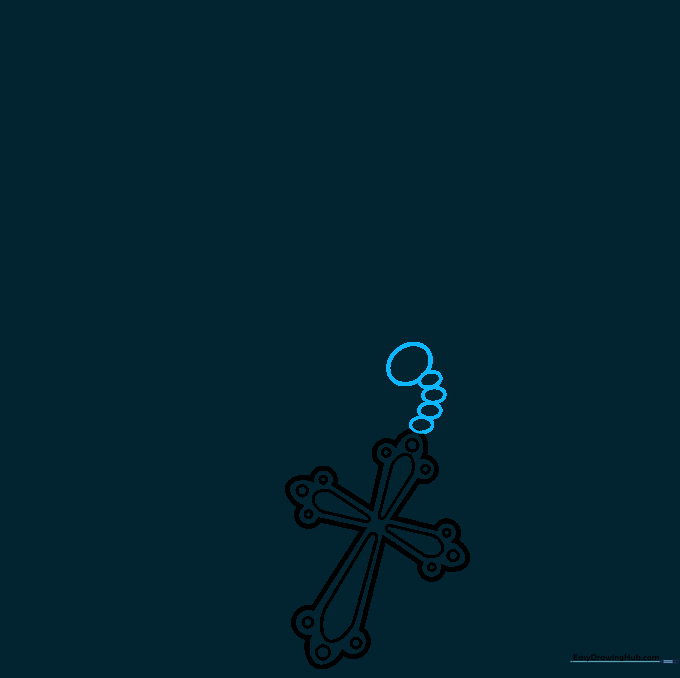
Step 4: Extending the Chain
Continue the pattern by drawing another set of small ovals followed by a larger one. Tip: Imagine a string running through the center of these ovals to keep your chain flowing in a natural, gentle curve.
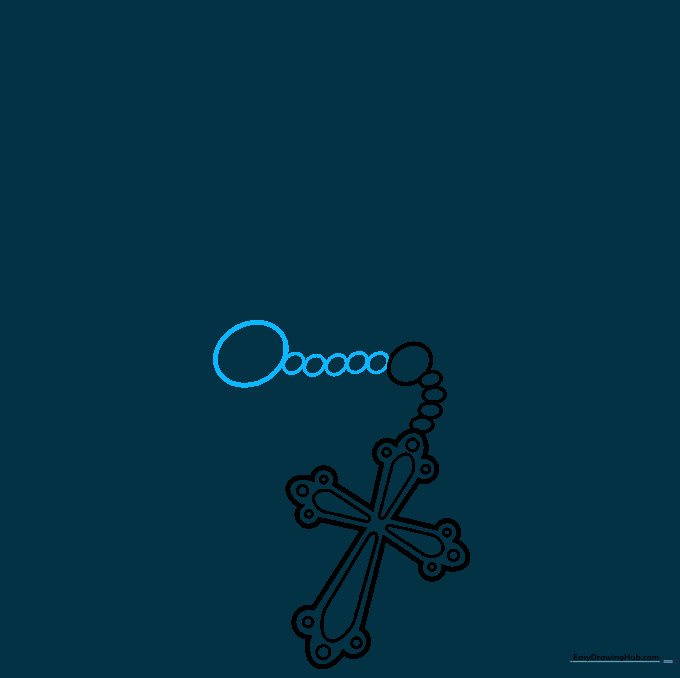
Step 5: Building the Loop
Keep adding the bead sequence. As you draw, begin to curve your line to form the circular shape of the rosary. Tip: Don't rush; focus on keeping the spacing between the beads consistent.
Step 6: Continuing the Loop
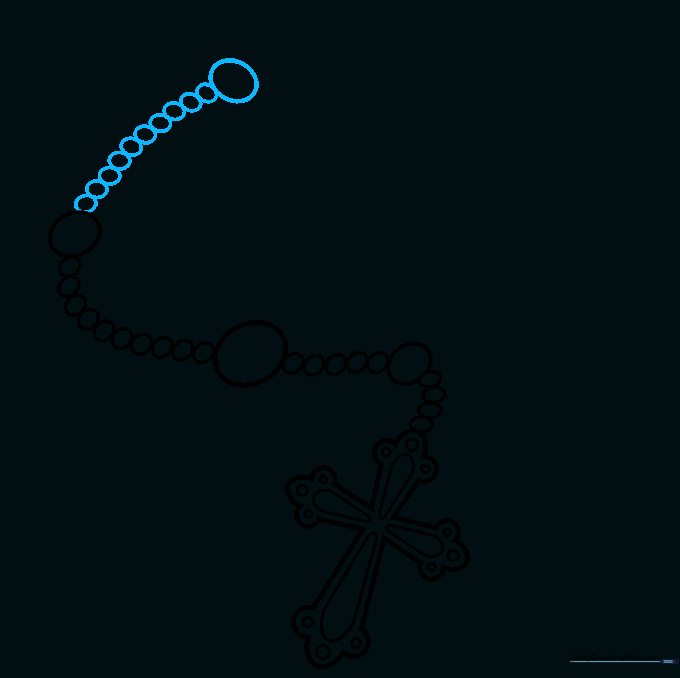
Continue the pattern of small ovals and larger beads. Tip: If your hand gets tired, take a quick break! Drawing repetitive shapes is a great way to build muscle memory.
Step 7: Filling the Circle
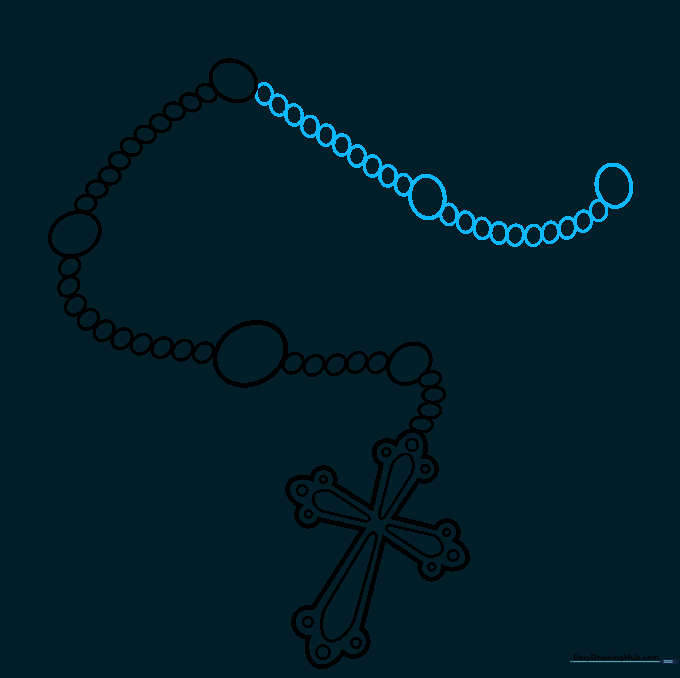
Keep the chain moving around the circle. Repeat the small-oval and large-oval sequence until you have almost completed the loop. Tip: Ensure the beads look like they are strung on a single, continuous thread.
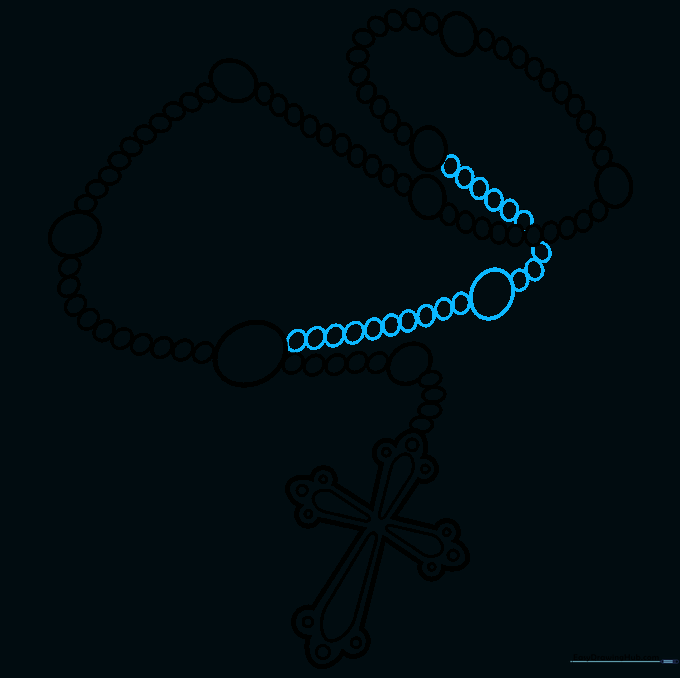
Step 8: Adding Depth and Coils

Add more beads to show the rosary coiling. Notice how the string overlaps itself. Tip: Draw the overlapping beads slightly darker to create a sense of depth and perspective.
Step 9: Finalizing the Outline
Complete the final section of the chain, connecting it back to the main structure. Ensure the lines pass behind the previous sections to show the rosary's natural drape. Tip: Use your eraser to clean up any lines that shouldn't be visible.
Step 10: Adding Color

Bring your drawing to life with color! You can use metallic shades for the cross and your favorite colors for the beads. Tip: Add a small white dot on each bead to simulate a highlight, making them look shiny and polished.
More Tutorials


