How to Draw a Rope: Easy 10-Step Guide for Beginners
This tutorial is perfect for young artists ages 5 and up looking to add texture and detail to their drawings. All you need is a pencil, an eraser, and a piece of paper to get started. By the end of this lesson, you will understand how to create the illusion of a twisted, knotted rope using simple curved lines.
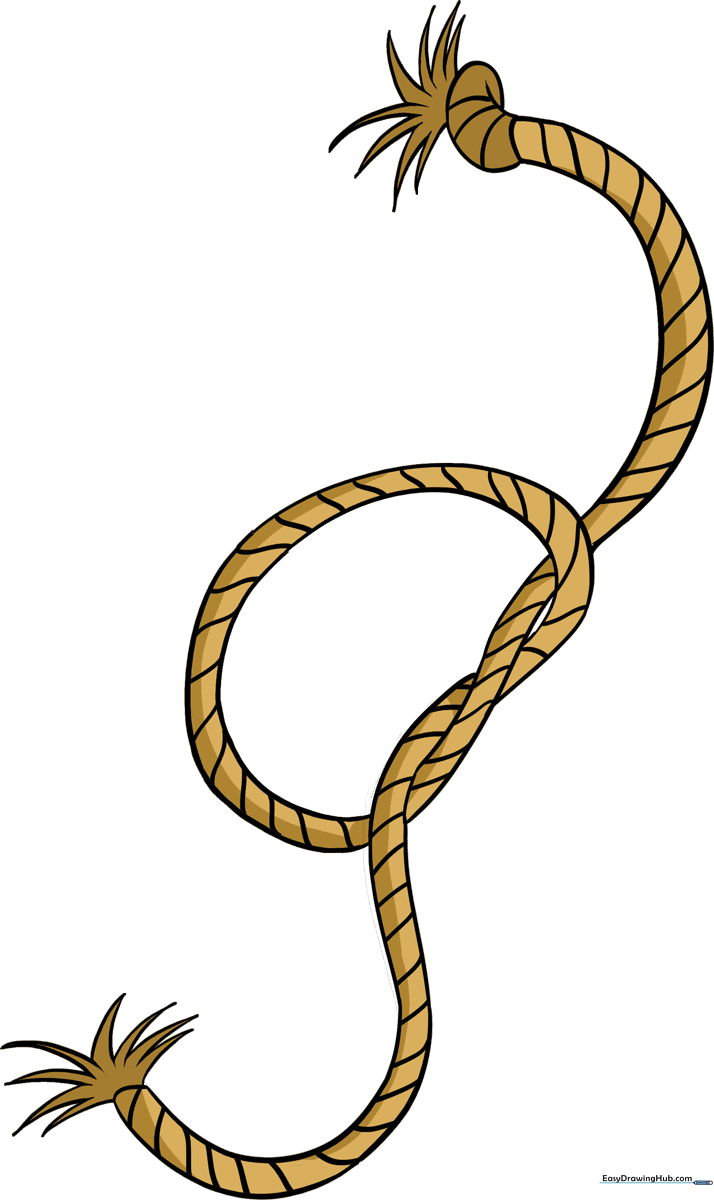
🎯 Final Result
Step-by-Step Instructions
Step 1: Sketching the Base Curve
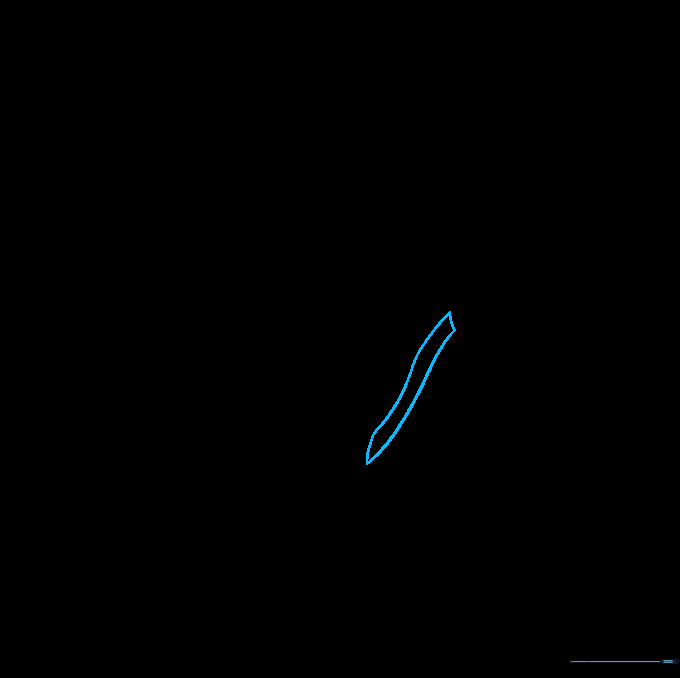
Draw two parallel curved lines and connect them at the ends to form a rounded segment. Teacher's Tip: Keep your pencil strokes light—this is just the foundation for our knot!
Step 2: Extending the Rope

Draw two more curved lines extending from the side of your first segment. Tip: Imagine the rope is bending; try to keep the distance between your lines consistent for a professional look.
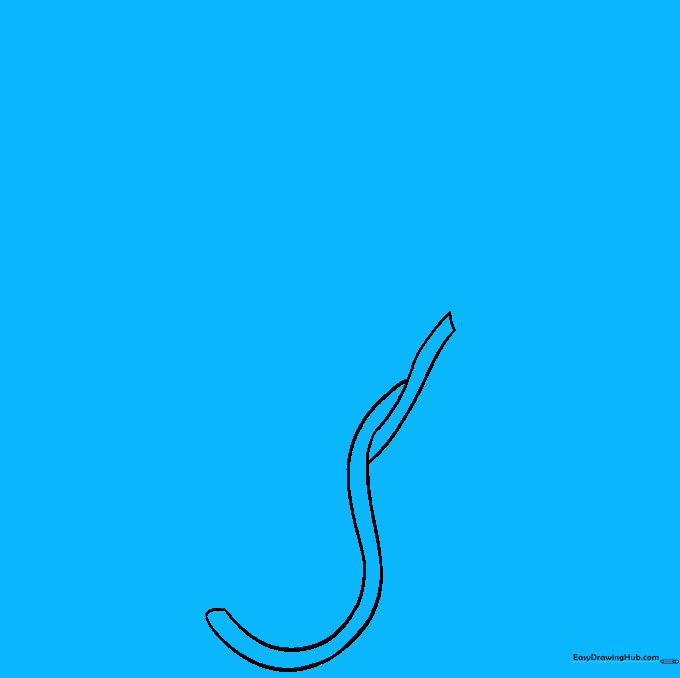
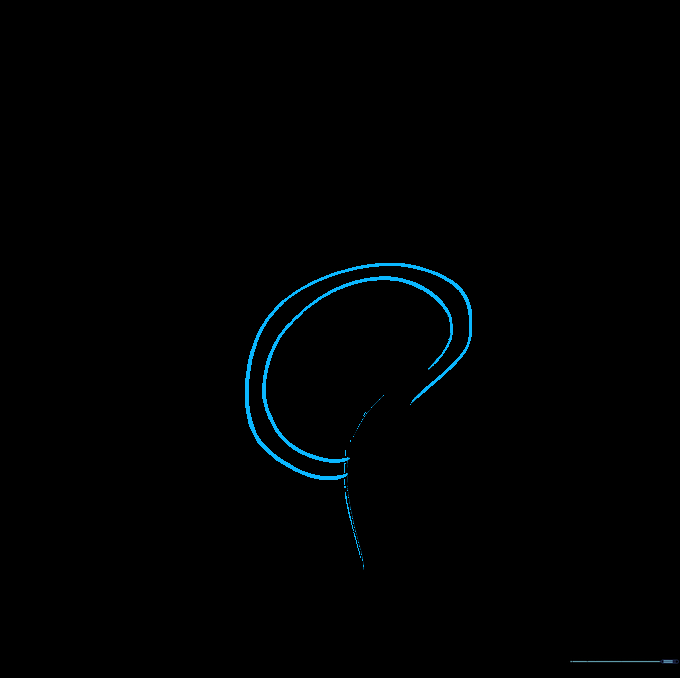
Step 3: Creating the Loop
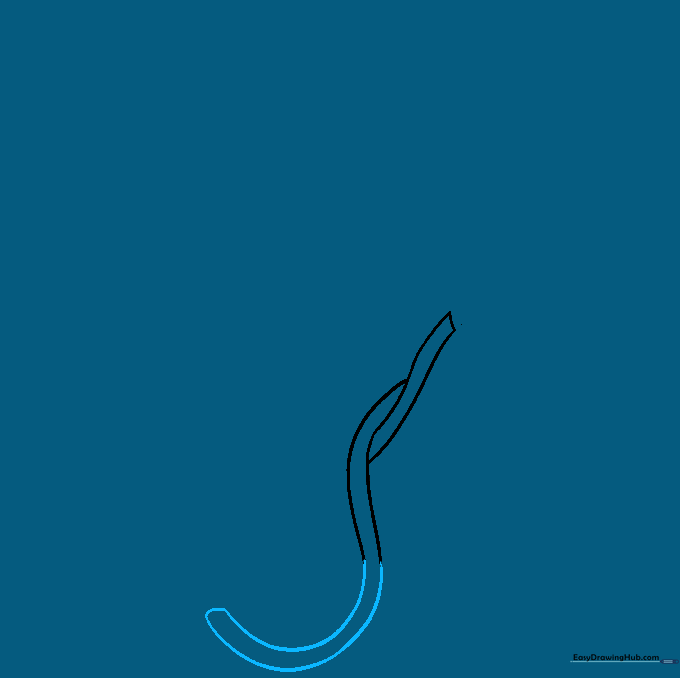
Draw two 'C' shaped lines to continue the rope, closing them with a short line at the end. Tip: If your lines look a bit shaky, try drawing them in one smooth, confident motion.
Step 4: Fraying the End
Use jagged, starburst-like lines at the end of the rope to show frayed fibers. Tip: Vary the length of your jagged lines to make the fraying look natural and messy.
Step 5: Forming the Knot
Draw overlapping 'C' shapes to create the illusion that the rope is passing behind itself. Tip: This is the trickiest part! Take your time to visualize the rope weaving over and under.
Step 6: Extending the Top
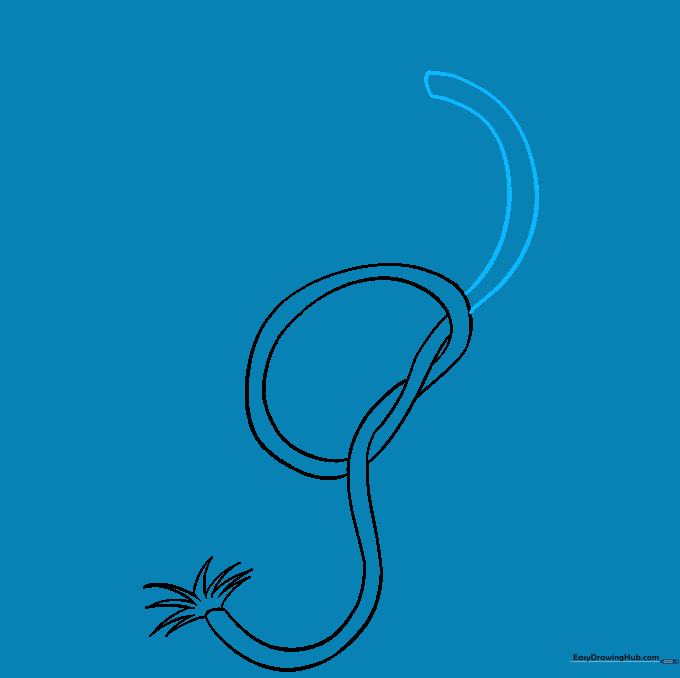
Draw parallel lines emerging from the top of the knot. Tip: Ensure these lines align with the angle of the rope below to keep the structure consistent.
Step 7: Adding the Second Frayed End
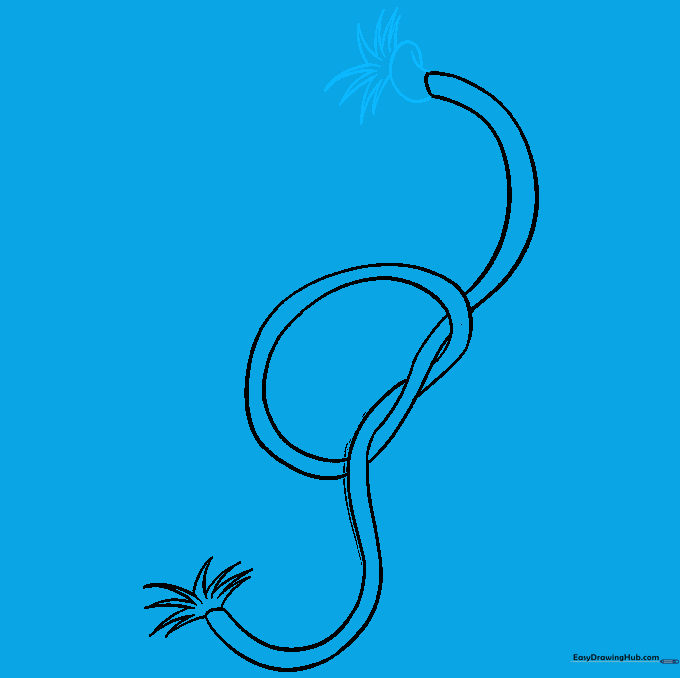
Double back the rope at the top and add another starburst pattern for the frayed end. Tip: Make this end look slightly different from the first one to add variety.
Step 8: Adding Texture
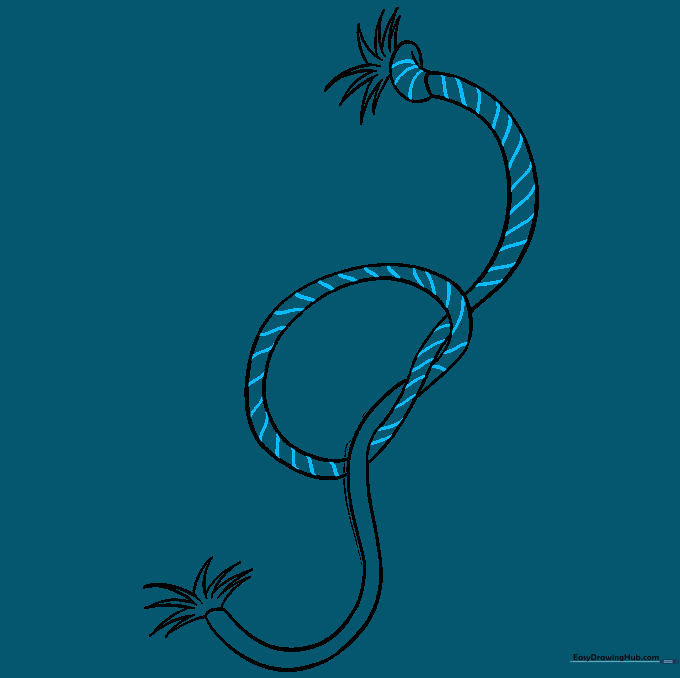
Draw short, diagonal lines along the rope to represent the twisted fibers. Tip: Keep these lines evenly spaced to give the rope a strong, realistic texture.
Step 9: Finalizing the Outline
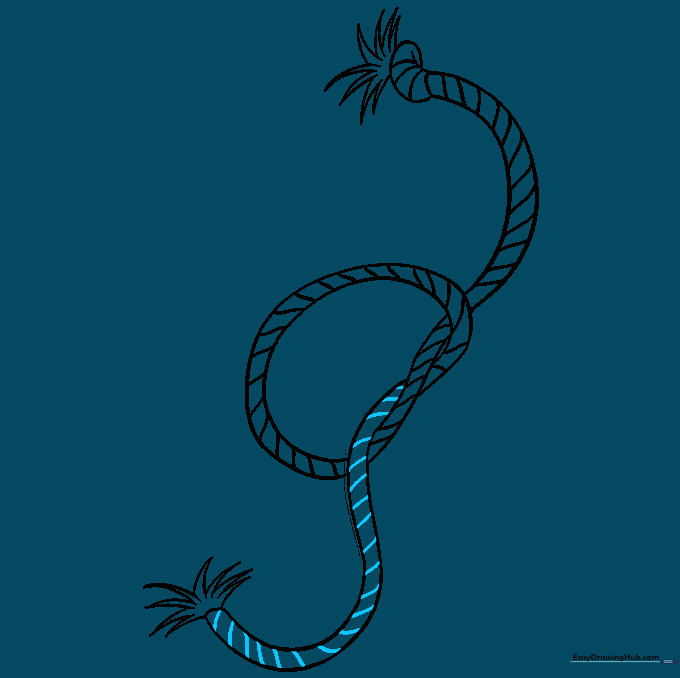
Add final parallel lines to complete the texture across the entire rope. Tip: Use a darker pencil or pen to go over your final lines for a clean, finished look.
Step 10: Adding Color
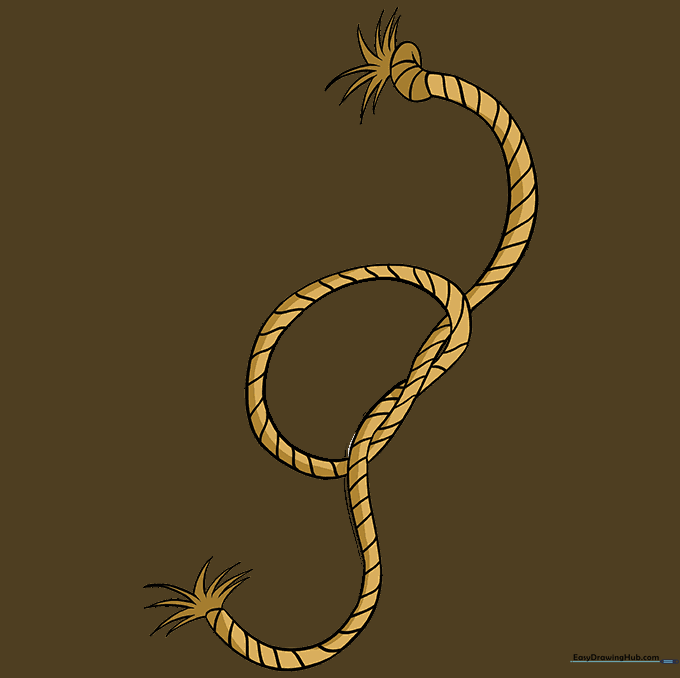
Bring your rope to life with color! Traditional tan or brown works great, but don't be afraid to use bright colors like yellow or blue. Tip: Use a slightly darker shade on one side of the rope to create a shadow effect.
More Tutorials


