How to Draw a Roller Coaster: Easy 10-Step Guide
Ready to bring the thrill of the amusement park to your sketchbook? This tutorial is designed for young artists ages 7+ to practice perspective and structural drawing. You will need a pencil, an eraser, and a steady hand to create your own looping coaster track.
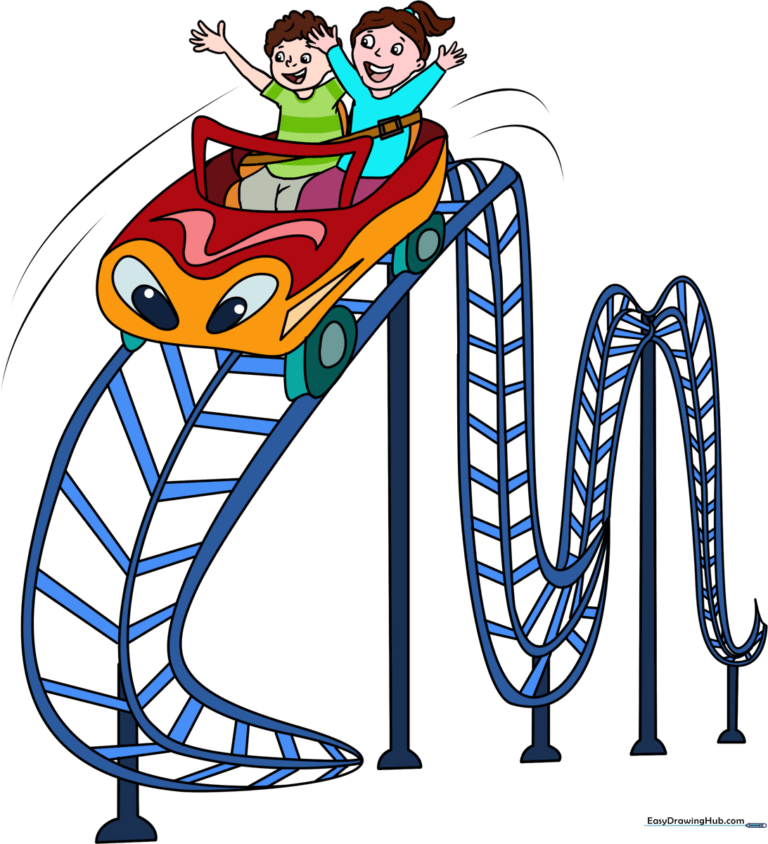
🎯 Final Result
Step-by-Step Instructions
Step 1: Sketching the Track Base

Begin by sketching the base of your track using three sets of parallel, curved lines. Tip: Keep your pencil pressure light; these are just guidelines to help you map out the coaster's path.
Step 2: Extending the Track
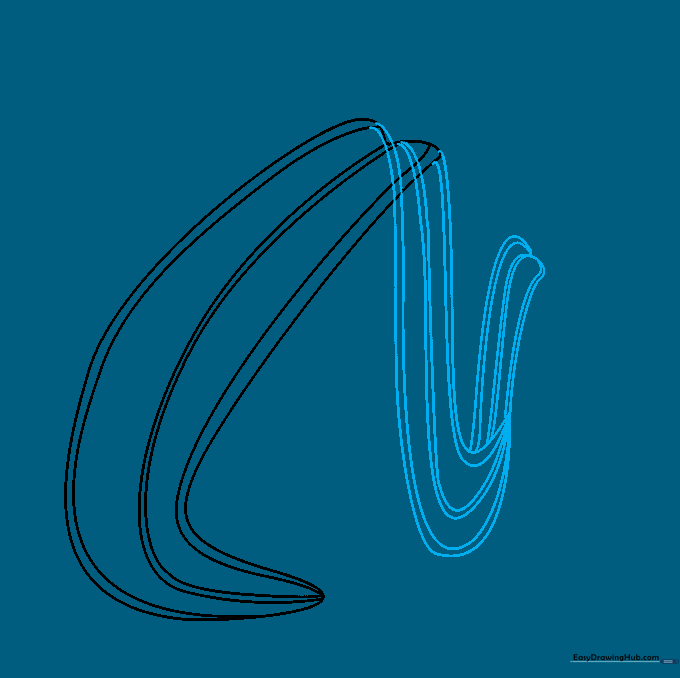
Extend the track by adding more curved, parallel lines that meet at sharp points. Tip: If your lines overlap, use your eraser to clean up the intersections so the track looks like one continuous piece.
Step 3: Adding More Curves
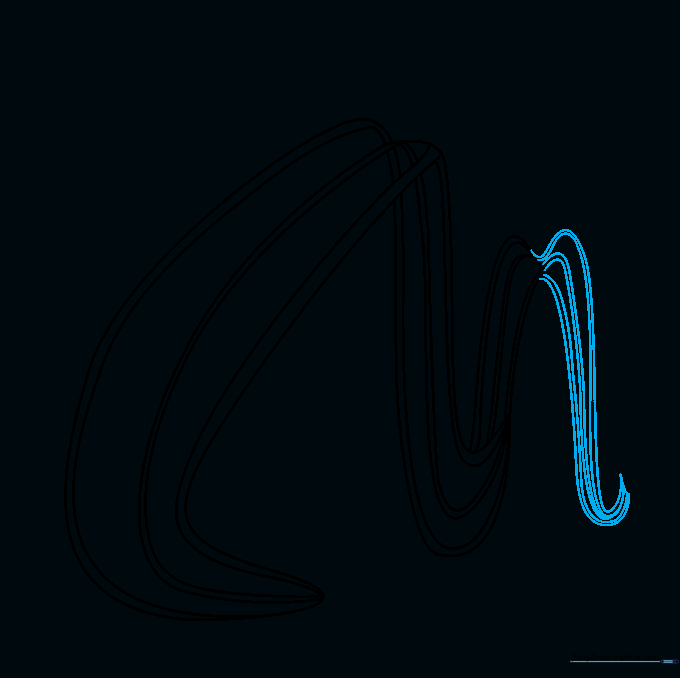
Continue the track by adding three more sets of curved lines. Tip: Vary the height of your curves to make the coaster look more exciting and dynamic.
Step 4: Creating the Support Structure
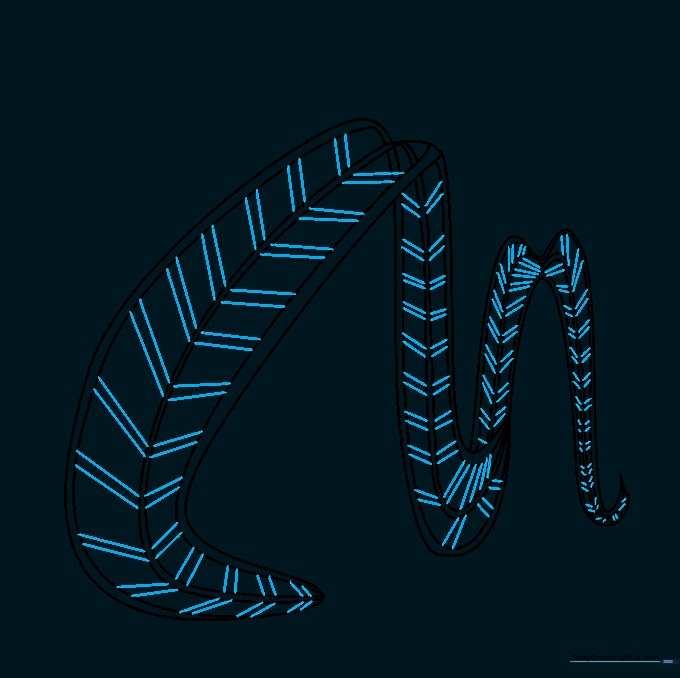
Draw pairs of straight, parallel lines between the track sections to form 'V' shapes. Tip: These represent the structural steel beams, so keep them straight and evenly spaced.
Step 5: Adding Vertical Supports
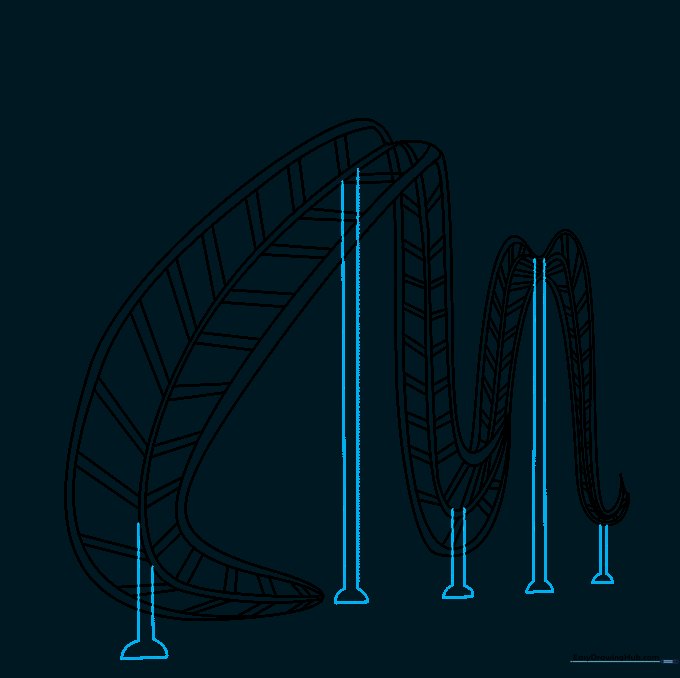
Draw vertical legs extending from the track to the ground. Tip: Use a ruler if you want your supports to look perfectly straight and sturdy.
Step 6: Sketching the Coaster Car
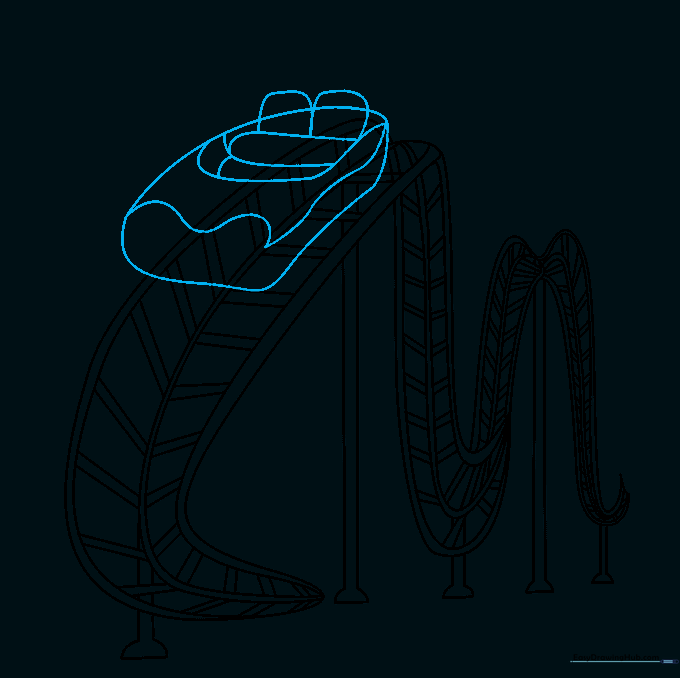
Draw the outline of the coaster car sitting on the track. Tip: Focus on the rectangular shape of the car body first, then add the curved top.
Step 7: Adding Car Details
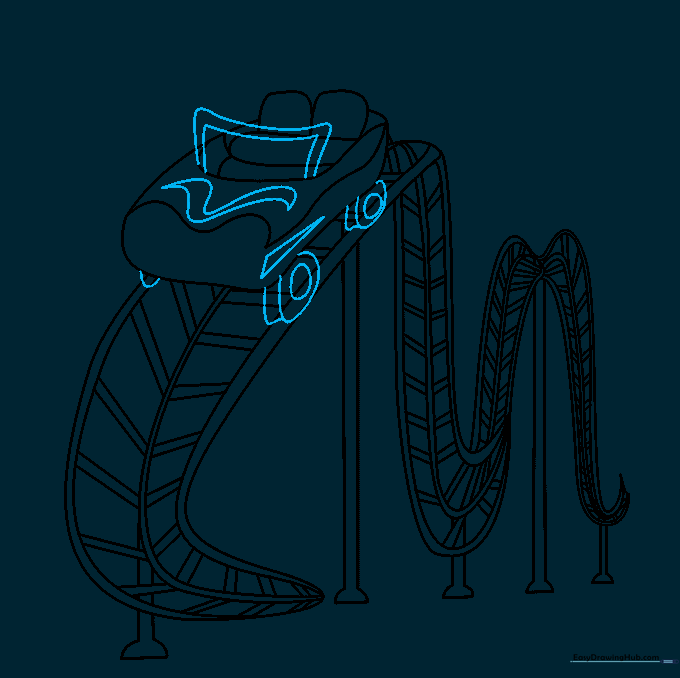
Add the safety bar, wheels, and decorative details to the car. Tip: Draw the wheels as small circles tucked just beneath the car body to make them look realistic.
Step 8: Drawing the Passengers
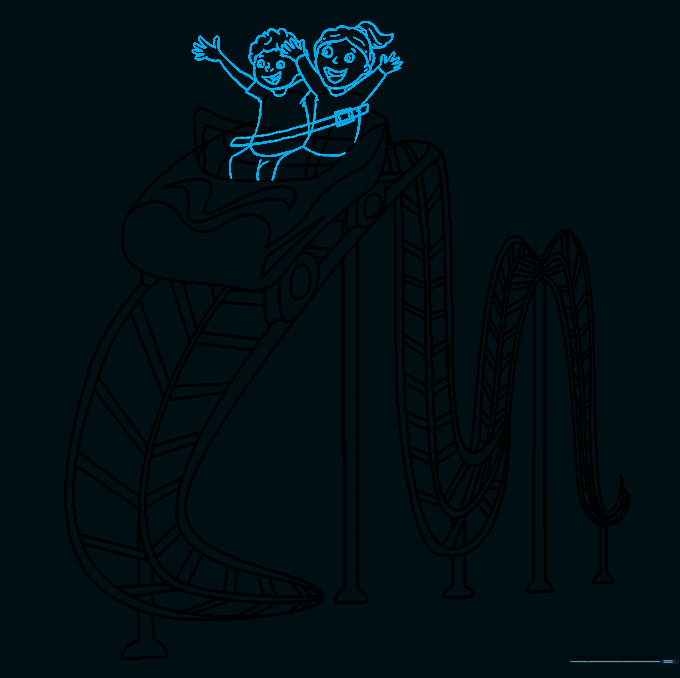
Sketch two happy figures inside the car. Tip: Use simple shapes like ovals for heads and lines for arms to keep it manageable.
Step 9: Final Touches
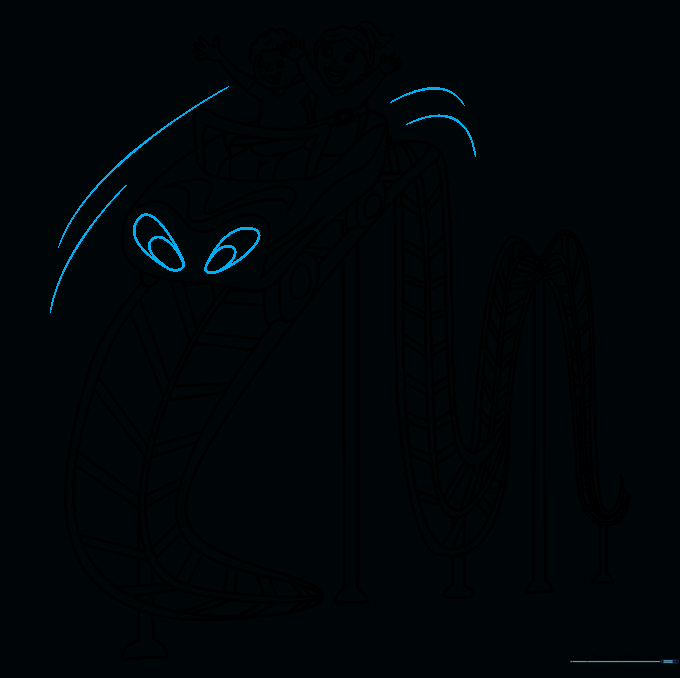
Add headlights to the car and draw motion lines around it. Tip: Curved motion lines behind the car help create the illusion of speed.
Step 10: Coloring Your Coaster
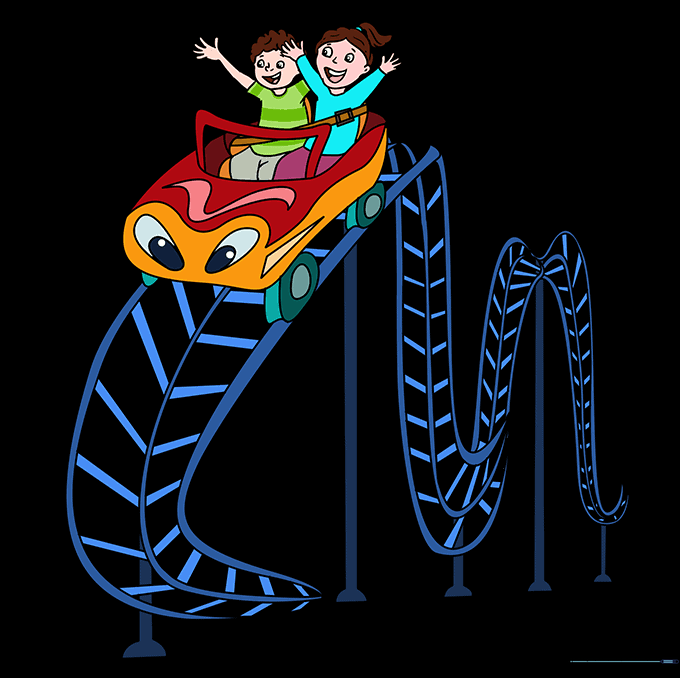
Bring your drawing to life with bright colors! Tip: Use bold colors for the car and metallic grays or blues for the track to make it pop.
More Tutorials


