How to Draw a Robin: Easy 10-Step Guide for Kids
Bring nature to your sketchbook with this simple robin drawing guide, perfect for young artists ages 5 and up. You will only need a pencil, an eraser, and a piece of paper to get started. Follow these steps to master bird anatomy and create a charming garden friend.
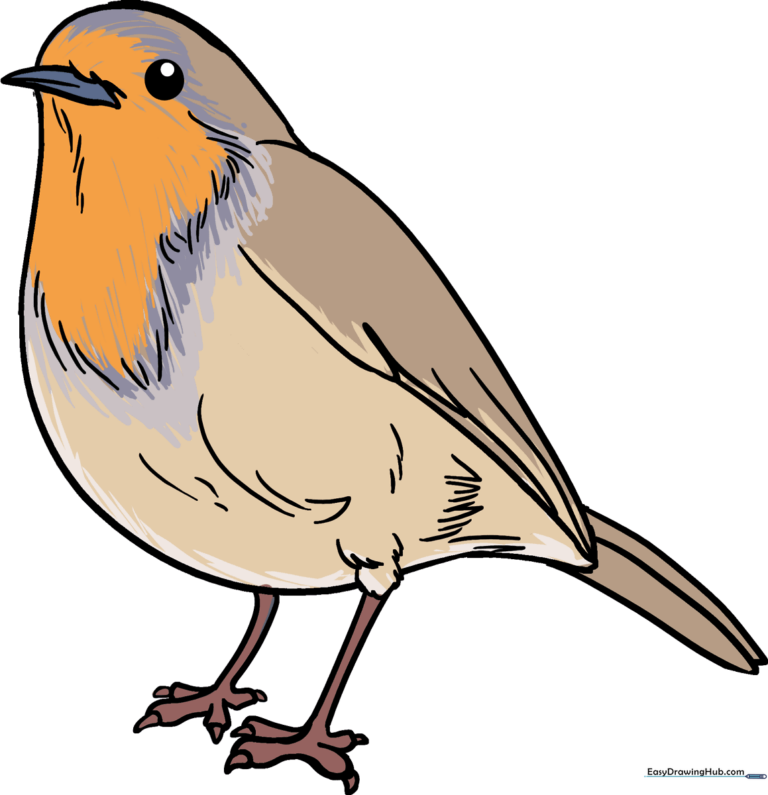
🎯 Final Result
Step-by-Step Instructions
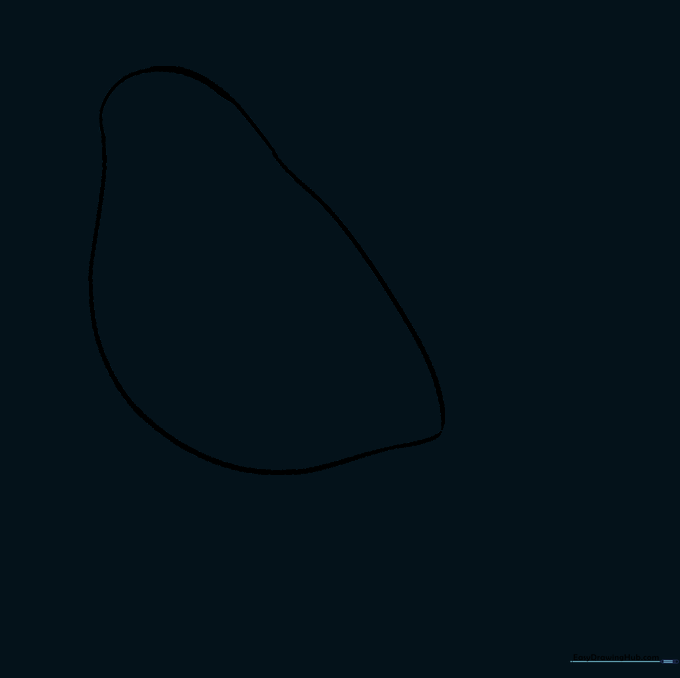
Step 1: Sketching the Head

Draw a light, medium-sized oval to represent the head. Teacher's Tip: Keep this shape light and loose; it’s just a guide for placement, and you'll erase it later!
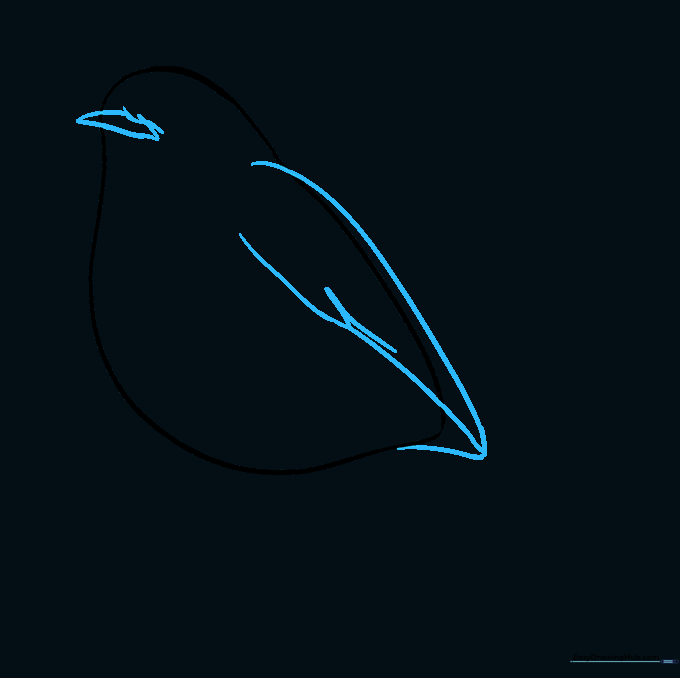
Step 2: Outlining the Body

Use long, sweeping curved lines to connect the head to the back and belly. Let the lines meet at a soft point for the tail. Tip: Imagine the shape of a teardrop to help guide your hand.
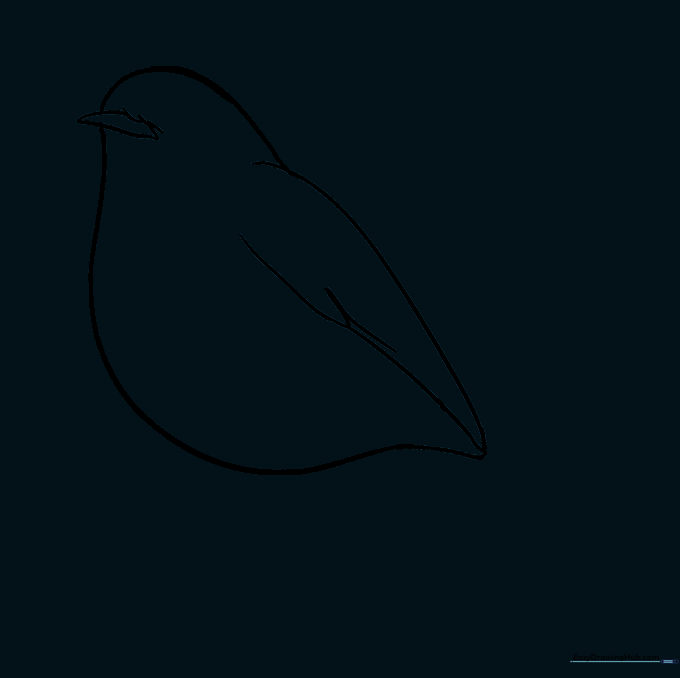
Step 3: Cleaning the Guide Lines
Gently erase the overlapping lines inside the oval to reveal the clean silhouette of your bird. Tip: Use a soft eraser to avoid smudging your paper.
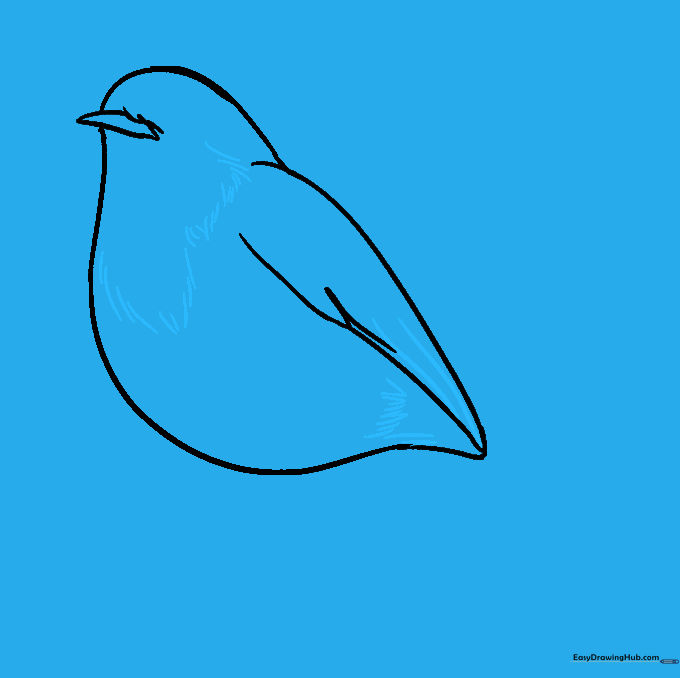
Step 4: Adding Beak and Wing
Draw a narrow, pointed half-circle for the beak and a large, curved shape for the wing. Tip: Add a few small 'U' shapes on the wing to suggest layered feathers.
Step 5: Refining the Silhouette
Erase any remaining guide lines inside the wing area to keep your drawing looking neat and professional.
Step 6: Adding Feather Texture
Use short, quick strokes to create a 'V' shape on the chest. This mimics the look of soft, fluffy feathers. Tip: Vary the length of your strokes to make the bird look more realistic.
Step 7: Drawing the Eye
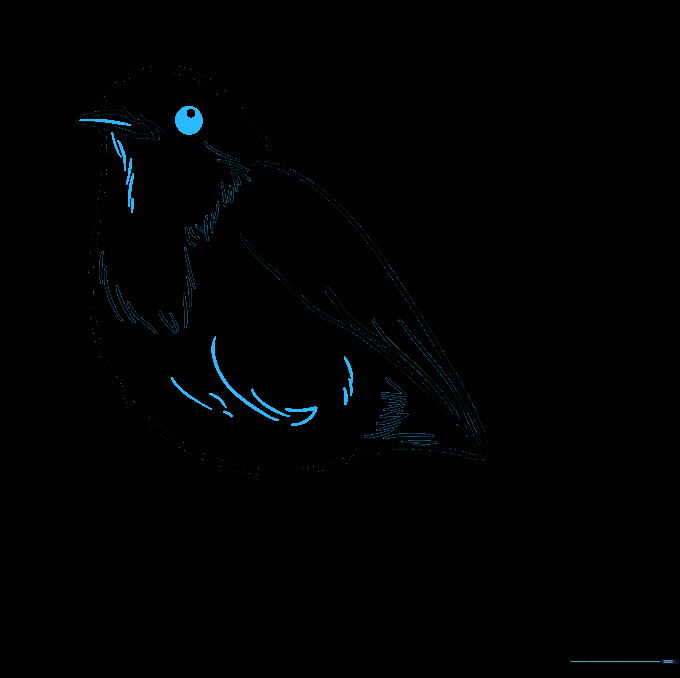
Draw a small circle for the eye and shade it in, leaving a tiny white dot for a 'glint' of light. This brings your bird to life! Add a line to separate the beak.
Step 8: Drawing the Legs and Tail
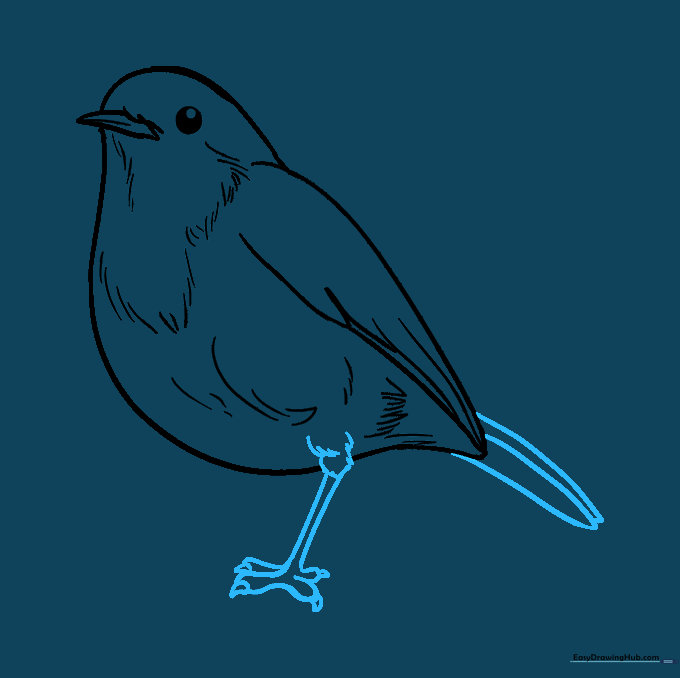
Draw two thin lines for the legs and small triangles for the claws. Add 'U' shapes at the back to define the tail feathers. Tip: Keep the legs thin to match the delicate nature of a bird.
Step 9: Adding the Second Leg
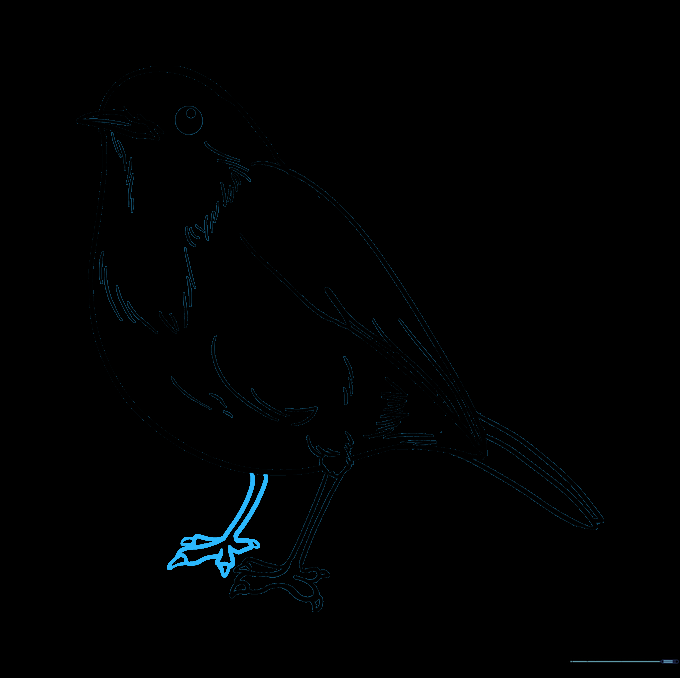
Draw the second leg slightly behind the first to create a sense of depth. Tip: Ensure the legs are proportional to the body size.
Step 10: Adding Color
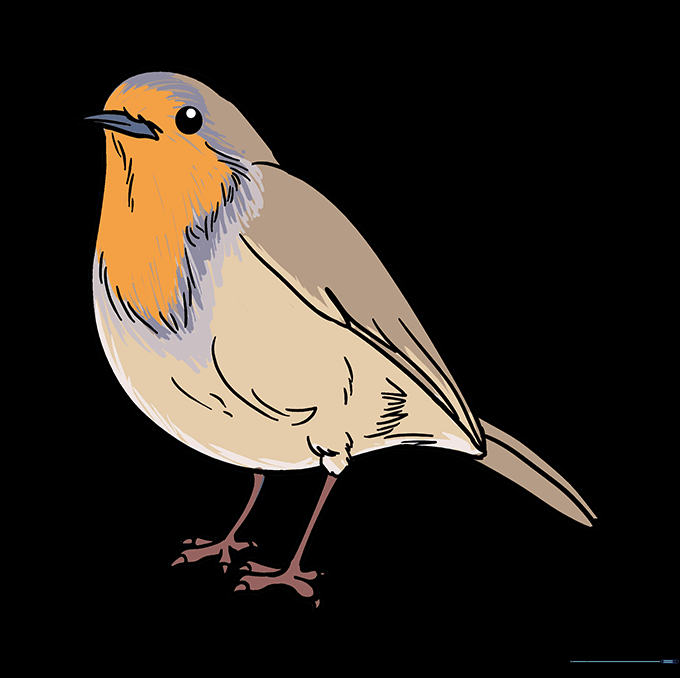
Time to bring your robin to life! Use a bright red or orange for the chest and soft browns or greys for the wings. Tip: Use light pressure with your colored pencils to blend the colors smoothly.
More Tutorials


