How to Draw a River: Easy Step-by-Step Landscape Guide
Ready to bring a peaceful landscape to life? This tutorial is perfect for young artists ages 5 and up to practice drawing natural curves and depth. All you need is a pencil, an eraser, and your favorite coloring supplies to create a beautiful flowing river scene.
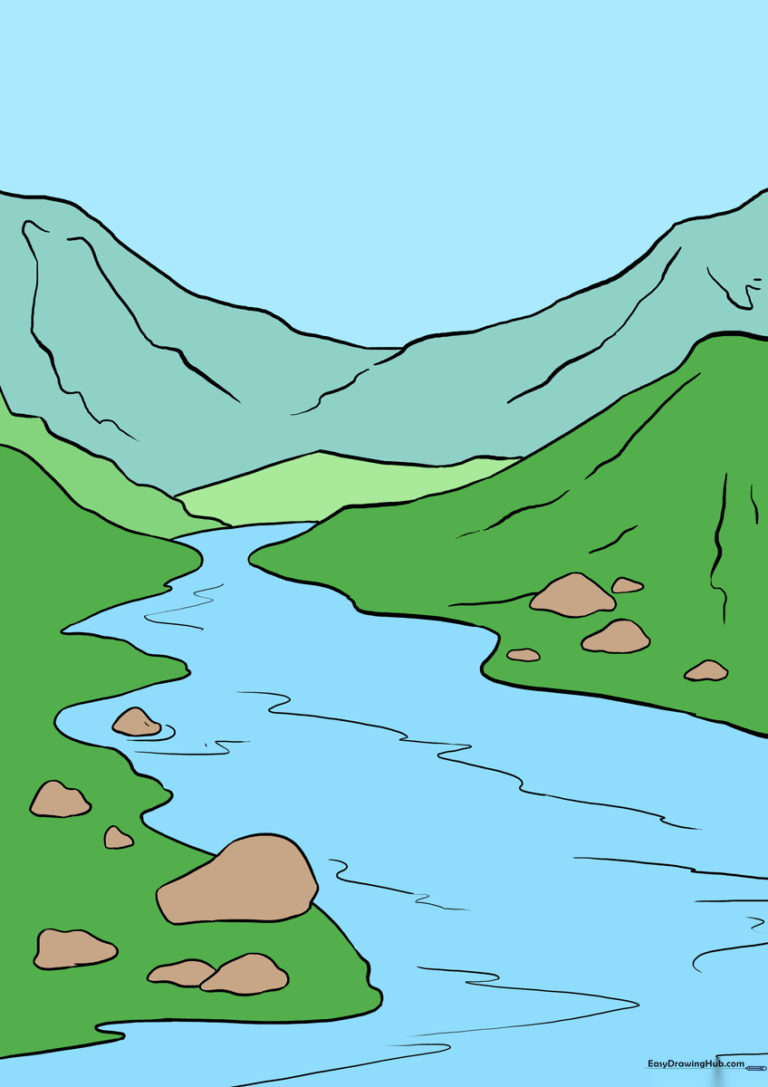
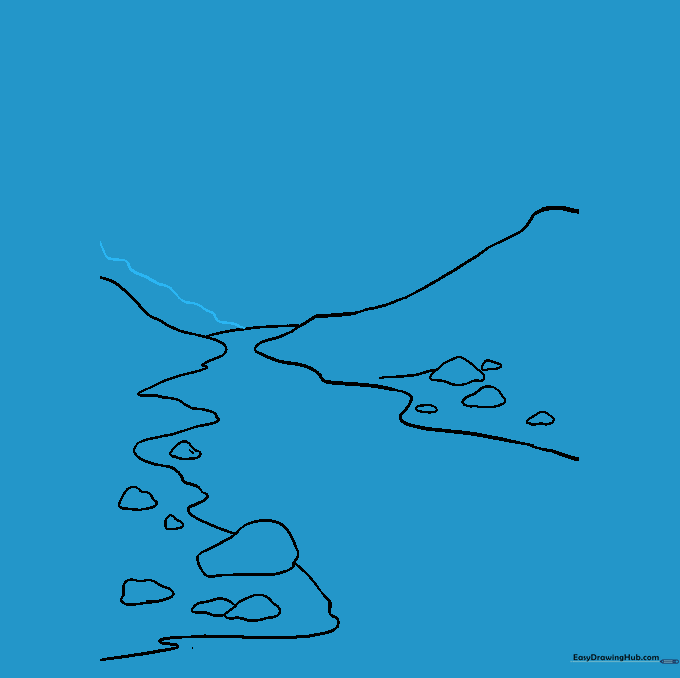
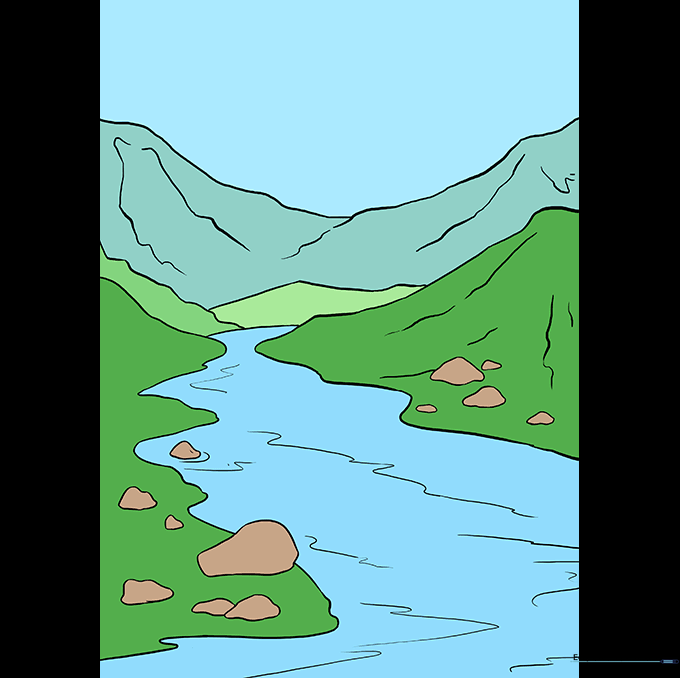
🎯 Final Result
Step-by-Step Instructions
Step 1: Sketching the First Riverbank
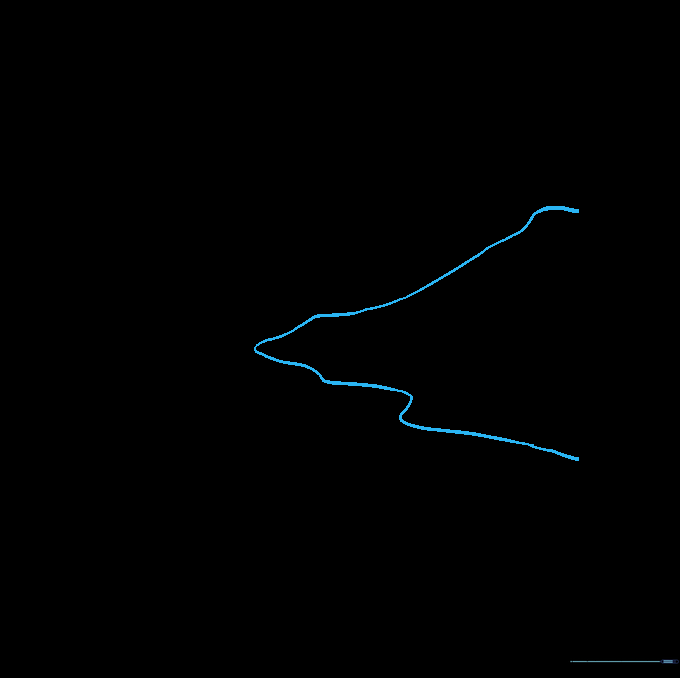
Draw a long, curved line to form one side of the riverbank. Teacher's Tip: Make the line peak at the top to suggest a gentle hill; keep your pencil pressure light so you can easily adjust the shape later.
Step 2: Defining the Opposite Bank
Draw the second riverbank on the opposite side using another long, curved line. Teacher's Tip: Try to make the space between the two lines wider at the bottom and narrower at the top to create a sense of distance.
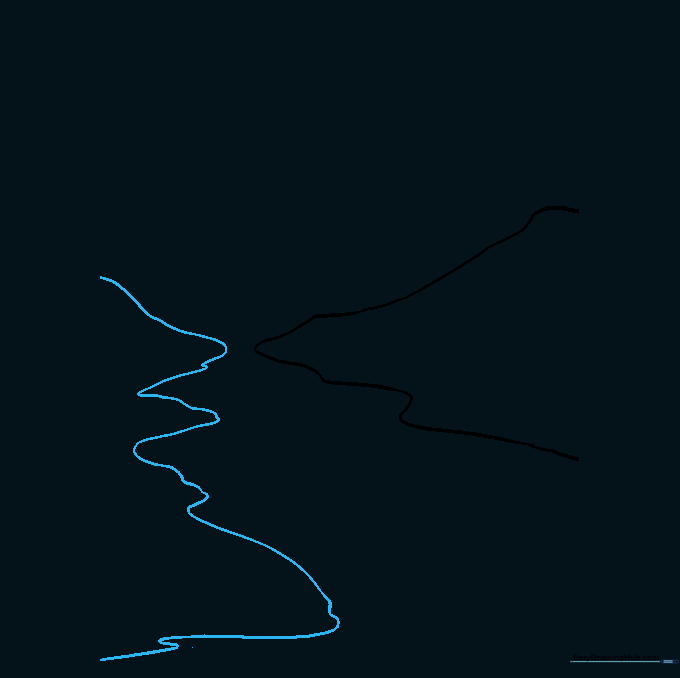
Step 3: Adding Horizon and Rocks
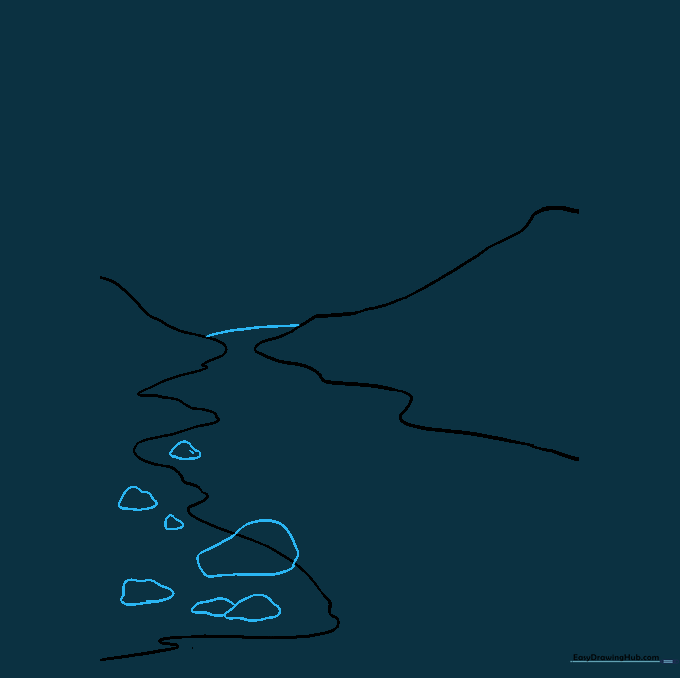
Draw a curved line connecting the two banks to mark the horizon, then add irregular shapes along the bank for rocks. Teacher's Tip: Vary the size of your rocks—some big, some small—to make the scene look more natural.
Step 4: Detailing the Other Bank

Repeat the process of adding irregular rock shapes to the opposite riverbank. Teacher's Tip: Don't worry about making the rocks perfect; nature is full of unique, bumpy shapes!
Step 5: Sketching Background Mountains
Draw a bumpy, curved line from the edge of the paper toward the horizon to start your mountain range. Teacher's Tip: Follow the slope of the hill you drew in Step 1 to keep the perspective consistent.
Step 6: Completing the Mountain Range
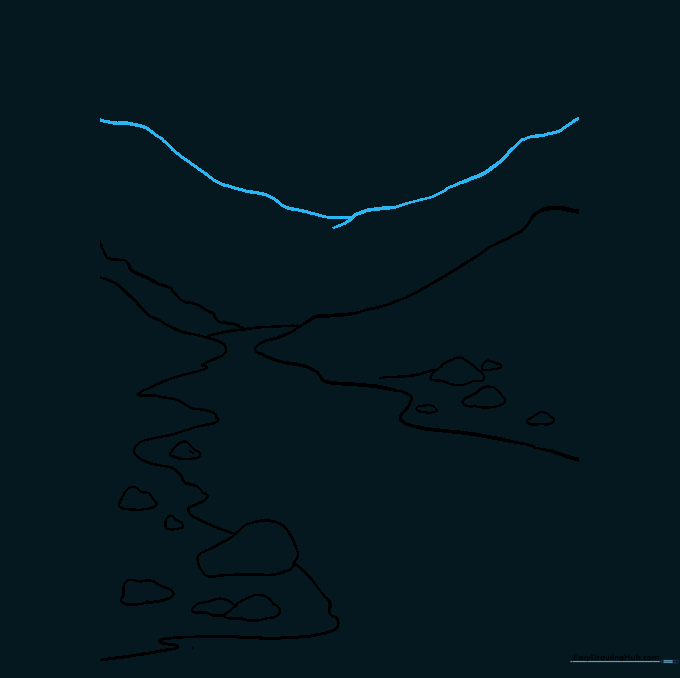
Add another curved line across the top to finish the mountain silhouette. Teacher's Tip: Keep these lines soft and rounded to represent distant mountains.
Step 7: Adding Water Ripples
Draw wavy, curved lines along the river to show movement. Teacher's Tip: Draw small circles or curves around the rocks to make it look like the water is flowing around them.
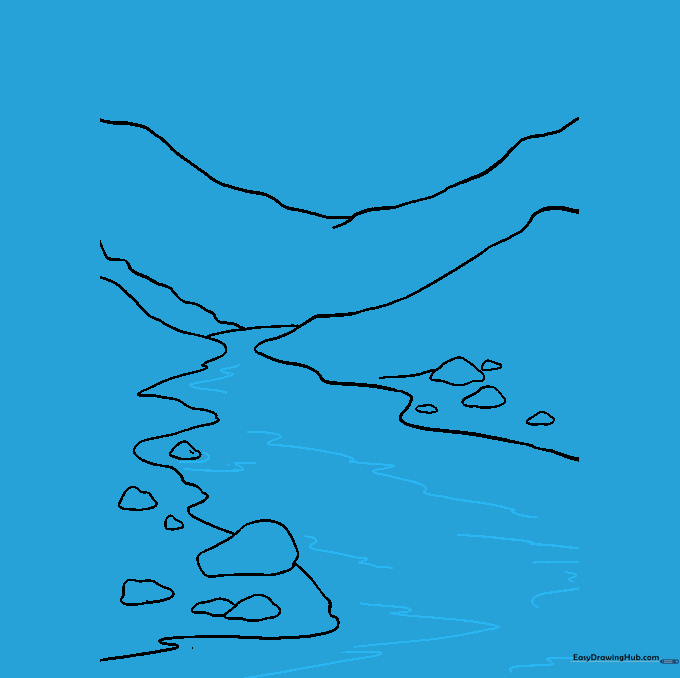
Step 8: Adding Distant Peaks

Draw a small mountain shape near the horizon line. Teacher's Tip: Placing this in the center helps create a focal point for your landscape.
Step 9: Adding Mountain Texture
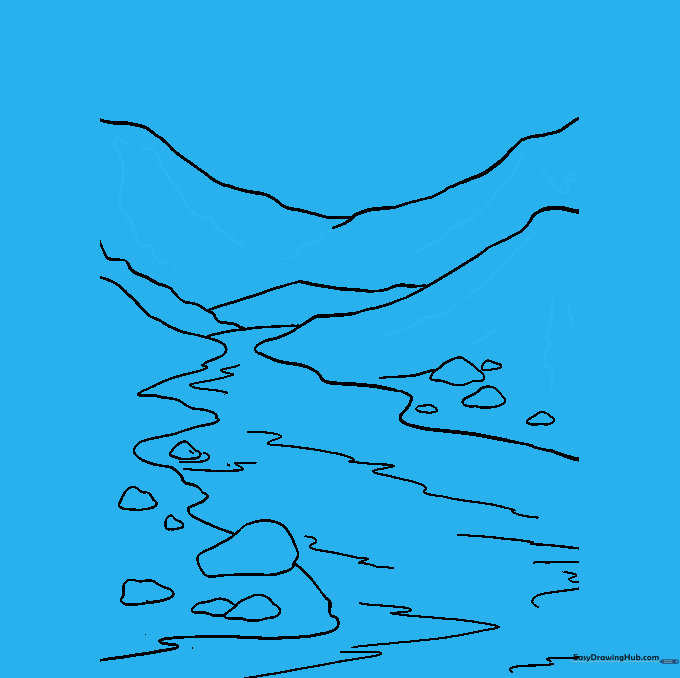
Draw jagged, diagonal lines on the mountain slopes to show rocky textures. Teacher's Tip: Use short, quick strokes to make the mountains look rugged and steep.
Step 10: Bringing Your River to Life with Color
Time to color! Use blues for the water, and choose your favorite colors for the mountains—maybe purple for a sunset or green for a lush forest. Teacher's Tip: Use lighter shades of blue in the middle of the river to make it look like it's sparkling.
More Tutorials


