How to Draw a Ribbon: Easy 10-Step Guide for Beginners
Looking for a simple way to draw a classic awareness ribbon? This tutorial is perfect for artists of all ages, requiring only a pencil, paper, and an eraser. Follow these steps to master the curves and folds, creating a professional-looking ribbon in minutes.
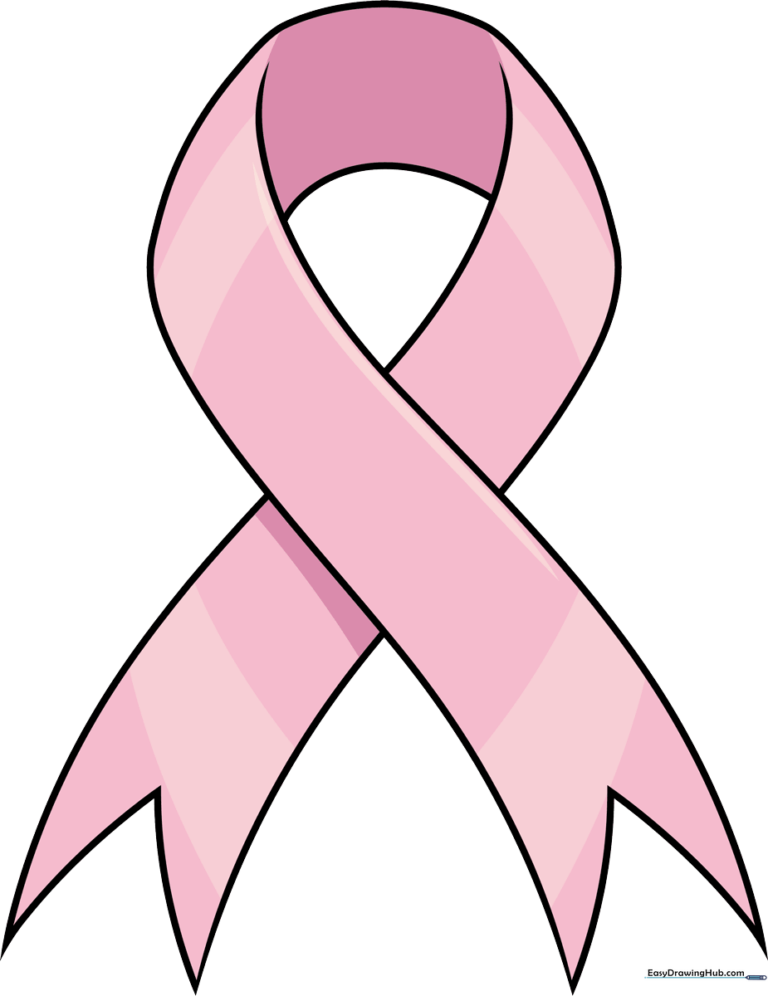
🎯 Final Result
Step-by-Step Instructions
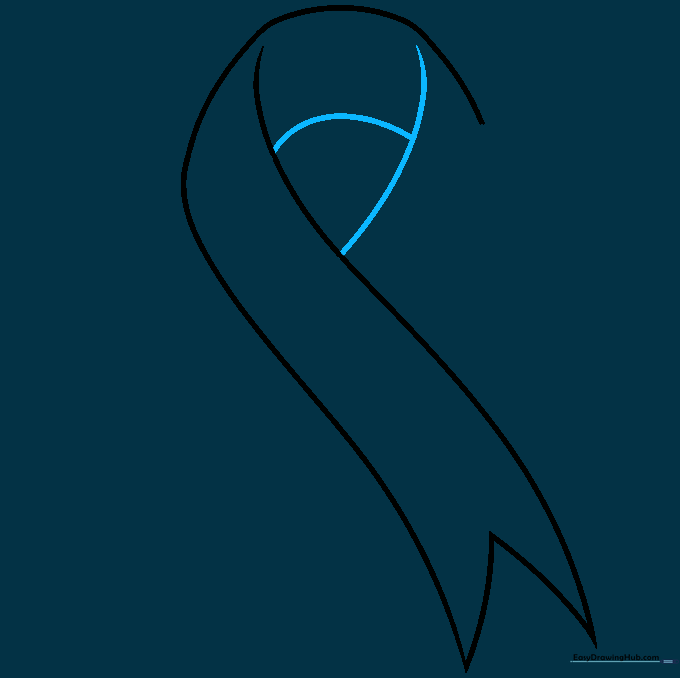
Step 1: Sketching the Top Curve

Begin by drawing a gentle, smooth curved line to form the top fold of the ribbon. Teacher's Tip: Keep your pencil pressure light so you can easily adjust the shape if it looks a bit lopsided.
Step 2: Forming the First Side
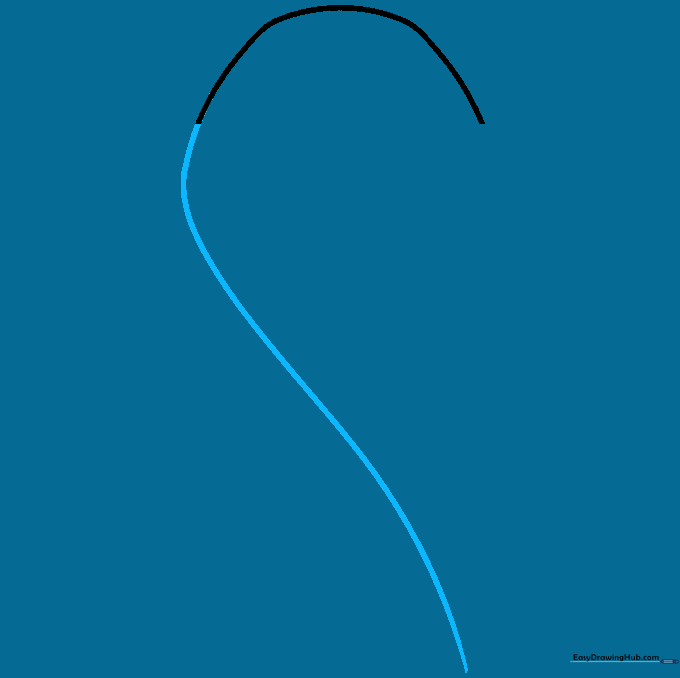
Continue the line downward on one side, curving it slightly to resemble a partial letter 'S'. Tip: Imagine the ribbon is made of soft fabric; let your hand move in a fluid, relaxed motion.
Step 3: Creating Parallel Depth
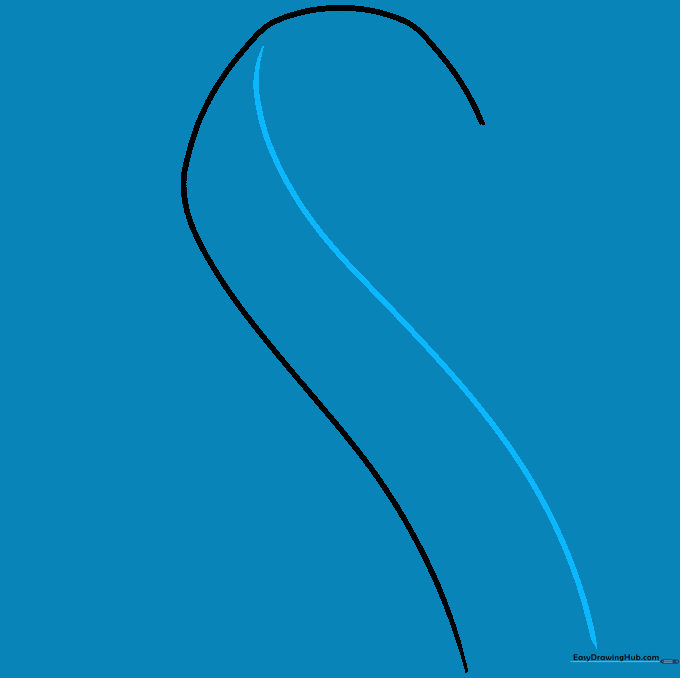
Draw a second line parallel to the first, ensuring it stays close but doesn't touch the top. Tip: Keeping the space between lines consistent is the secret to making the ribbon look like it has real thickness.
Step 4: Closing the Ribbon End
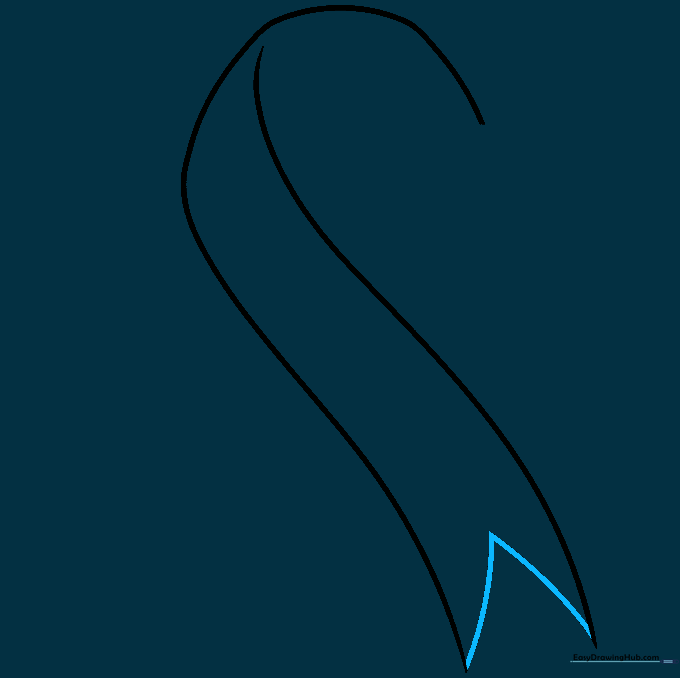
Connect the two ends of the ribbon with a small, sharp 'V' shaped line. Tip: This 'V' creates the illusion of a folded fabric end, giving your drawing a professional finish.
Step 5: Sketching the Loop
Draw two overlapping curved lines at the top to form the loop of the ribbon. Tip: Think of this as drawing a small, rounded 'C' shape that sits on top of your existing lines.
Step 6: Completing the Loop
Finish the outline of the loop with a smooth, continuous curved line. Tip: If the loop looks a bit pointy, use your eraser to soften the edges into a more natural, rounded shape.
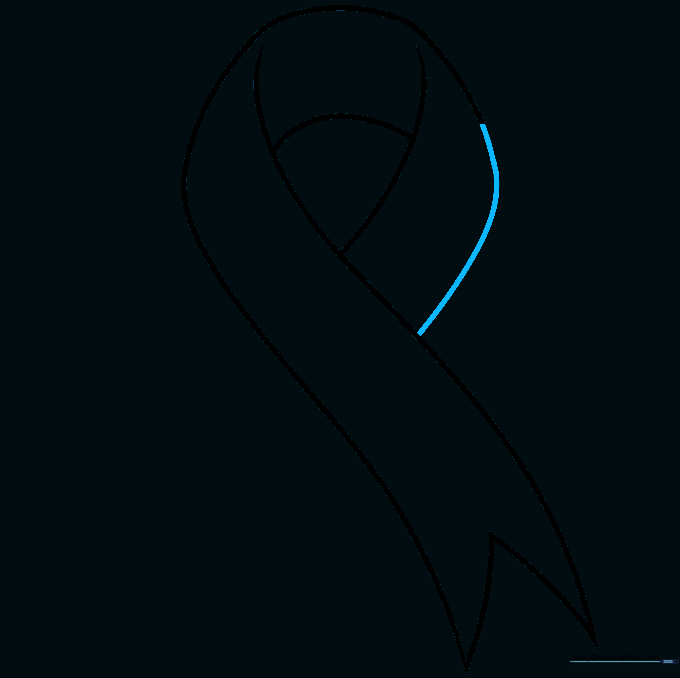
Step 7: Extending the Second Tail
Extend a long, graceful curved line downward to begin the second tail of the ribbon. Tip: Try to mirror the curve of the first tail to keep the ribbon looking balanced.
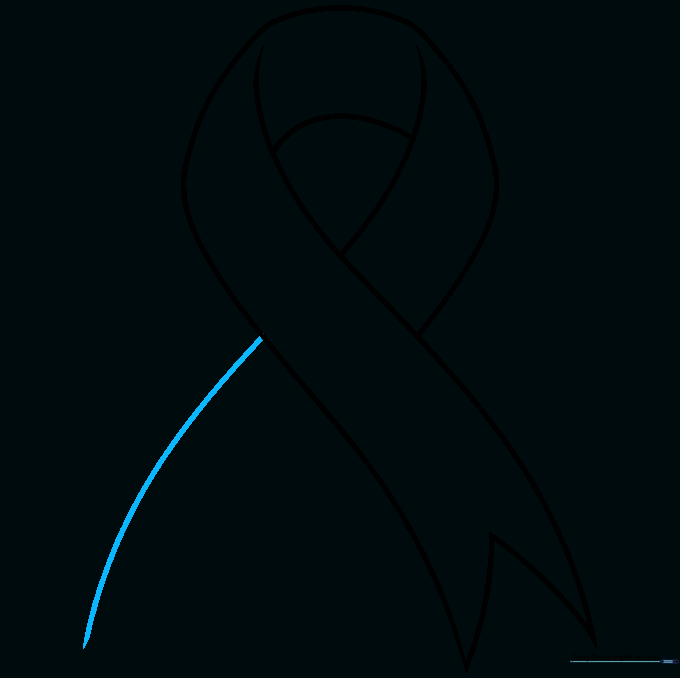
Step 8: Adding Tail Thickness
Draw another curved line parallel to the one you just created. Tip: Keep this tail slightly wider than the top part to give the drawing a sense of perspective.
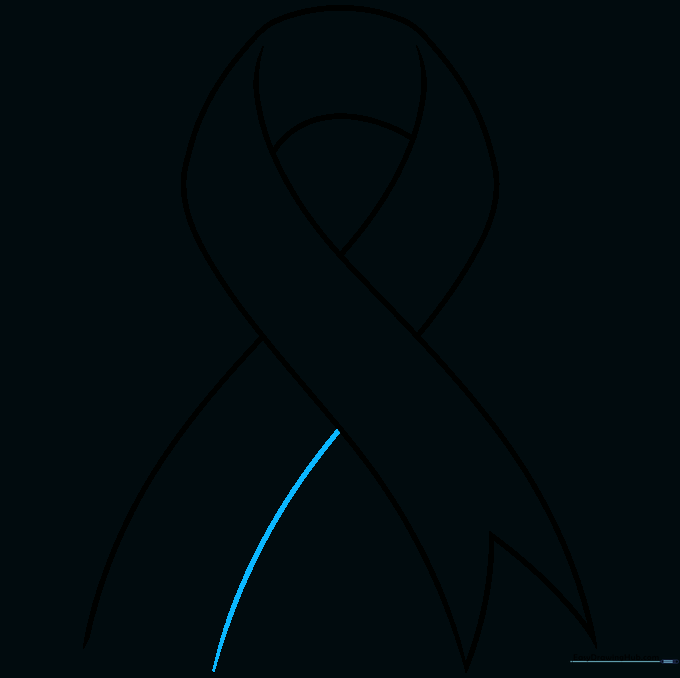
Step 9: Finalizing the Tail
Connect the ends of the second tail with a final 'V' shaped line. Tip: Ensure the 'V' matches the angle of the first tail for a symmetrical, polished look.
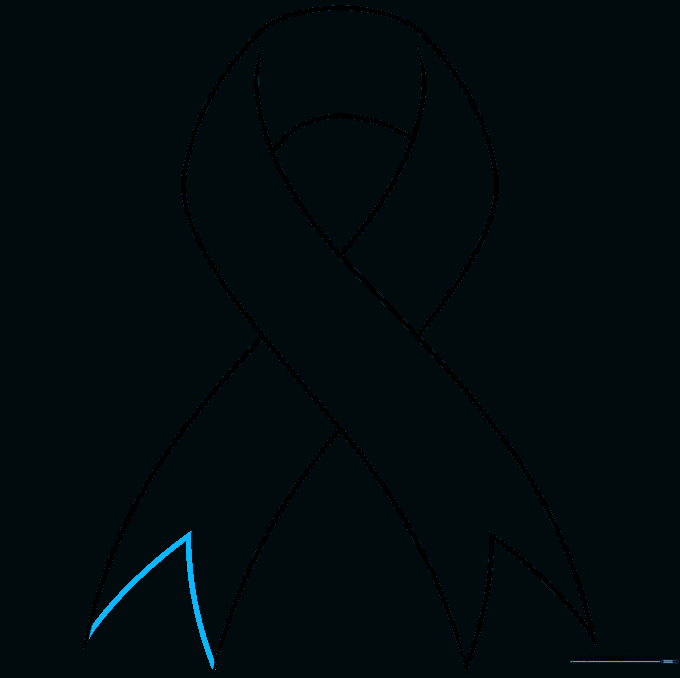
Step 10: Adding Color
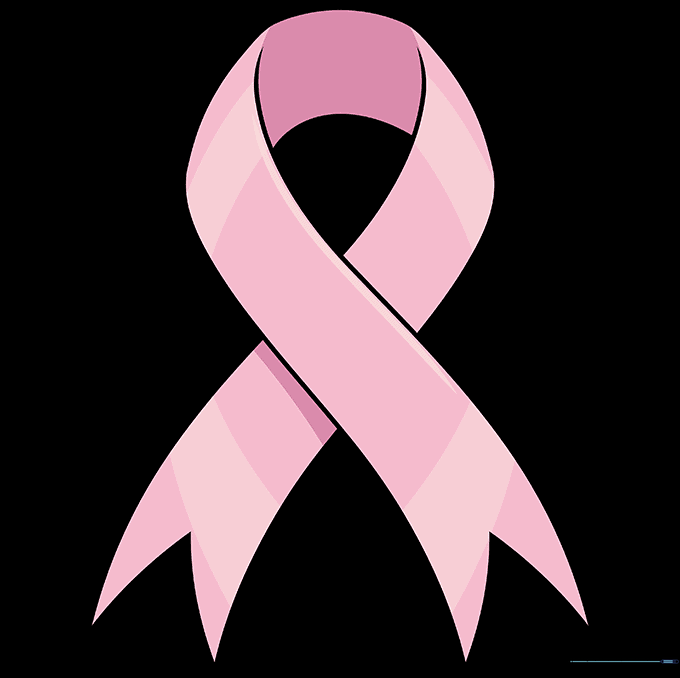
Bring your ribbon to life with color! We used pink for breast cancer awareness, but you can choose any color to represent a cause you care about. Tip: Use light pressure for a soft look, or press harder for vibrant, bold colors.
More Tutorials


