How to Draw a Rib Cage: Simple Anatomy Guide for Kids
Ready to explore human anatomy? This lesson is perfect for young artists and students ages 8+ looking to draw a scientifically accurate rib cage. All you need is a pencil, an eraser, and a piece of paper to start building your skeleton.
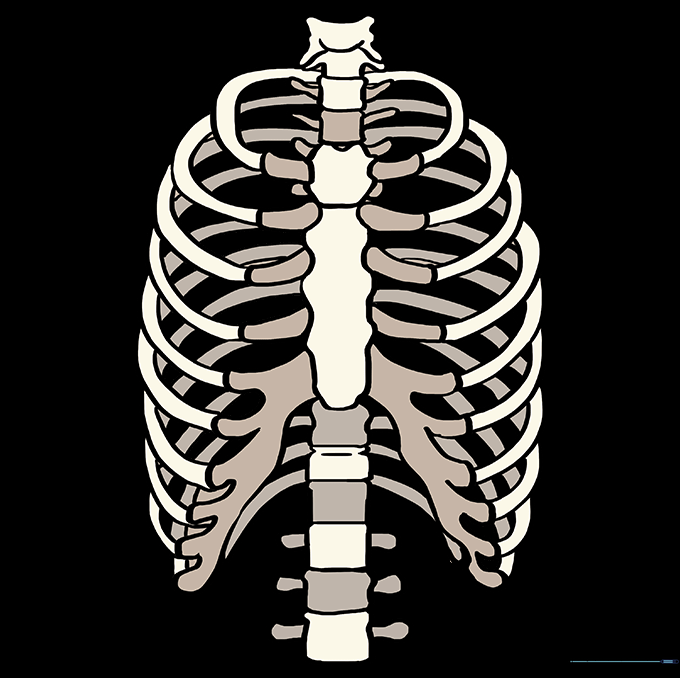
🎯 Final Result

Step-by-Step Instructions
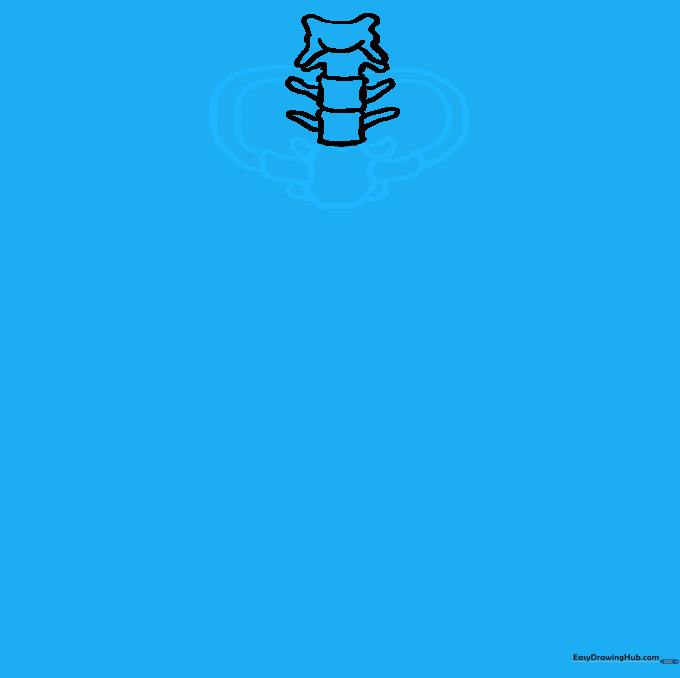
Sketching the Vertebrae

Start by drawing the spine bones, or vertebrae. Use a series of curved lines to create a butterfly-like shape. Below this, draw a drooping 'T' shape. Add two small squares beneath it, bending the sides inward. Teacher's Tip: Keep your pencil lines light so you can easily adjust the symmetry later.
Forming the Sternum and First Ribs
Draw an irregular shape below the spine to form the manubrium (the top of the sternum). Extend curved lines from the corners. Add elongated shapes on either side, then connect them to the spine with pairs of curved lines. This creates your first set of true ribs.
Adding Costal Cartilages
Use a wavy line to define the body of the sternum. Add three elongated shapes on one side—these represent the costal cartilages that connect ribs to the chest bone. Loop curved lines from these to the spine. Tip: Make the lower ribs overlap the higher ones to create depth.
Mirroring the Ribs
Repeat the process on the opposite side. Draw the costal cartilages and extend pairs of curved lines to form the matching ribs. Symmetry is key here, so take your time measuring the distance from the center line.
Defining Lower Cartilage
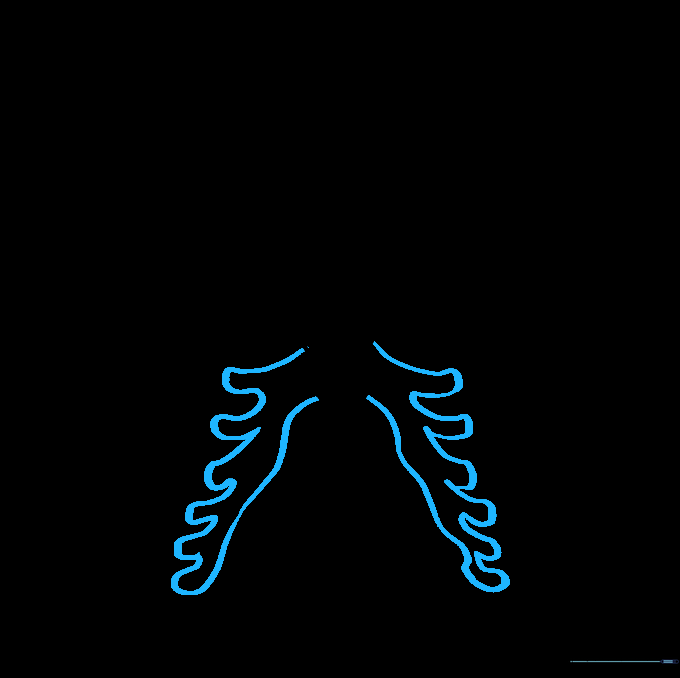
Extend two wavy lines from the bottom of the sternum. Use 'U' shaped lines to double the shape back on itself. This creates the lower costal cartilage, which anchors the bottom of the rib cage.
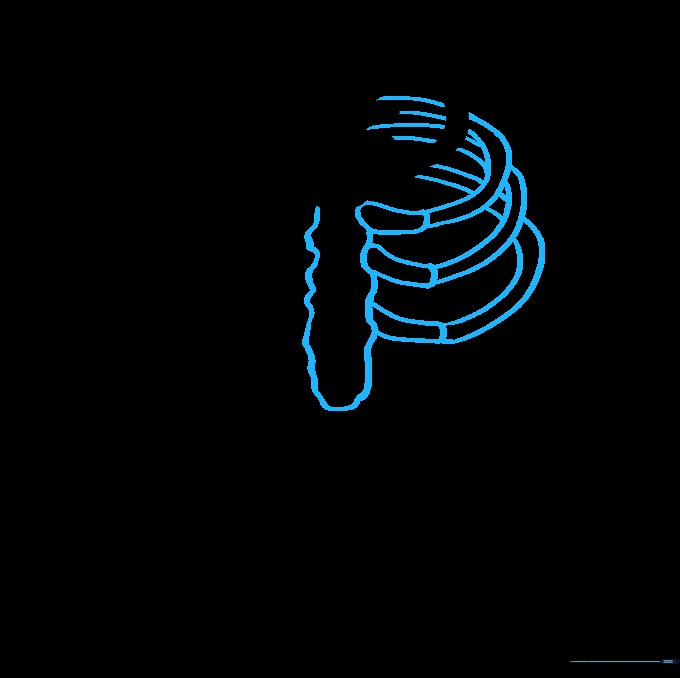
Refining the Rib Bones
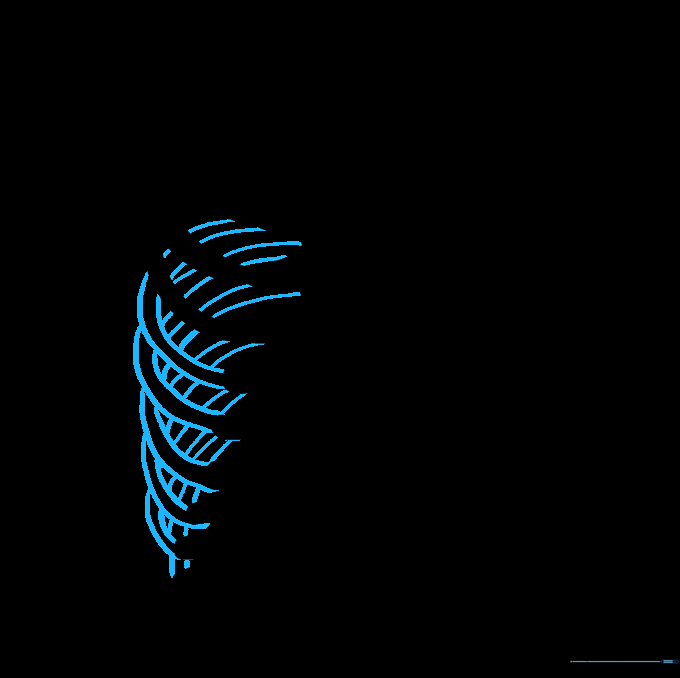
Starting from the top, draw pairs of curved lines to finalize each rib. Connect these lines to the spine to give the drawing a 3D, realistic look. Tip: Ensure the lines are clean and smooth to represent the curve of the bone.
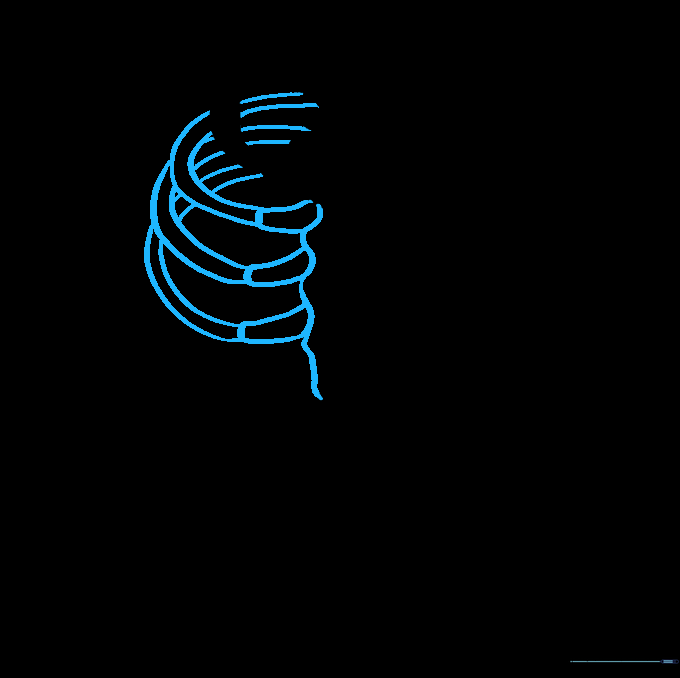
Completing the Rib Structure
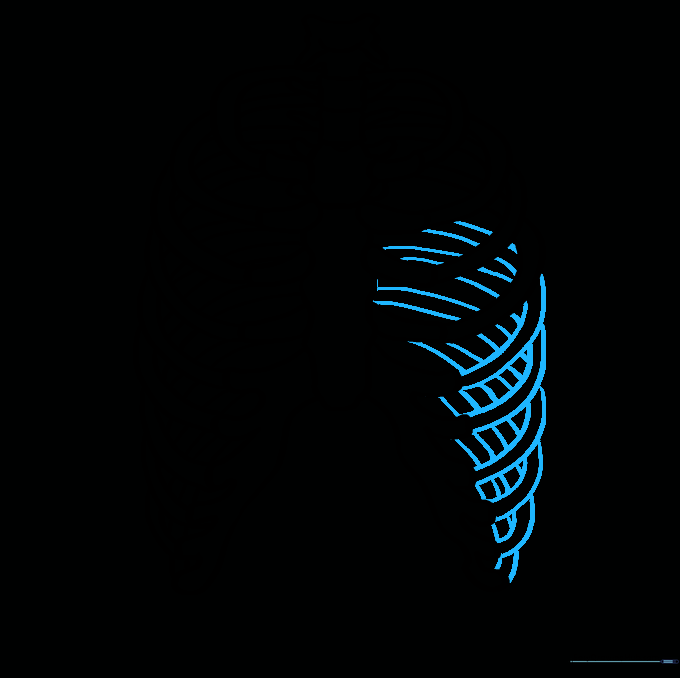
Repeat the rib refinement on the opposite side. By connecting each rib to the spine, you provide the structural support that makes the rib cage look authentic.
Extending the Spine
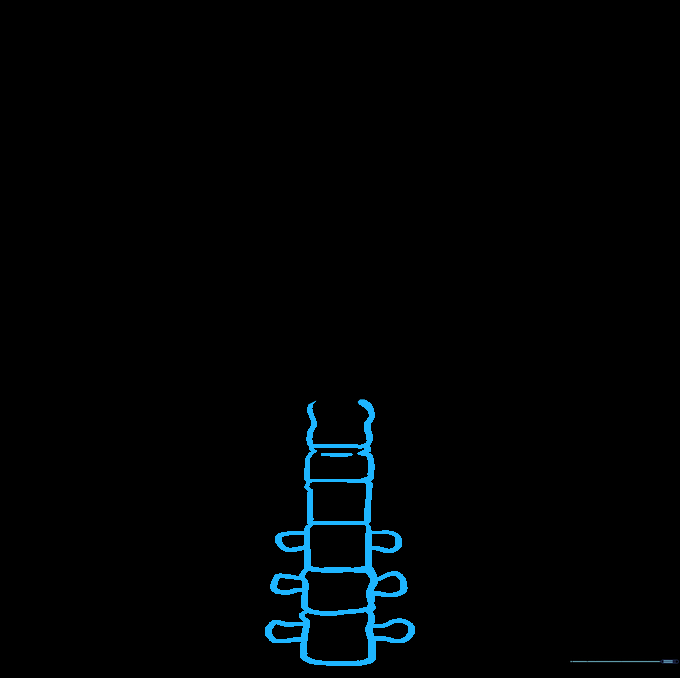
Continue the spine downward. Draw a series of curved squares for the lower vertebrae. Extend curved lines from the sides of the three lowest vertebrae to represent the connection points for the floating ribs.
Adding Floating Ribs
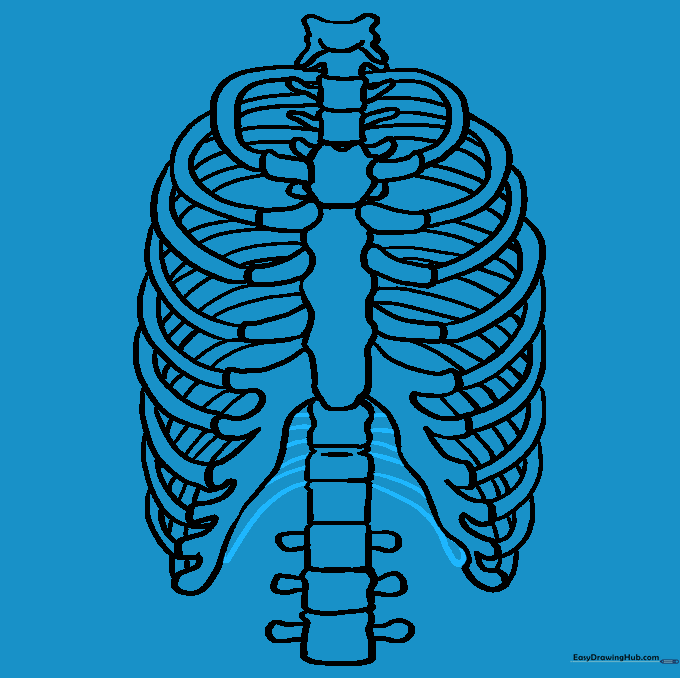
Finish the structure by drawing pairs of curved lines extending from the lower spine. These are the floating ribs. Keep them slightly shorter than the upper ribs for anatomical accuracy.
Coloring Your Drawing
Bring your drawing to life! Use soft whites, creams, or light grays to color the bones. If you want to create a full skeleton, try drawing a skull next. Tip: Use a light shading pencil to add depth where the ribs meet the spine.
More Tutorials


