How to Draw a Rhino: Easy 10-Step Guide for Kids
Ready to bring a powerful rhino to life? This tutorial is perfect for young artists ages 5 and up. All you need is a pencil, an eraser, and a piece of paper to start building your own safari scene.
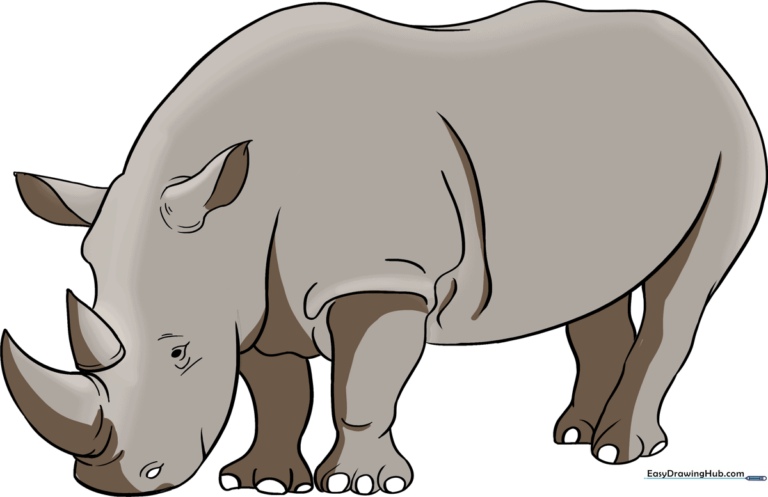
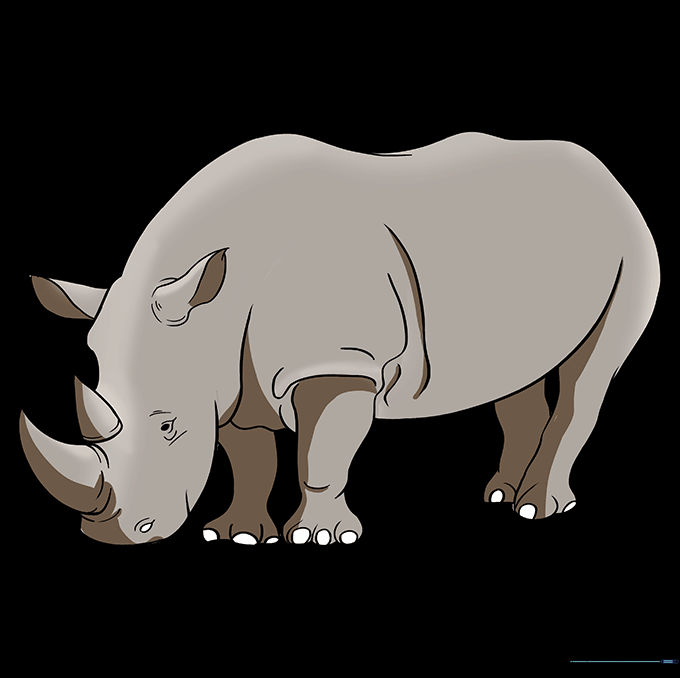
🎯 Final Result
Step-by-Step Instructions
Step 1: Sketching the Head

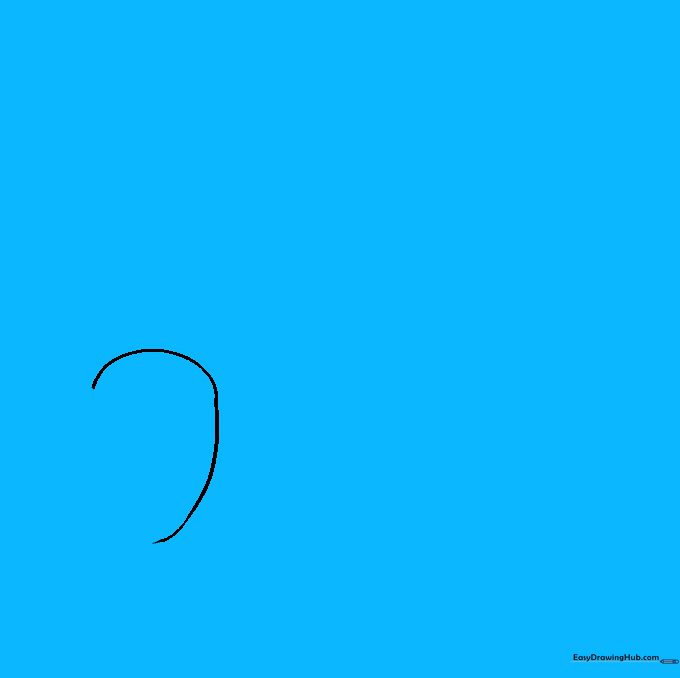
Draw a long, curved oval shape to form the rhino's head. Teacher's Tip: Keep this shape light and loose; it's just a guide for the final structure.
Step 2: Adding the Horns
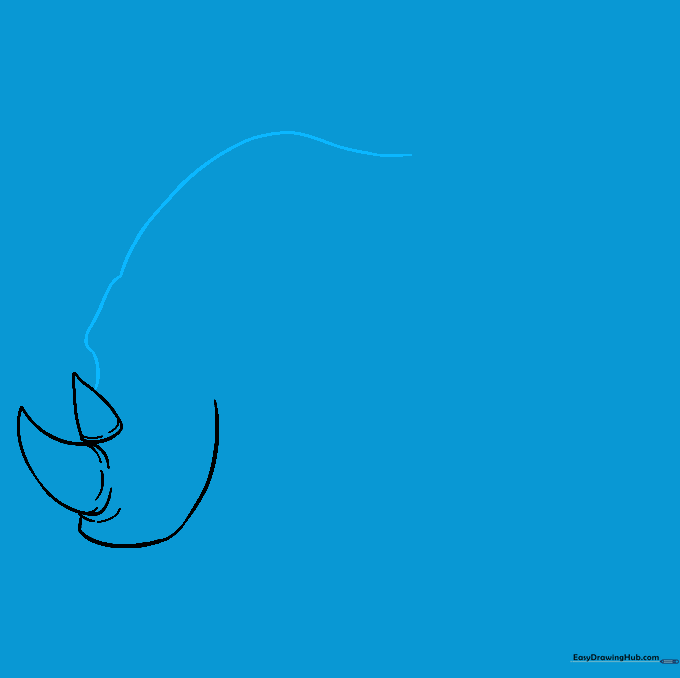
Erase a small section of your oval and add two curved triangles for the horns. Add a curved line for the lip. Teacher's Tip: Make the front horn slightly larger than the back one for a realistic look.
Step 3: Defining the Neck and Back
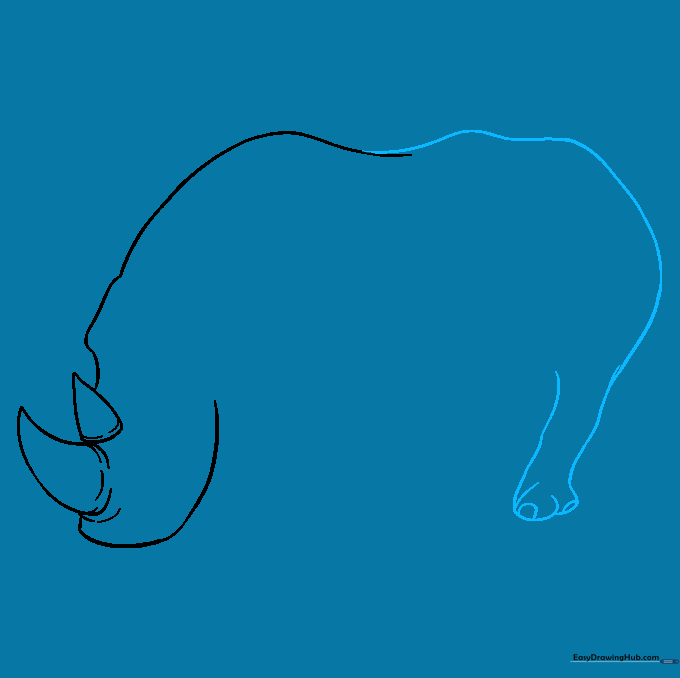
Connect the head to the body by sketching a long, sweeping curved line for the forehead and shoulder. Teacher's Tip: Think of this as a gentle 'S' curve to show the rhino's strength.
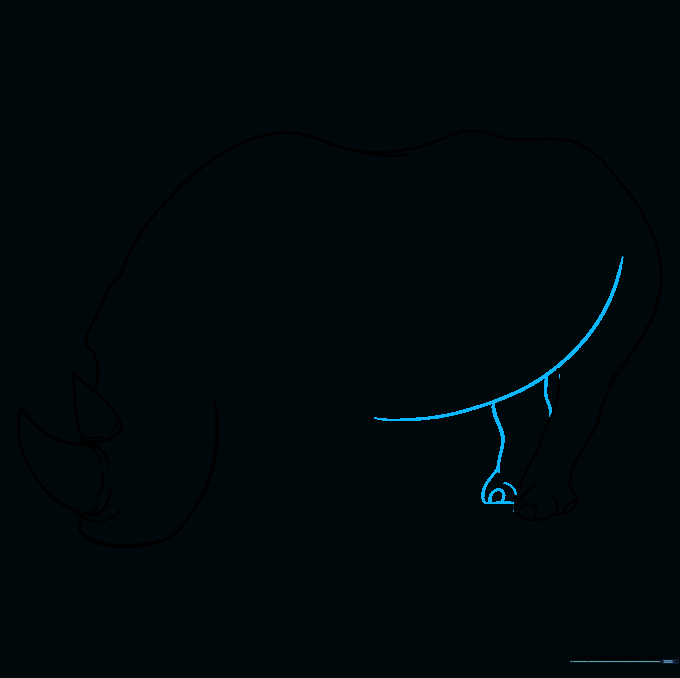
Step 4: Sketching the Hindquarters
Extend the back line down to create the rump and the rear leg. Add rounded shapes at the bottom for the toes. Teacher's Tip: Rhinos are sturdy, so make the legs look thick and solid.
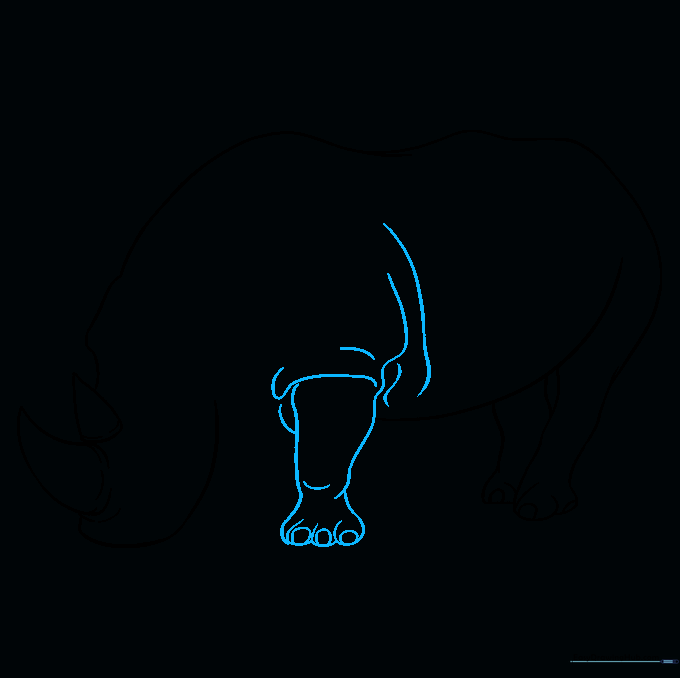
Step 5: Drawing the Belly
Draw a long, slightly curved line for the belly and add the second rear leg. Teacher's Tip: Keep the belly line low to give the rhino its characteristic heavy appearance.
Step 6: Adding the Front Leg
Draw the front leg with thick, curved lines. Add small curves at the top to show skin folds. Teacher's Tip: Skin folds make the rhino look more realistic and textured.
Step 7: Completing the Legs
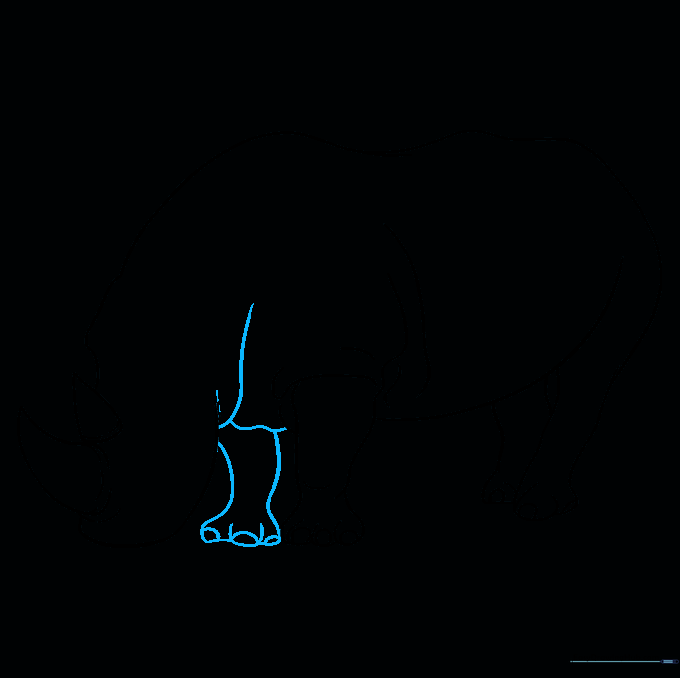
Sketch the final front leg and add the toenails. Teacher's Tip: Ensure the feet are wide to support the rhino's heavy body.
Step 8: Drawing the Ears
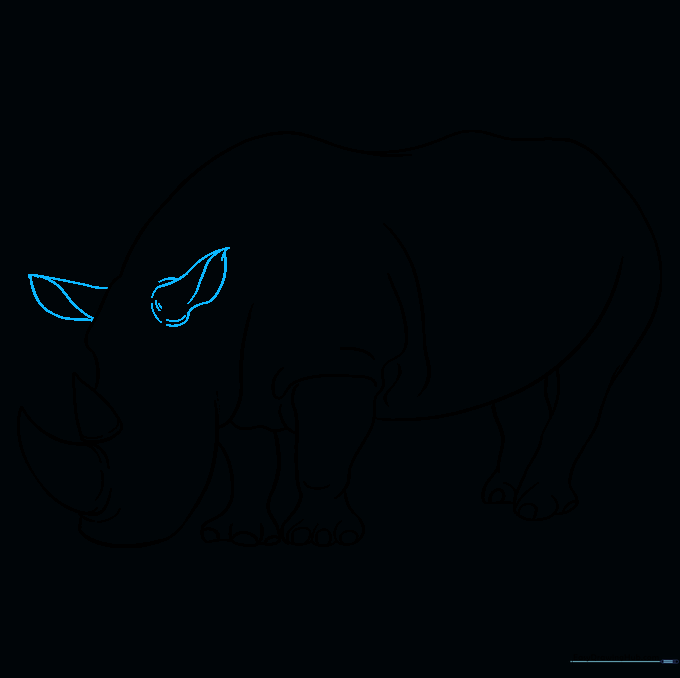
Draw two pointed ears on top of the head. Add a small teardrop shape inside each ear for detail. Teacher's Tip: Ears are expressive—try tilting them slightly to give your rhino personality!
Step 9: Adding Facial Features
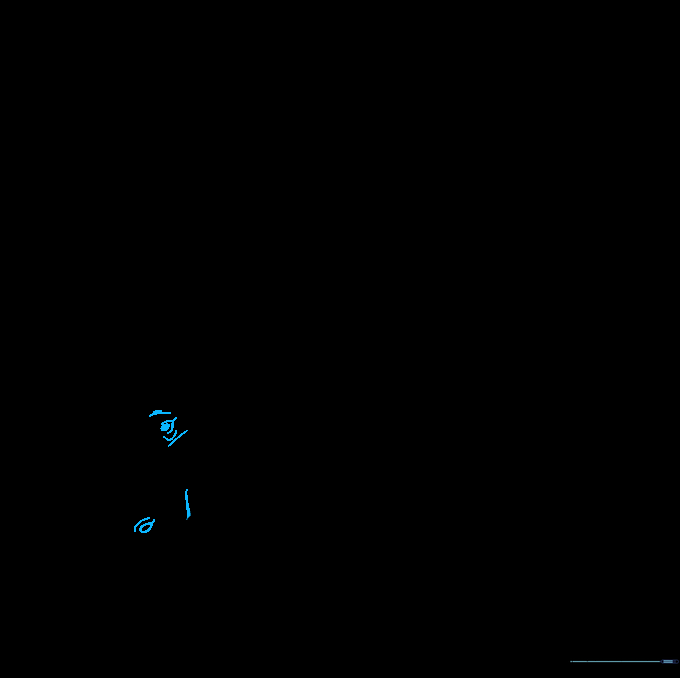
Draw the eye and nostril. Add short lines around the face to suggest wrinkles. Teacher's Tip: A small, dark circle for the eye makes the rhino look friendly.
Step 10: Coloring Your Rhino
Color your rhino using shades of grey, tan, or brown. Teacher's Tip: Use a darker grey for the shadows under the belly to make your drawing pop!
More Tutorials


