How to Draw a Restaurant: Easy 9-Step Cartoon Guide
Ready to design your own cozy neighborhood bistro? This tutorial is perfect for young artists ages 6+ looking to practice perspective and structural drawing. Grab your pencil, eraser, and paper, and let’s build a restaurant scene from the ground up!
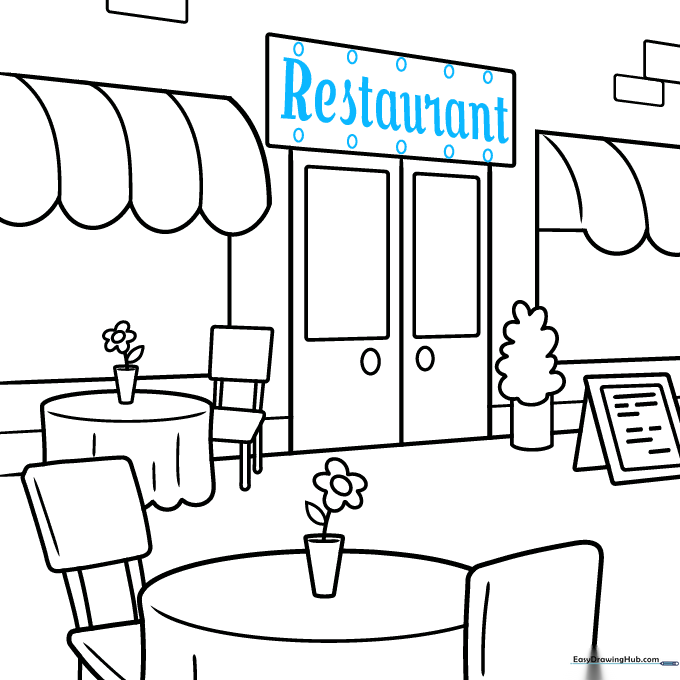
🎯 Final Result

Step-by-Step Instructions
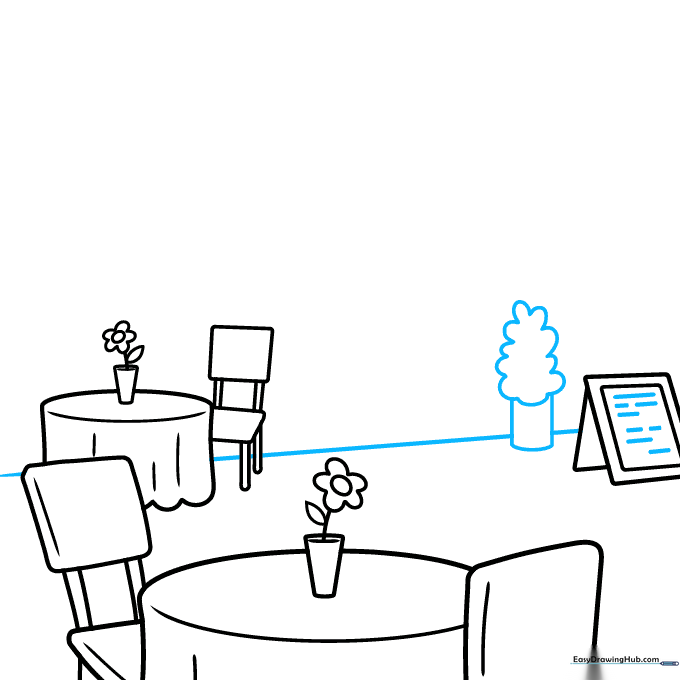
Step 1: Sketching the Foreground Table
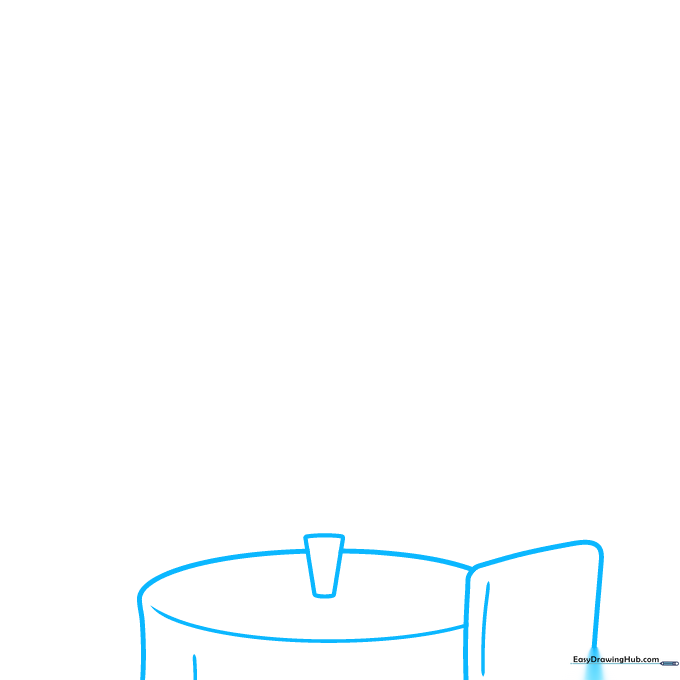
Start by drawing a narrow trapezoid for a flower vase and a rounded rectangle for a chair back. Connect them with a curved line to form the tabletop. Teacher's Tip: Keep your pencil pressure light here; these are just your guide shapes for the interior scene.
Step 2: Adding Seating and Decor
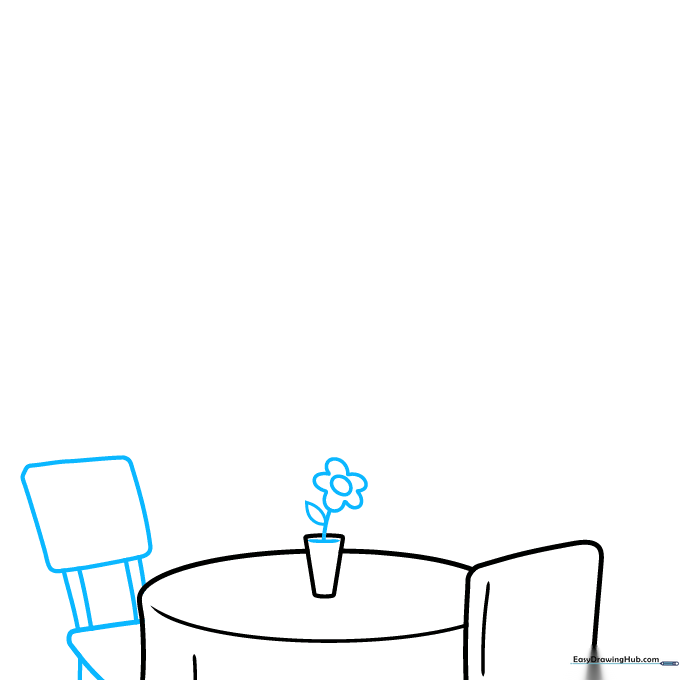
Add a simple daisy inside your vase using a small oval and petals. Sketch a second chair nearby using a square back and simple vertical lines for legs. Tip: Use short, quick strokes to make the daisy petals look soft and organic.
Step 3: Creating Depth with Background Tables
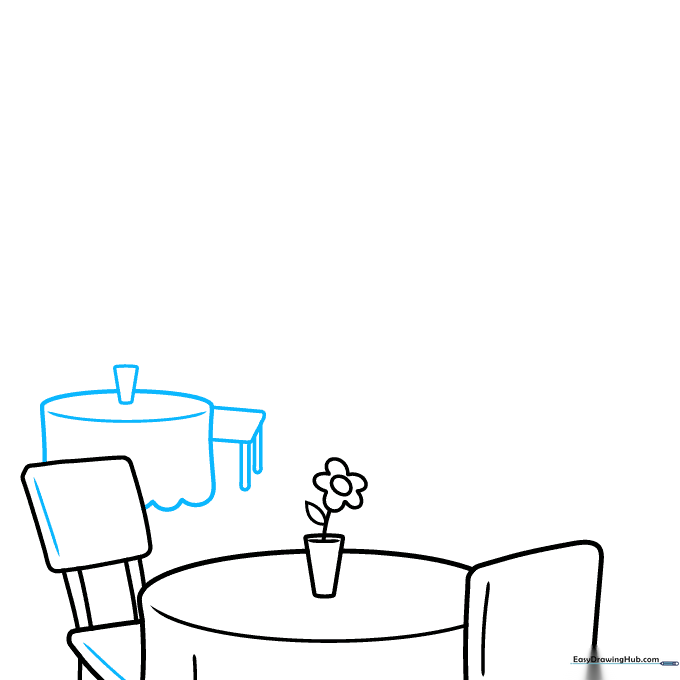
Draw a second table in the background to create a sense of space. Repeat the trapezoid vase and oval tabletop shapes. Tip: Draw these slightly higher on the page than the first table to make them look further away.
Step 4: Adding a Menu Sign
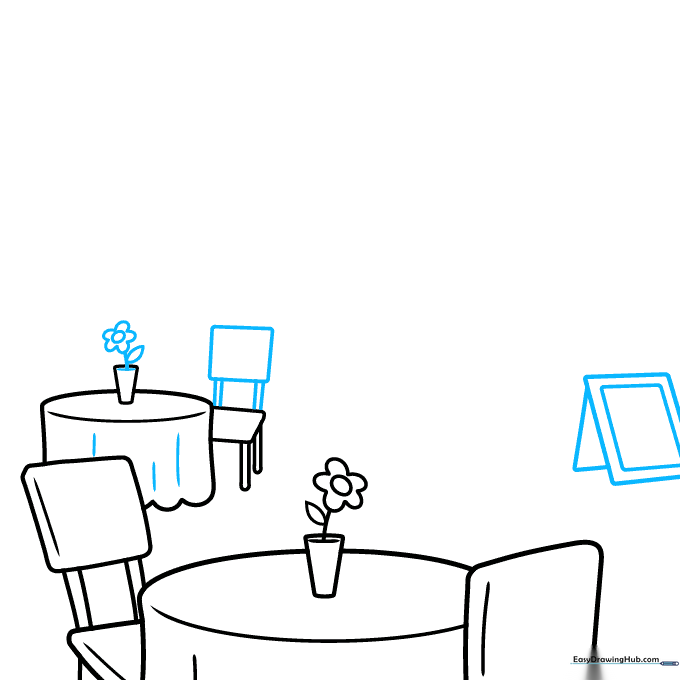
Detail your chairs with vertical lines for texture. Add a rectangular sign on a triangular stand. Tip: Use a ruler if you want the sign to look perfectly professional, or freehand it for a rustic, hand-painted look.
Step 5: Framing the Exterior
Draw a diagonal line behind the tables to represent the wall. Add a potted plant with cloud-like shrubbery. Tip: Vary the size of your 'clouds' to make the plant look natural and bushy.
Step 6: Constructing the Entrance
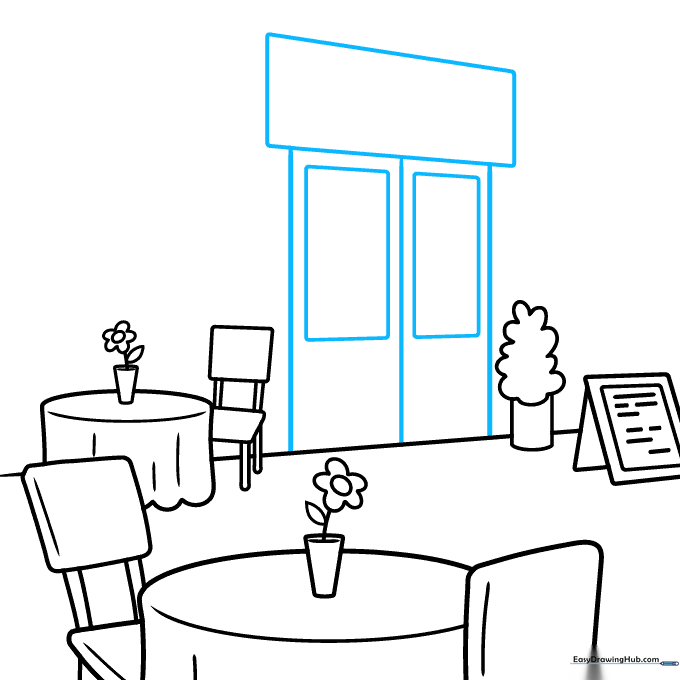
Draw a large square for the door, split down the middle with a vertical line. Add rectangular windows to the top half of each door. Tip: Keep your vertical lines parallel to the edge of your paper to ensure the door looks straight.
Step 7: Adding Door Knobs and Awnings
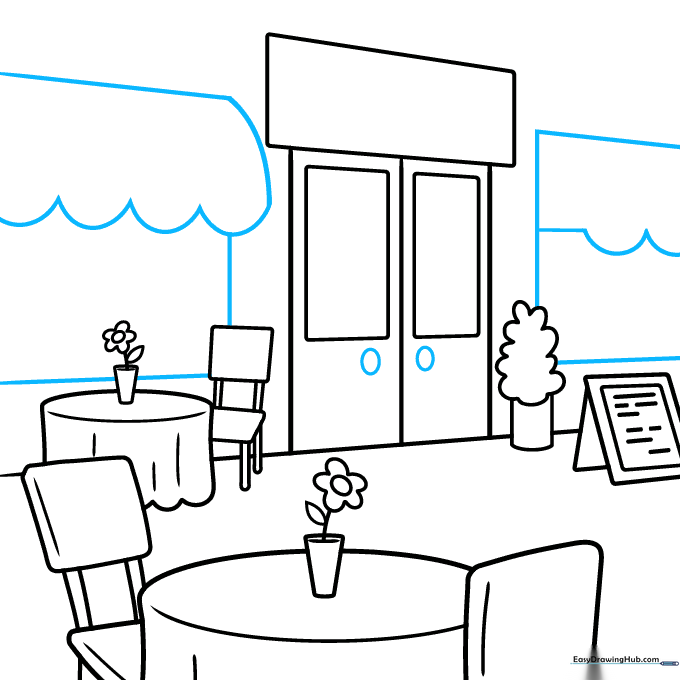
Add small oval knobs to the doors. Sketch scalloped lines above the windows to create fabric awnings. Tip: The scalloped 'U' shapes should be consistent in size to make the awning look like real fabric.
Step 8: Adding Brick Texture
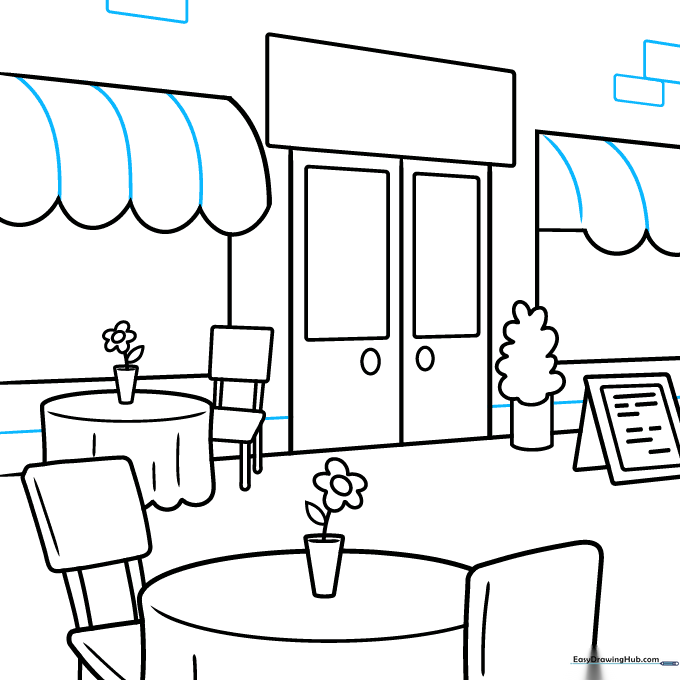
Draw horizontal lines across the awnings and a base line for the building. Add small rectangles across the wall to mimic brickwork. Tip: Offset your rectangles in each row (like a real brick wall) to make it look authentic.
Step 9: Final Signage and Details
Finish by adding a sign above the door with the word 'Restaurant' and small circles for lights. Tip: Use a fine-liner pen to trace your final lines before erasing your pencil guides for a clean, professional look.
Step 10: Bring Your Drawing to Life with Color
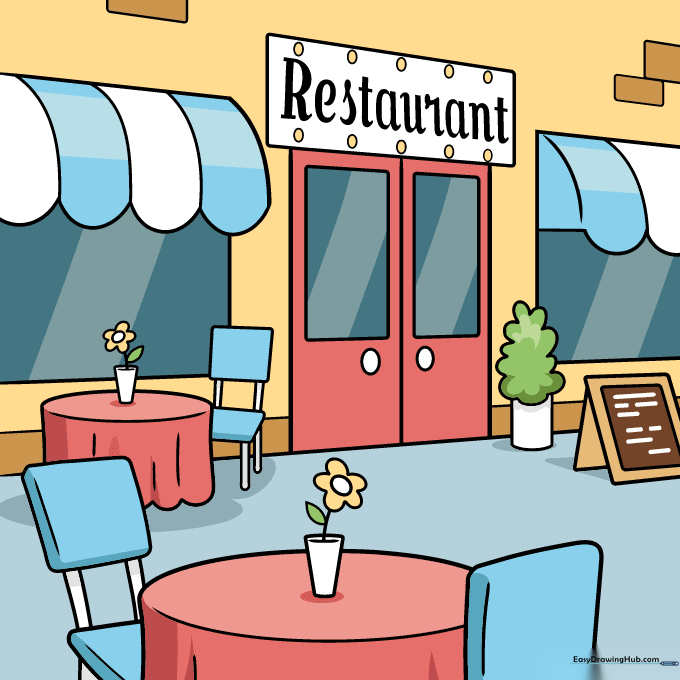
Fill in your restaurant with vibrant colors! Use warm tones for the interior and bold colors for the bricks to make your drawing pop.
More Tutorials


