How to Draw a Red Fox: Easy 9-Step Guide for Kids
Bring a clever red fox to life with this beginner-friendly drawing guide, perfect for artists ages 5 and up. All you need is a pencil, an eraser, and a piece of paper to get started. Follow these simple steps to master basic shapes and fur textures while building your confidence as an artist.
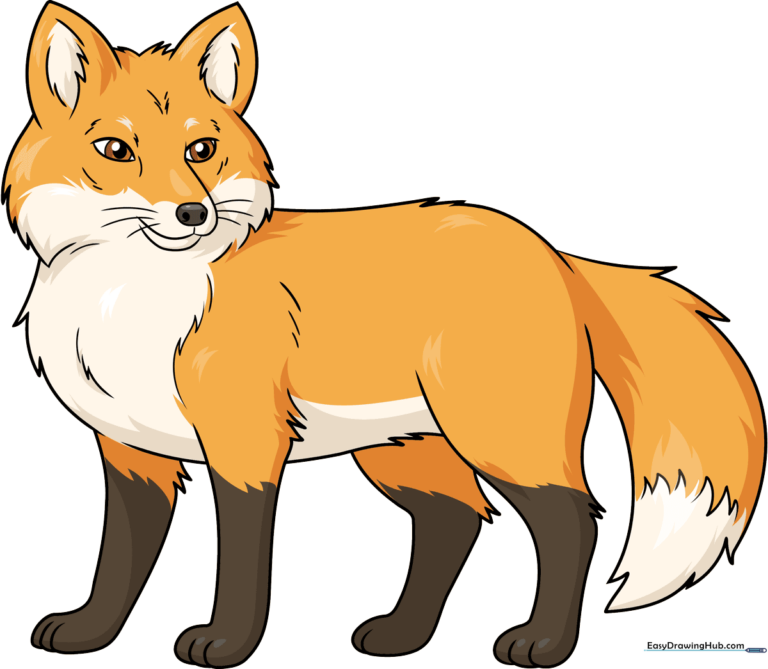
🎯 Final Result
Step-by-Step Instructions
Step 1: Sketching the Expressive Eyes

Start by sketching two almond-shaped eyes. Inside each, add two small circles and shade the center to create pupils. Connect them with a soft curve to map out the snout. Teacher's Tip: Keep your pencil lines very light here so you can easily adjust the spacing if the eyes look a bit too far apart.
Step 2: Defining the Ears and Snout
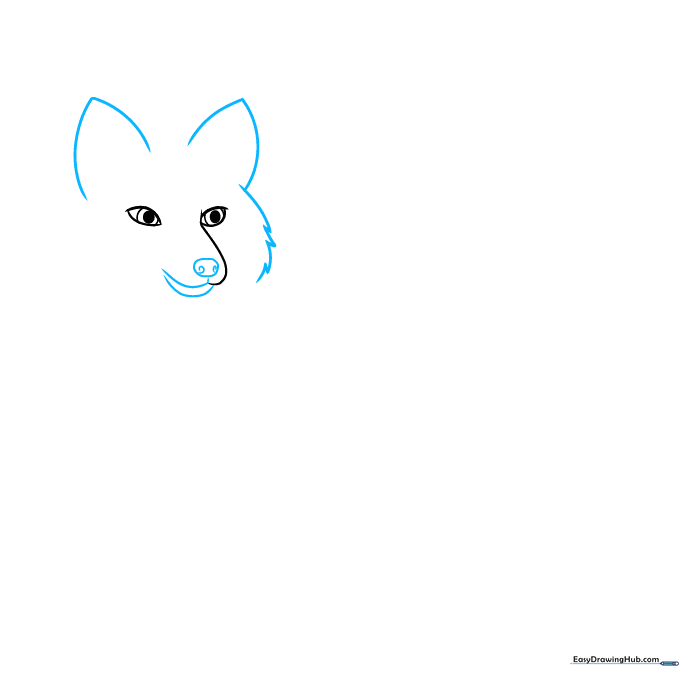
Draw two large triangles for the ears and use jagged, short strokes to outline the furry cheeks. Complete the snout with an irregular circle for the nose, adding two tiny spirals for nostrils. Teacher's Tip: Use 'flicking' motions with your pencil to make the fur look soft and realistic rather than stiff.
Step 3: Adding Fur Texture
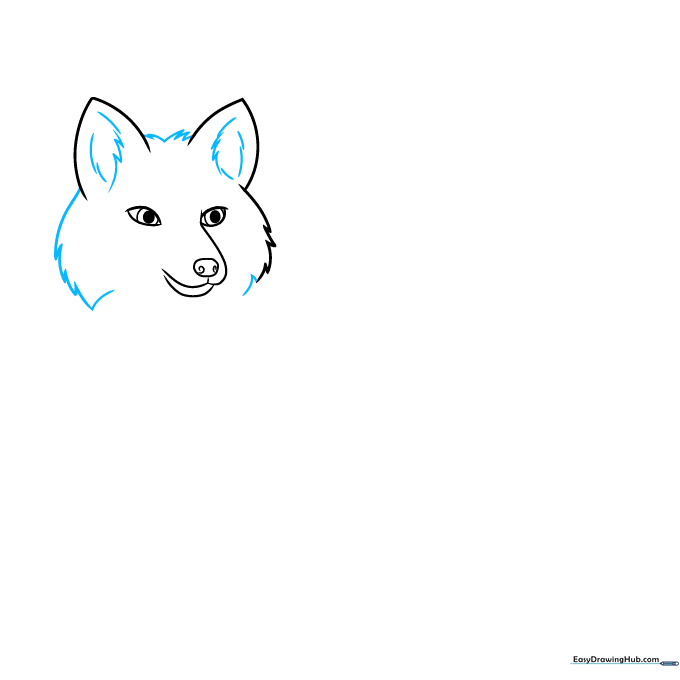
Use jagged, zig-zag lines to add fur detail on the sides of the face and between the ears. Add inner lines to the ears to give them depth. Teacher's Tip: Vary the length of your zig-zags to make the fur look natural and wild.
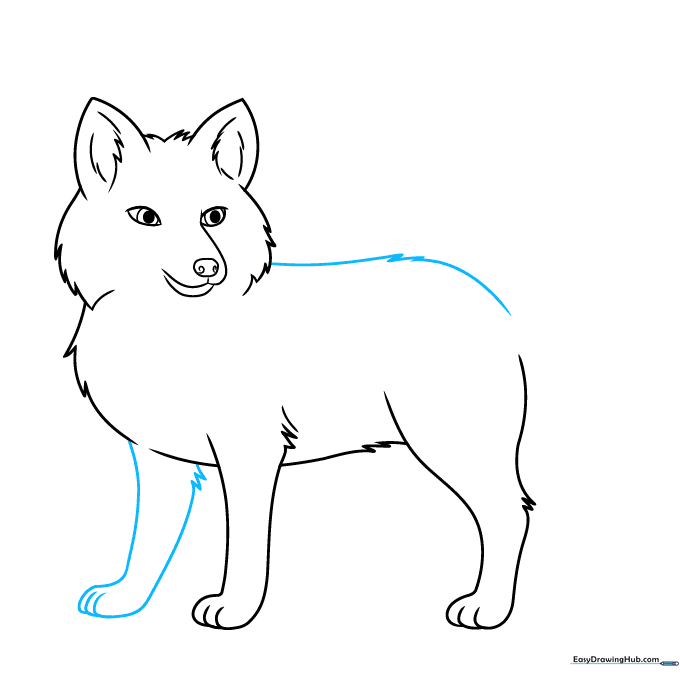
Step 4: Sketching the Chest and Front Leg
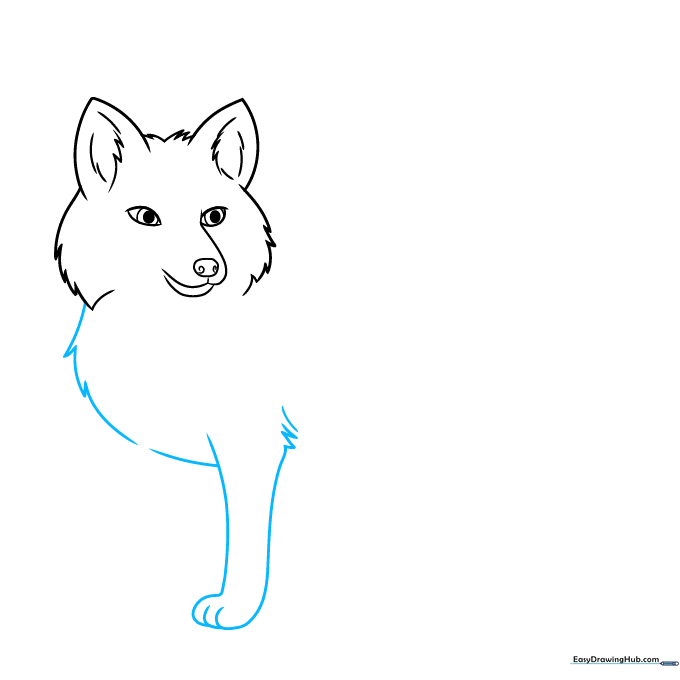
Extend jagged lines down from the face to form a fluffy chest. Draw the front leg using long, smooth curves, finishing with a paw. Teacher's Tip: Don't forget the jagged fur at the back of the leg to show where the fox's coat is thickest.
Step 5: Drawing the Belly and Rear Leg

Connect the chest to the back using a curved line for the belly. Sketch the rear leg with a rounded shape, ensuring you overlap the toes slightly. Teacher's Tip: Keep the rear leg slightly thicker at the top to show the fox's powerful muscles.
Step 6: Completing the Legs and Back
Draw the second front leg, overlapping it slightly to show depth. Continue the back line with jagged fur strokes. Teacher's Tip: Overlapping lines are the secret to making your drawing look 3D instead of flat!
Step 7: Starting the Tail
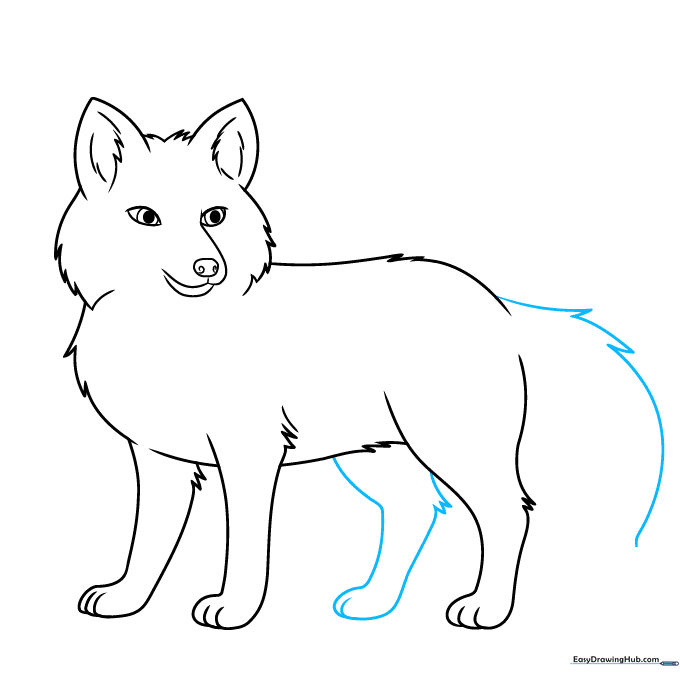
Use long, sweeping jagged lines to start the bushy tail. Enclose the remaining rear leg to finish the lower body. Teacher's Tip: Make the tail look large and fluffy—it's a fox's most iconic feature!
Step 8: Detailing the Tail
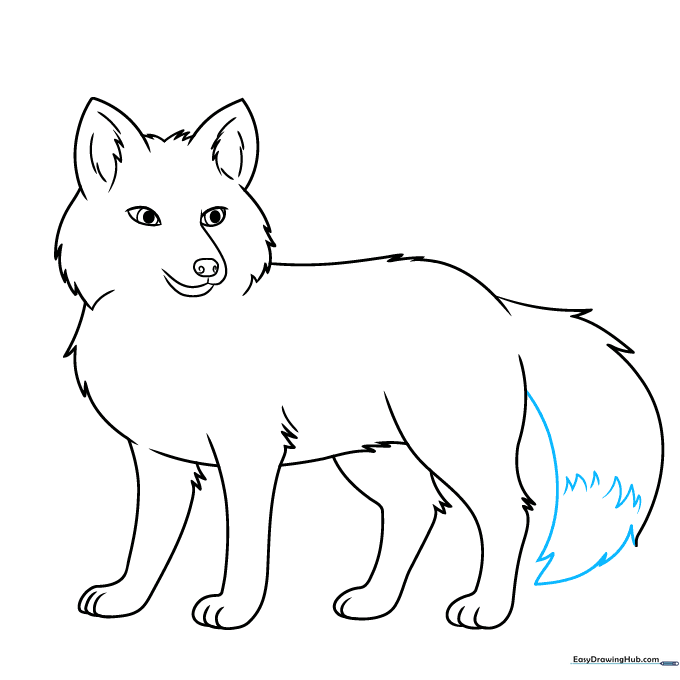
Finish the tail with more jagged lines and add 'V' shapes to mark the white tip. Teacher's Tip: The white tip is a classic fox detail; keep your lines here clean so the color stands out later.
Step 9: Final Touches
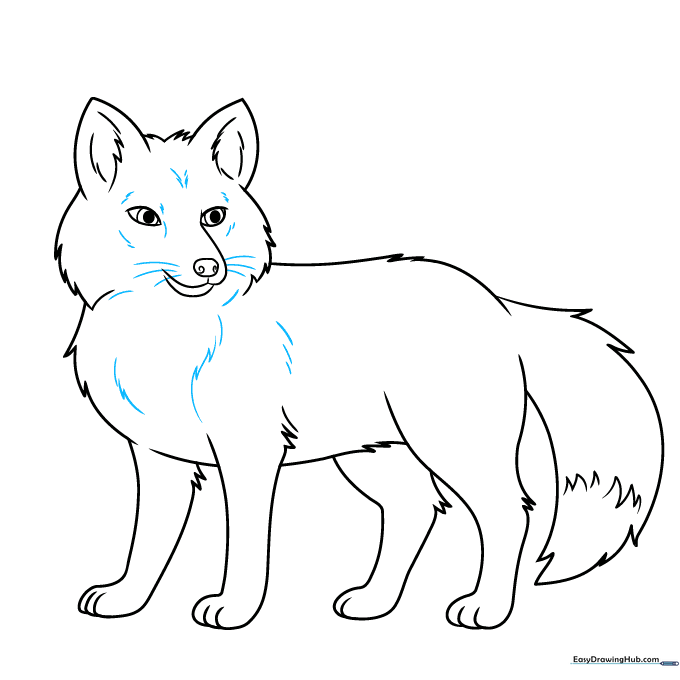
Add three long whiskers on each side of the snout. Add a few final short, curved lines across the body to suggest fur texture. Teacher's Tip: Whiskers should be drawn with quick, confident strokes to look sharp and natural.
Step 10: Bringing Your Fox to Life with Color
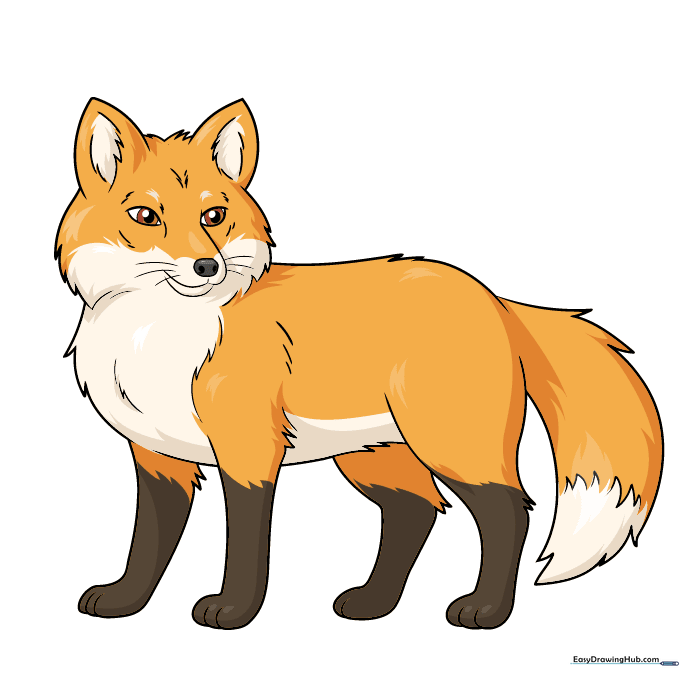
Your outline is ready! Use reddish-orange for the main coat, dark brown for the feet, and white for the chest and tail tip. Teacher's Tip: Try using light pressure with your colored pencils to blend the orange into the white areas for a soft, realistic look.
More Tutorials


